
The push notifications son una excelente herramienta que te puede ayudar a incrementar los números de sitio Web based on WordPress. In CourseWpress.com we teach you how to activate them.
What are push notifications?
The push notifications son unas notas que aparecen en pantalla y que a través de del browser web (Firefox, Chrome, Opera, Safari) inform readers about matters of interest:
- If we upload a new entry to our Blog
- If we update the products from our store
- When we offer a new service or we have an offer
- Etc…
With push notifications, as we usually say for these properties, the possibilities are limitless.
How do push notifications work?
The mechanics behind these notifications are actually simple but very effective.
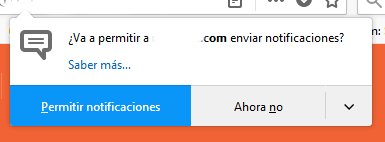
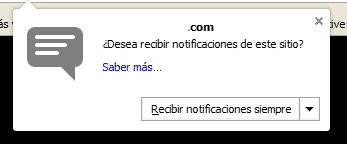
With the push notifications activated, every time a visitor enters your website, they will receive a message more or less similar to this:
Do you want to receive push notifications from my website?
So every time a visitor accepts, we are ganando un nuevo subscriber for our website.
And that's great.
For you who are into this internet thing, the following is not a secret:
The bloggers, webmasters and SEOs, we are fighting a battle for internet users attention. We fight at every moment against dozens of distractions.
Distractions, which separate nuestro visitante: lector, suscriptor, client en potencia de nuestro asombroso contents.
Distractions like:
- Netflix series
- Notifications of all social networks: Facebook, Instagram, Twitter
- The email
- Los videos de Youtube
- And know how much distraction exists on the web
As bloggers, webmasters, SEOs, we fight for the reader's attention. In this way, each resource that we use to win it will suppose us a advantage.
What are the advantages of push notifications?
The main advantage of push notifications resides in its simplicity and its effectiveness.
Why?
Because with the push, it is feasible to have subscribers In a simple way.
Are much simpler que la mecánica de subscription de las listas de correo o newsletter.
Don't misunderstand us. And take this as a warning:
Push notifications they do not replace your email list.
They are a perfect complement to the email marketing but it does not replace it.
Repeat with us, so you don't forget:
Subscribers to push notifications they do not replace your email list.
Pero se pueden poner en práctica a la par. Puedes hacer crecer tu lista de correo para tu strategy from email marketing. And harness the potential of high CTR or good click rate Push notifications.
Yes, we know, by now you will be wondering:
How to activate push notifications on my WordPress site?
Para que tu sitio bien be un blog, un briefcase or a ecommerce based on WordPres show push notifications necesitarás un plugin.
As in almost all cases, the offer is wide.
And if you take a pass by plugin repository WordPress you'll find a few to choose from.
What should I know before installing a push notification plugin in WordPress?
Before installing any plugin to display push notifications single you must know only one thing:
Be very clear which is the browser that visitors use the most when they browse your website. Point.
Knowing this will help us choose the plugin that best suits adapte a nuestro traffic.
Pues algunos no son compatibles con todos los browsers.
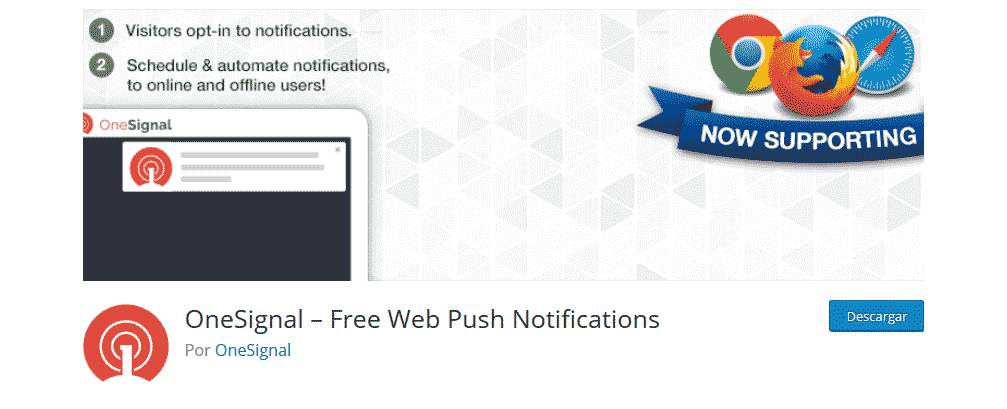
That is why we use:
OneSignal.
What is it compatible with the most used browsers on web and cell phone. And at the same time it has no cost.
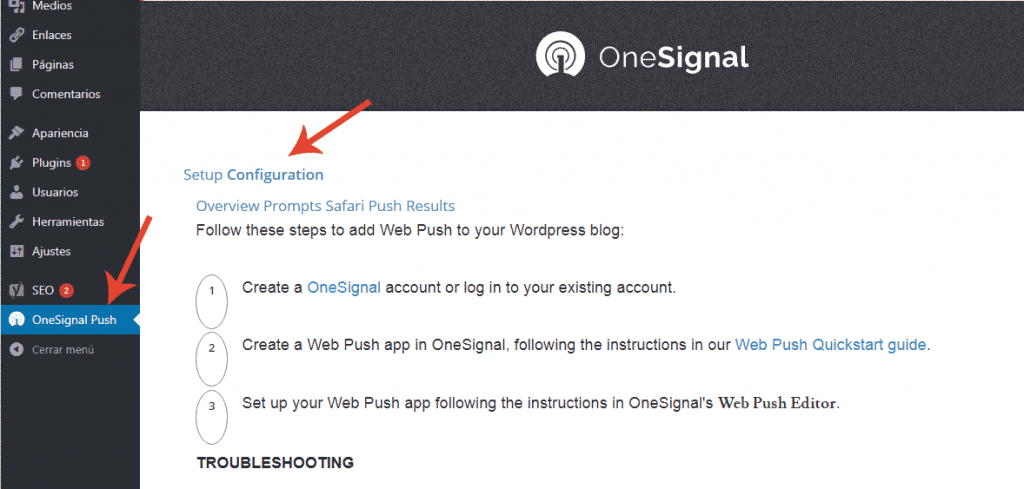
Setting up push notifications in WordPress with OneSignal
- Install and activate We prepare a tutorial if you need a guide on how to install a plugin.
- Now we we create a account on the plugin website: com
- Then we create a record of API from Google. For this we go to developers.google.com
- We create a new app: We give it a related name. And we name the Android package. We complete the form with the data they request from us. Once this is done, we choose the option: Enable Cloud Messaging Button.
- We copy and keep in a safe place of ours Server API Key and Sender ID.
- We return to WordPress we locate the configuration of OneSignal and in the tab: Use my own Google Project Number we look for our Sender ID, we paste it. We save the changes.
- Do you remember the account we created on the web com? We log in with her on the site.
- We create a new application with Add a new app.
- We choose the option: Website Push.
- We select the browsers with whom we will work.
- Now we will choose in Target SDK we select
- Once this is done we will have the Rest API Key and App ID.
- We go back to WordPress and in the plugin configuration OneSignal we paste the Rest API Key and App ID.
- So our site can already show push notifications.
Do you want to continue learning? you can sign up to the best online and Spanish WordPress course and become an expert.


