

Todos los emprendedores Web que he conocido sueñan con generar más traffic a sus sitios web. Del mismo modo que usted, suelen estar dispuestos a hacer lo que be necesario para atraer a más visitantes. En algunos casos, los principiantes recurren a técnicas de SEO de blackhat que producen ganancias a corto plazo pero conducen a sanciones de Google en el futuro, lo cual es simplemente triste.
La buena noticia es que existen muchas formas legítimas de generar tráfico relevante a su sitio web. Para indicarle la dirección correcta, los métodos convencionales para ganar más lectores y clientes incluyen marketing por correo electrónico, SMS, SEM, whitehat SEO, PPC, marketing en redes sociales y, relativamente nuevo en el mercado, push notifications.
Si busca generar más tráfico a su sitio web de WordPress por medio de notificaciones push, le encantará esta publicación. En el servicio de hoy, le mostramos exactamente cómo agregar notificaciones push a su sitio de WordPress usando el popular OneSignal Service. In other words, we set the WordPress OneSignal Plugin and set everything to send a test push notification, you know, so you can get to work.
If that sounds like something you would love to do, fill up your cup as there is so much to learn. Share your concerns, top marketing tips, and general thoughts in the comments.
What are push notifications?
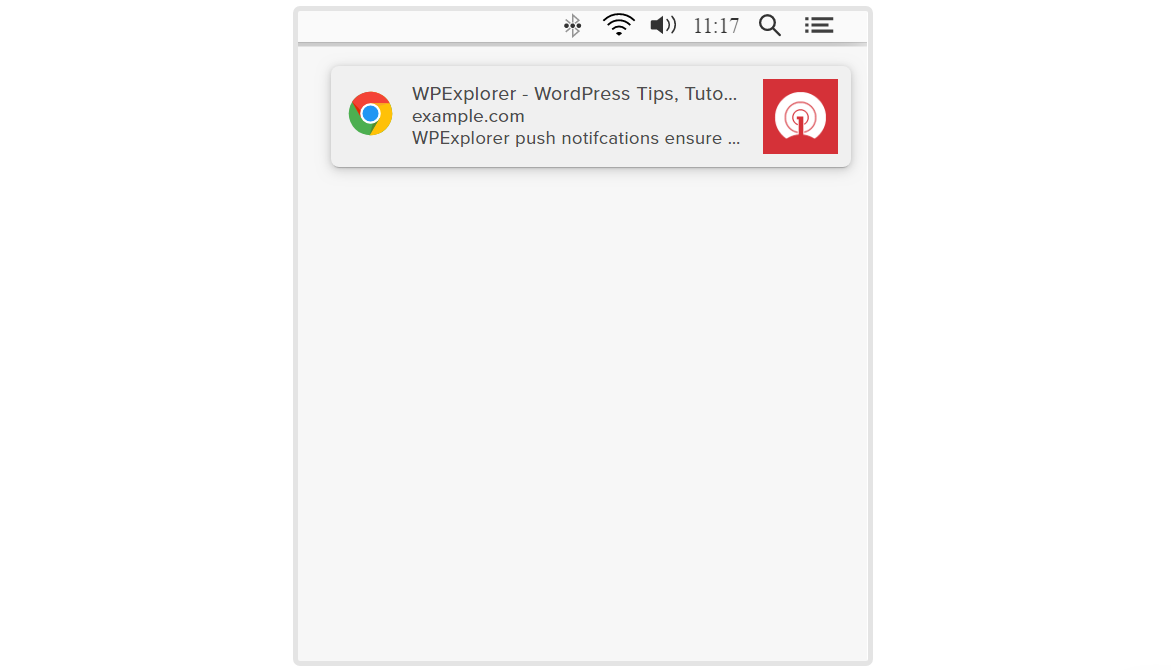
Las notificaciones push son notificaciones en las que se puede hacer clic que su sitio web envía a una computadora o dispositivo móvil. Es un channel de marketing relativamente nuevo, que le posibilita enviar mensajes de marketing a los visitantes de su sitio mucho luego de que abandonen su sitio web o cierren sus browsers.
Push notification marketing is gaining popularity as it does not require the visitor to provide an email address or any other contact details to subscribe. It's a new way of disrupt marketing with higher acceptance and click rates than other forms of marketing like email.
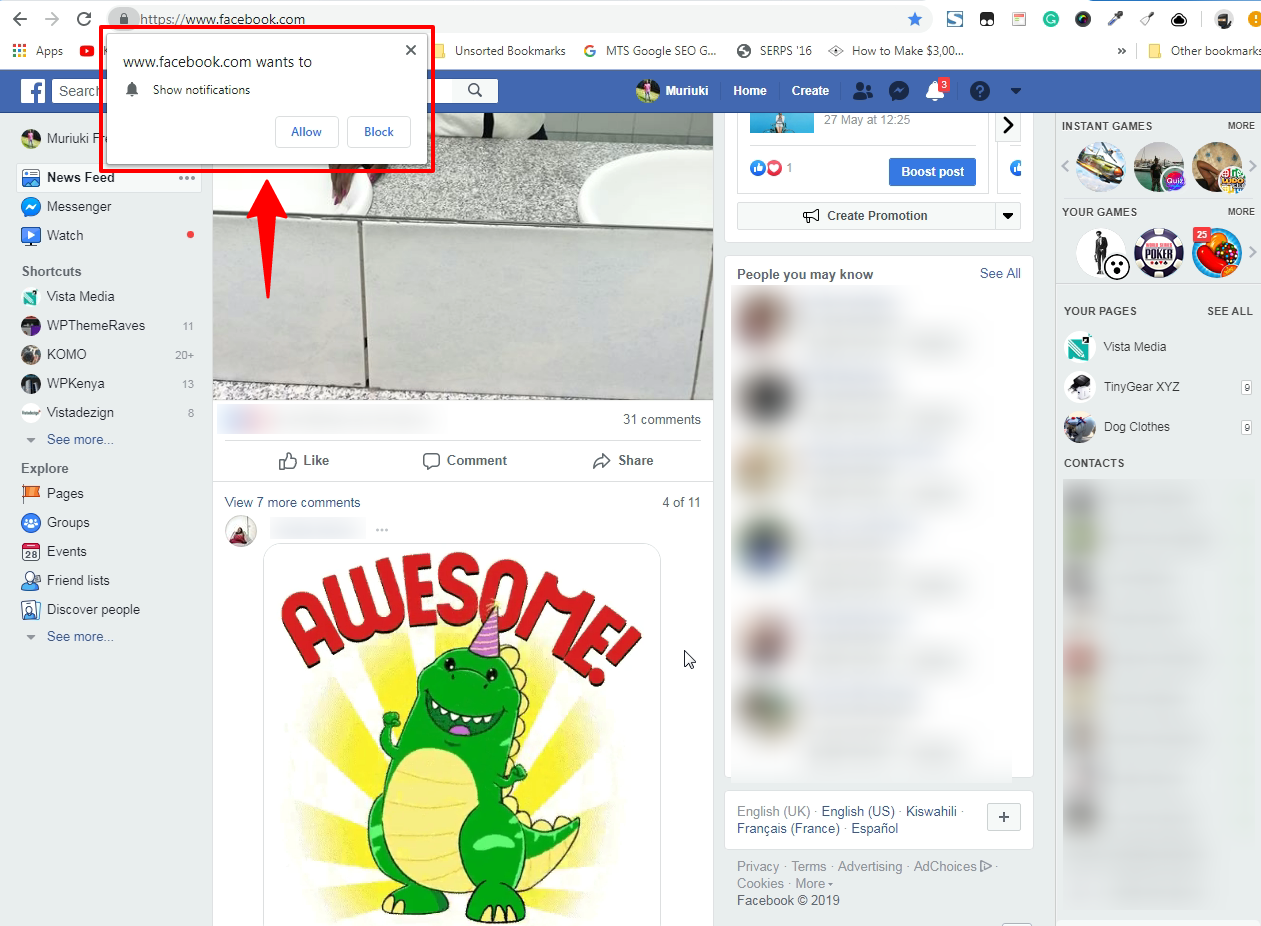
Así es, las notificaciones push son bastante populares y las grandes marcas como Facebook y Pinterest, entre otras, usan la táctica para que los usuarios vuelvan a buscar más contents. La siguiente imagen muestra las notificaciones push de Facebook en acción.
But don't take my word for it, here are a couple of interesting facts about push notifications based on an article posted on SendX.
- Push notifications have an average acceptance rate of 7-10%
- Click-through rate for push notifications is 4-8 times higher than email CTR
- Push tiene una tasa de cancelación de subscription promedio del 10%
- Ecommerce websites lead the pack when it comes to push notification adoption, followed by media sites and SaaS companies.
- For finance websites, web push has a subscription rate of 15% and a CTR of 30%. The acceptance rate and CTR for gambling sites is 20% and 15% respectively. E-shops have a subscription rate and CTR of 10%.
That out of the way, how do you use push notifications to push your business schedule?
How to use push notifications
Push notifications are useful in various scenarios. Unknown to many beginners, there are a couple of use cases for push notifications that they include.
- Sending urgent alerts, including sales events, flight notifications, breaking news, sports results updates, etc.
- Generate participation by sending notifications to users about new web content, blog posts, case studies, technical reports, etc.
- Reorientation by sending stock updates and cart abandonment notifications.
- Customer retention by sending automatic notifications about specific discounts and recovery campaigns.
TL; DR: Push notification marketing comes with a number of benefits including high acceptance rates, low unsubscribe rates, multiple use cases, better delivery, higher engagement, and, as we previously mentioned, a higher CTR than many other forms of marketing.
Now that push notification marketing doesn't sound like alien technology, let us set up the OneSignal push notification service on your WordPress website.
How to install OneSignal push notifications
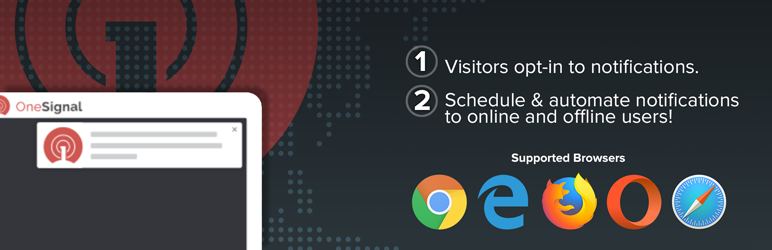
To set up OneSignal's push notification service, we used the nifty OneSignal WordPress plugin. The plugin is available from the WordPress.org plugin repository, which means you can install it from your WordPress admin panel.
Al mismo tiempo utilizamos un nombre de domain compatible with SSL y le recomendamos que haga lo mismo. A la vez, SSL aumenta la seguridad de su sitio de WordPress y significa cosas buenas para sus esfuerzos de SEO.
But how do you configure OneSignal push notifications? Don't worry, it's as simple as cake - fourth grader material per se, and you shouldn't chew on your keyboard like the guy in the picture above. Or hit your laptop, whichever comes first 🙂
Forward.
Login to your WordPress admin panel and navigate to Plugins> Add New As shown below.
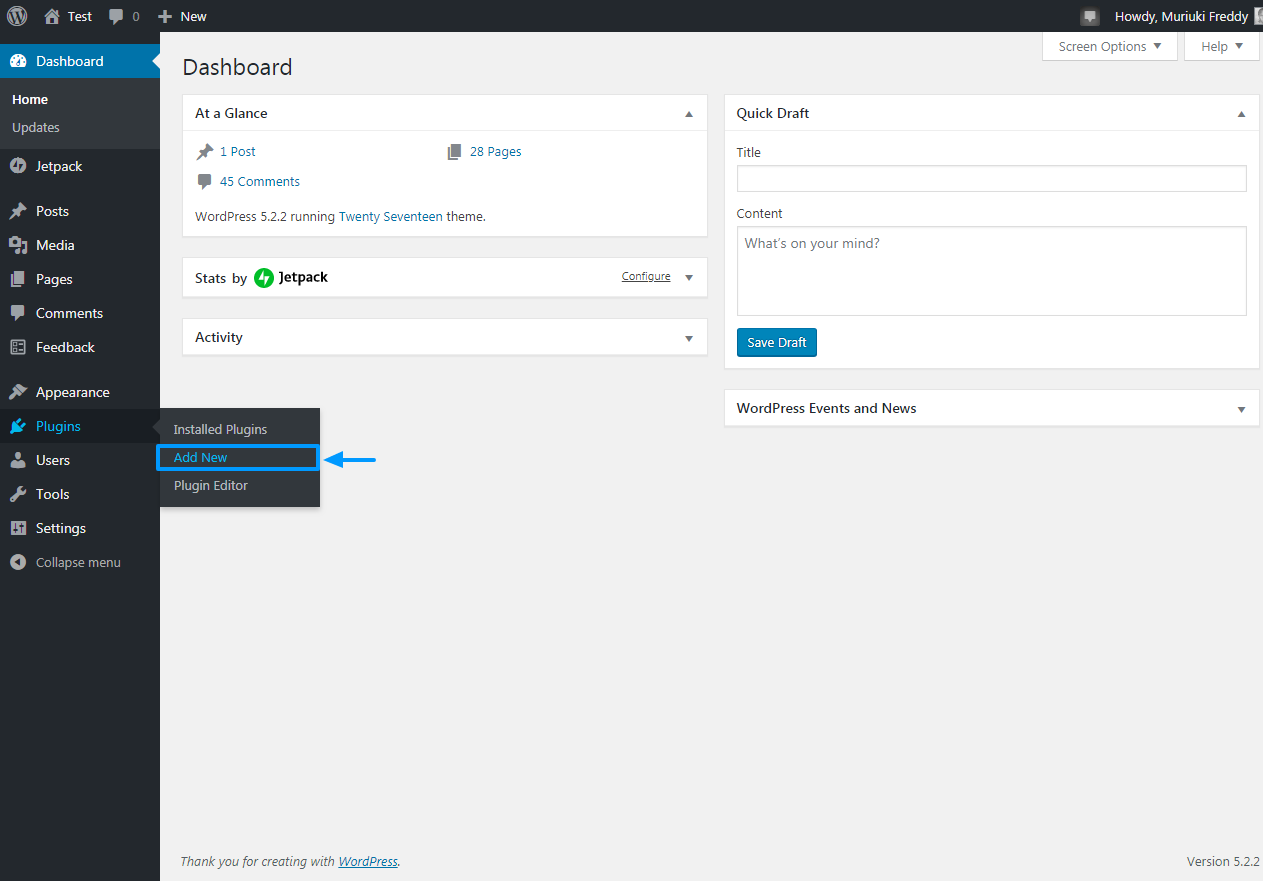
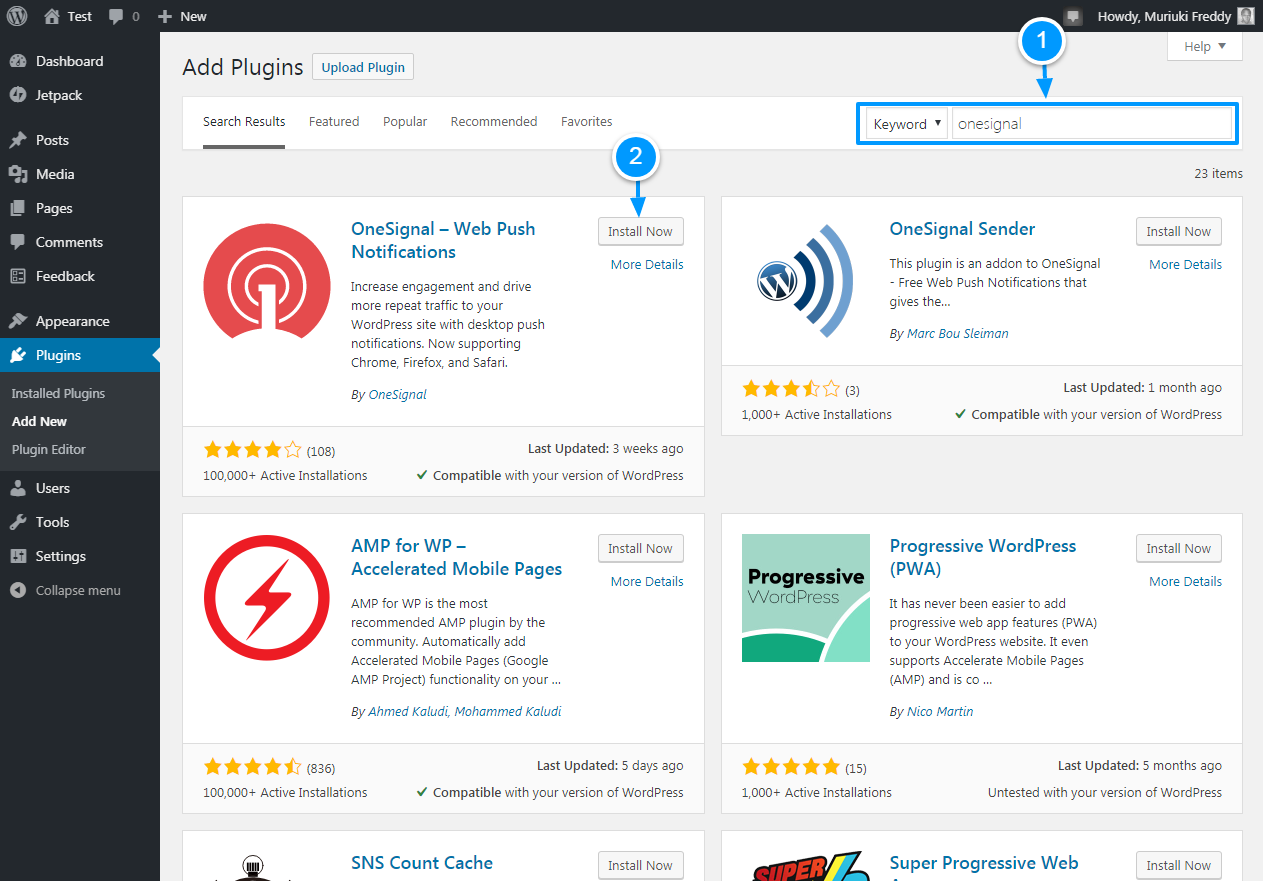
Doing so takes you to the Add plugins página donde puede instalar complementos desde su PC o de forma directa desde el repositorio de complementos de WordPress.org. En esta pantalla, escriba «OneSignal» en el cuadro de búsqueda de keywords y, una vez que encuentre el complemento, pulse el Install Now button as detailed in the image below.
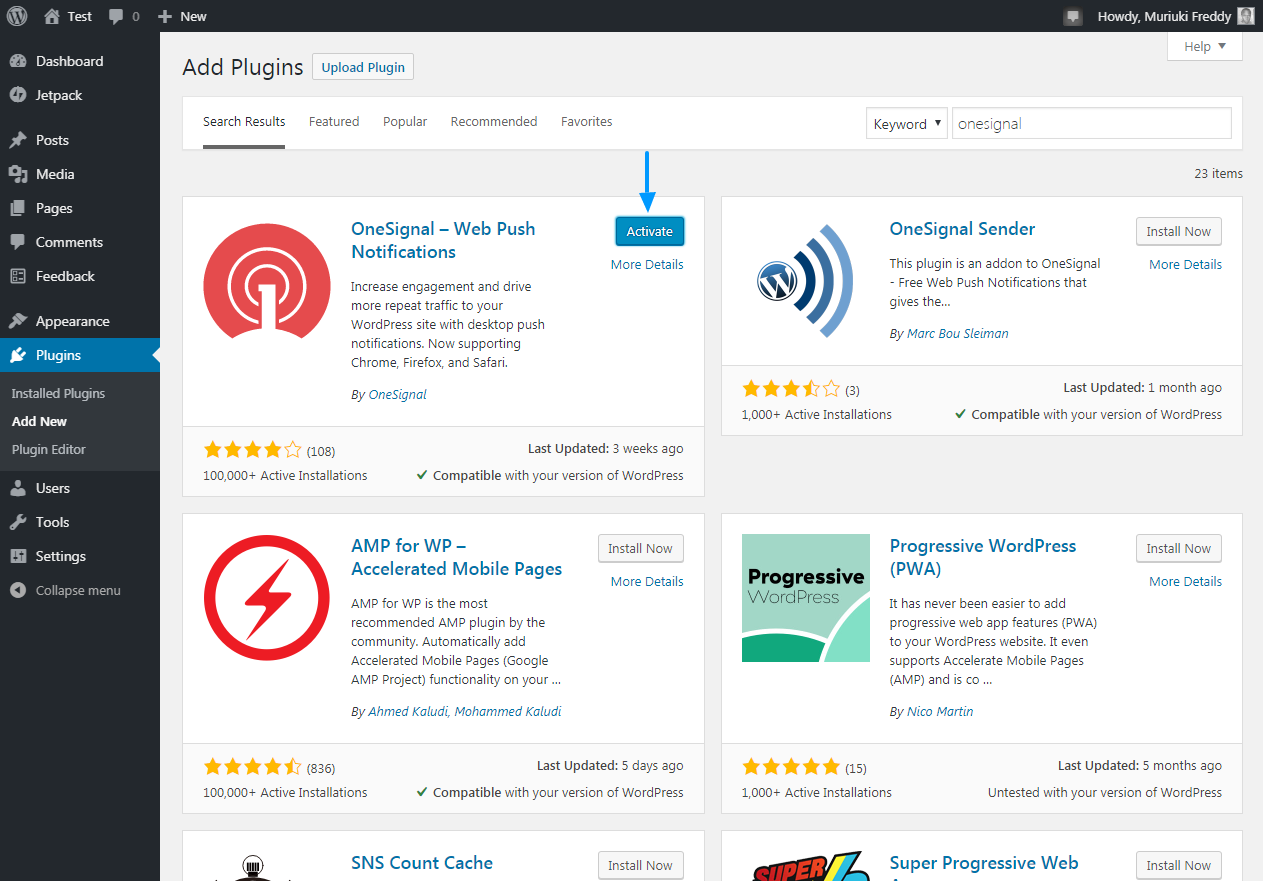
Wait for the installation and finally press the Activate button as shown below.
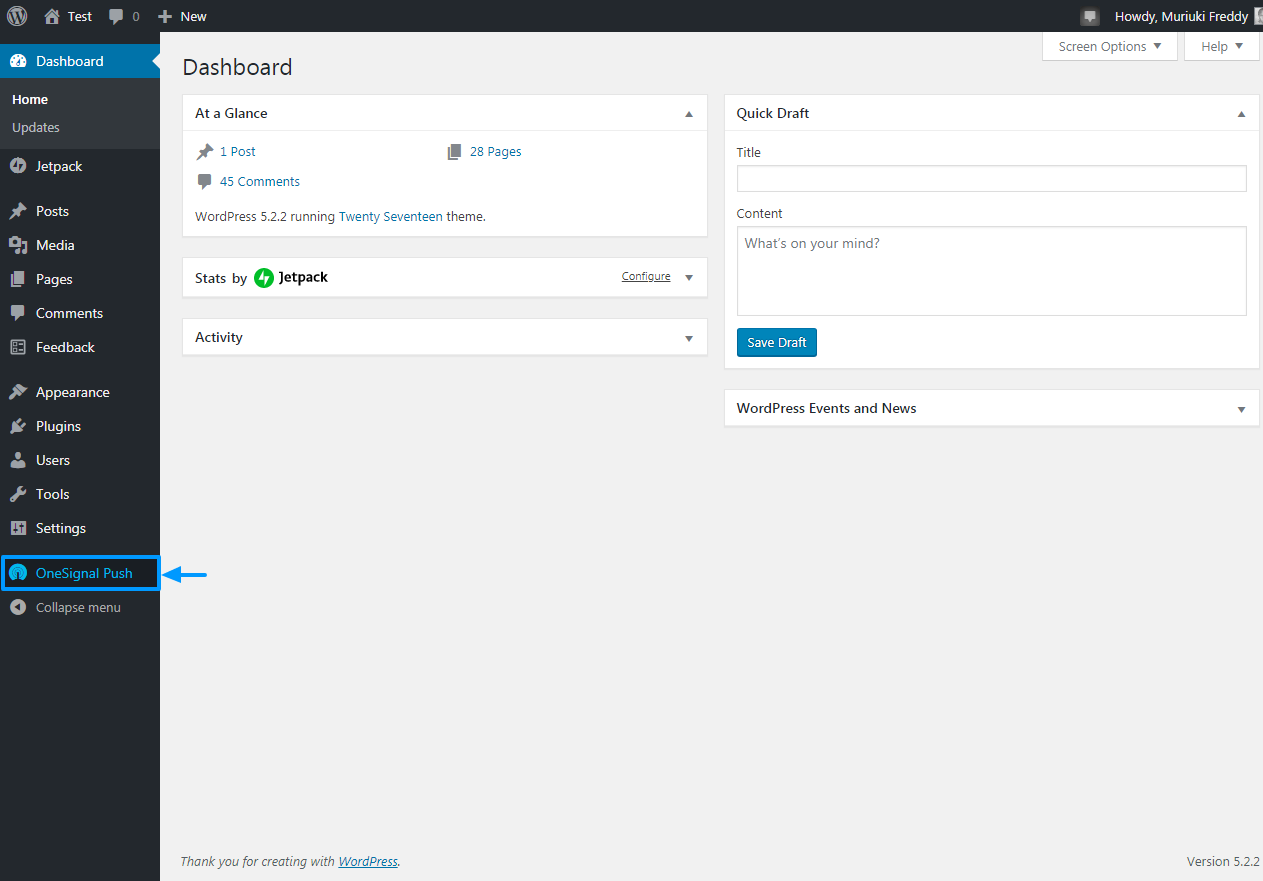
Plugin activation adds a new OneSignal Push item to your WordPress admin menu.
How to configure OneSignal push notifications
Even though OneSignal's push notification service comes packed with features, it is quite easy to set up and use. To configure OneSignal push notifications, click OneSignal Push in your WordPress admin menu as highlighted in the screenshot below.
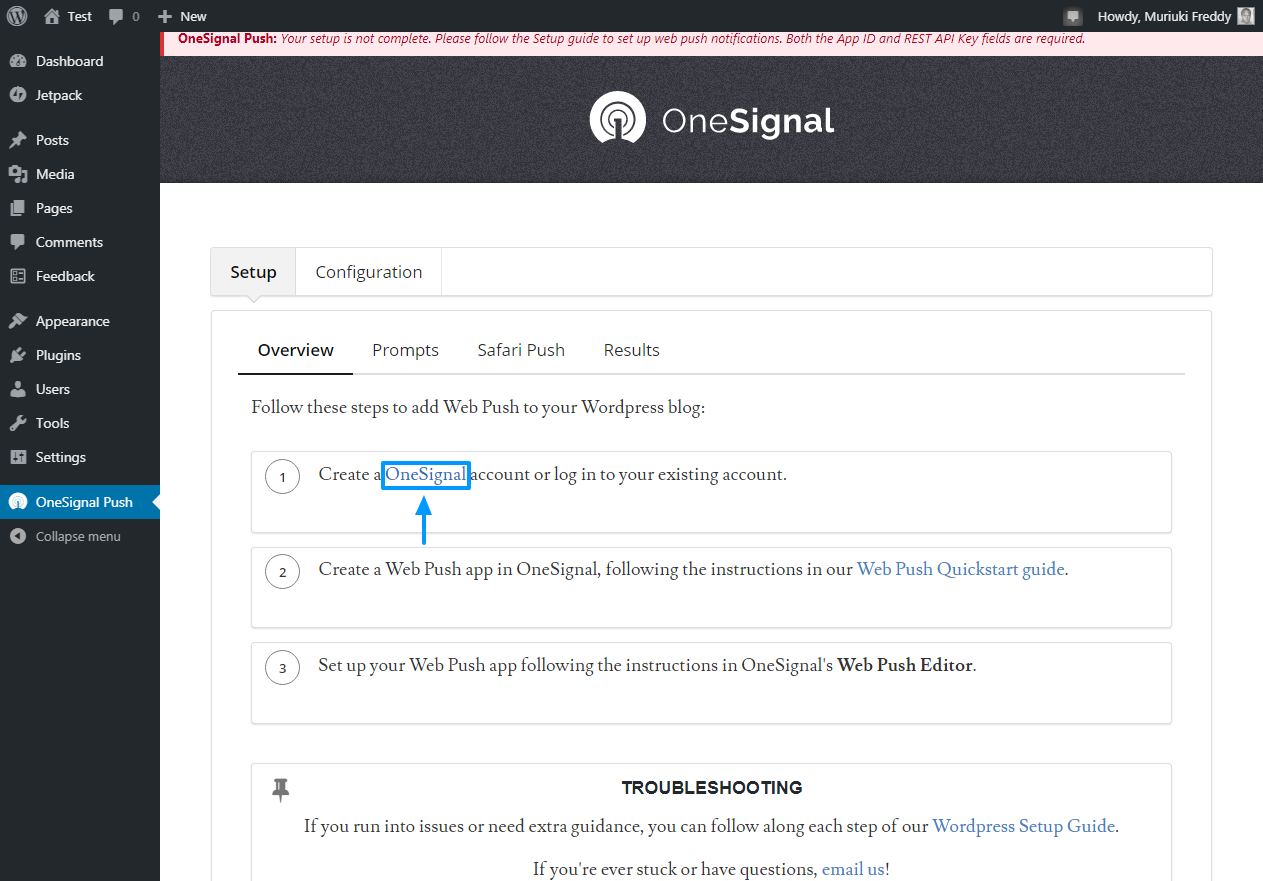
Doing so takes you to the OneSignal settings page shown in the snapshot below.
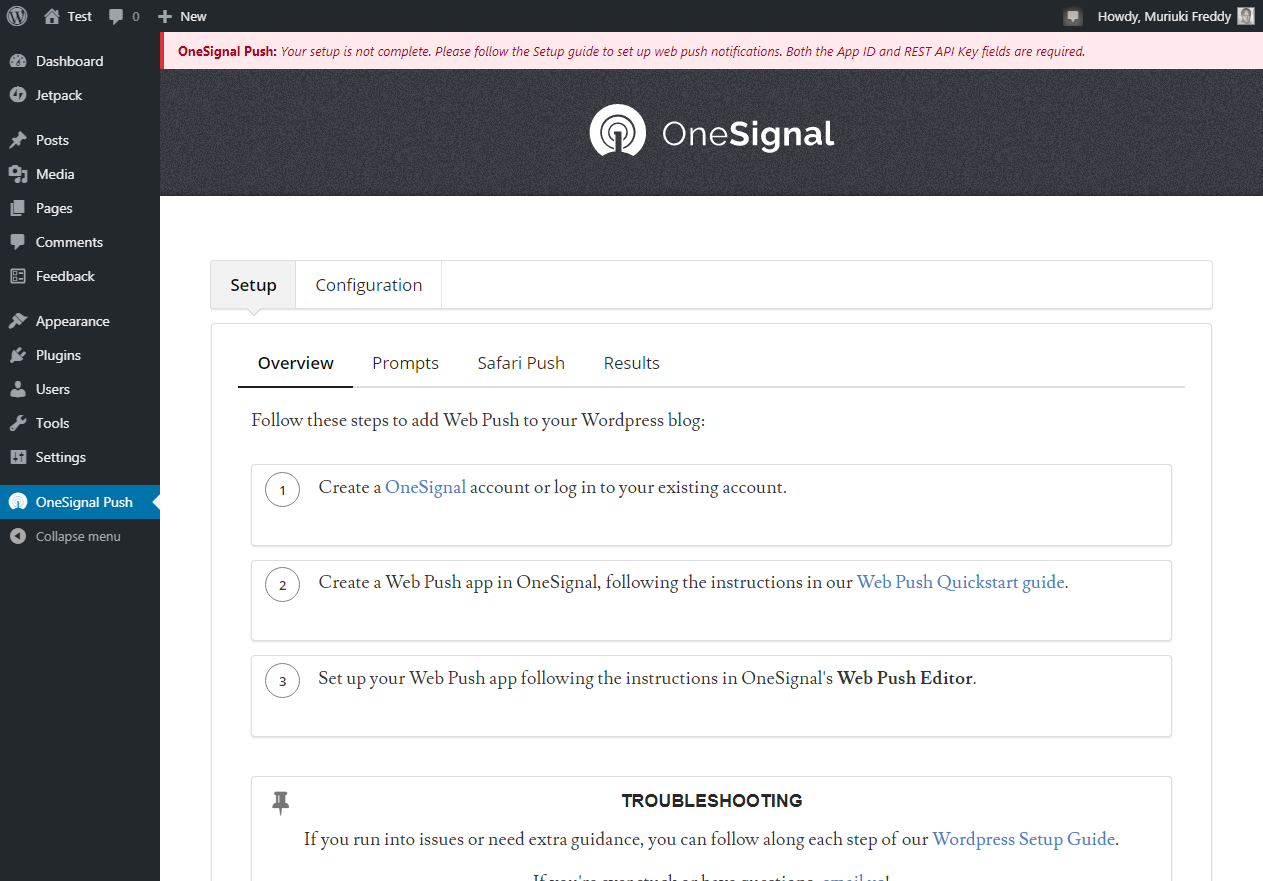
Notice the notification at the top of the page? Well, it enables you to know what to do next, just like the instructions below Prepare tab as shown in the picture above. the Setting The tab shown next to it enables you to link the OneSignal push notification service with your WordPress site.
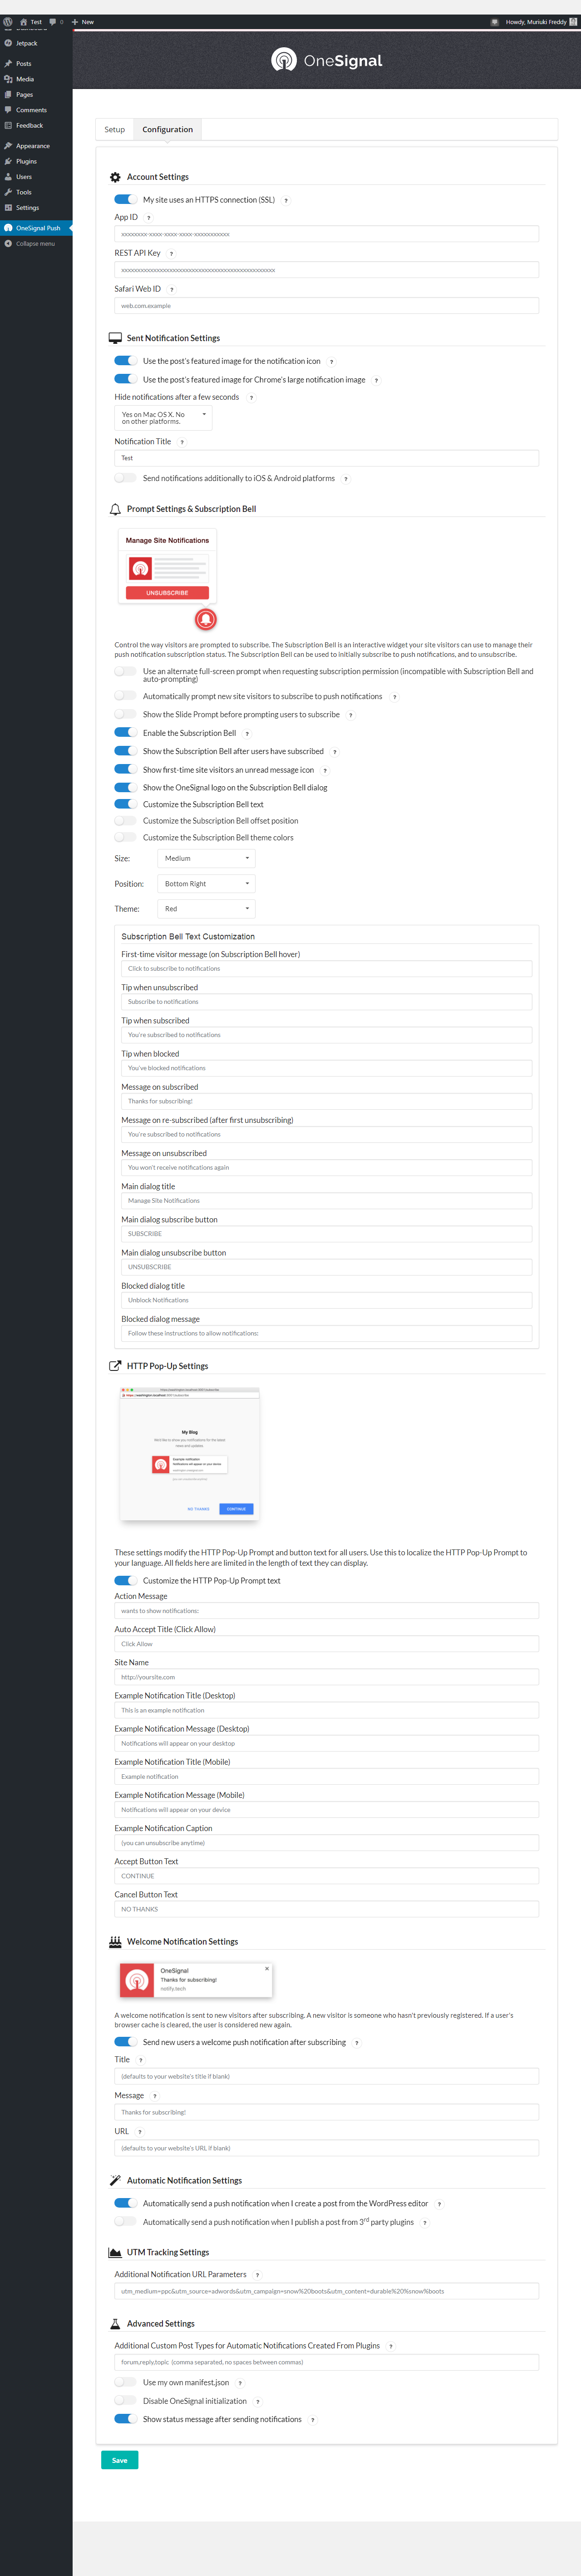
The following image shows the options available in the Setting tongue; options you use to configure, control and customize your push notifications.
Create a free OneSignal account
You're doing fine, so far so good. Now let's get down to business and build a working web push app. To do that, you first need to create a OneSignal free account.
How?
About him Prepare tab, click the OneSignal link as shown in the screenshot below.
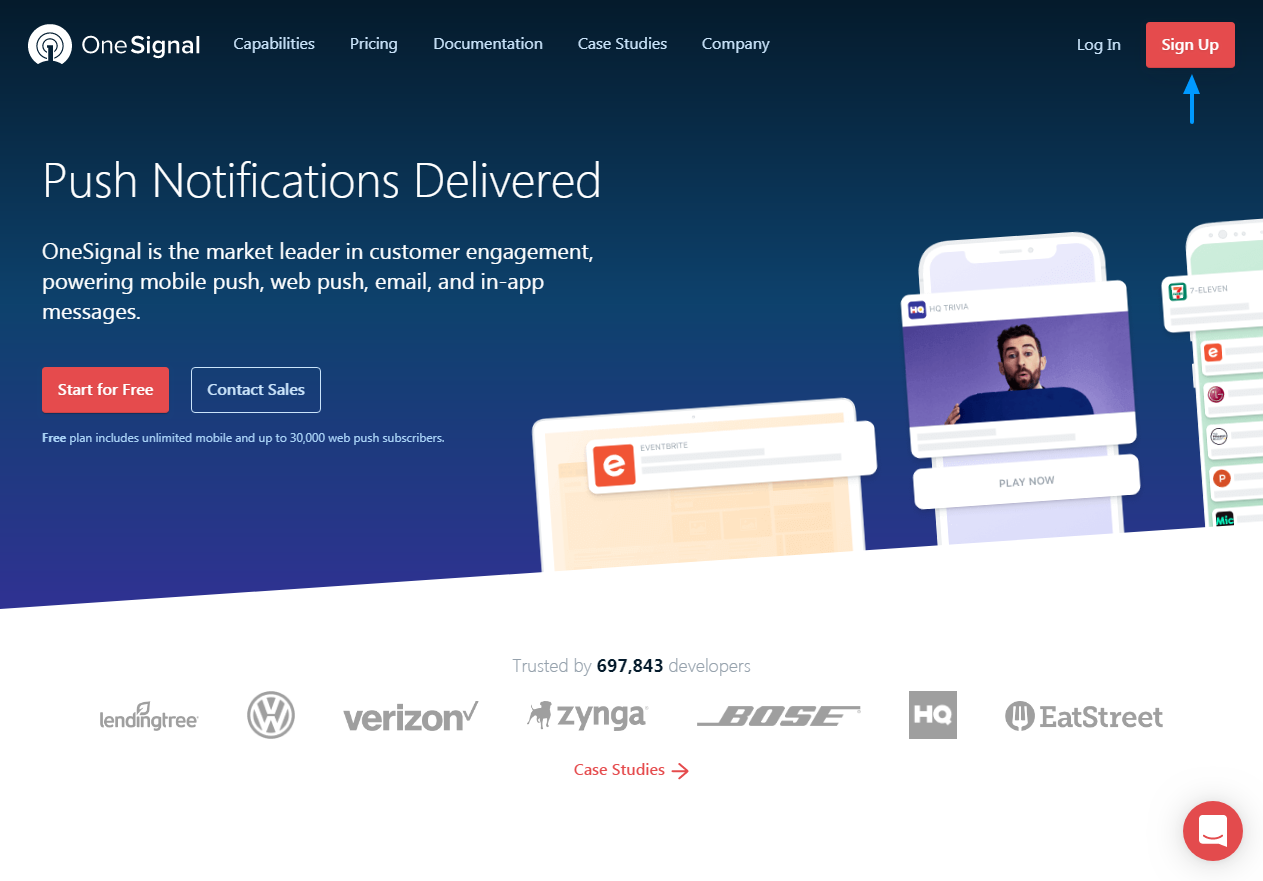
Alternativamente, puede simplemente apuntar su browser a onesignal.com. Desde luego, al hacer clic en el enlace anterior, se abre el sitio web oficial de OneSignal en una nueva pestaña. A continuación, haga clic en el Sign up button as we highlight in the image below.
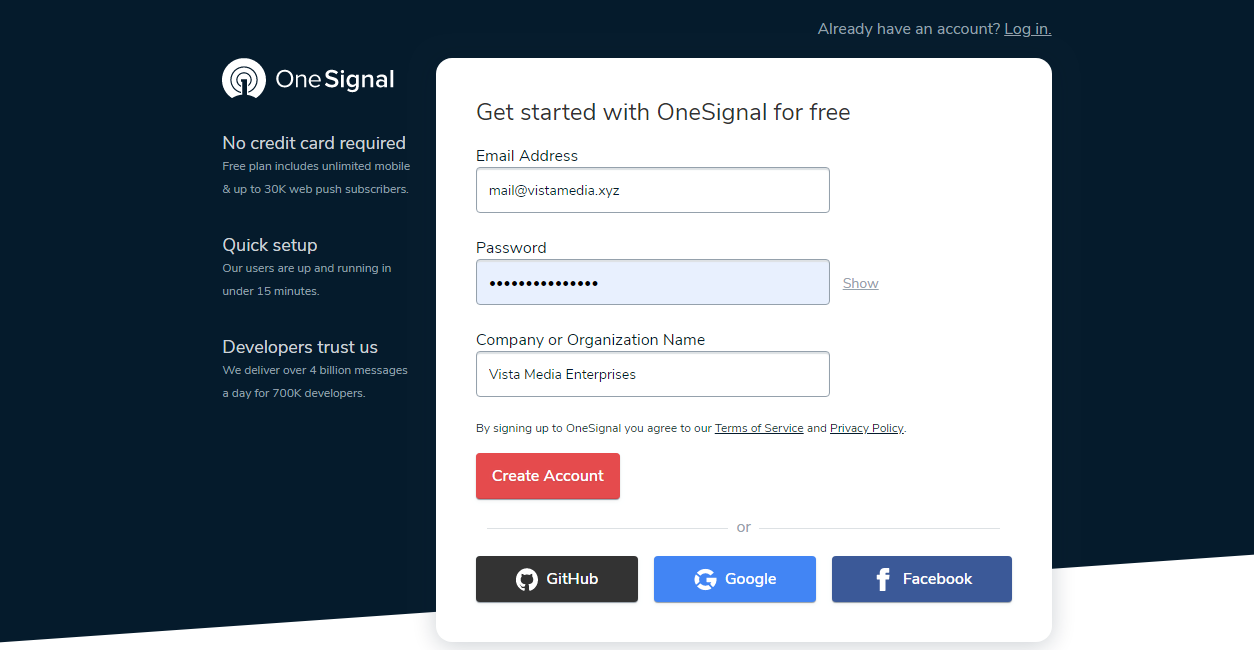
Doing so will give you a short and simple registration form. Complete the form with your email, password and company name and then press the Create an account button. Alternatively, you can sign up using GitHub, Google, or Facebook as we illustrate in the image below.
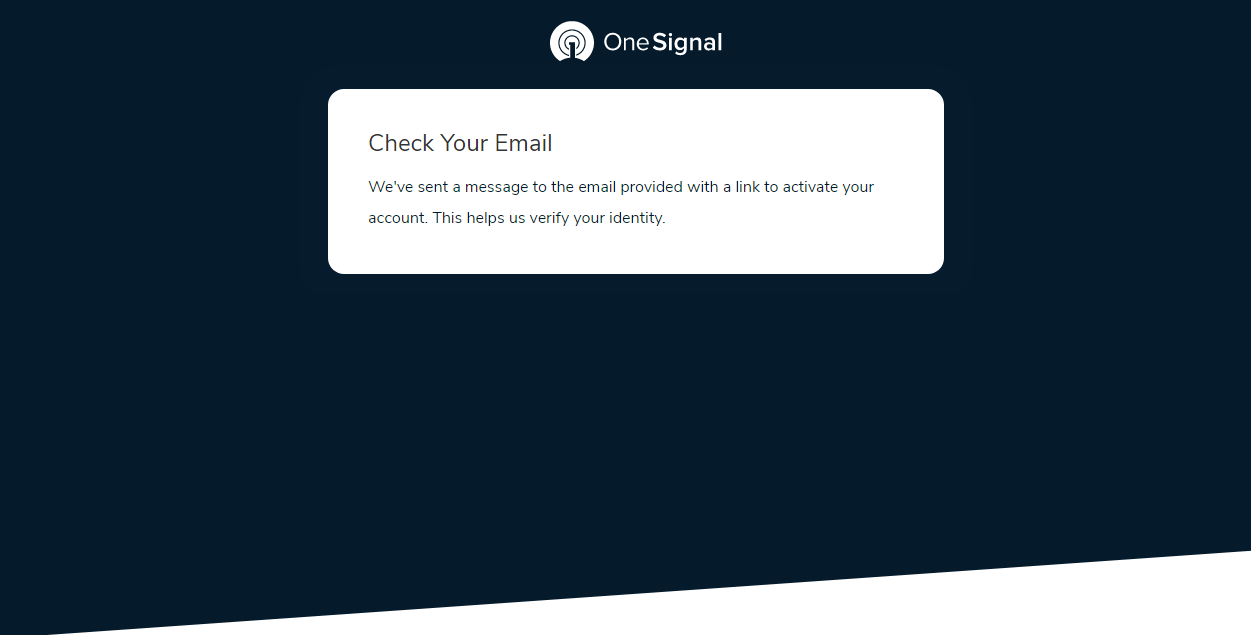
On successful registration, OneSignal will ask you to check your email to activate your account.
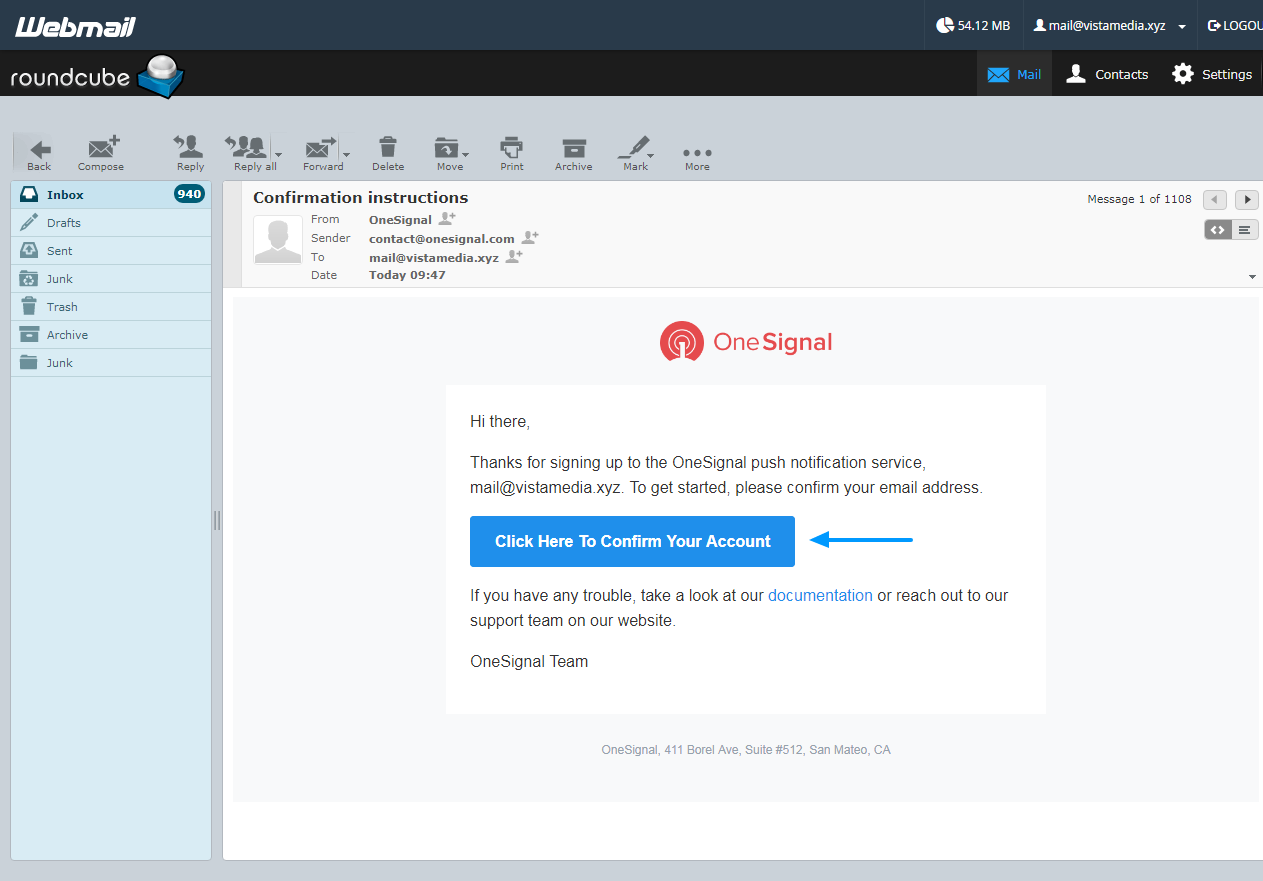
Login to your mailbox and click Click here to confirm your account button as shown in the picture below.
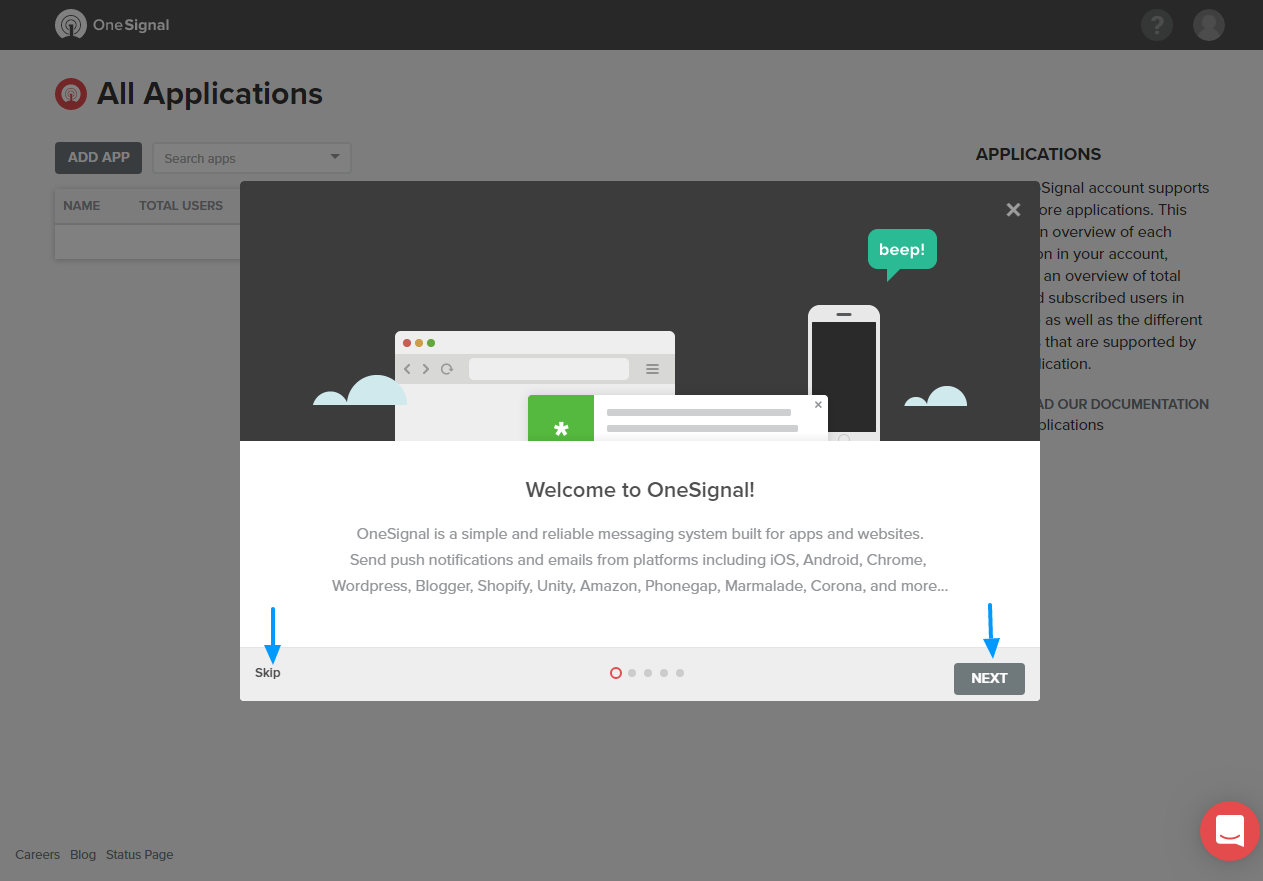
Clicking the above button confirms your account and the OneSignal dashboard opens in a new tab. OneSignal welcomes you with an integration tour that you can take or skip as shown below.
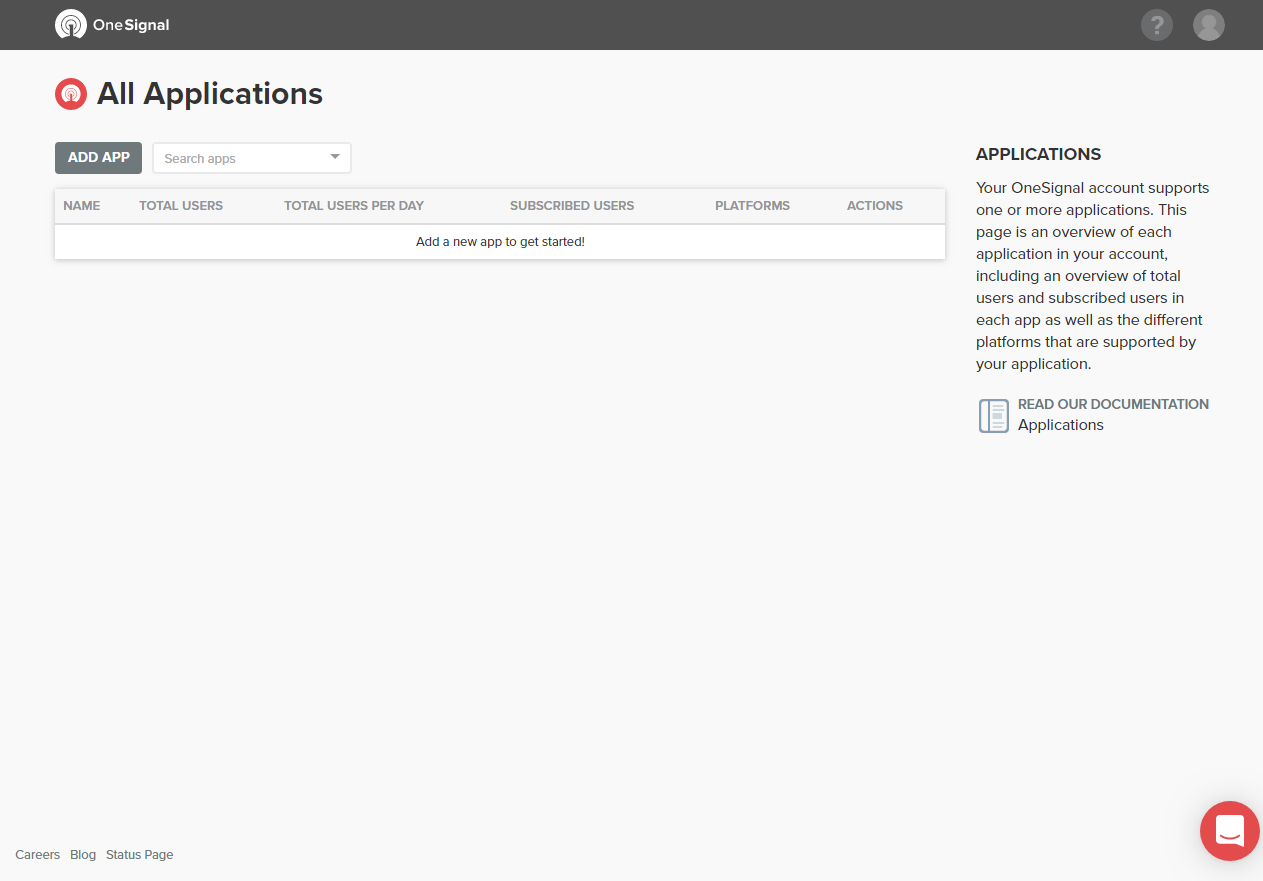
But whether you take the tour or not, you will eventually end up in the simple OneSignal dashboard shown in the image below.
Create a web push application
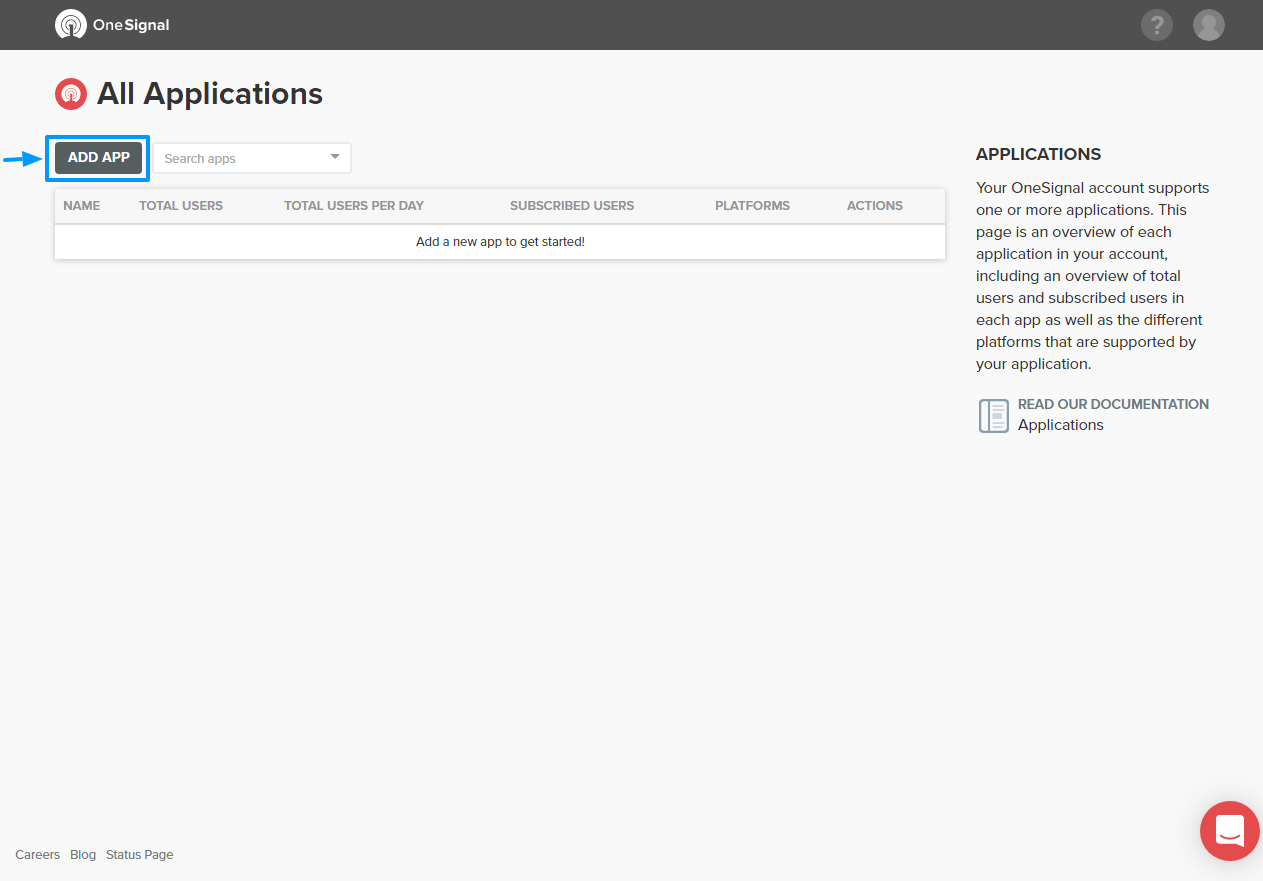
Now that you have an active OneSignal account, let us build your first web push app. Click on the Add app on your OneSignal dashboard as highlighted in the image below.
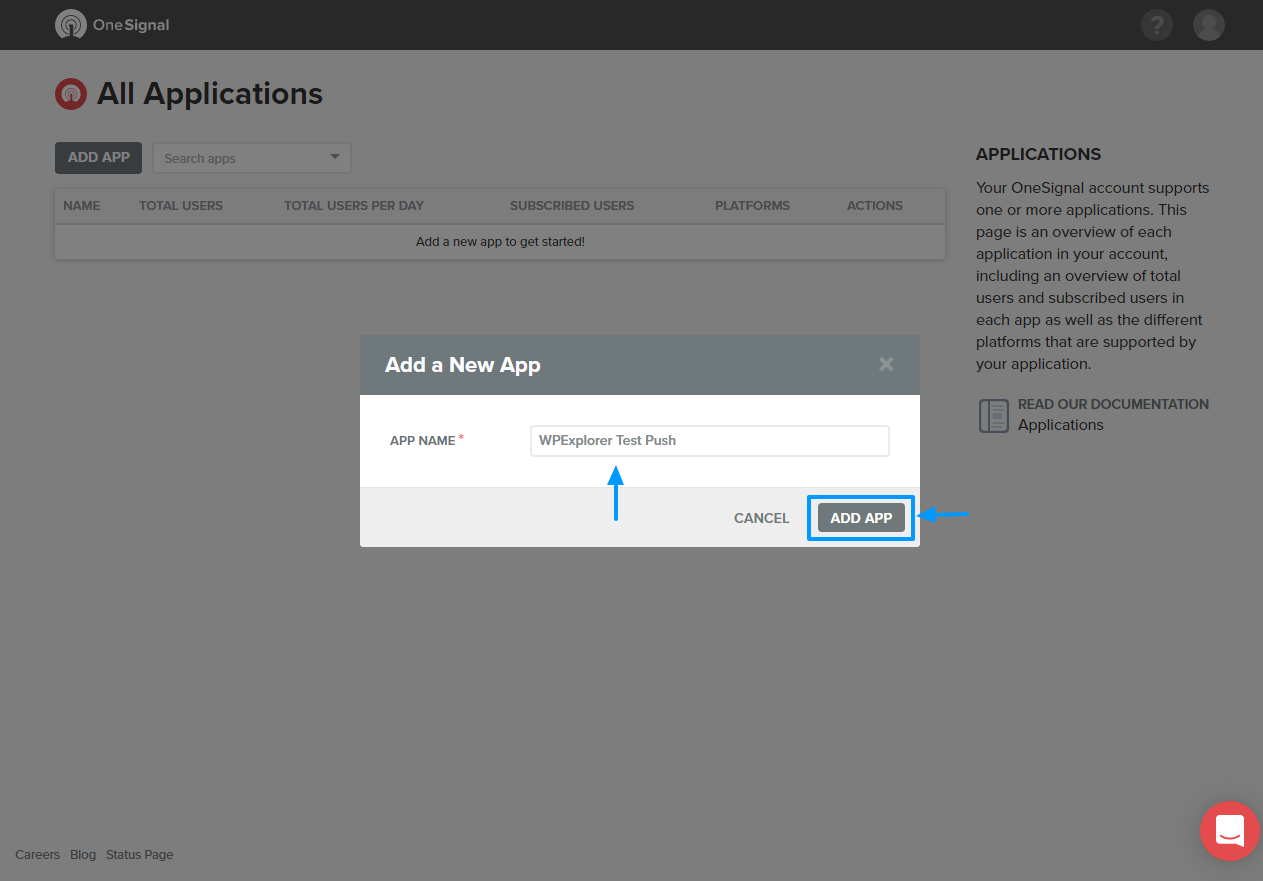
Add an application name so that you can easily find it next time via the pop-up window that appears and press the Add app button as detailed below.
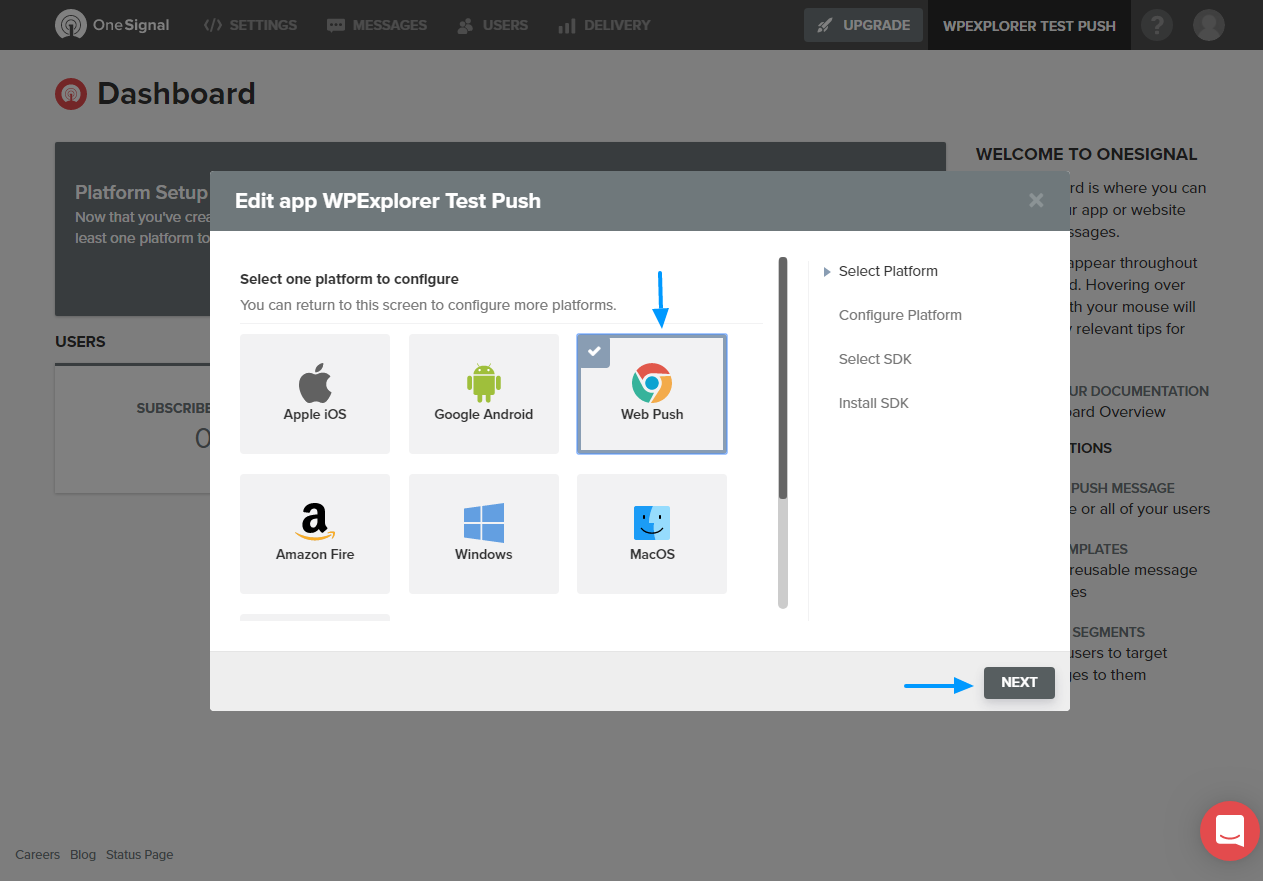
On the next screen, select Web Push and click the next button as we highlight in the screenshot below.
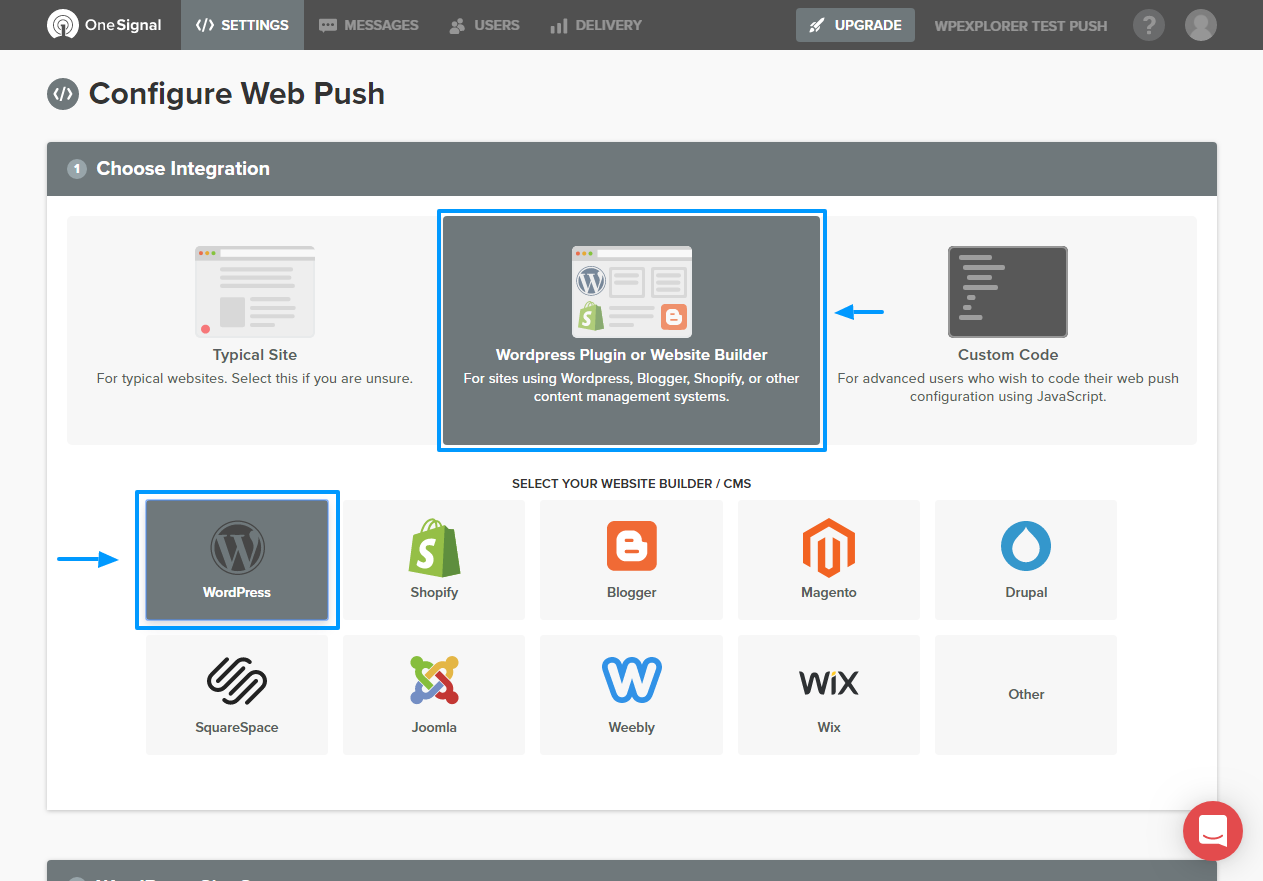
After that, click on the WordPress plugin or website builder tab and then the WordPress tab as shown below.
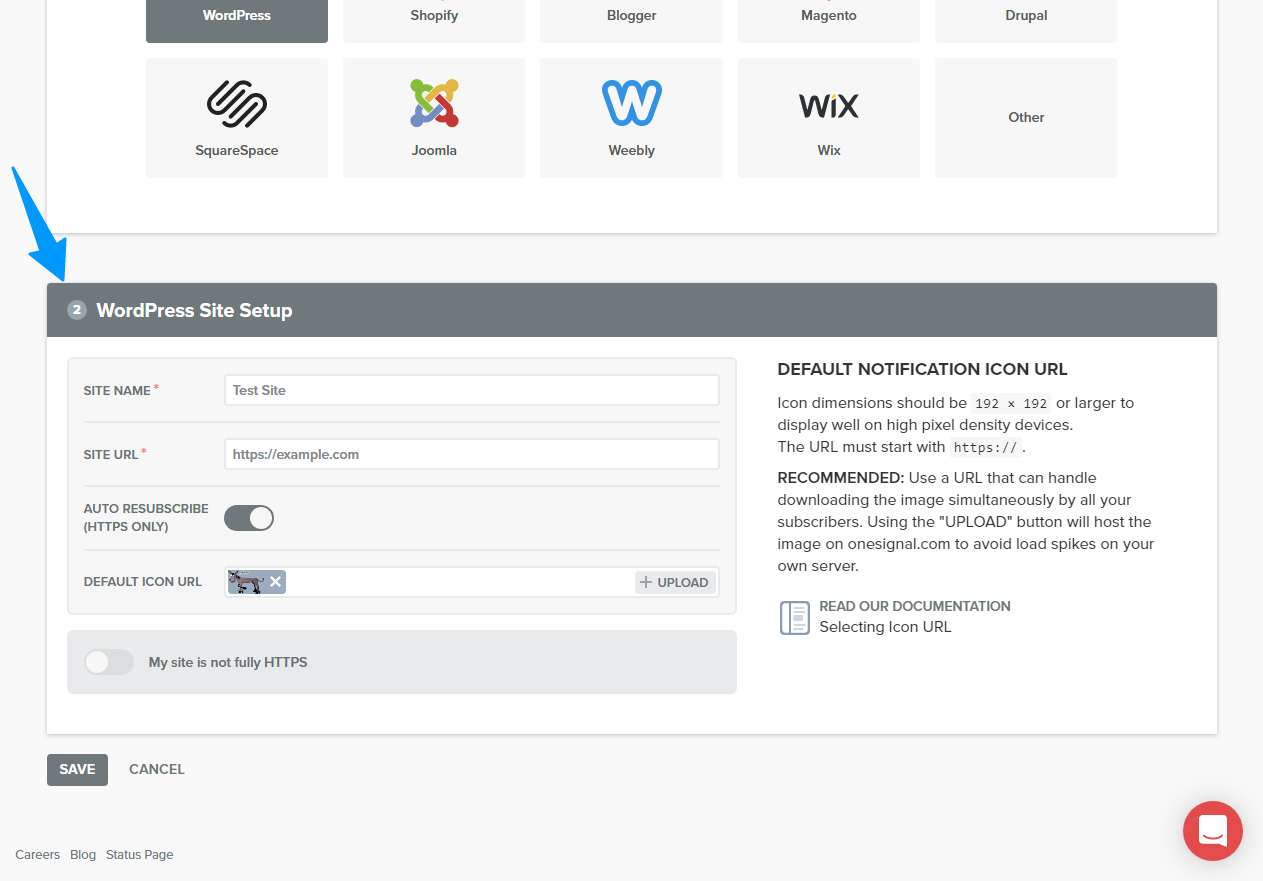
Then scroll to the bottom of the page, fill out the form, upload your icon, and hit the Save button as shown below.
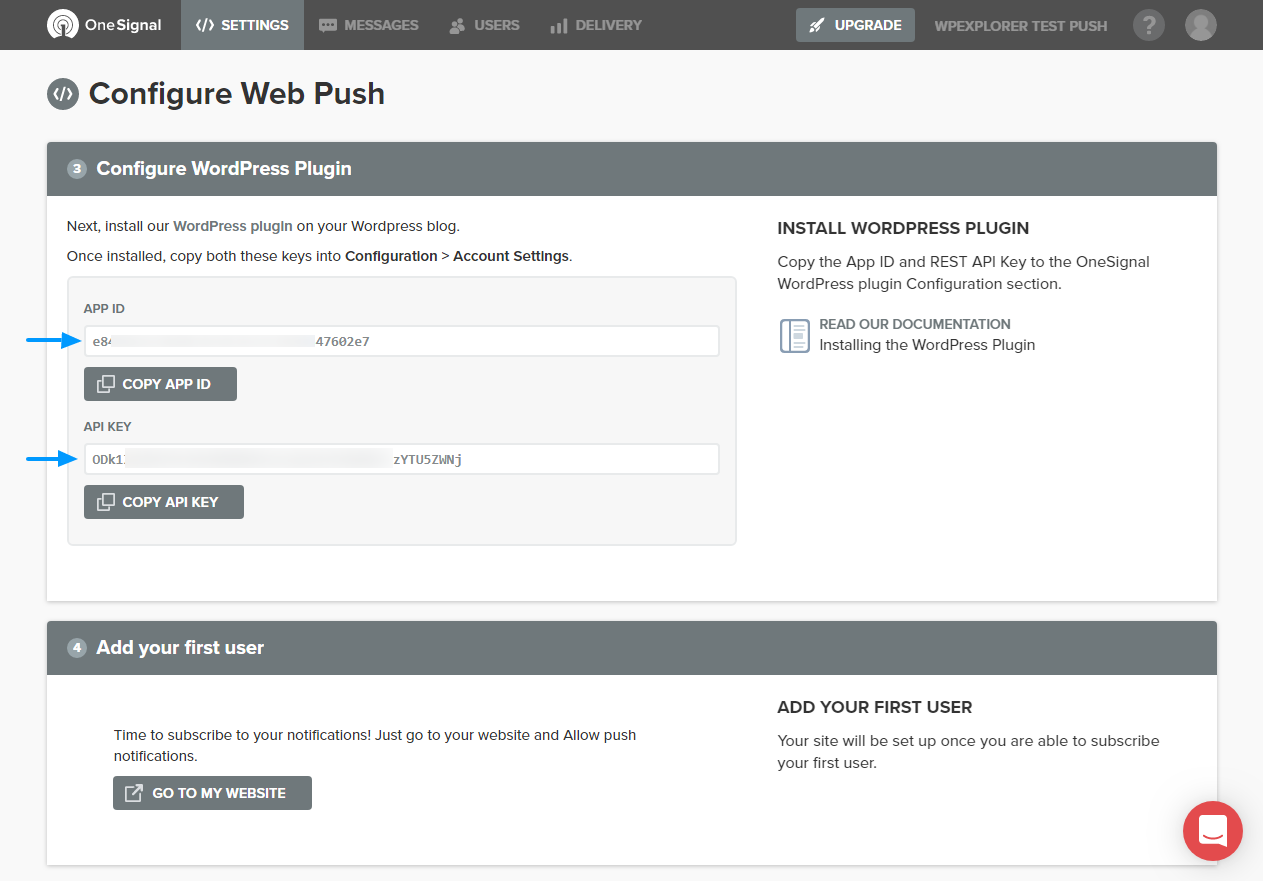
Doing so saves your web push application and exposes the App ID and CLAVE API you need to add OneSignal push notifications to your WordPress site. Please refer to the image below for more details.
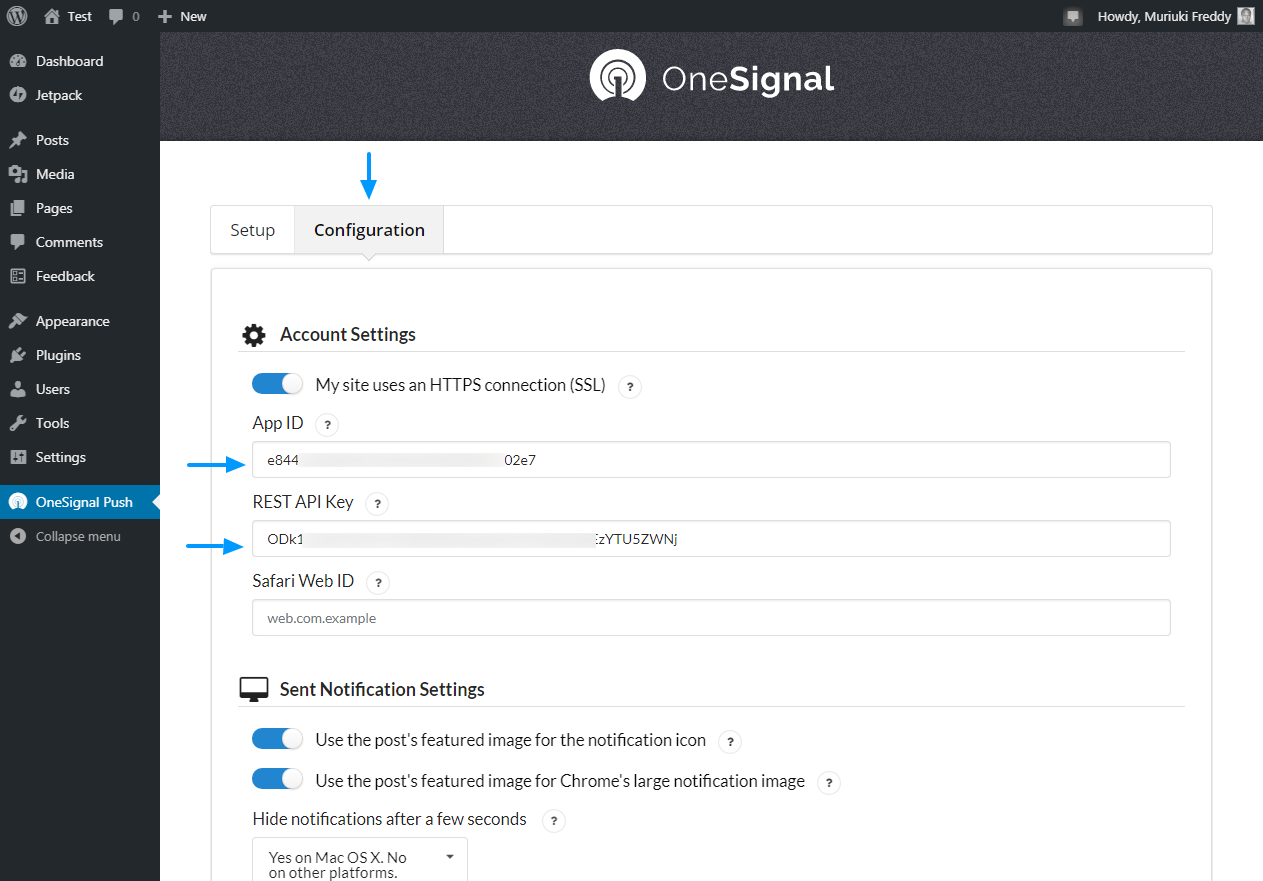
Debe copiar y pegar el ID de la app y la clave API en los campos respectivos de la Setting tongue. Just navigate to OneSignal Push> Settings and copy and paste the APPLICATION ID and API key as highlighted below.
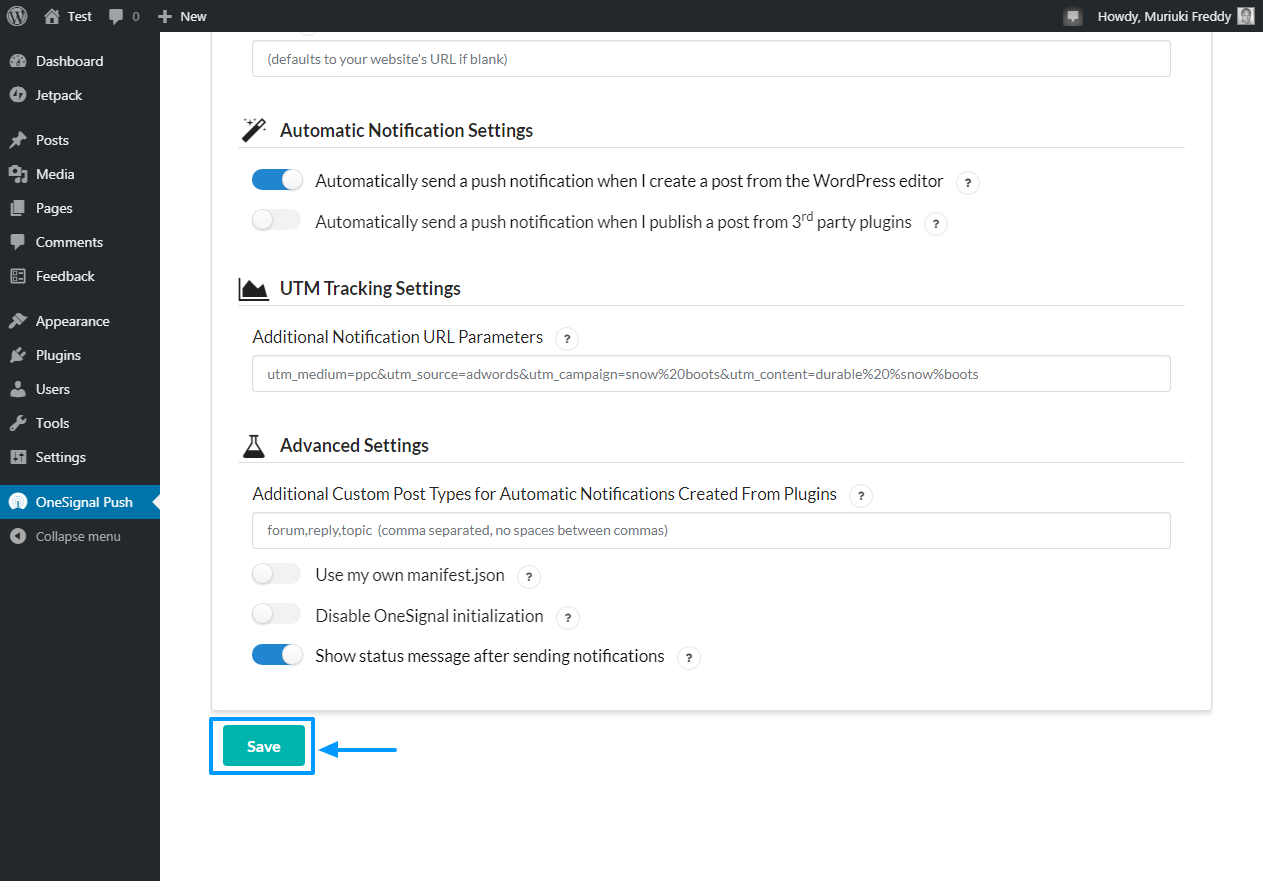
After that, choose the desired settings on the same page. Then scroll to the bottom of the page and press the Save button as shown below.
And that is! Now your website sends notifications on all supported browsers except Safari. Try the new push notifications feature by visiting your website in a new browser window incognito. I even tried the Opera browser and this is what I got.
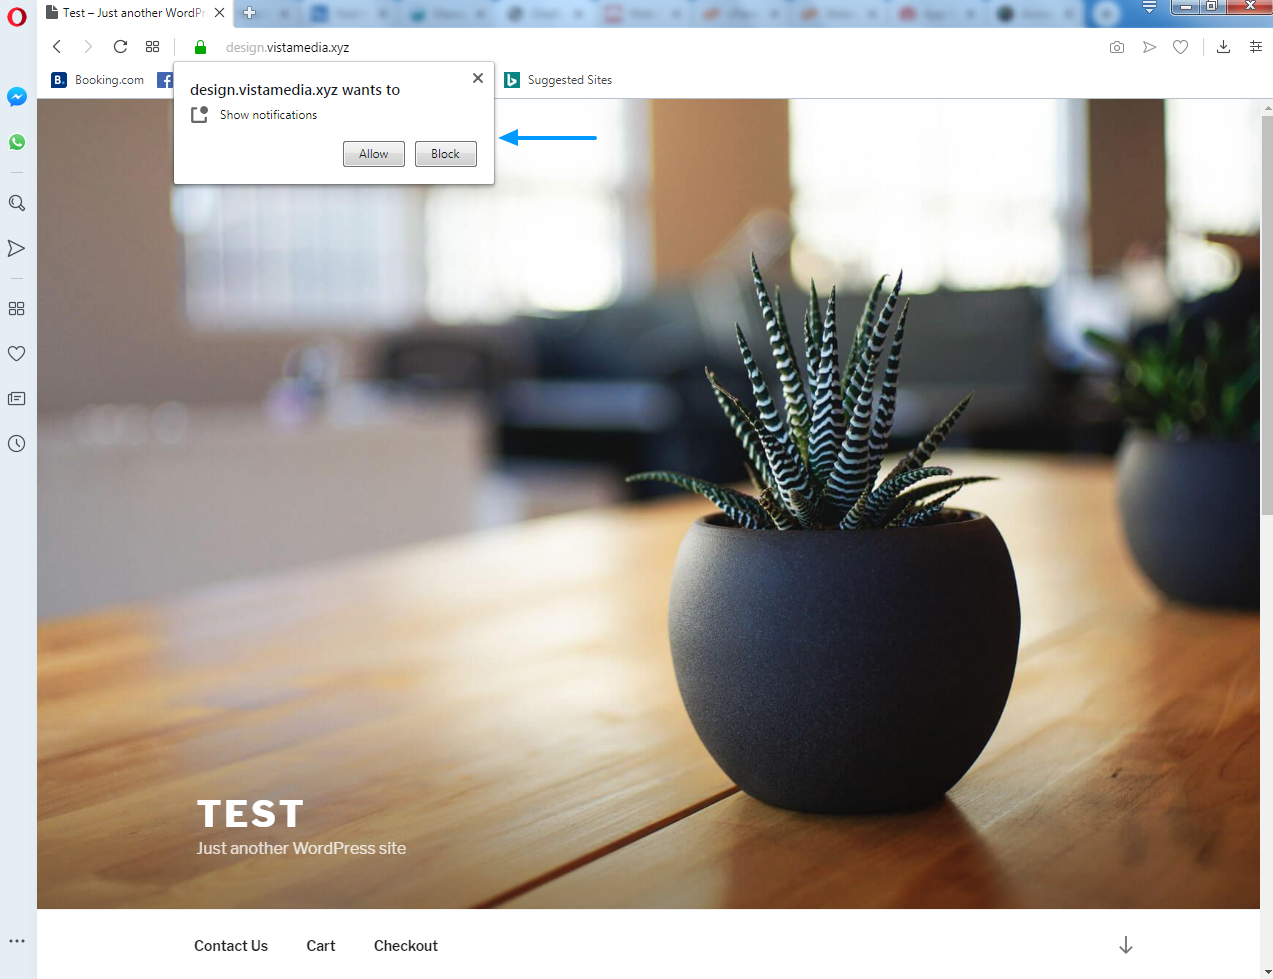
Not bad for about 10 minutes of OneSignal push notification service setup. What you think?
OneSignal Push Notification Settings for Safari Browser
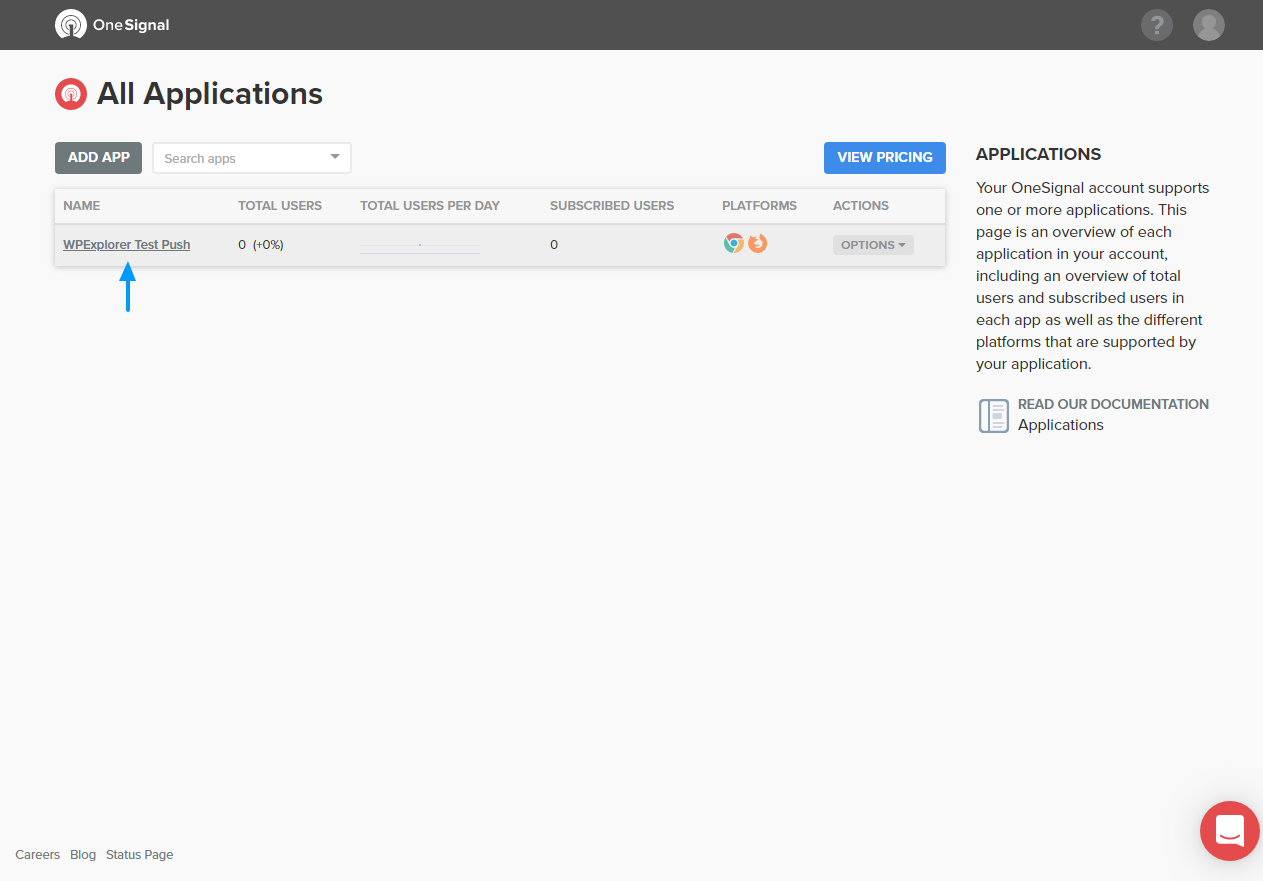
To configure push notifications for the Safari browser, you need to generate the Safari web ID. How? Open your OneSignal dashboard and click on your web push app as shown below.
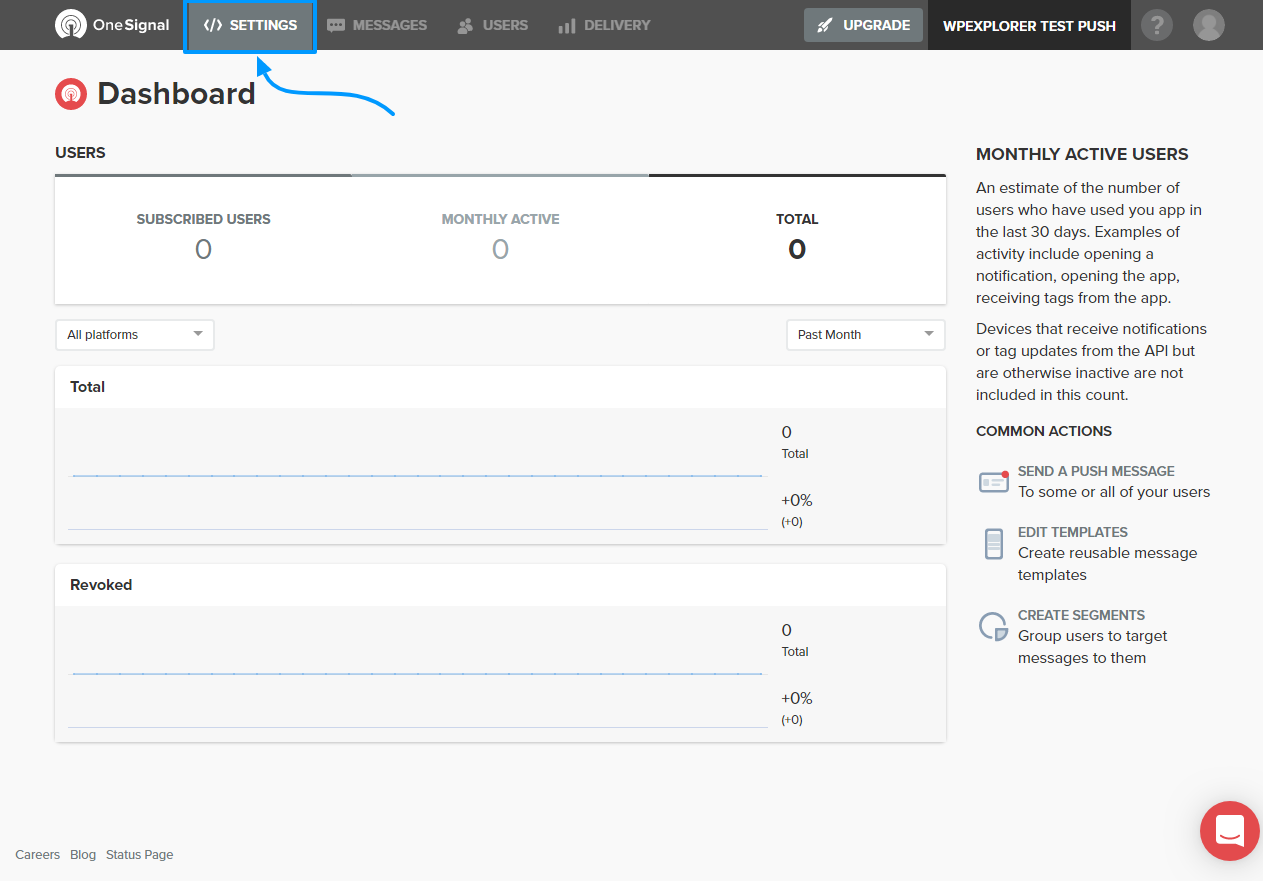
Then click Configurations as shown in the screenshot below.
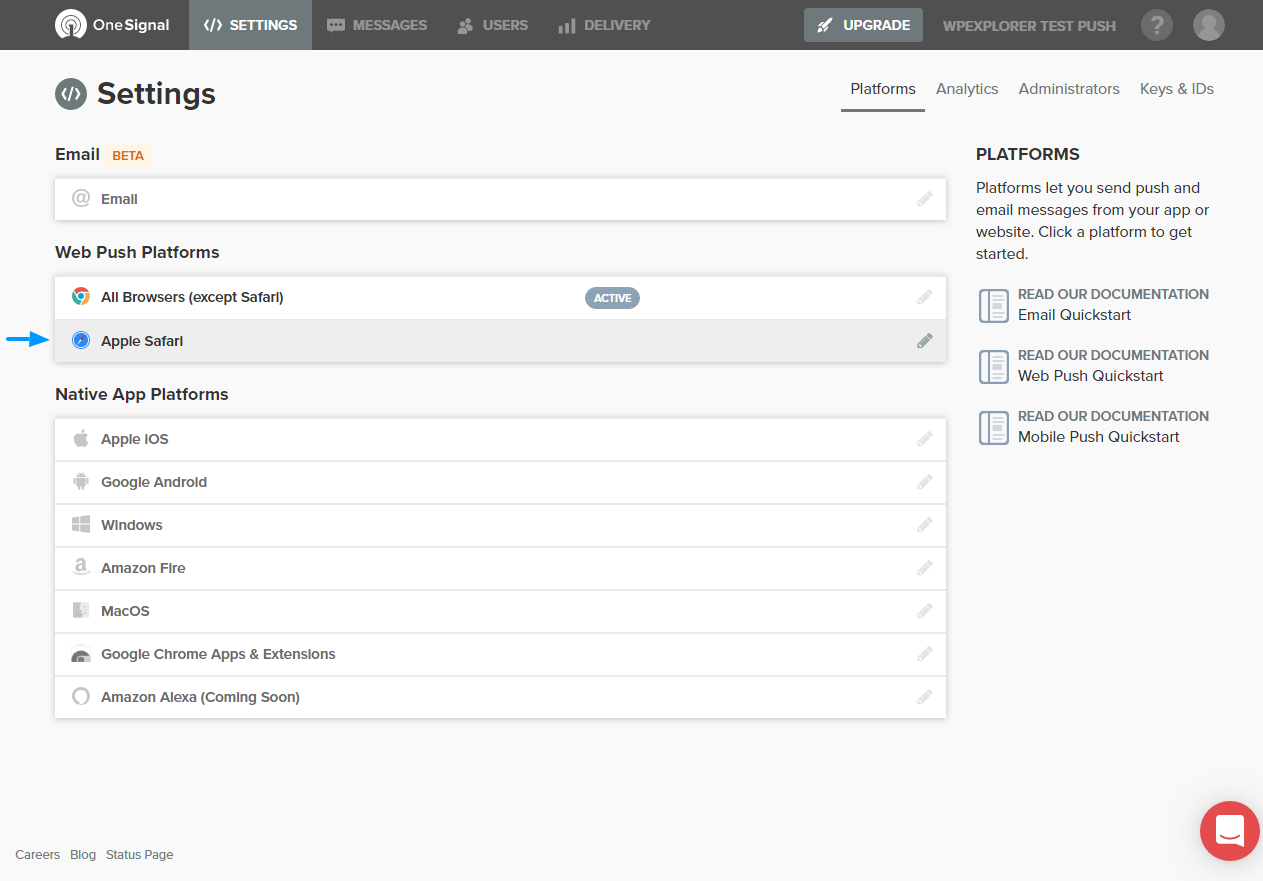
After that, click on the Apple safari tab as we highlight below.
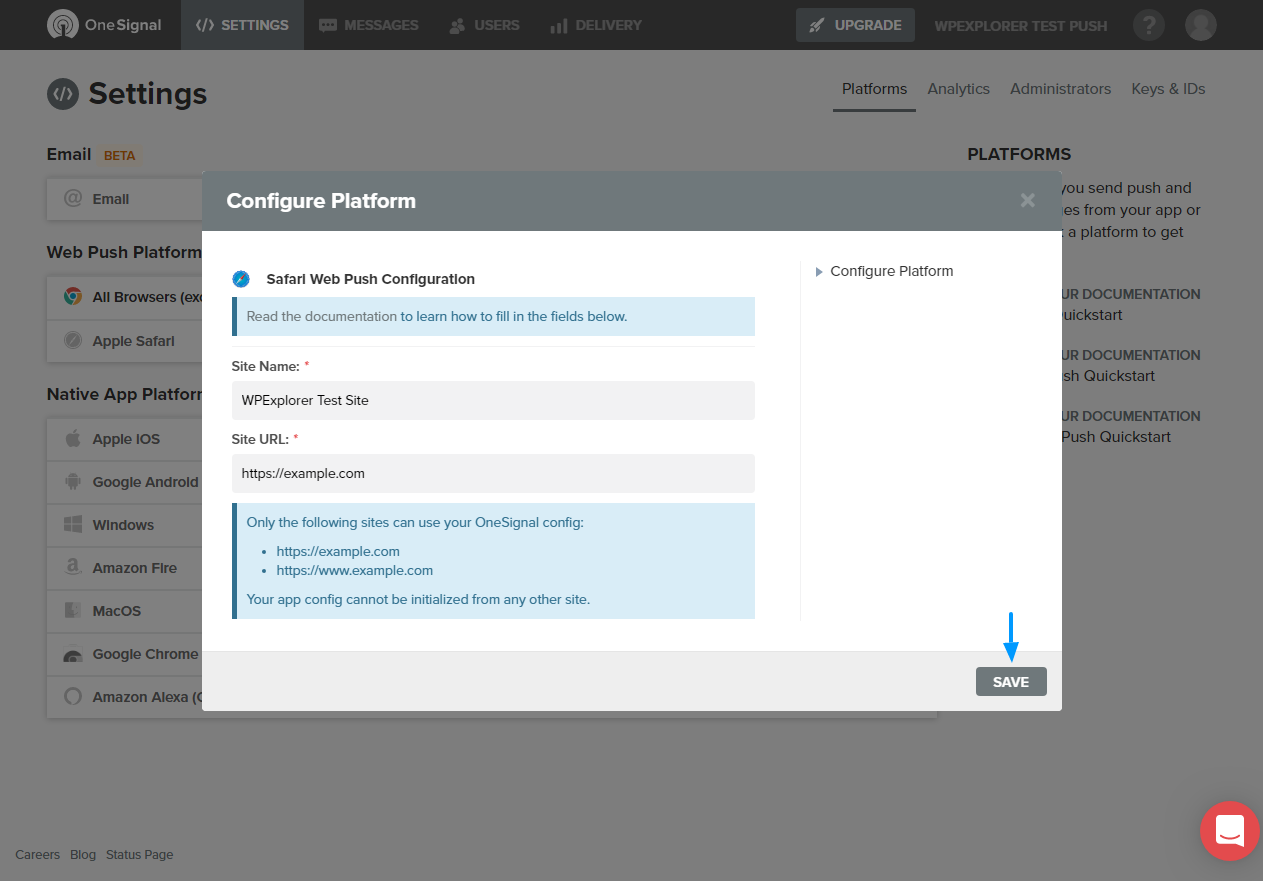
Then complete the pop-up window that appears and press the Save button as detailed below.
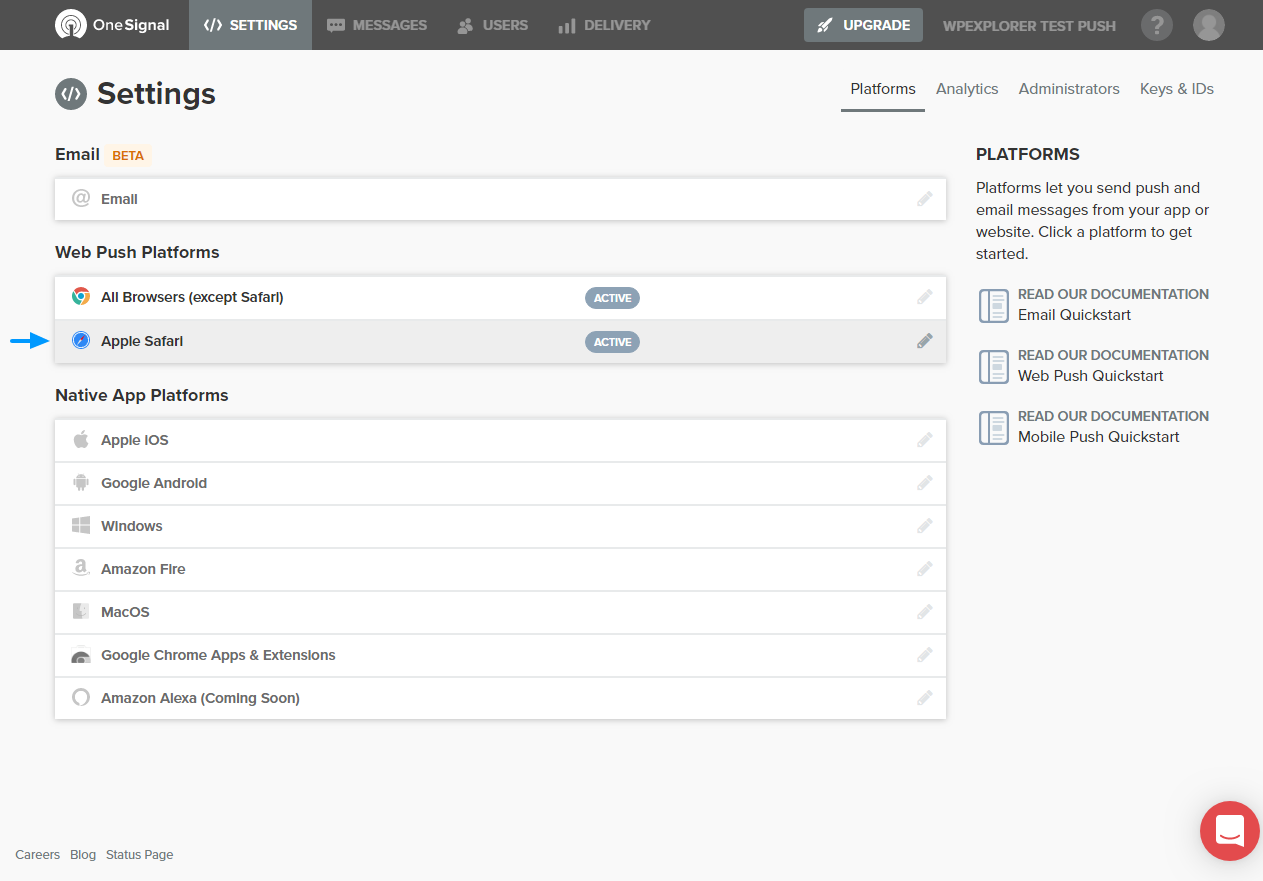
After that, click on the Apple safari tab again as shown below (notice that it is marked ACTIVE).
Doing so will bring up a pop-up window with your Safari Web ID as shown in the image below.
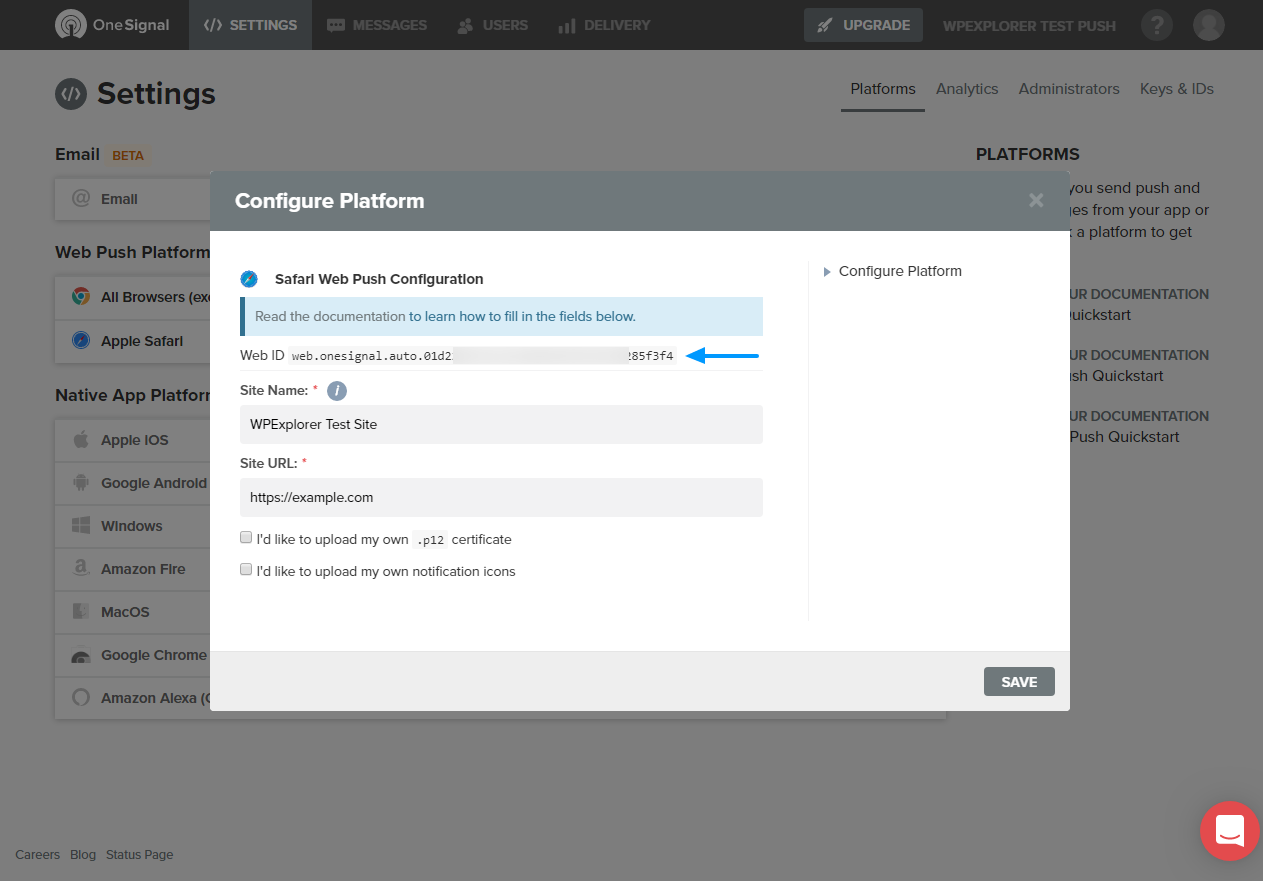
You need to copy and paste the above web ID in the Setting tab as we did with the app ID and API key as shown below.
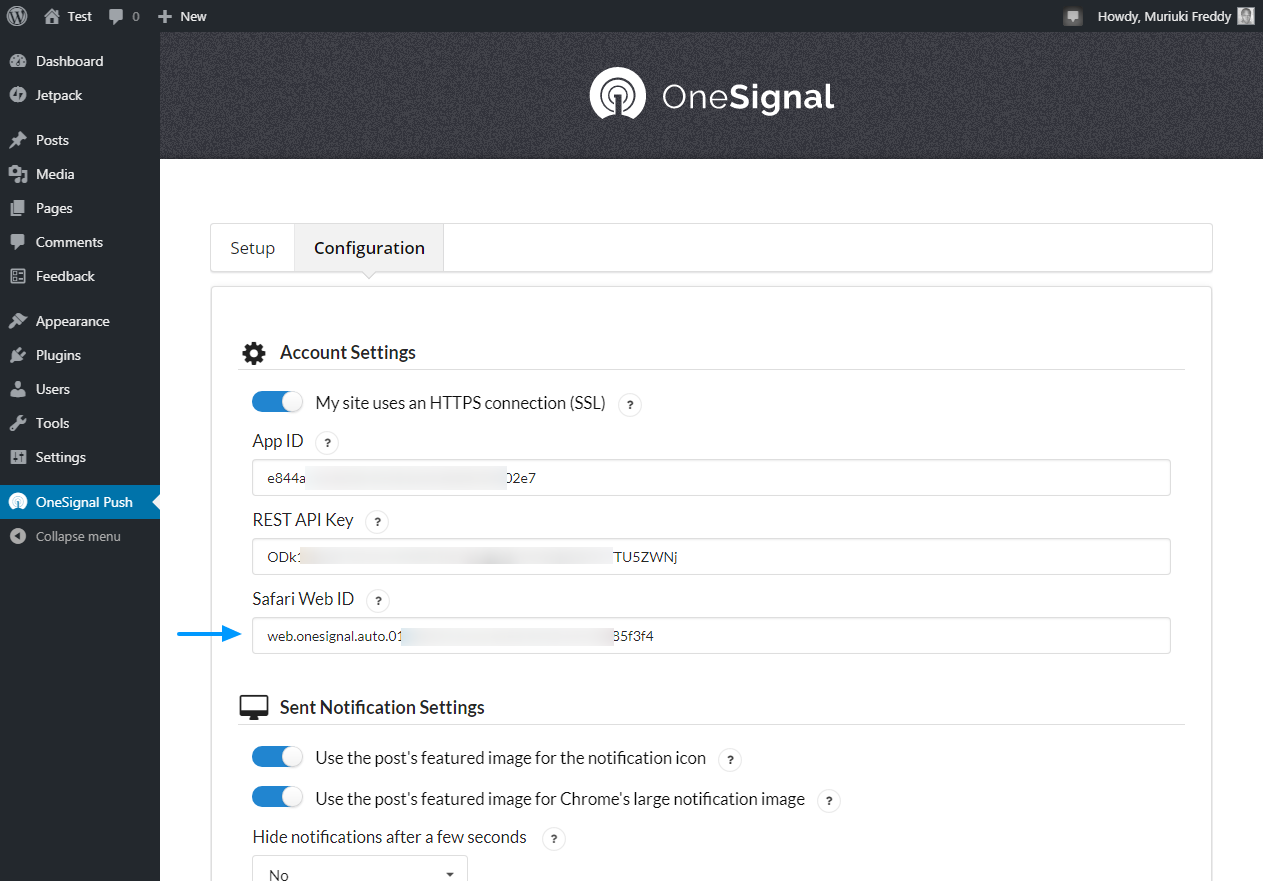
Scroll to the bottom of the previous page and press the Save button. Now your OneSignal push notifications are active and compatible with all major browsers. The best part is that the free OneSignal account supports up to 30,000 web subscribers. The free account supports an unlimited number of mobile subscribers.
If you need more power, you can always look for a Premium package, starting at $ $ 99 per month. We always encourage you to choose the option that works for your business.
Las notificaciones automáticas son una excelente manera de mantenerse en contacto con los visitantes de su sitio. Y ya que los visitantes dan su consentimiento previo a las notificaciones push, está seguro de que las persons que se suscriben están realmente interesadas en lo que ofrece.
The advantages of push notifications make this marketing channel lucrative and quite effective. Setting up push notifications using the OneSignal WordPress plugin and service is formidably easy, it should be up and running in less than 15 minutes.
Have a question about push notifications? Any comments on this post in general? Share with us in the comments.


