

Fix WiFi network not showing up in Windows 10: If you are facing this problem where your WiFi network does not appear in the list of available networks, you can be sure that the problem is associated with corrupt, outdated or incompatible network drivers. To verify that this is the problem, see if you can connect to your WiFi using another device. And if you have been successful, this means that the problem is with your computer's network drivers.
But if you still can't connect to your WiFi network, then this means the problem with the WiFi modem or router, and you need to replace it to solve the problem successfully. A simple reboot might fix this problem in some cases, but it's worth a try. Of course, without giving up time, let's see How to fix WiFi network not showing up in Windows 10 with the help of the tutorial listed below.
Fix WiFi network not showing up in Windows 10
Make sure to create a restore point in case something goes wrong.
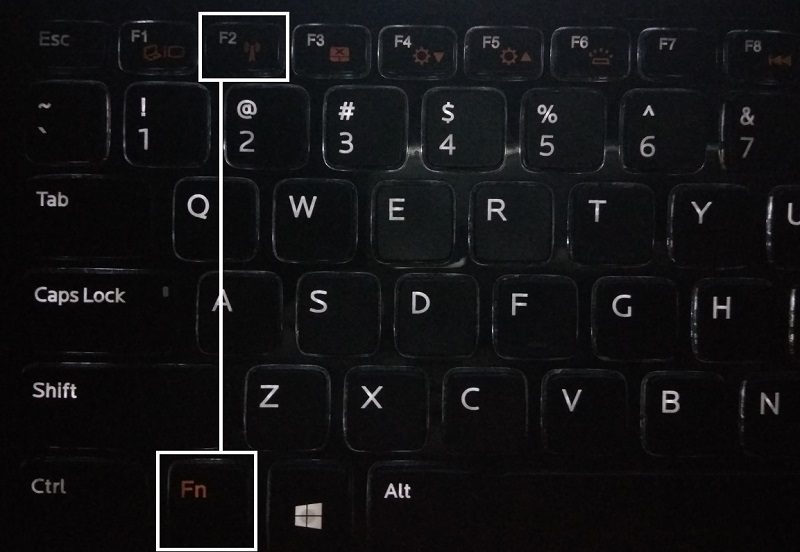
Method 1: turn on the physical switch for WiFi on the keyboard
Before proceeding further, make sure WiFi is enabled using the dedicated key on your keyboard, for example my Acer laptop has the Fn + F3 key to enable or disable WiFi in Windows 10. Look on your keyboard for the icon and press it to enable WiFi again. In most cases it is Fn (function key) + F2.
1.Right-click the network icon in the notification area and select «Open network and internet settings".
![]()
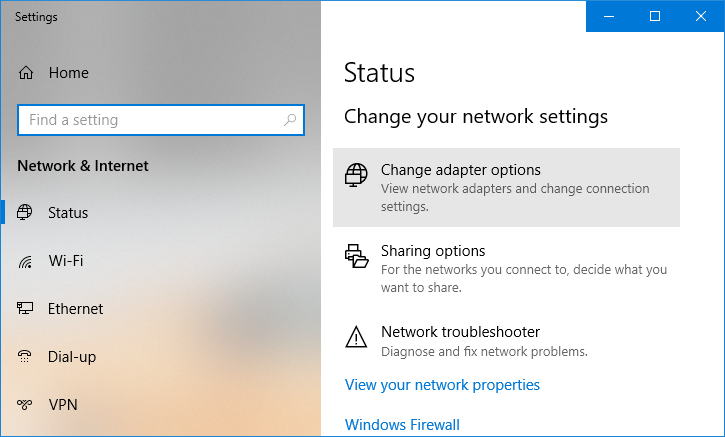
2.Click Change adapter alternatives in the Change network settings section.
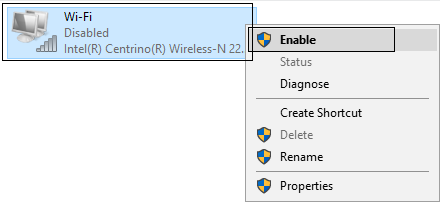
3.Right click on your Wifi adapter and choose Allow from the context menu.
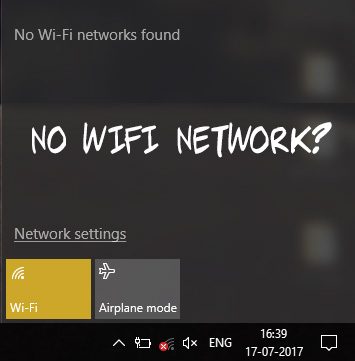
4.Try again connect to your wireless network and see if you can Solve the problem No WiFi network found.
5.If the problem persists, press Windows key + I to open Configuration application.
6.Click Network and Internet than in the menu on the left, select Wifi.
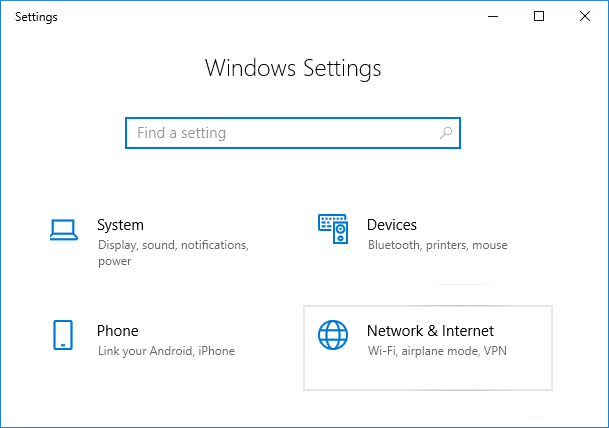
7.Next, on Wi-Fi, make sure to Enable the toggle that will enable Wi-Fi.
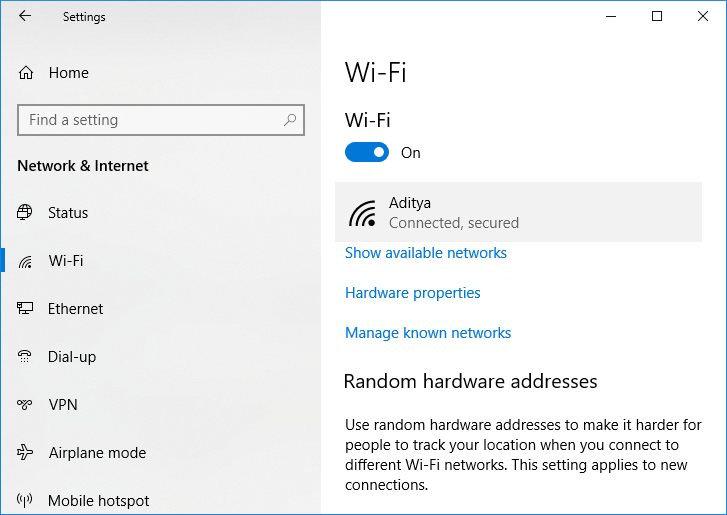
8.Retry to connect to your Wi-Fi network and this time it might work.
Method 2: disable and enable your NIC (network interface card)
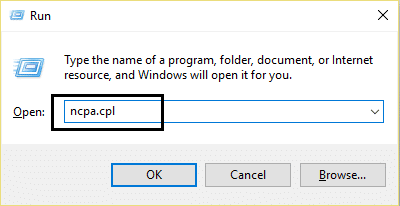
1.Press Windows Key + R and then type ncpa.cpl and press Enter.
2.Right click on your Wireless adapter and select Deactivate.
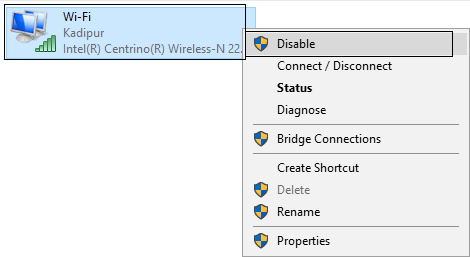
3.Right click on the same adapter again and this time choose Enable.
4. Restart your and try again to connect to your wireless network and see if the problem is solved or not.
Method 3: restart your router
1.Turn off the WiFi router or modem and then unplug the power supply.
2. Wait 10-20 seconds, and then reconnect the power cord to the router.
3.Turn on the router and retry connecting your device and see if this Solve the problem of the WiFi network not showing up.
Method 4: enable wireless network related services
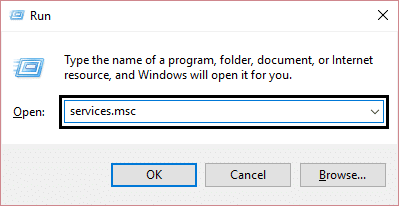
1.Press Windows Key + R and then type services.msc and press Enter.
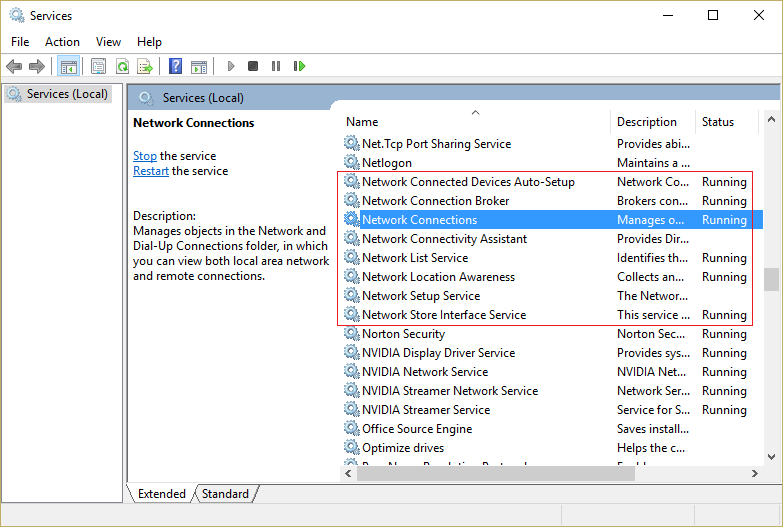
2.Now make sure the following services are started and their startup type is set to Automatic:
DHCP client
Automatic configuration of network connected devices
Network connection broker
Network connections
Network Connectivity Wizard
Network List Service
Knowledge of the network location
Network configuration service
Network Store Interface Service
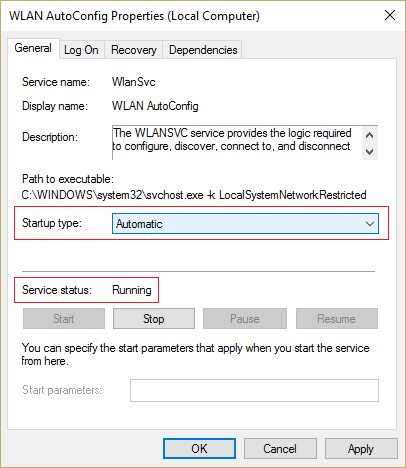
Automatic WLAN configuration
3.Right click on each of them and select Properties.
4. Make sure the startup type is set to Automatic and click Start if the service is not running.
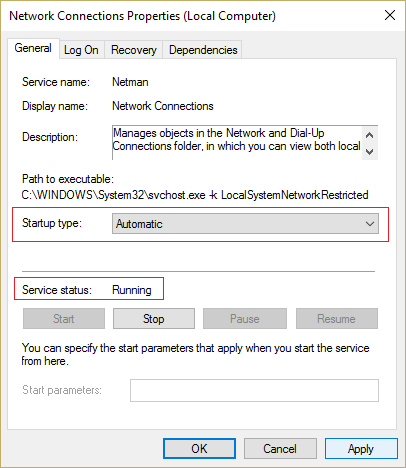
5. Click Apply followed by OK.
6. Restart your computer to save the changes.
Method 5: run the network troubleshooter
1.Press Windows key + I to open Settings and then click Update and security.
![]()
2.In the menu on the left, select Solve problems.
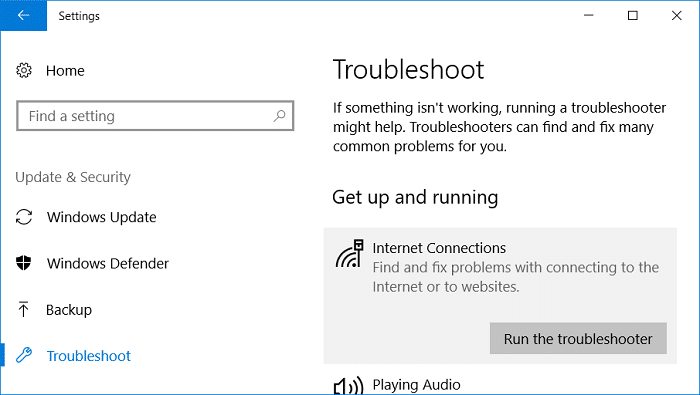
3.In Troubleshoot, click Internet connections and then click Run the troubleshooter.
4. Follow further instructions on the screen to run the troubleshooter.
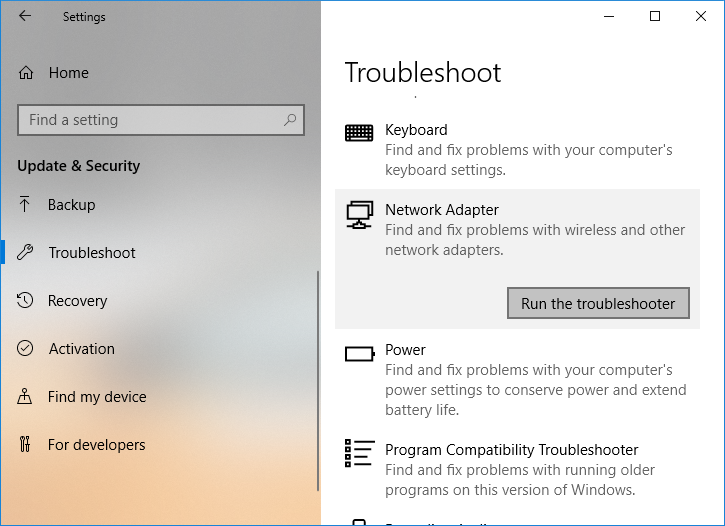
5.If the above did not solve the problem, from the Troubleshoot window, click Network adapter and then click Run the troubleshooter.
5. Restart your computer to save the changes.
Method 6: uninstall the wireless network adapter drivers
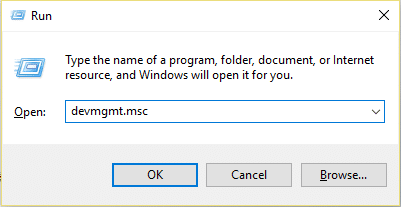
1.Press Windows Key + R and then type “devmgmt.mscAnd hit Enter to open Device Manager.
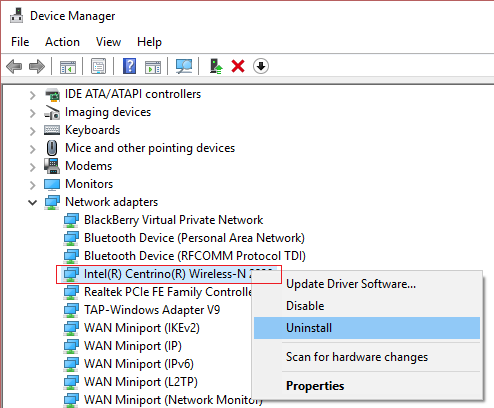
2. Expand Network Adapters and find the name of your network adapter.
3. make sure make a note of the adapter name in case something goes wrong.
4.Right-click on your network adapter and select Uninstall
5. Restart your computer and Windows will automatically install the default drivers for the network adapter.
6.If you can't connect to your network, it means driver software it is not installed automatically.
7.You should now visit your manufacturer's web portal and download the driver from there.
9.Install the driver and restart your computer. By reinstalling the network adapter, you can get rid of this WiFi network problem not showing up in Windows 10.
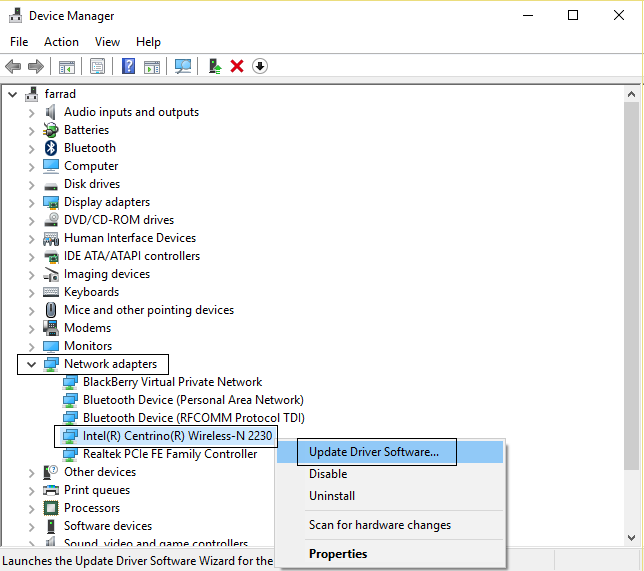
Method 7: update the network adapter driver
1.Press Windows Key + R and type «devmgmt.msc«And press Enter to open device administrator.
2.Expand Network adapters, then right click on your Wi-Fi controller(Broadcom or Intel for example) and select Update the drivers.
3. In the Update Driver Software window, select «Search my computer for driver software.«
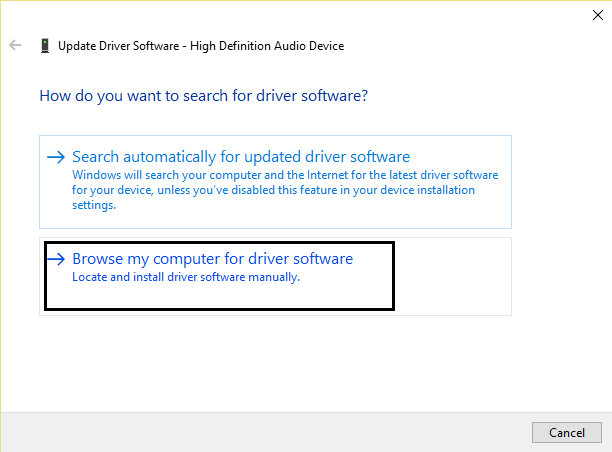
4.Now select «Let me select from a list of drivers available on my computer.«
(*10*)
5.Try update the drivers for the versions listed.
Note: Select the latest drivers from the list and click Next.
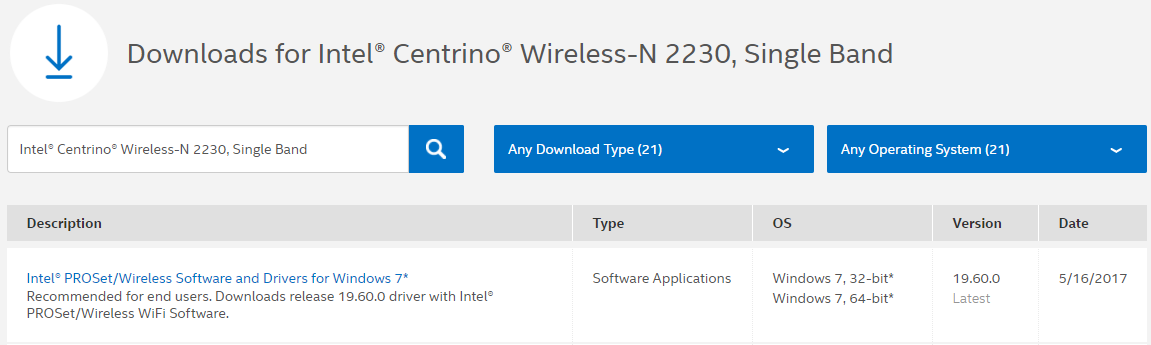
6.If the above didn't work, go to the manufacturer's web portal to update drivers: https://downloadcenter.intel.com/
7.Restart to apply changes.
Method 8: remove Wlansvc files
1.Press Windows Key + R and then type services.msc and press Enter.
2.Scroll down until you find Automatic WWAN configuration then right click on it and select Stop.

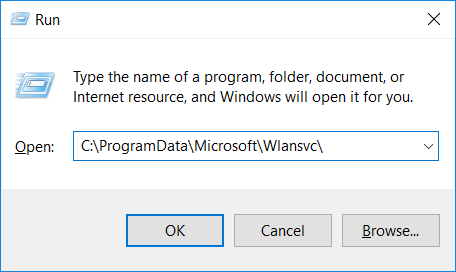
3.Press Windows Key + R again and then type «C: ProgramData Microsoft Wlansvc ”(Without quotes) and press Enter.
4. Delete everything (probably the MigrationData folder) in the Wlansvc folder except for profiles.
5.Now open the Profiles folder and delete everything except the Interfaces.
6 equivalently, open Interfaces folder and then delete everything in it.

7.Close File Explorer, then in the services window, right-click on Automatic WLAN configuration and select Start.
Method 9: disable the Microsoft Wi-Fi Direct virtual adapter
1.Press Windows Key + R and then type devmgmt.msc and press Login to open Device Manager.
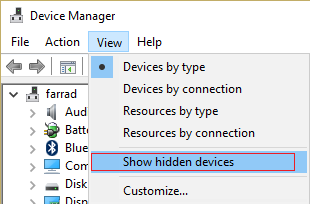
2. Expand Network Adapters and then click Sight and select Show hidden devices.
3.Right click on Microsoft Wi-Fi Direct Virtual Adapter and select Deactivate.
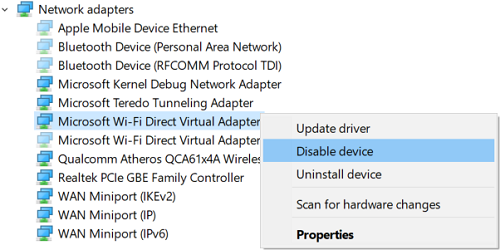
4. Restart your computer to save the changes.
Method 10: perform a clean boot
Sometimes third party software can access in conflict with the system and thus the Wifi network is not displayed. In order Fix WiFi network not showing up in Windows 10, you should perform a clean boot on your computer and diagnose the problem point by point.

Recommended:
That's all you have with success Fix WiFi network not showing up in Windows 10 But if you still have any questions regarding this post, feel free to ask in the comment section.


