

Elegir WordPress es la manera perfecta de comenzar su sitio Web con el pie derecho. Obtendrá todos los beneficios de un sistema de gestión de contents potente, flexible y de gran reputación que sigue siendo apto para principiantes. No obstante, no sacará el máximo provecho de WordPress a menos que lo combine con un excelente servicio de alojamiento.
Your web host will do a lot to determine how fast and reliable your site is, as well as how much downtime you experience (hopefully almost none). Solid hosting services at the same time provide additional security for your site, 24/7 support and other key features. Bluehost, as an example, is a reputable hosting provider that meets all of these criteria and offers hosting plans optimized specifically for WordPress.
In this article, we'll start off by introducing Bluehost and discussing its key features and pricing. Then, we will show you how to install WordPress using Bluehost in just five minutes. We'll see!
Why You Should Consider Bluehost For Your WordPress Site
Hosting your website will have a long-term impact on your site, so it really matters that you choose the best WordPress hosting for yourself right from the start. Because every website is different, there is no "best" hosting provider. But if you are just getting started with WordPress, we recommend that you give Bluehost a try:
Bluehost is an old and trusted name in web hosting, and it is recommended by WordPress developers themselves. Using such a well-established host provides peace of mind, because you know exactly what you're getting into.
At the same time, it should be noted that Bluehost is a particularly solid option for WordPress users, since it offers specific hosting for WordPress. At the same time you will get one-click installation access for your WordPress site and dedicated support that is familiar with the platform.
Other key features that make Bluehost stand out include the following:
- There are several hosting options and plans, so you can find one to suit your particular needs.
- You can manage everything related to your web hosting through a central administration interface.
- Bluehost has a reputation for excellent site uptime and speed.
- There are many security features to keep your site and information safe.
- Todos los planes proporcionan ancho de banda no medido y todos los planes, excepto la opción básica, ofrecen almacenamiento ilimitado, registros de domain y cuentas de correo electrónico.
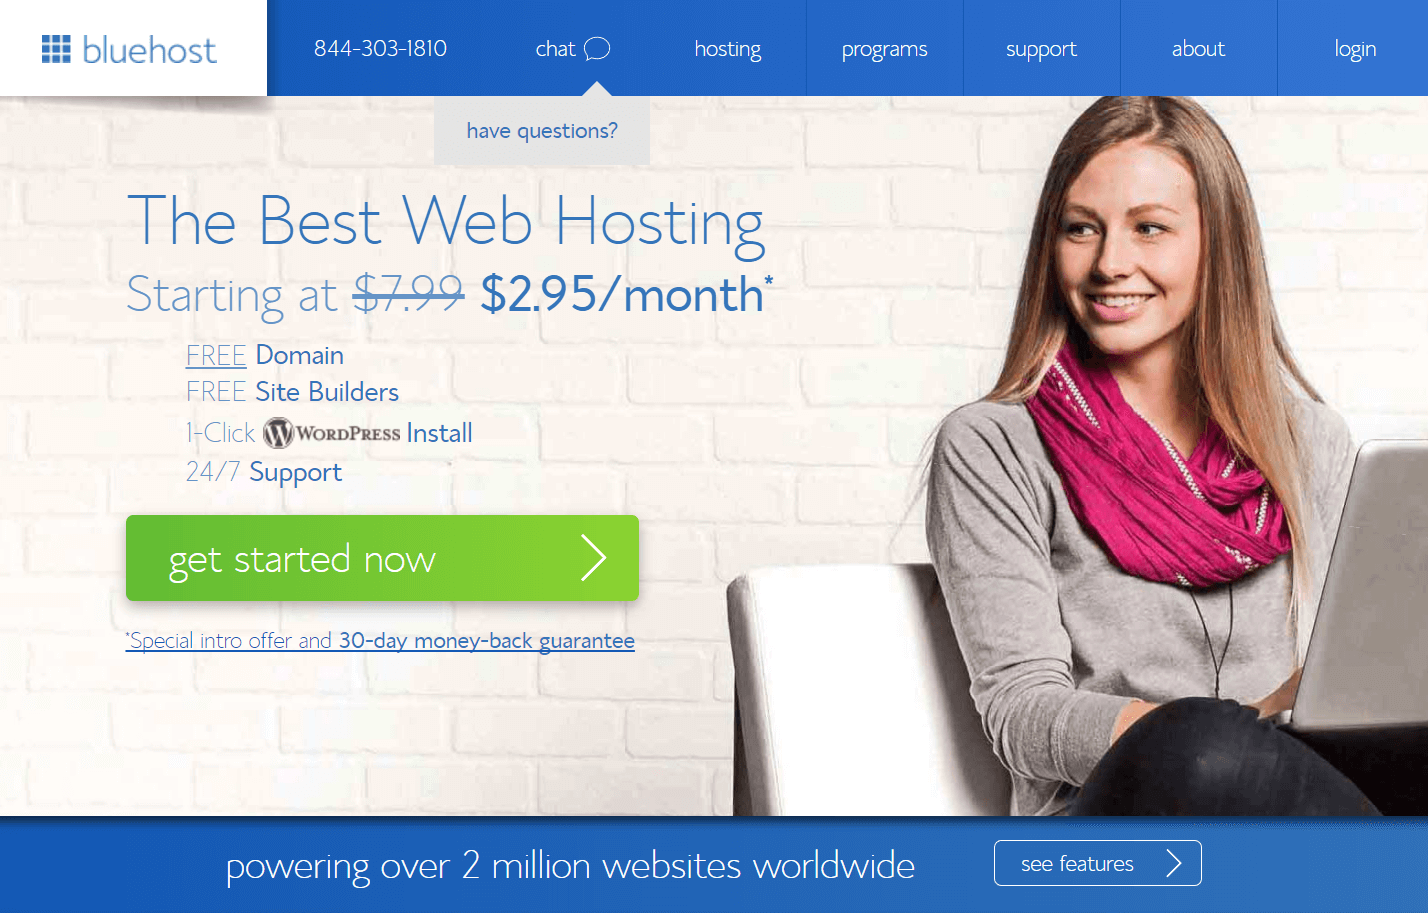
Por suerte, los planes de alojamiento de Bluehost son bastante asequibles. Van desde $ 7.99 por mes para el plan Básico hasta $ 23.99 por mes para la opción Pro, aunque hay precios promocionales que harán que su primer período be aún más barato (nuestro link lo llevará a planes que cuestan solo $ 2.95 / mes).
While these standard plans will work well for most users, Bluehost at the same time offers more expensive WordPress optimized hosting, but provides access to some advanced features. Best of all, getting your WordPress site up and running with Bluehost is extremely easy. Let's go through the process step by step.
How to install WordPress in five minutes using Bluehost
Antes de comenzar, deberá registrarse en un plan de alojamiento. Si no está seguro de cuál elegir, le recomendamos la opción de alojamiento de WordPress, ya que se creó específicamente para sitios web con WordPress y el server ya se había optimizado para temas de wp, complementos, etc. No obstante, siempre puede comenzar con el plan básico. Si tiene un presupuesto muy estricto, después suba a un nivel superior si contempla que necesita más espacio o funciones adicionales.
At the same time you will need to choose a domain name for your website. Luckily, Bluehost includes a free domain name with all your shared and WordPress hosting plans. You only need to claim your domain name during the checkout process, or at any time while setting up your account. After that, you are ready to install your WordPress site.
Step 1: install WordPress through your Bluehost account
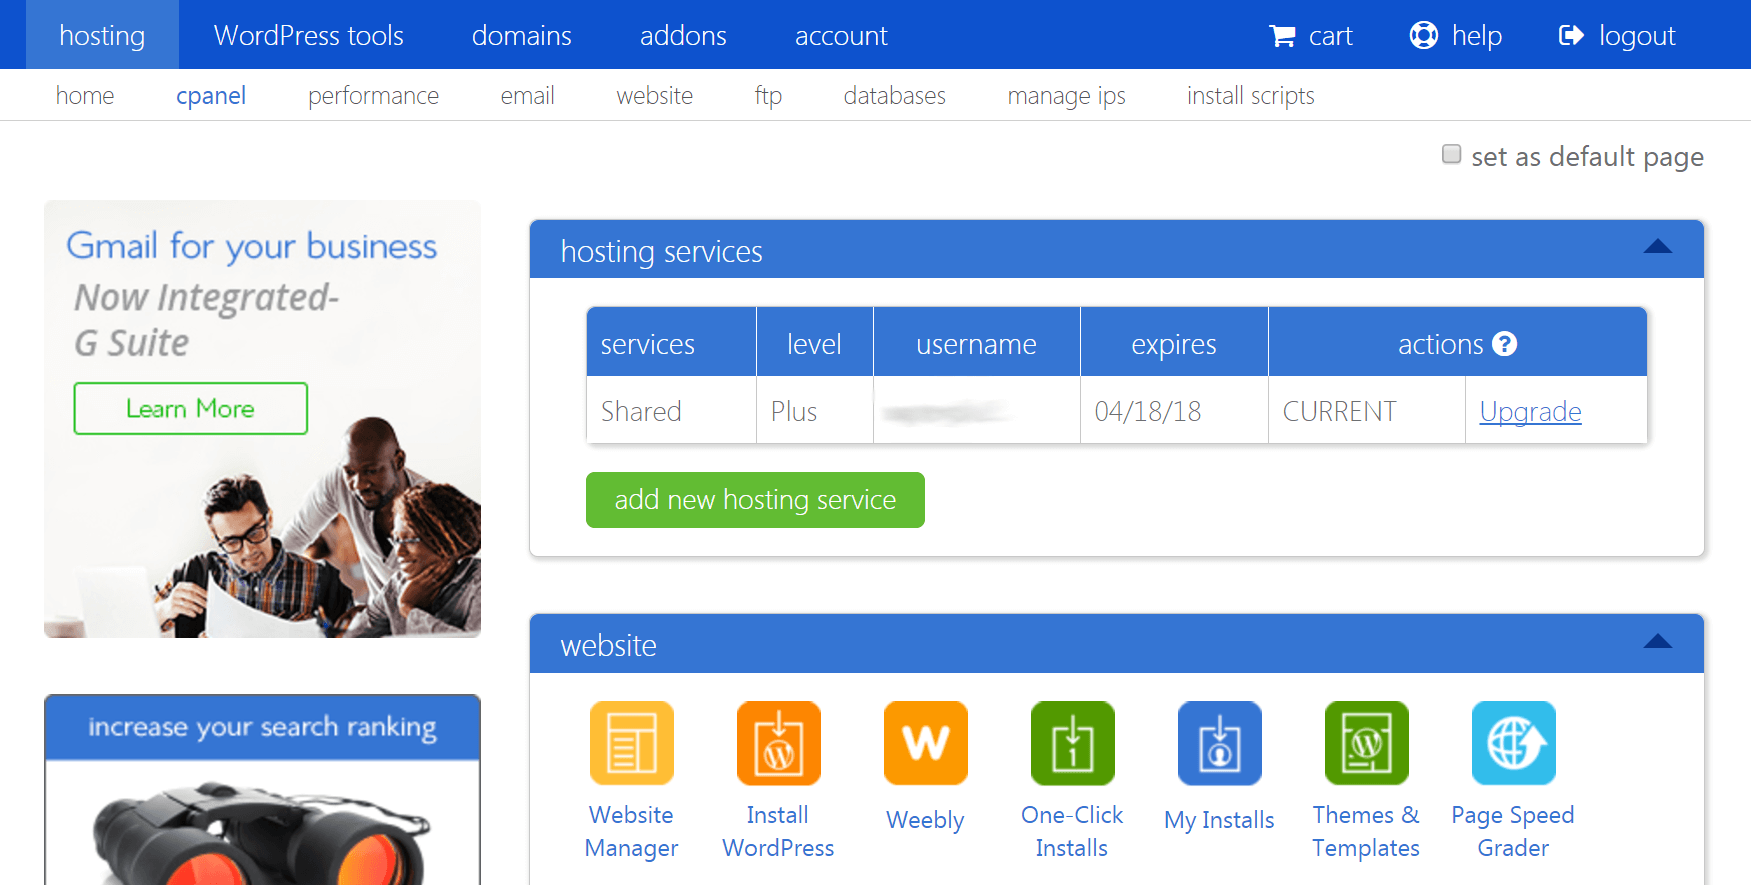
Get started by logging into your Bluehost account and clicking lodging from the menu at the top of the screen. Then select cpanel in the menu below. You should now see a section labeled website - choose the button Install WordPress from that section:
You will be taken to a different screen that will start the installation process. Click on the Continue with the installation and choose the domain name you registered with Bluehost from the Domain drop-down field. You can leave the directory blank field. Then select next:
(*5*)
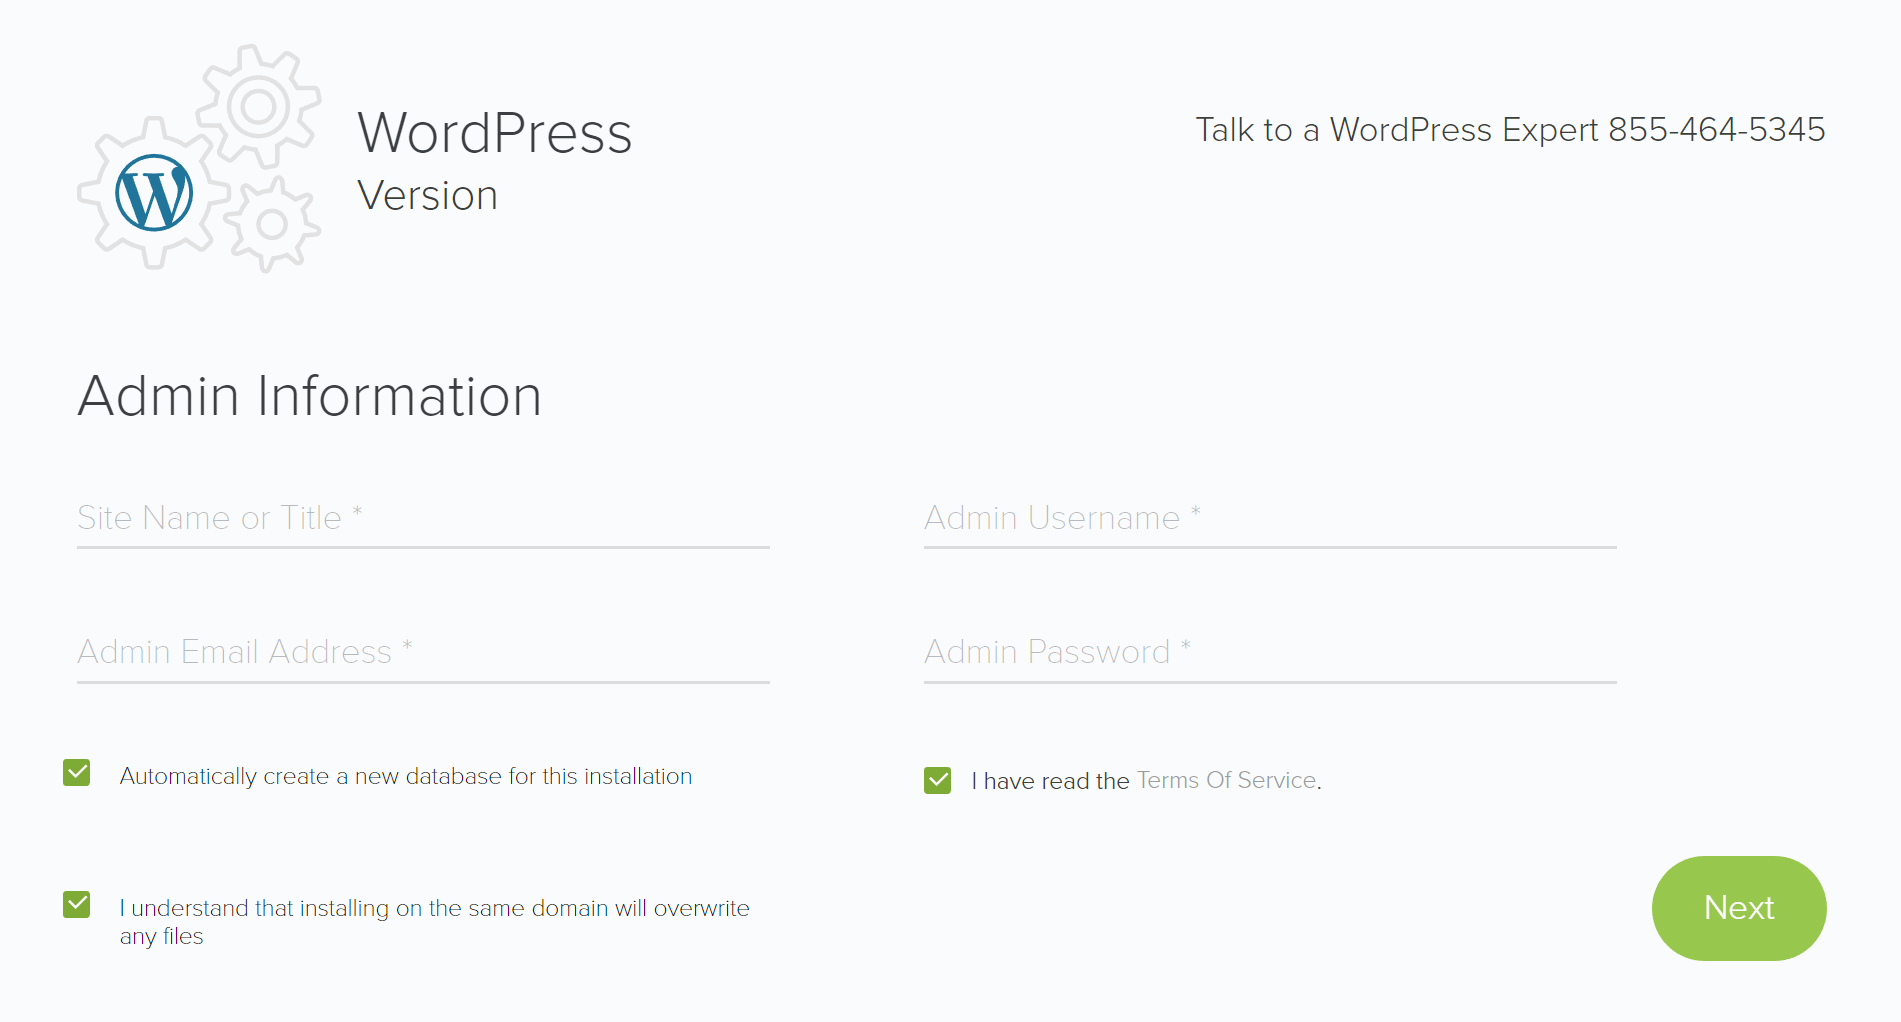
La siguiente pantalla le pedirá que ingrese el nombre de su sitio web; no se preocupe, siempre puede cambiarlo más tarde. Al mismo tiempo deberá proporcionar una dirección de correo electrónico y crear el nombre de Username y la contraseña para su cuenta de administrador:
Click on next one more time, and wait a few moments while Bluehost completes the installation. When finished, the page will display a message that the installation was successful:

If you click view your credentials, podrá ver la Url de su sitio, así como el nombre de usuario y la contraseña que creó. Esta información se enviará a su correo electrónico, aunque para estar seguro, es posible que desee guardar o imprimir la página al mismo tiempo.
Your website is ready to go! However, before the day is out, let's finish setting up the site.
Step 2: visit your new site and complete the setup wizard
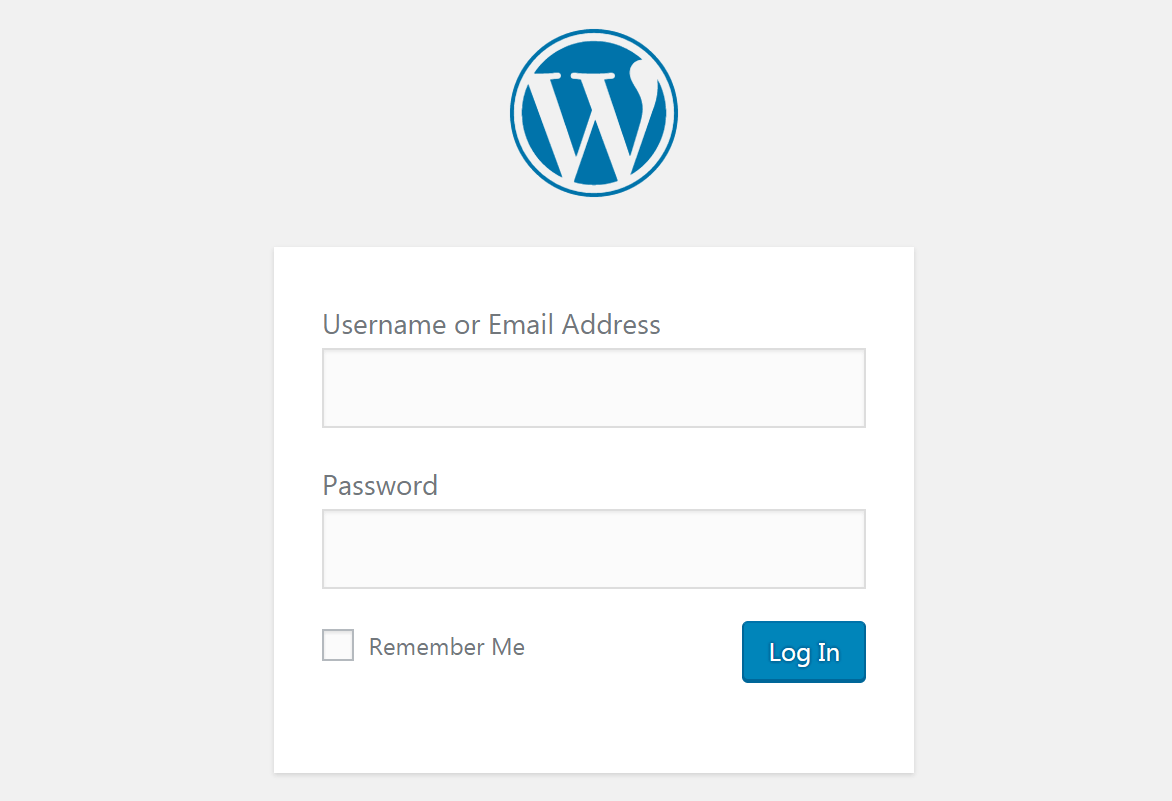
To enter your site, click on the Install location URL desde su página de credenciales (o cópielo en su browser). Luego ingrese su nombre de usuario y contraseña:
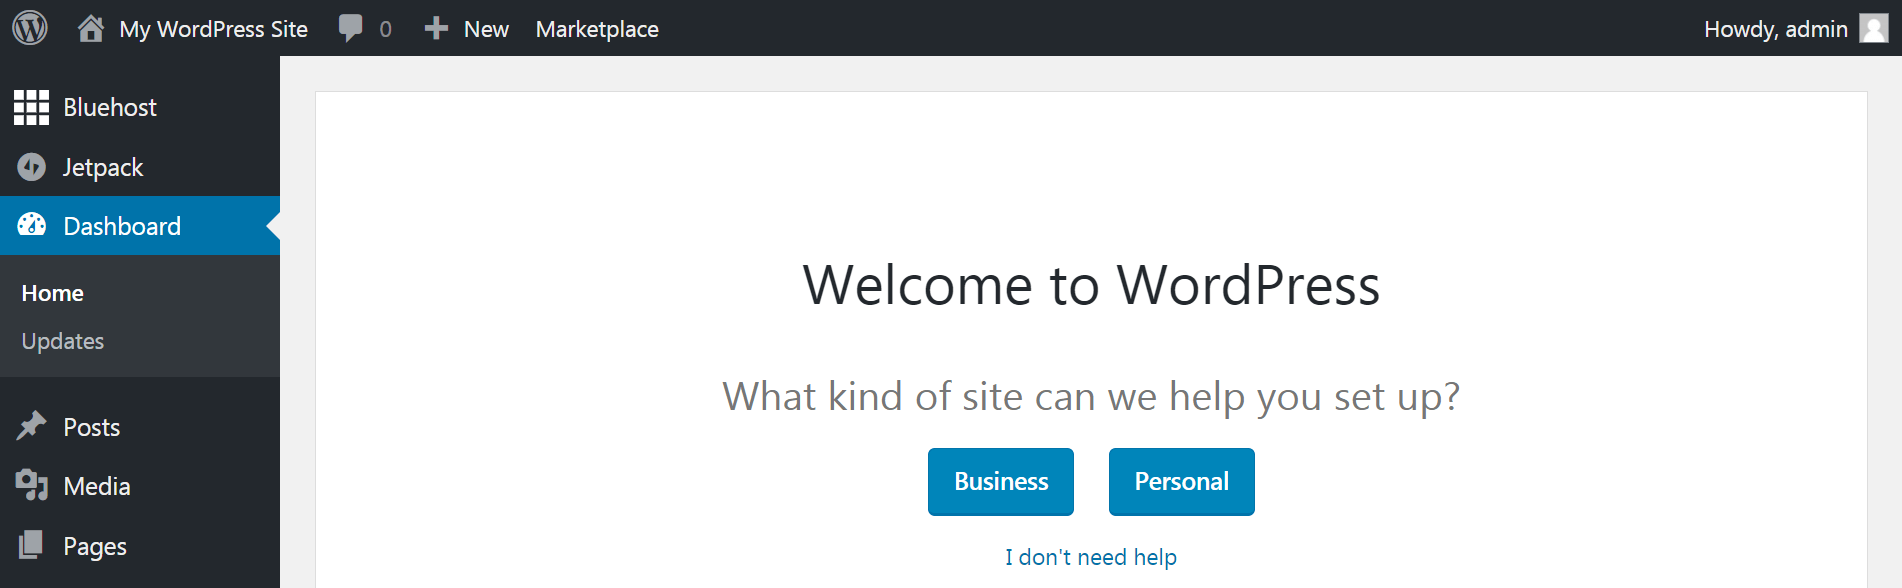
They will take you to the back end of your new WordPress site, where you can start customizing it and adding content. If you are not sure where to start, you can click the Deal or Personal button (as applicable) to be taken to the Bluehost setup wizard:
Click on the prompts to determine some basic options for your site. You can specify your name and description, select what your home page will include, and create a default contact page. At the end of the wizard, you will have the opportunity to edit what you entered on the previous screens:
(*5*)
The wizard will at the same time ask you if you want to connect your Jetpack cuenta. Este es un complemento útil que ayuda a mantener su sitio seguro y puede ayudarlo a aumentar su traffic. No obstante, si no tiene una cuenta, no necesita preocuparse por este paso en este momento (aunque le recomendamos que revise Jetpack cuando comience a instalar complementos en su sitio).
When you have finished setting up the basics of your site, you can choose Customize your site to start customizing its appearance. Alternatively, you can use the menu on the left side of the screen to start learning the ins and outs of your site. We'll talk more about getting started designing your site and adding content in future posts. For now, enjoy your new WordPress website!
conclusion
WordPress is an incredible platform for creating almost any type of site you can imagine. However, it will not work in the best way unless it is supported by an equally excellent hosting service. Luckily, Bluehost is a full-featured, easy-to-use option that offers many WordPress-specific features.
Get Bluehost
At the same time, installing your WordPress website with Bluehost is easy. Simply sign up for an account, choose a domain name, then log into your Bluehost account to install WordPress and create your admin credentials. Later, when you visit the URL of your new site, all that is left is to finish setting it up.
Have a question on how to install WordPress using Bluehost? Let us know in the comment section!


