


Even though programs like Camstasia or Pinnacle Studio are the favorite tools for creating and editing videos, there are many other free alternatives that we can install in Windows and they are as good as the proprietary alternatives.
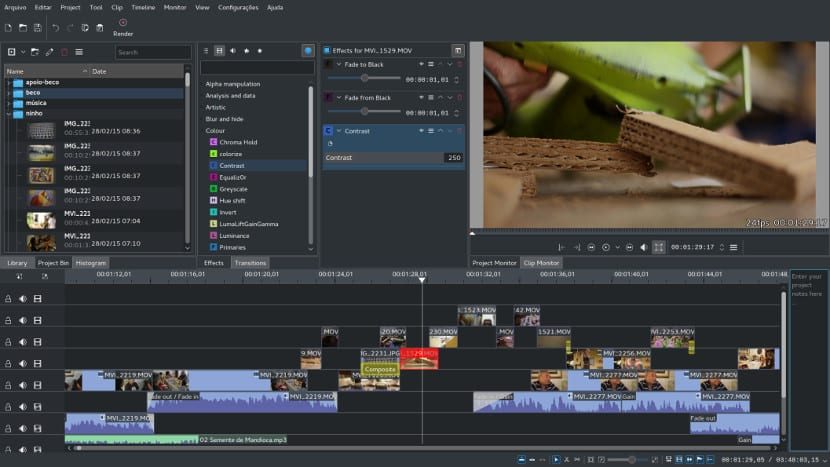
For this case we are going to tell you how to install Kdenlive, a video editor from the KDE project that recently added Windows to its list of operating systems. Kdenlive is one of the best free video editors out there. Its editing options are many and the results have nothing to envy to professional programs.
But the truth is that In the aspect of installation for Windows, Kdenlive still leaves much to be desired. Its installation is not easy for a novice and even for any advanced user, if complementary information is not consulted, installation is difficult.
Kdenlive for Windows does not have an installer yet, but it can be used on Windows
First we have to get the program Kdenlive for Windows and the FFmpeg64 codecs. Once we have downloaded both zip packages, we must first unzip the Kdenlive package and then the codec package. Once this is done, we go to the codec folder and we copy the folder _bin_ and _presets_. Now we paste these folders inside the Kdenlive folder.
Once all the files and subfolders have been moved, we execute the exe file that is inside the folder to open the program, close it and reopen it so that all the necessary configuration is carried out.
With this, the Kdenlive editor is ready to run on our Windows. Unfortunately we do not have an installer for this program, but it is something temporary, something that will be corrected with future versions. Until that time comes, we must have the folders that we have unzipped for the editor to work.


