Power BI Maps helps you visualize geological data. Let's take a step-by-step approach to creating a map in Power BI with a practical example.
For the Power BI Map demonstration, we used the World Population Excel data file that we downloaded from the database.
Visit Connect to Excel for the included steps to work with Excel.
How to create a map in Power BI
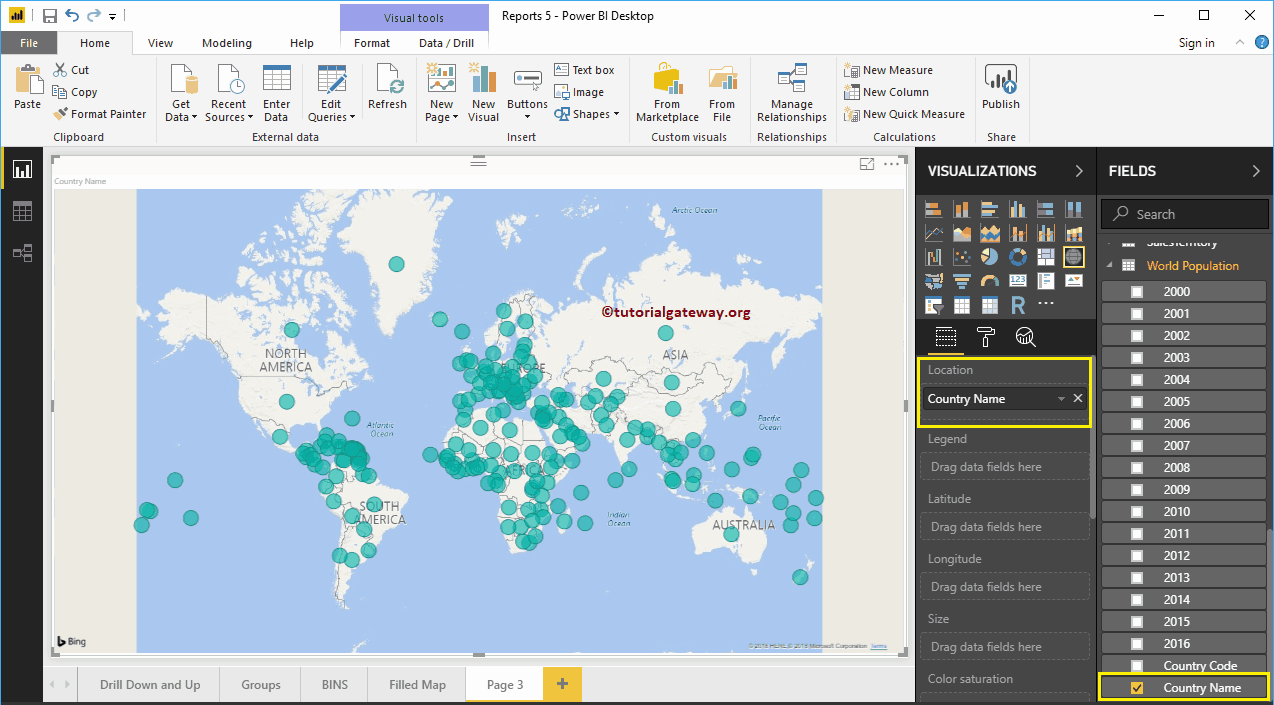
By placing any geographic data in the canvas area, a map is automatically created. For example, let me drag and drop the country names available in the world population table on the canvas.
In the following screenshot, you can notice that the power bi has created a map for you.
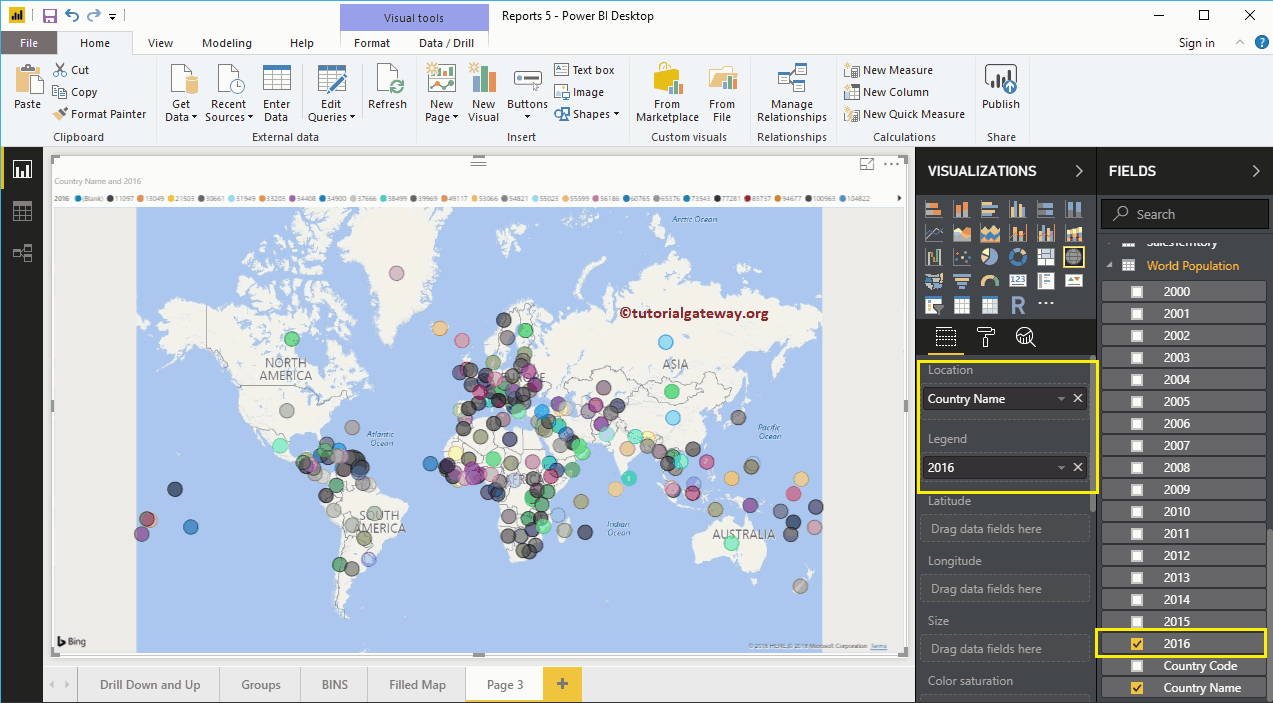
Then drag and drop the 2016 population from the Power BI Fields region to the Legend section.
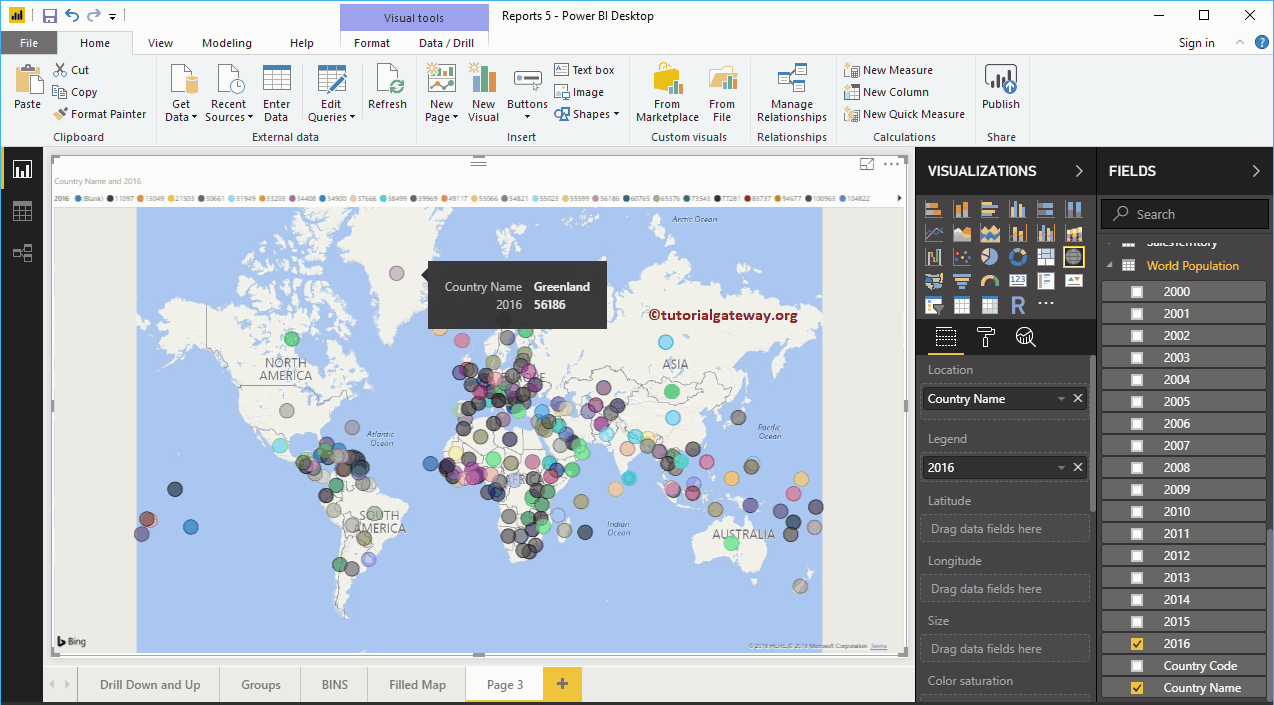
Hover over any bubble to see the country it represents and the population of the country.
The second approach to creating a map in Power BI
First, under the Display section, click on the Map. Automatically creates a map with data from the model, as shown in the following screenshot.
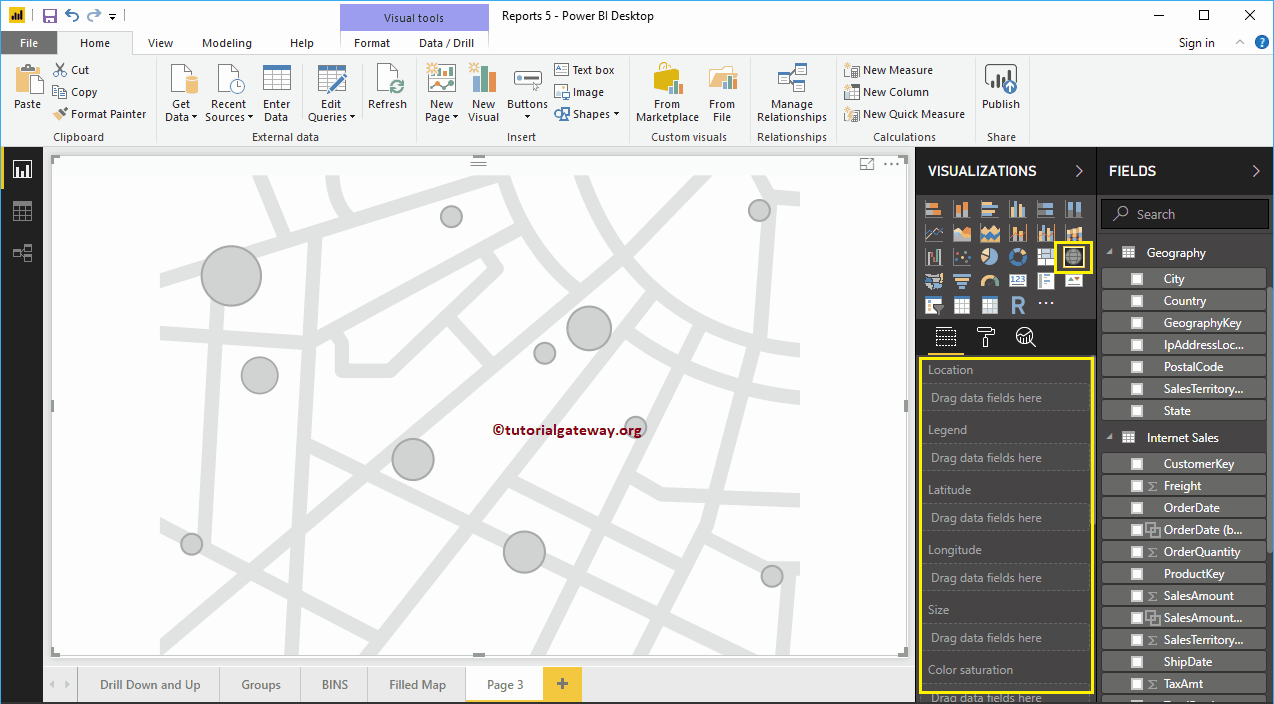
To add data to a map in Power BI, we must add the required fields:
- Location: Provide the name of the geologic column that draws the bubbles.
- Legend: Name of the column that subdivides the data in the Location section. Something similar to Country, Region, Territory or Continent
- Latitude and longitude: If the data contains the latitude and longitude information, you can use it to retrieve the exact location.
- Size: Define the column that describes the size of the bubble.
- Color saturation: Any numerical data that decides the color of the bubbles in the Power BI map.
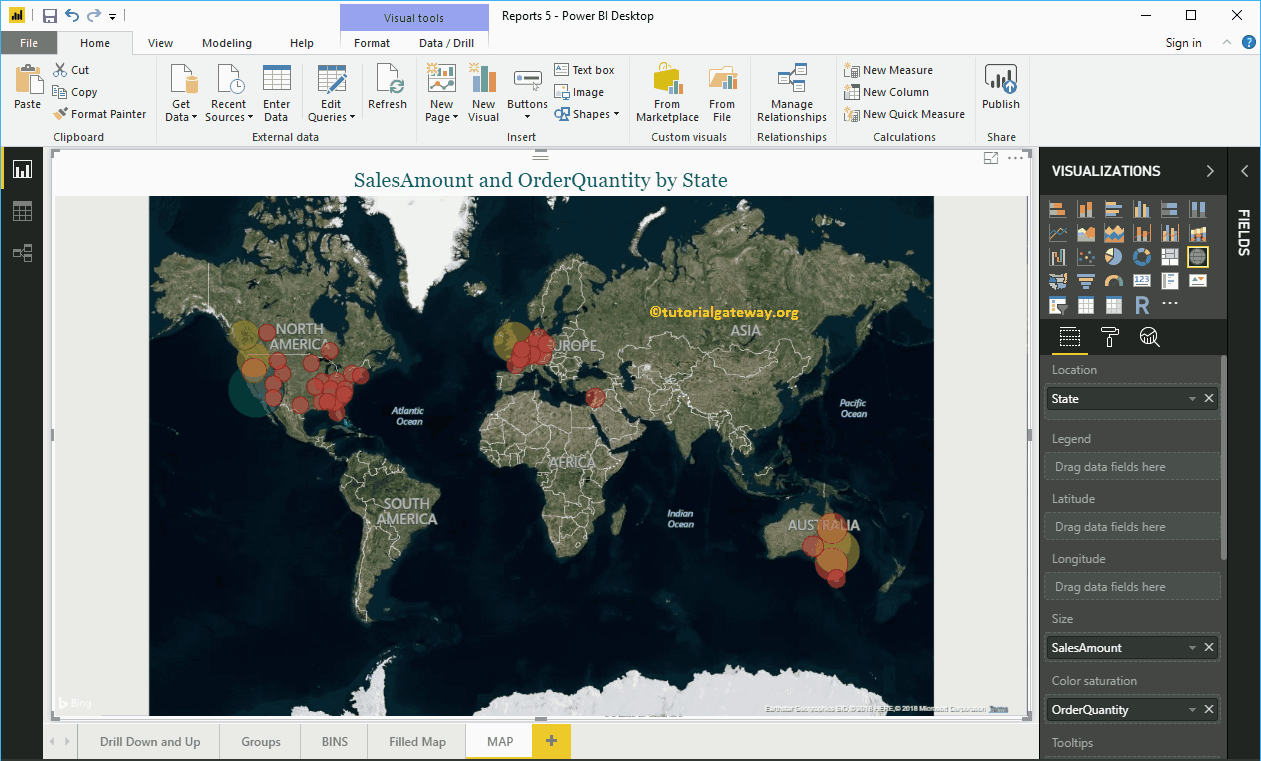
Let me drag the Field Status area to the Location section. You can achieve this by dragging the Status column to the Location section or by checking the Status column.
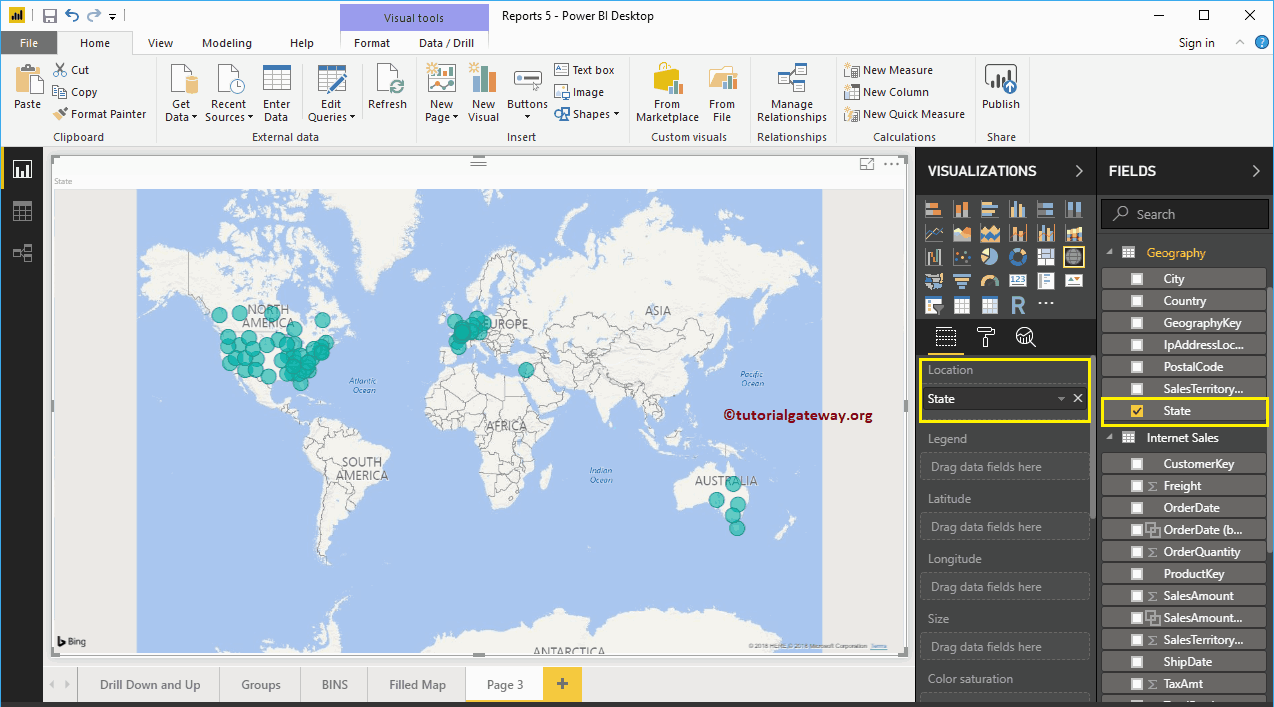
Then add the sales amount to the Size section. Now, you recognize the difference in size in the bubbles.


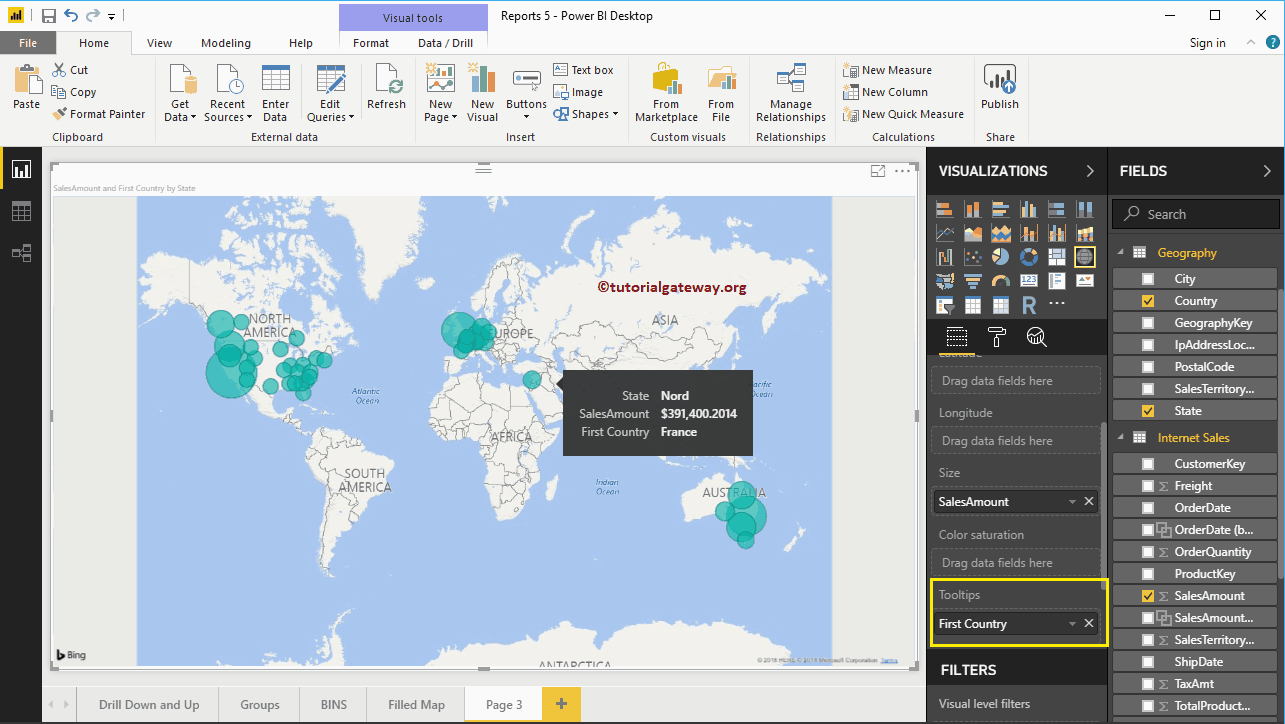
Next, let me add the country name to the Tooltip section. After this, if you hover over any bubble, it will show you the information about the country, state, and its sales amount.

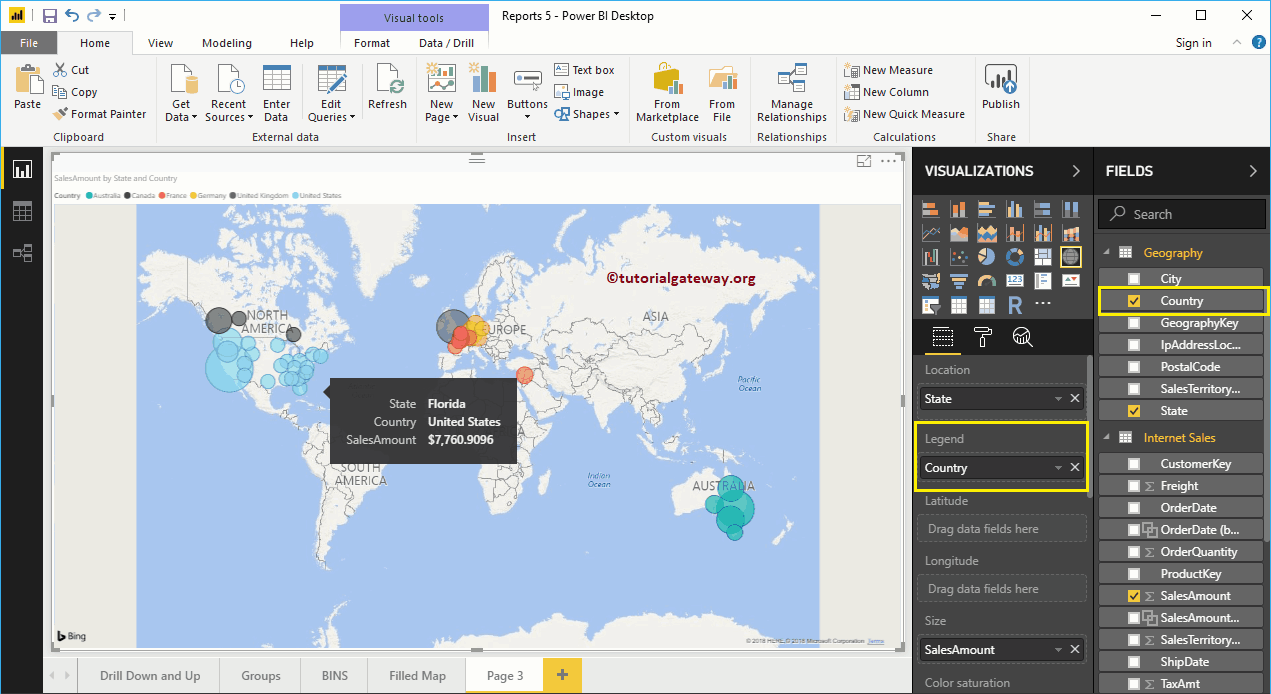
Let me add the name of the country to the Legend section. As you can see, the color of the bubbles changes depending on the country they represent.

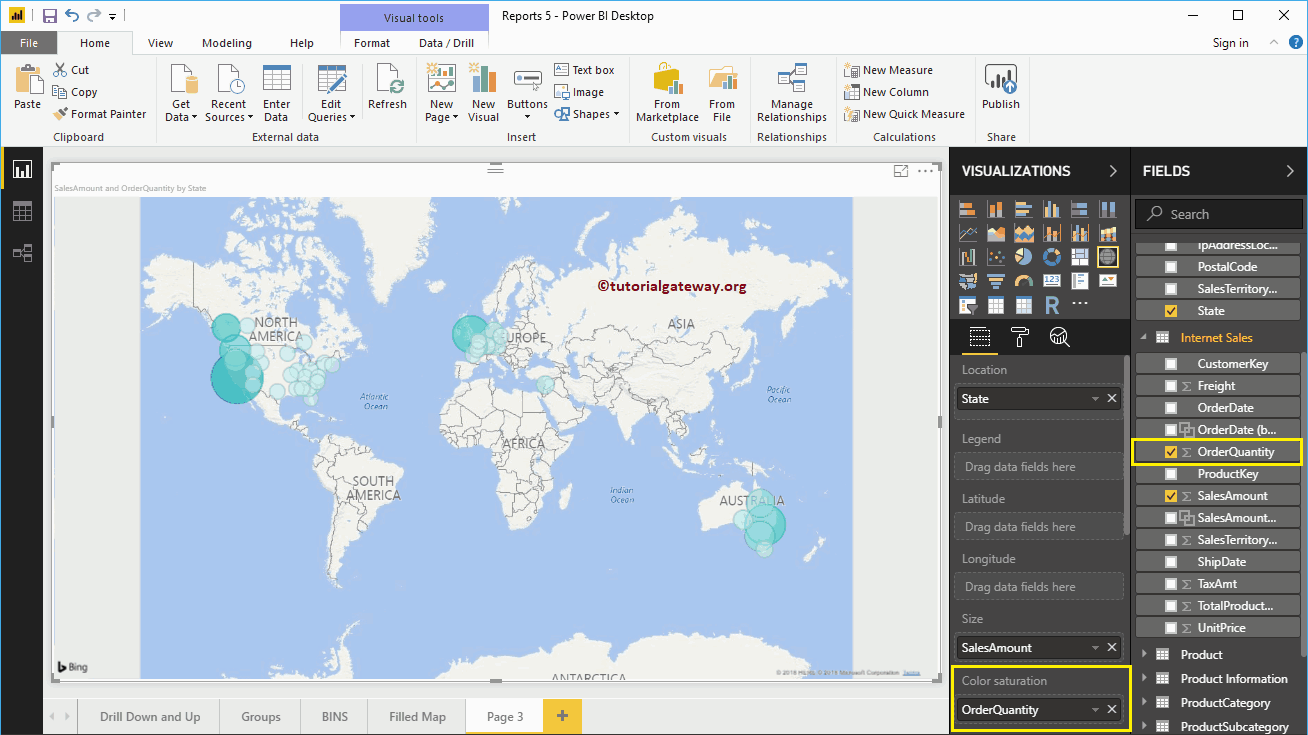
To demonstrate the Color saturation section of a Power BI map, we add the Order Quantity to the Color Saturation section. In the map screenshot below, the color of each circle has changed based on the order quantity. Remember, you cannot use Caption and Color Saturation at the same time.

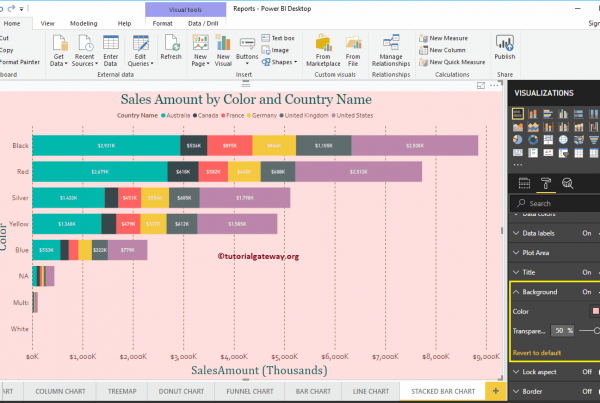
Let me apply a quick format to this Power BI map
NOTE: I suggest you check out the Format Maps article to understand the formatting options.