
La primera vez que visite el back-end de su nuevo sitio de WordPress, es viable que se sienta un poco abrumado. Verá muchos enlaces y opciones, y es viable que no esté seguro de qué hacer primero.
A pesar de todo, como pronto descubrirá, WordPress es una plataforma para principiantes y fácil de usar. Una vez que haya pasado un poco de tiempo familiarizándose con las diferentes secciones del back-end, así como con las diversas funciones y configuraciones que están disponibles, se sentirá mucho más cómodo. WordPress facilita la orientación rápida, para que pueda comenzar de forma directa a diseñar su sitio y agregar contents.
In this article, we'll simplify the process by pointing out the key features of the WordPress backend and explaining how to use them. Let's start with the dashboard!
Step 1: familiarize yourself with the dashboard
The WordPress Dashboard is the first screen you'll see when you log into your site and see the back end. It's a useful central area with helpful shortcuts and basic information about your site. On your first visit, you will see a box at the top labeled Welcome to WordPress:
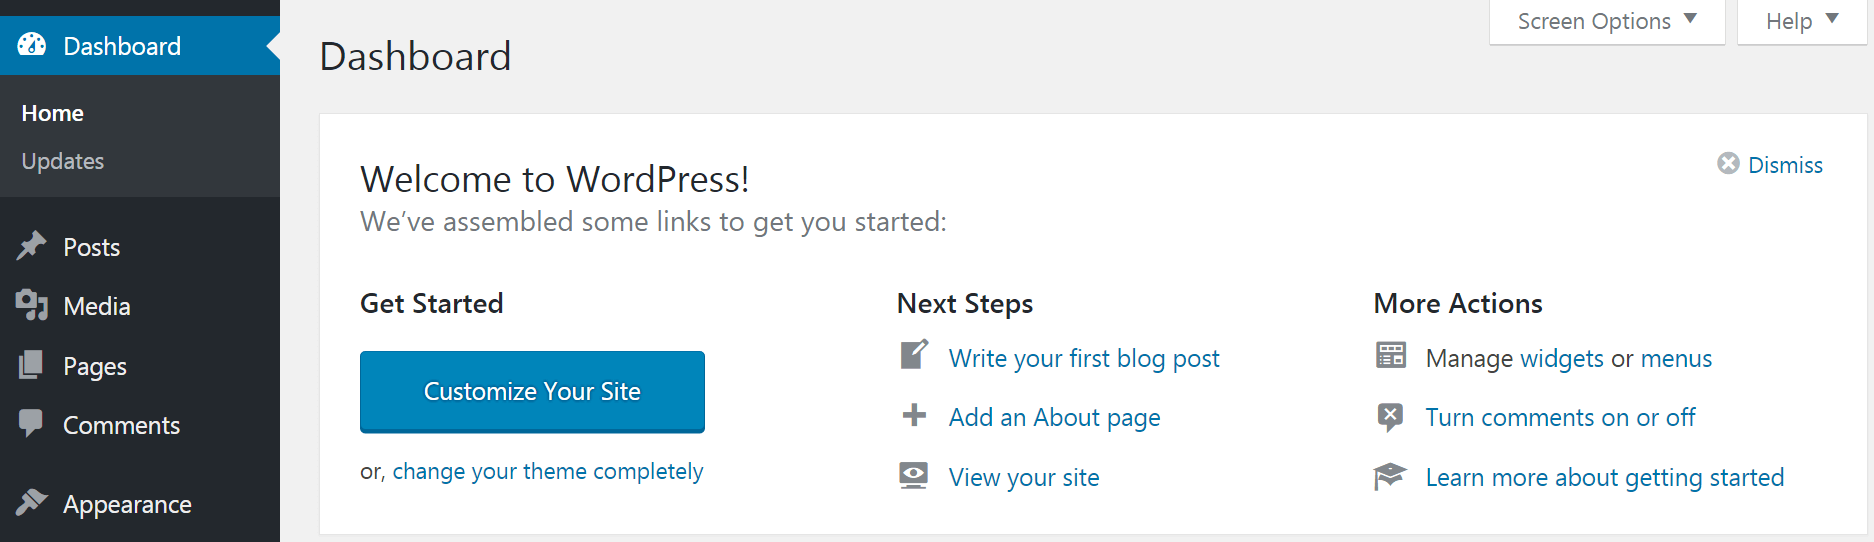
This box shows links to important sections of the back-end that will allow you to customize the appearance of your site, create posts and pages, and more. All these functions at the same time are accessible from the main menu on the left, which we will come to shortly.
The dashboard at the same time will allow you to view recent activity and comments on the Activity widget and find out how many posts, pages, and comments are currently on your site at Take a look. Puede iniciar una nueva publicación de Blog at Quick draft box if you like, or read about the latest developments in WordPress News:
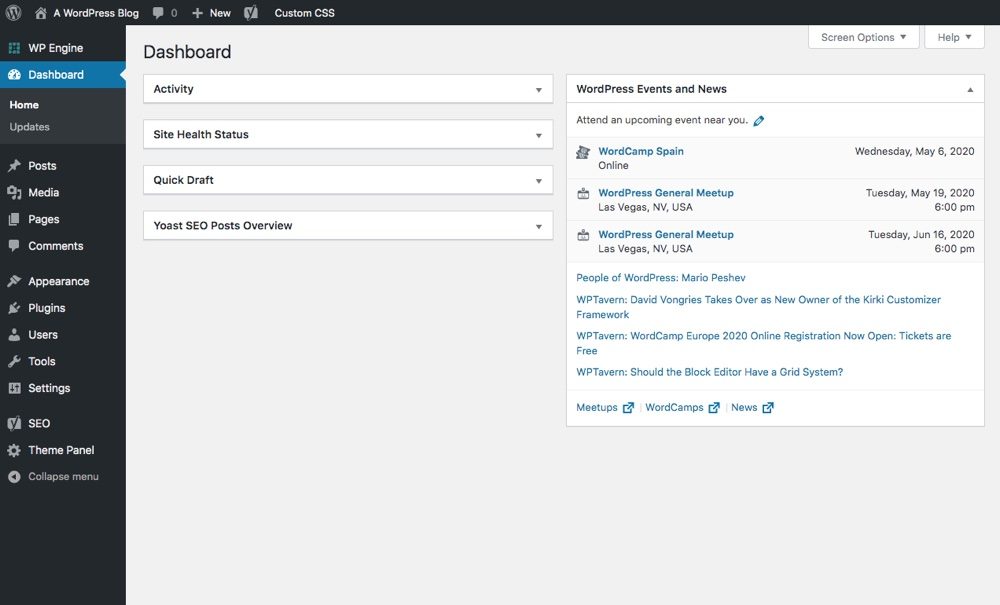
Each one of these widgets se puede mover si no le gusta la forma en que están organizados, simplemente haga clic en uno y arrástrelo a un nuevo lugar. Al mismo tiempo puede borrar los widgets no deseados por completo haciendo clic en Display options in the upper right corner of your dashboard. You will find the Help tab in the same place - appears on every page of the backend and is the first thing to check if you ever feel confused by a setting or function while working on your site.
Paso 2: personalice la configuración de su sitio Web
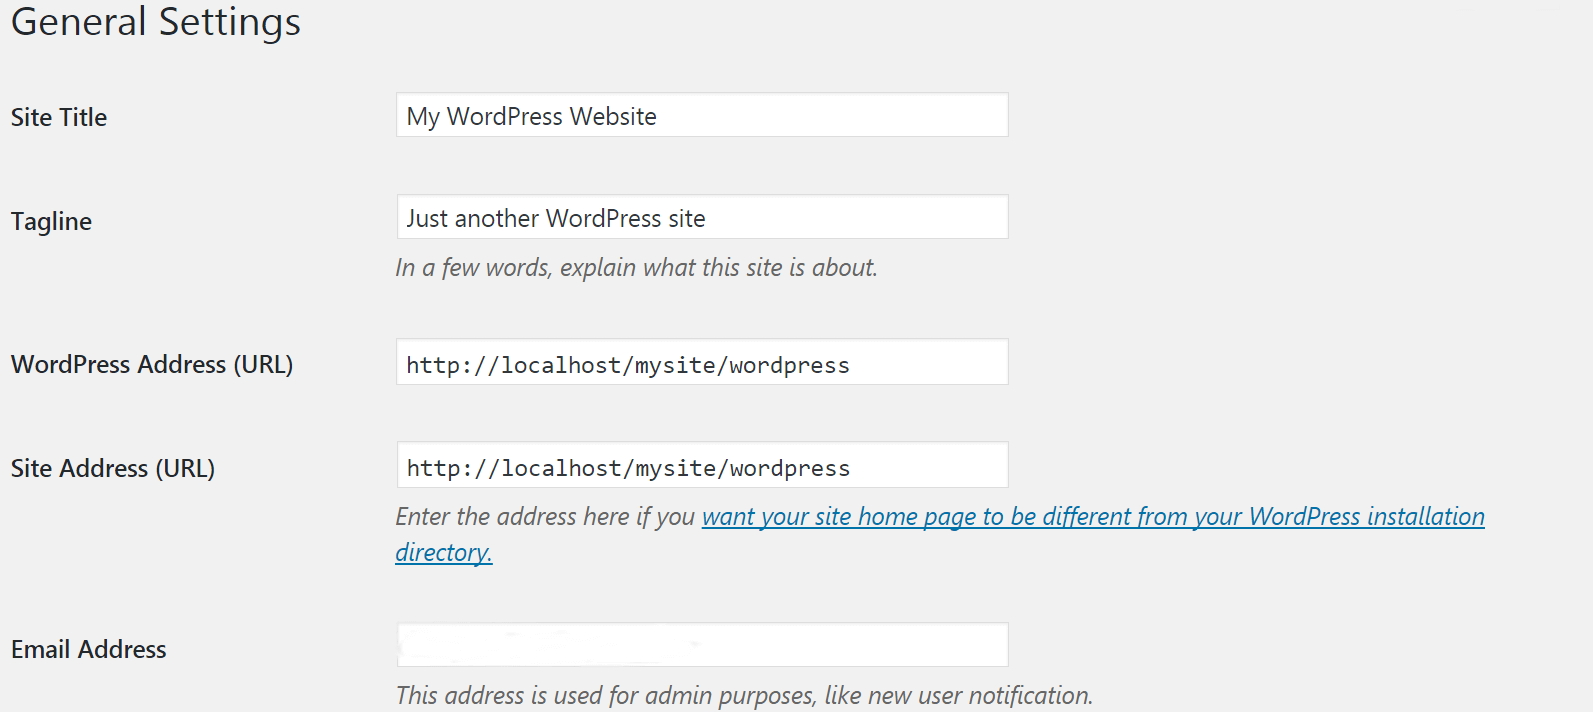
Now let's start exploring the menu on the left side of your WordPress backend. If you click Configurations, you will see six subsections. This is where you will change important settings for your site. We won't go over them all at this point, but we will point out a few key features to get you started.
When you clicked Configurations, you were taken to General configuration subsection. Here you can change your site title and tagline, as well as other basic information like your admin email address:
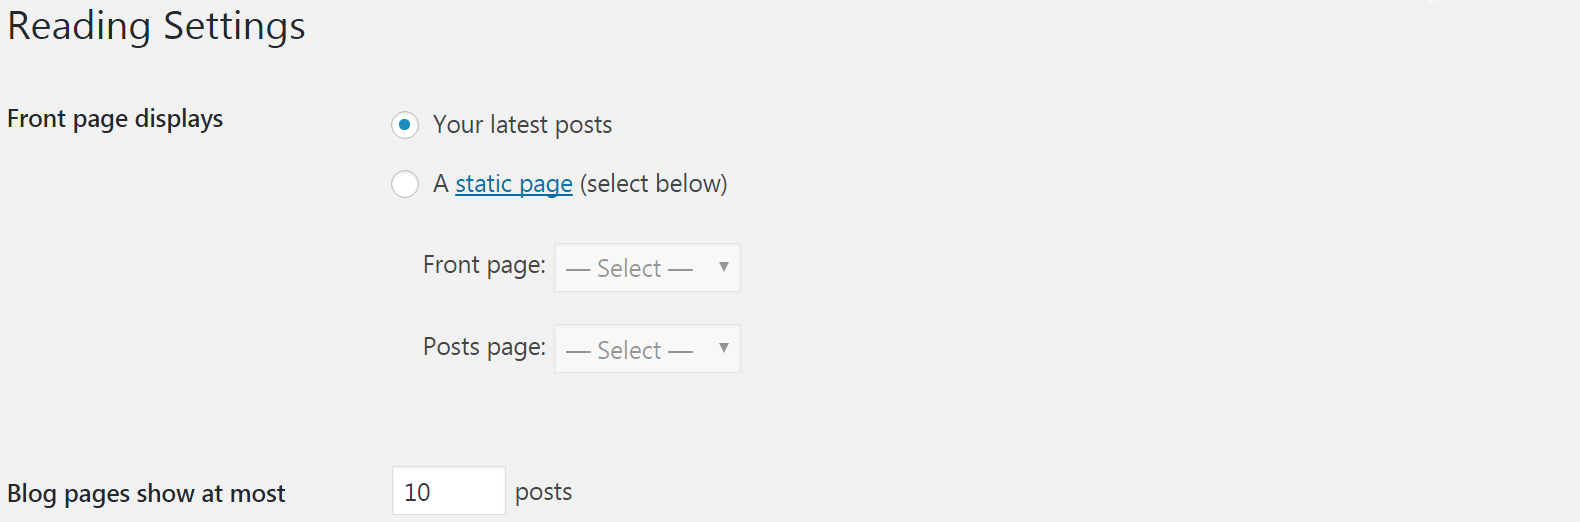
At Reading tab, you can set how many blog posts are displayed on each page. At the same time you can determine what the home page of your site will be; By default it's a list of your latest posts, but you can change it to show a static page (which you can learn more about in our guide on editing your home page):
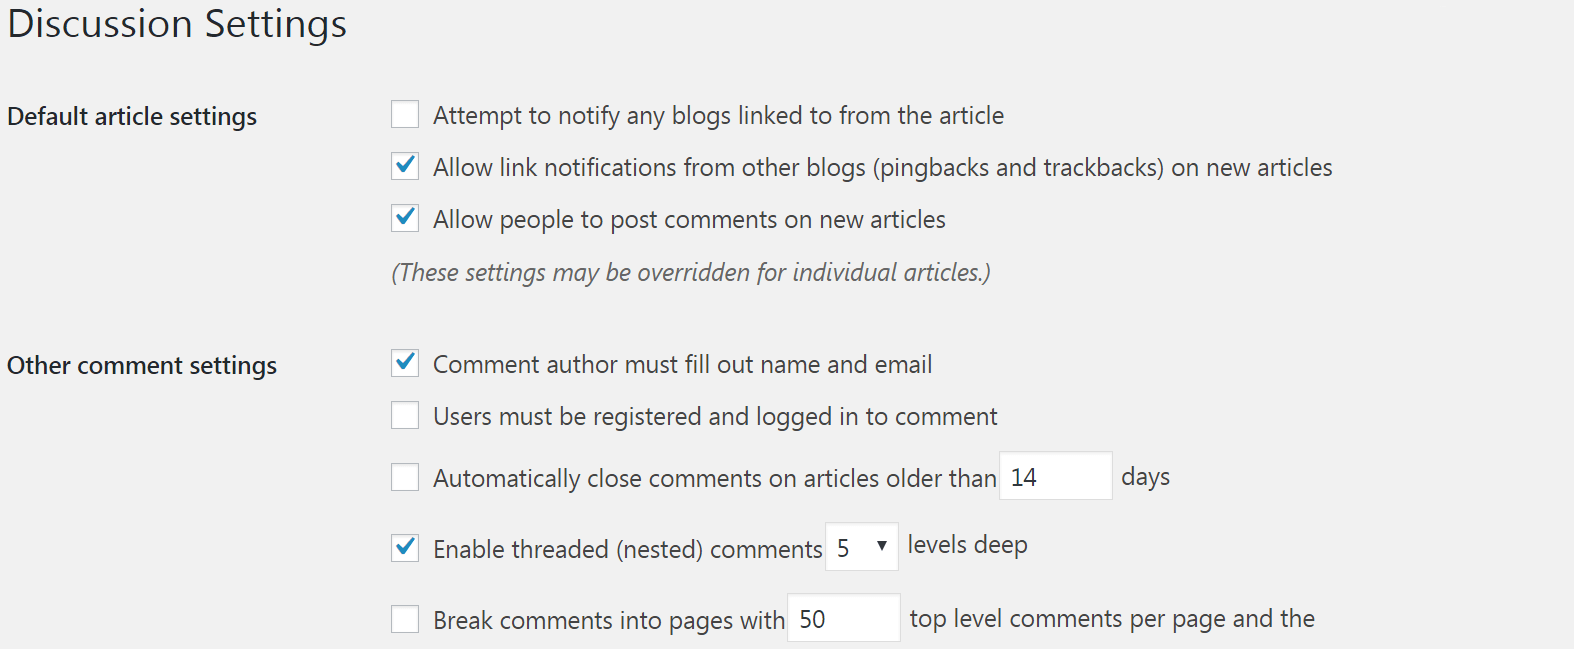
In short, go to Discussion subsection. On this page you can enable or disable WordPress pingbacks and trackbacks, and you can enable or disable comments. At the same time you have access to many other options associated with comments here - you can choose whether users will need to log in or provide personal information before commenting, for example, and you can change the approval and moderation settings:
Continue exploring the Configurations tab at your own pace if you like, but don't feel like you have to figure it all out right now. Some of the options here are advanced settings that you may never need to touch. Regardless, if you want to change something about how your site works in the future, this is the first place to check. At the same time you can find more information on specific settings in the WordPress codex.
Step 3: take a look at the Appearance and Accessories Tabs
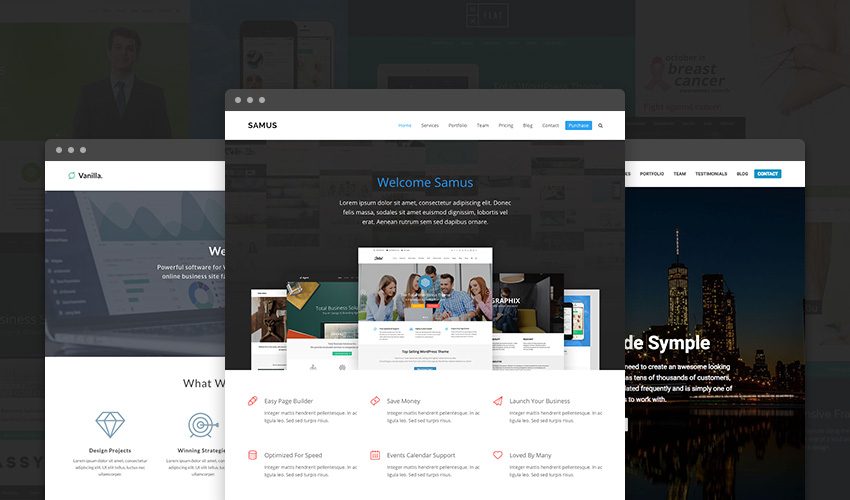
Total is an excellent example of a WordPress theme that enables you to customize the appearance of your website.
We'll talk more about themes and plugins in a later post in this series. To keep it simple for now, themes and plugins are tools that can alter the appearance and functions of your site. Themes affect the look and feel of your site, while plugins add features and alter what your site can do. As an example, you can use a theme that simplifies your website to a single page or gives you access to a design specifically designed for photography sites, and you could install a plugin that adds e-commerce functionality to your site or integrates your blog. with social networks. media.
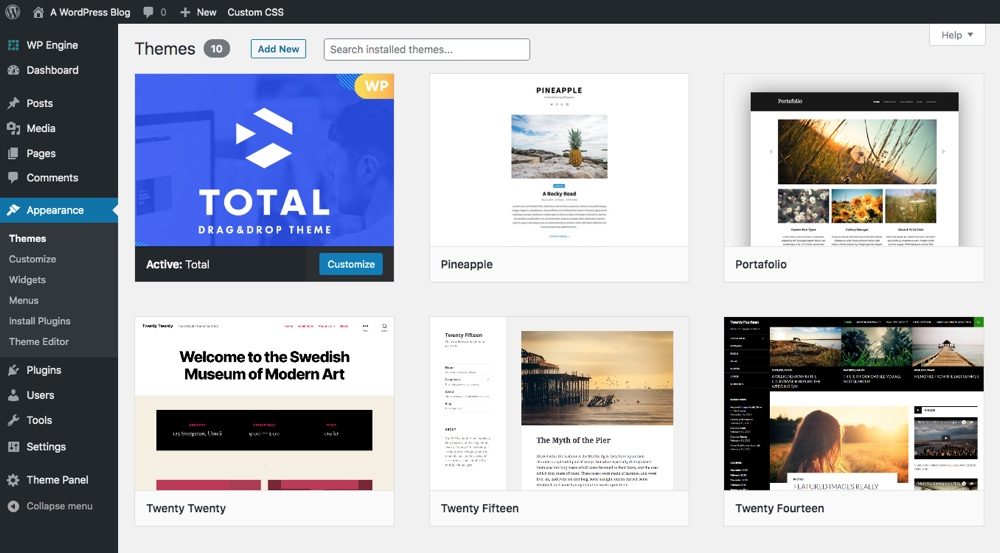
If you click the Appearance tab, you will see that the first subsection is Topics. This is where you can download and activate themes for your site. Some defaults will already be installed; you can hover over one and choose Activate to test or select Personalize to edit your current theme:
Dependiendo del tema que esté utilizando, es viable que tenga muchas opciones adicionales en el Personalizador en vivo de WordPress. A modo de ejemplo, el tema Twenty Fifteen solo ofrece algunas opciones clave para colores de fondo, Logo, etc. Total WordPress theme Aside from this, it includes hundreds of additional options for custom typography, image cropping, site widths / layout, custom colors for just about everything, and more.
the Appearance The tab at the same time is the place where you can customize the header and menusand it is where you can add widgets. WordPress menus make it easy for your readers to navigate to the most important pages on your website. WordPress widgets add additional content to your sidebar and / or footer (examples include about me, social links, recent posts, tags, categories, etc.).
Now go to Accessories tongue. Here you can install new plugins by choosing Add new, or you can manage your existing plugins:
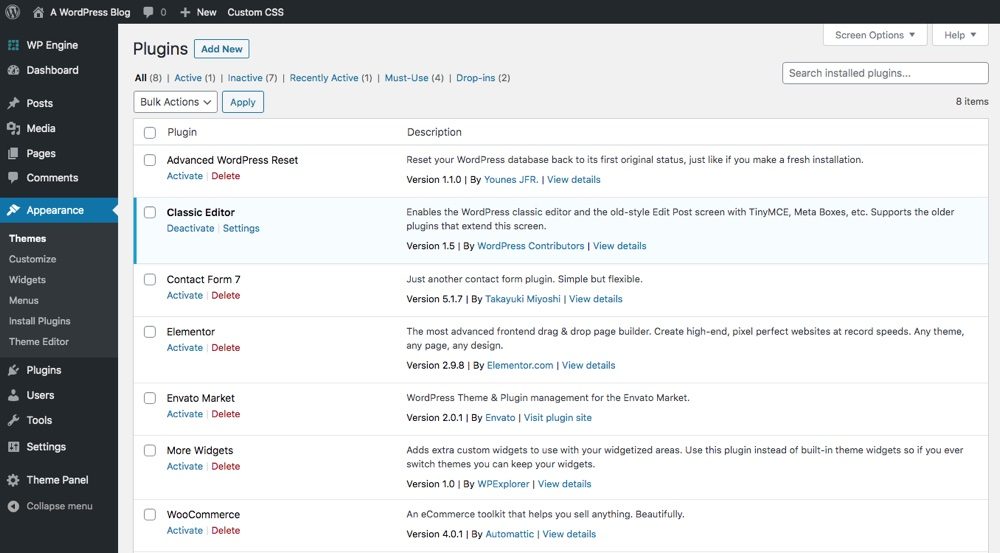
the Akismet The plugin anti-spam viene preinstalado con WordPress; es una excelente herramienta para combatir el spam en su sitio. Todo lo que debes de hacer para activar un complemento como este es hacer clic Activate (although there will often be additional configuration steps).
Step 4: Start creating content!
In short, it's time to learn how to add content to your site. You can create two main types of content in WordPress: posts and pages. Posts are blog entries that are archived and categorized, while pages are static sections of your site, such as a home page or an information page.
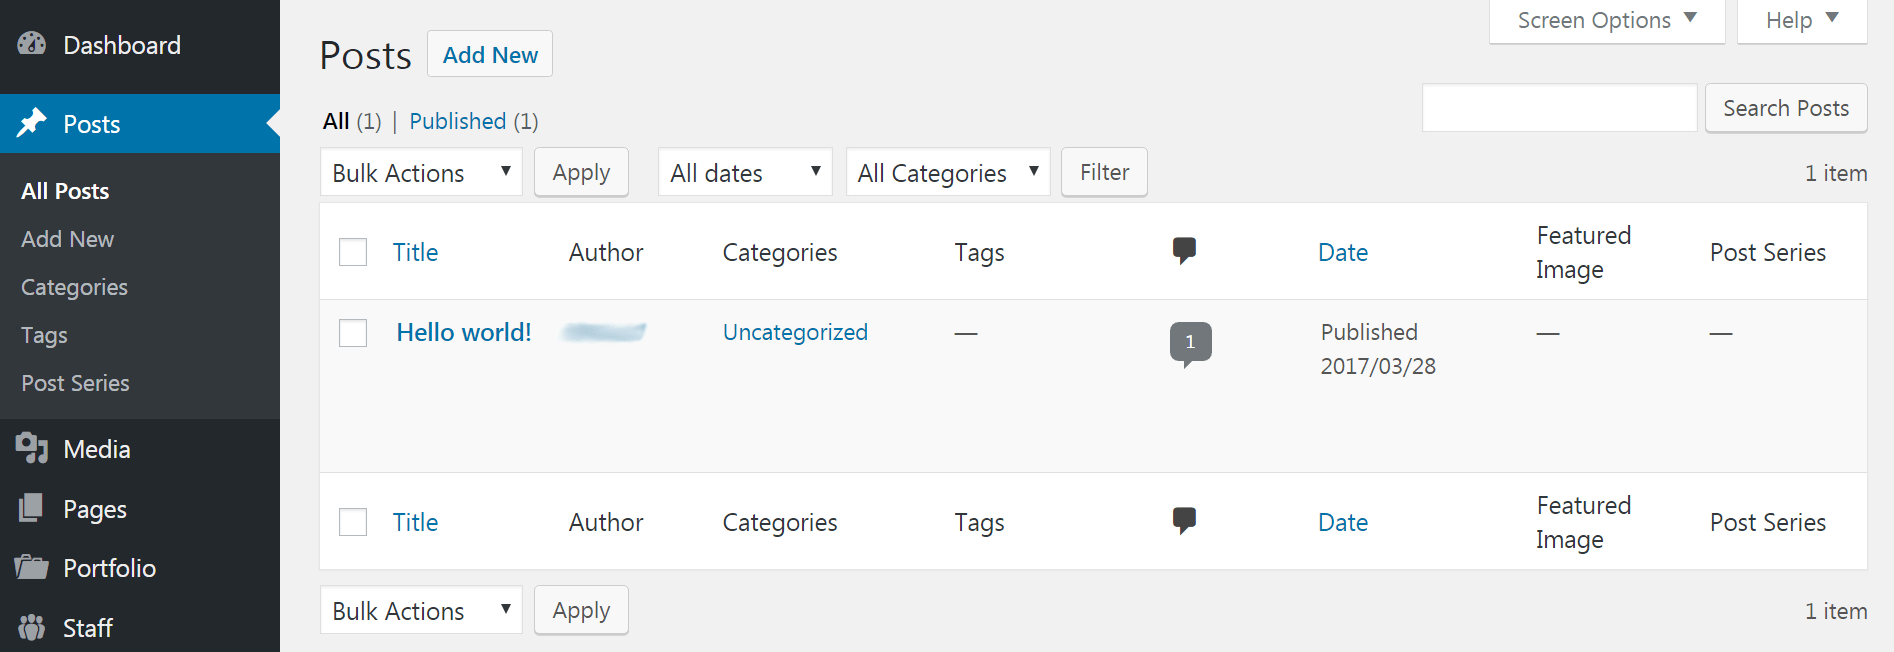
Naturally, the place to go to create blog posts is the Publications tongue. Here you can start a new post by selecting Add new. At the same time you can sort, edit and delete your oldest posts. At the same time, you can create categories and tags to organize your content by navigating to the respective subsections:
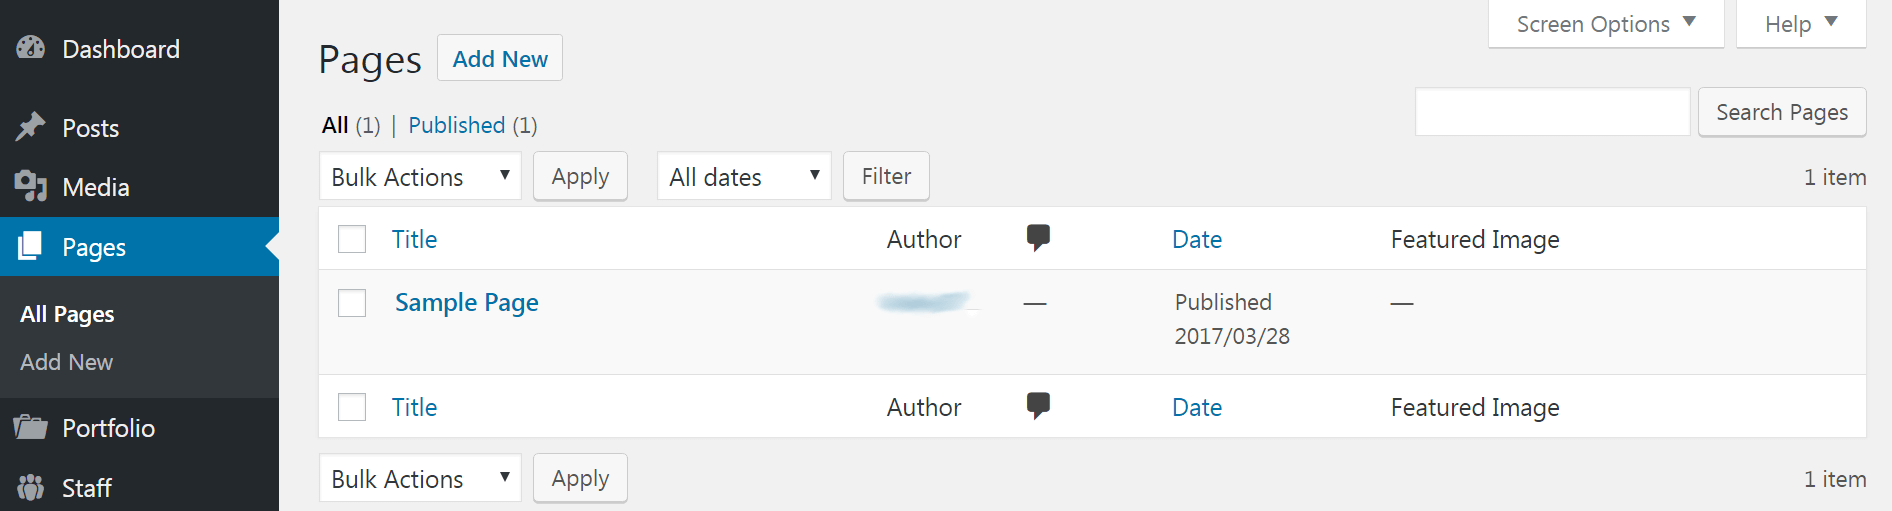
To create a static page instead, navigate to the pages tongue. In this section you can create a new page, as well as sort, edit and delete existing pages:
For now, we recommend clicking on the post and sample page in these sections and looking around to get an idea of how these types of content work. We will discuss post and page creation in more detail in a future post.
Hay mucho que hacer y ver en el back-end de WordPress, tanto que es viable que no esté seguro de por dónde empezar. Por suerte, WordPress hace que be más fácil acostumbrarse a la plataforma al organizar de forma clara las características y configuraciones clave, e incluir enlaces útiles en el panel de gestión.
Have a question about how to use the WordPress backend? Ask in the comment section below!


