What are the steps to remove columns from tables in Power BI with an example? In general, the data that we load from the source may have some columns that may not be necessary for the purpose of the analysis.
How to remove columns from tables in Power BI
To remove unwanted columns from existing tables, click the Edit queries option under the Home tongue.
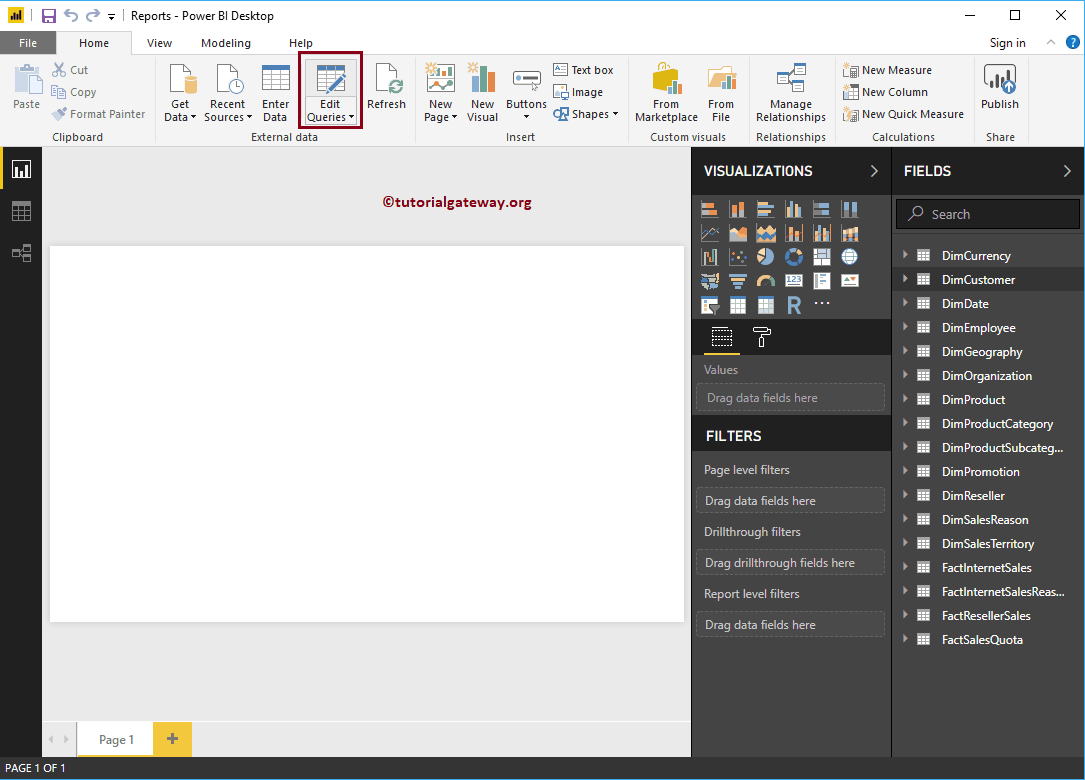
Clicking Edit queries The option opens a new window called Power Query Editor.
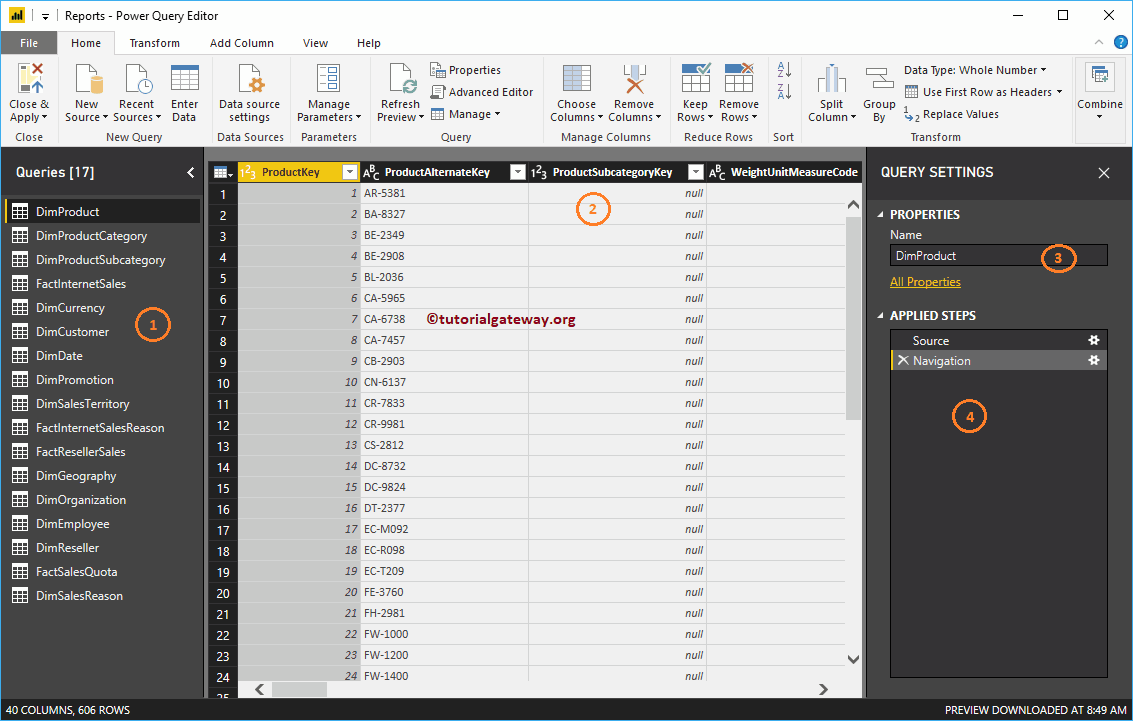
- Queries: List of available tables.
- Displays the data (rows and columns) present in the selected table.
- Properties: Name of the selected table. You can use this section to rename the table to be more meaningful.
- Steps applied: List the steps we take in this Power BI table.
TIP: You can select the required column (or Ctrl + Select columns for multiple columns) and press the Remove button on your keyboard.
For the purpose of demonstration Removing Columns from Tables in Power BI, we removed some columns from the DimProductCategory table.
Remove columns from tables in Power BI: approach 1
Select the column you want to delete. Then right click on it and select the Remove context menu option.
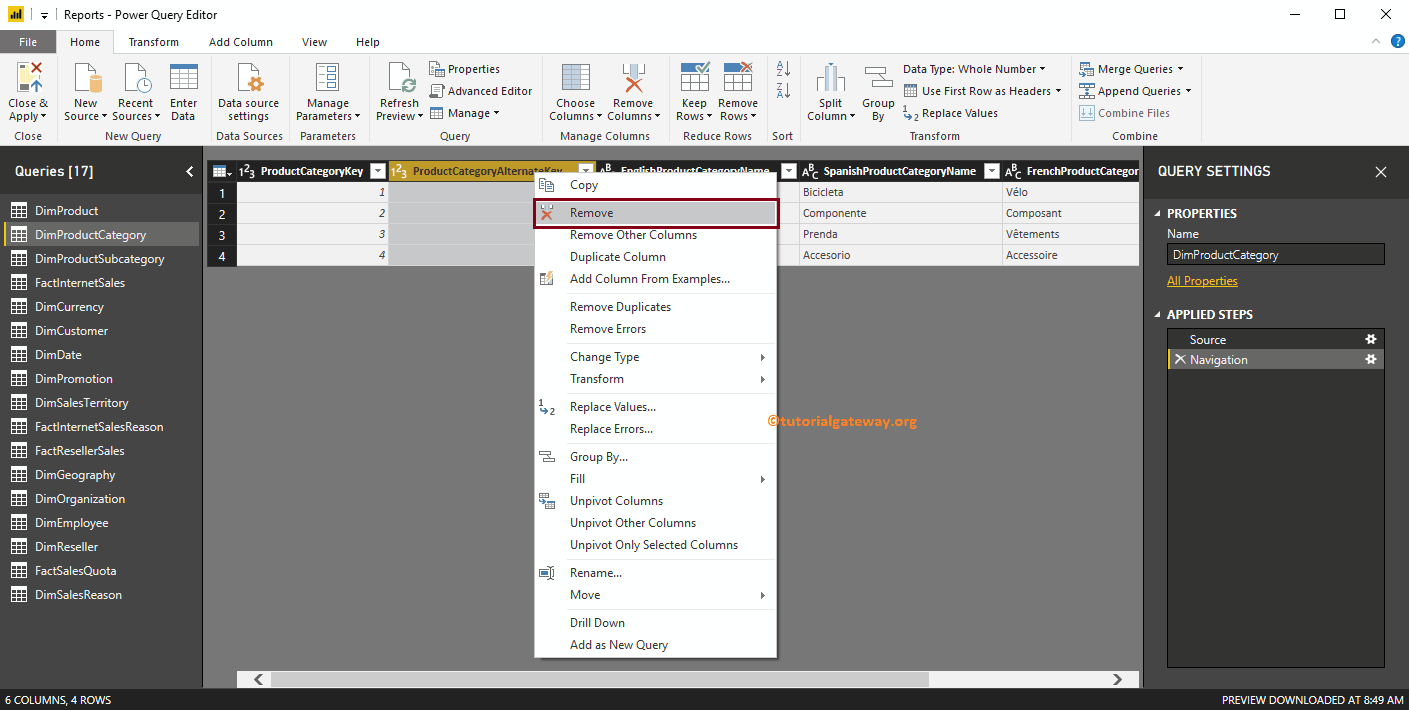
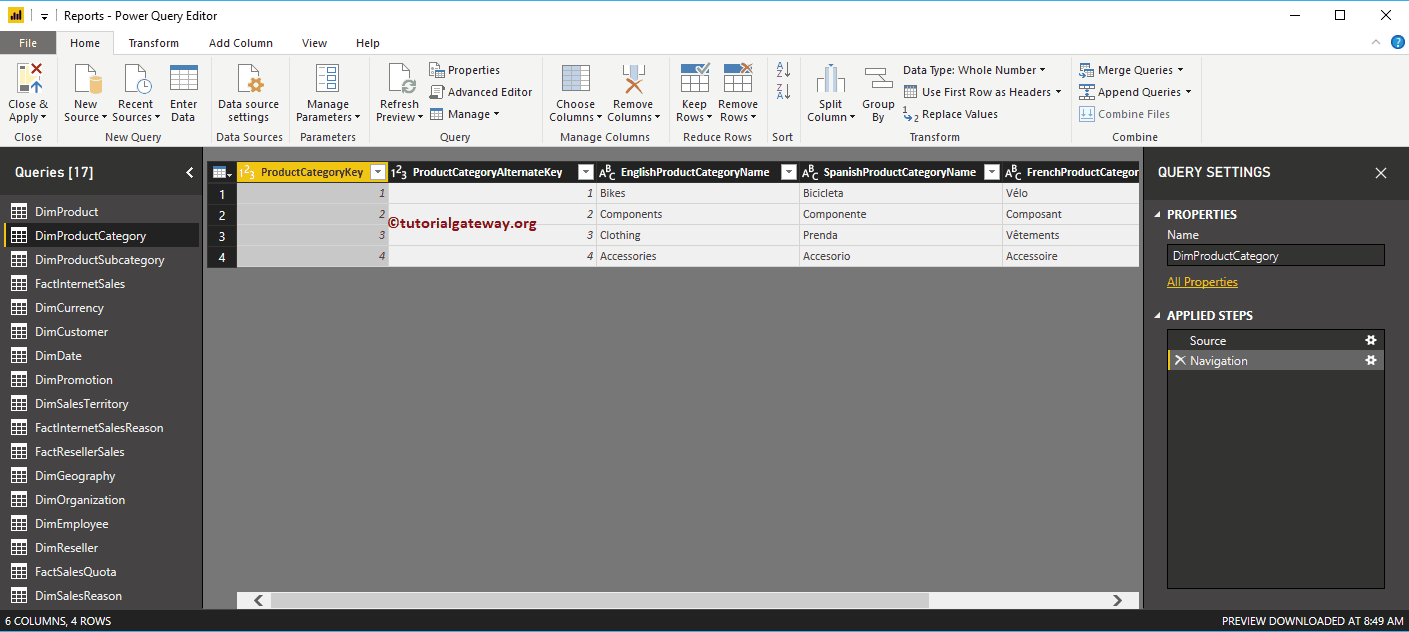
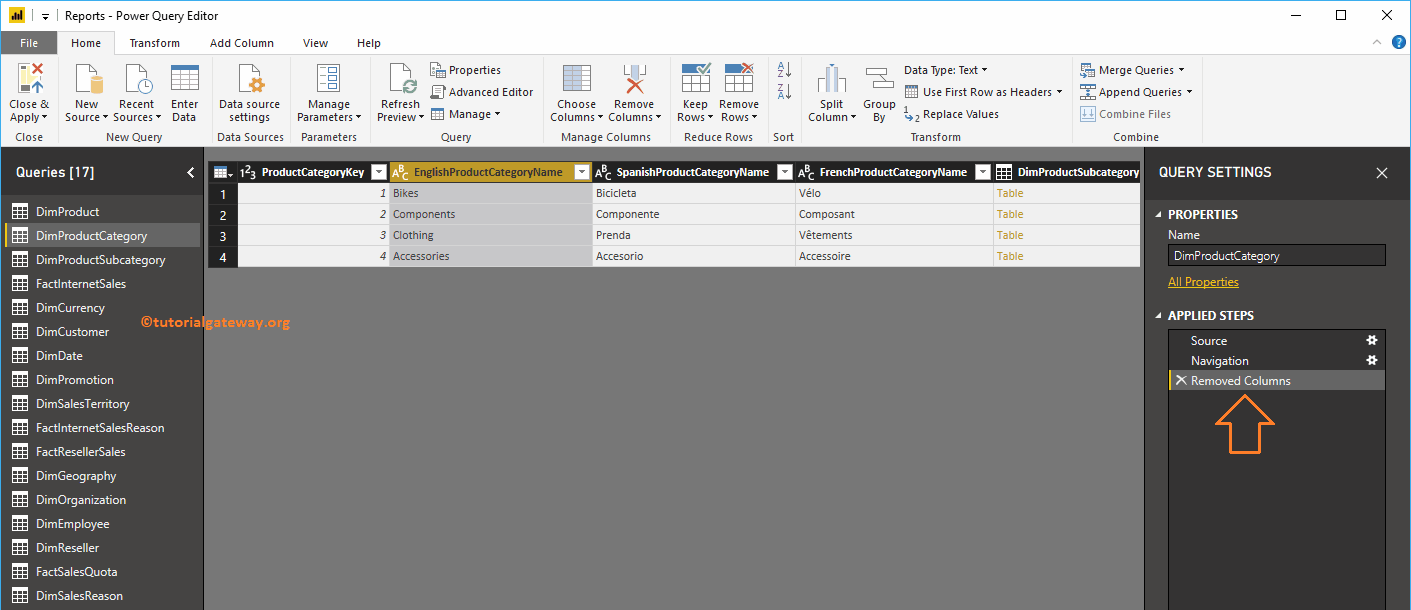
Now, you can see that the Product Category Alternate Key column has been removed from the table. And you can see the same under the Steps applied section.
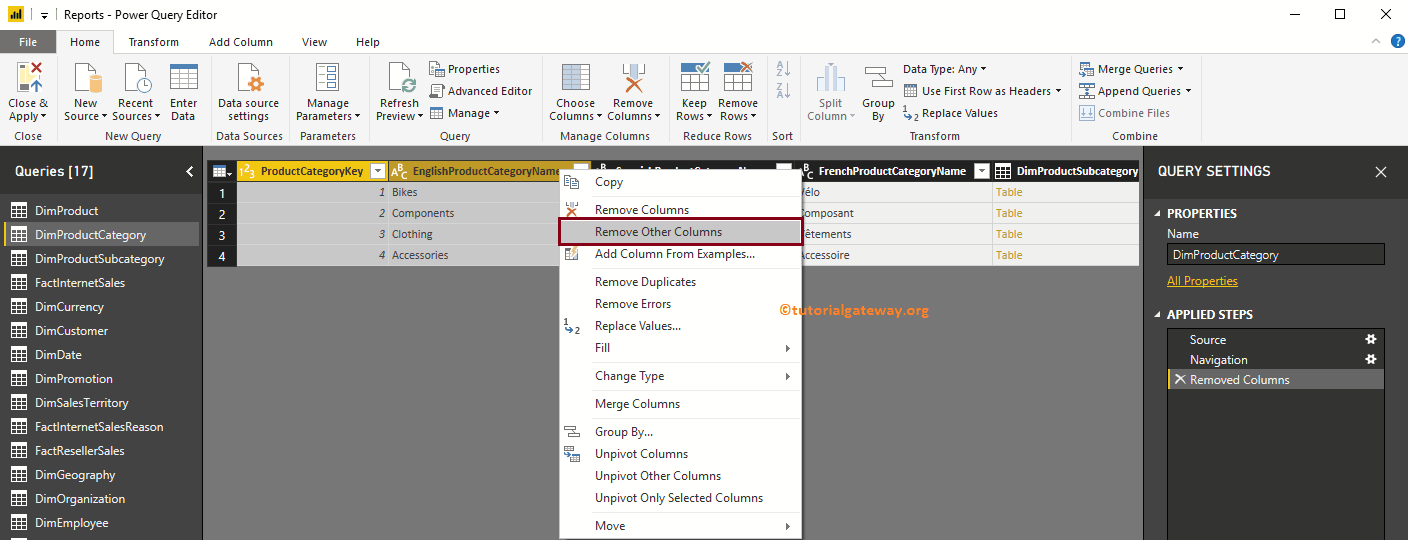
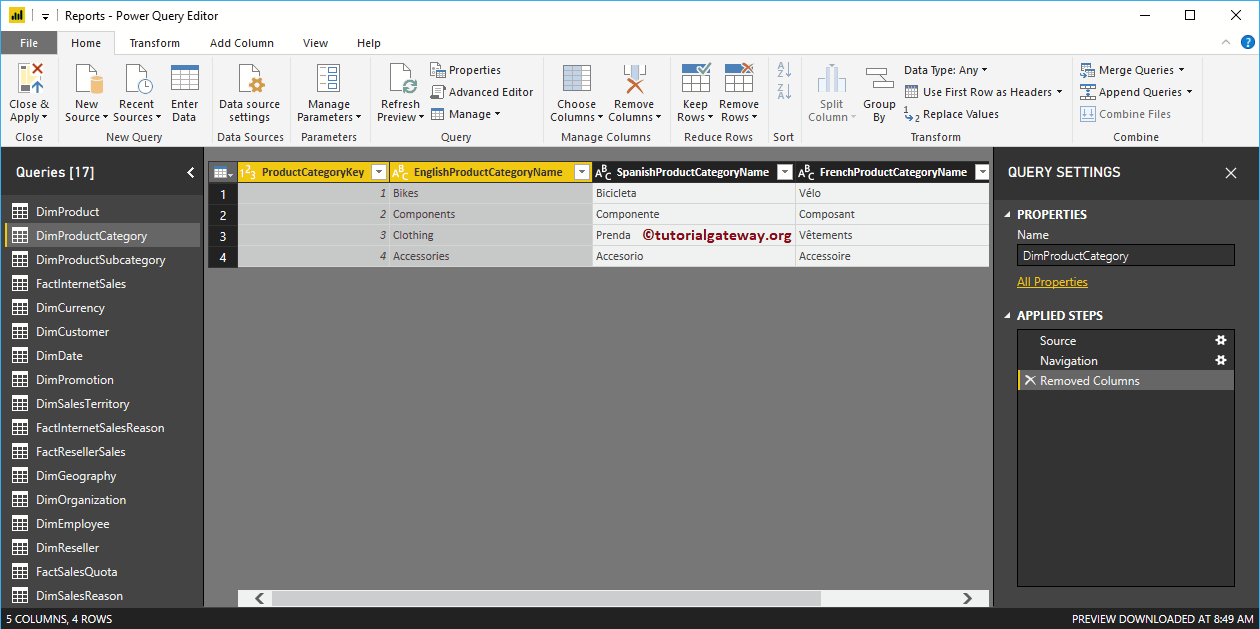
Delete other columns: Use this option to remove all columns from the table except the selected columns.
For demonstration purposes, I am selecting the product category key and the product category name. Then right click and select the Remove other columns context menu option.
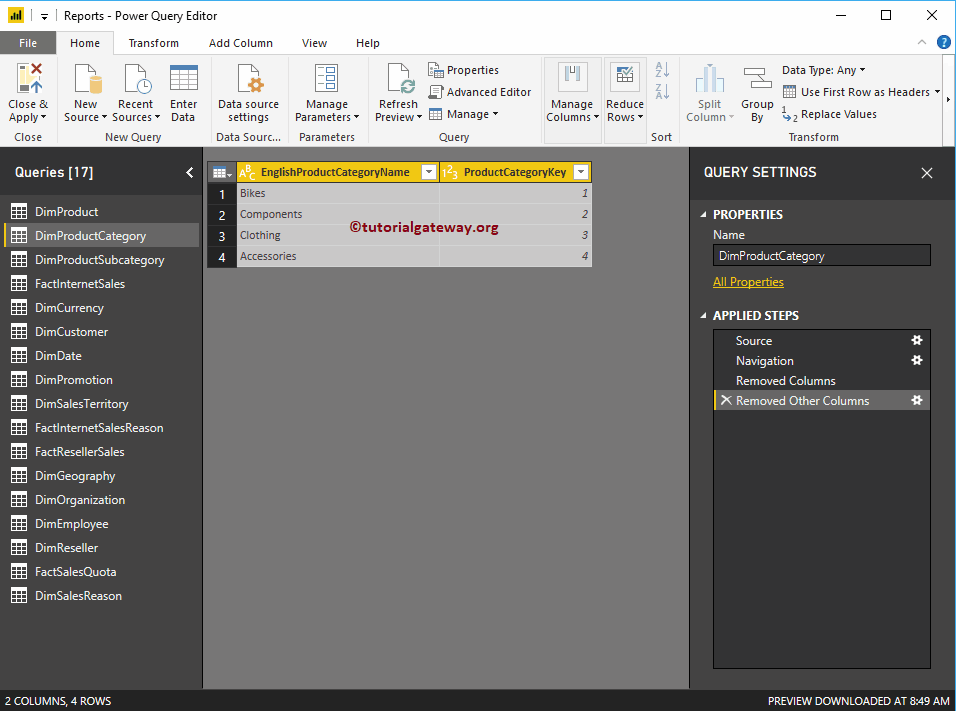
As you can see, all other columns were removed from the category table.
If you want to undo the changes (or revert the changes), go to the Steps applied section, and delete the step as shown below.
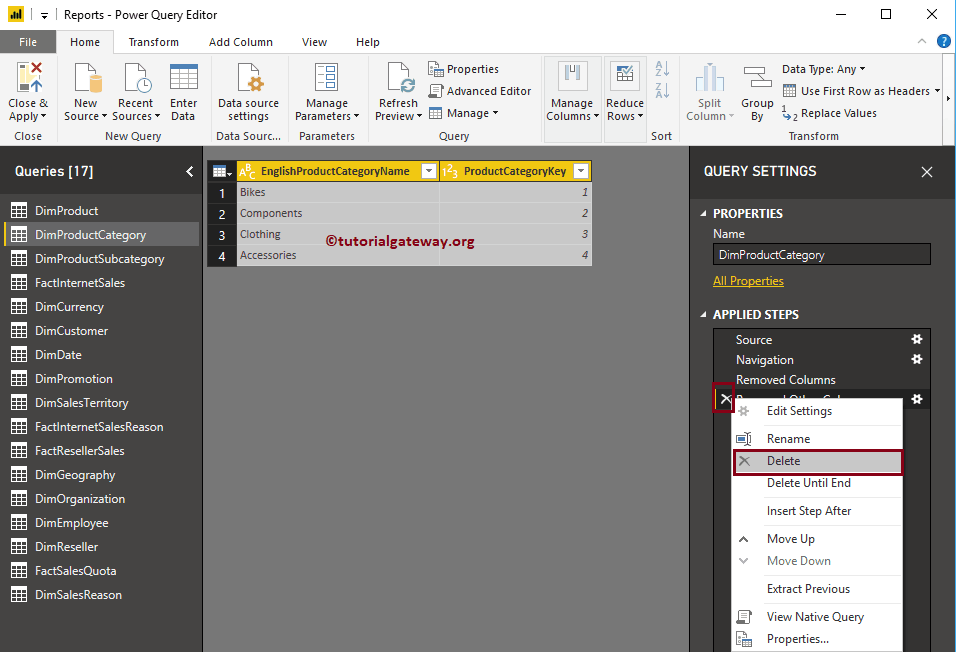
Undo the steps
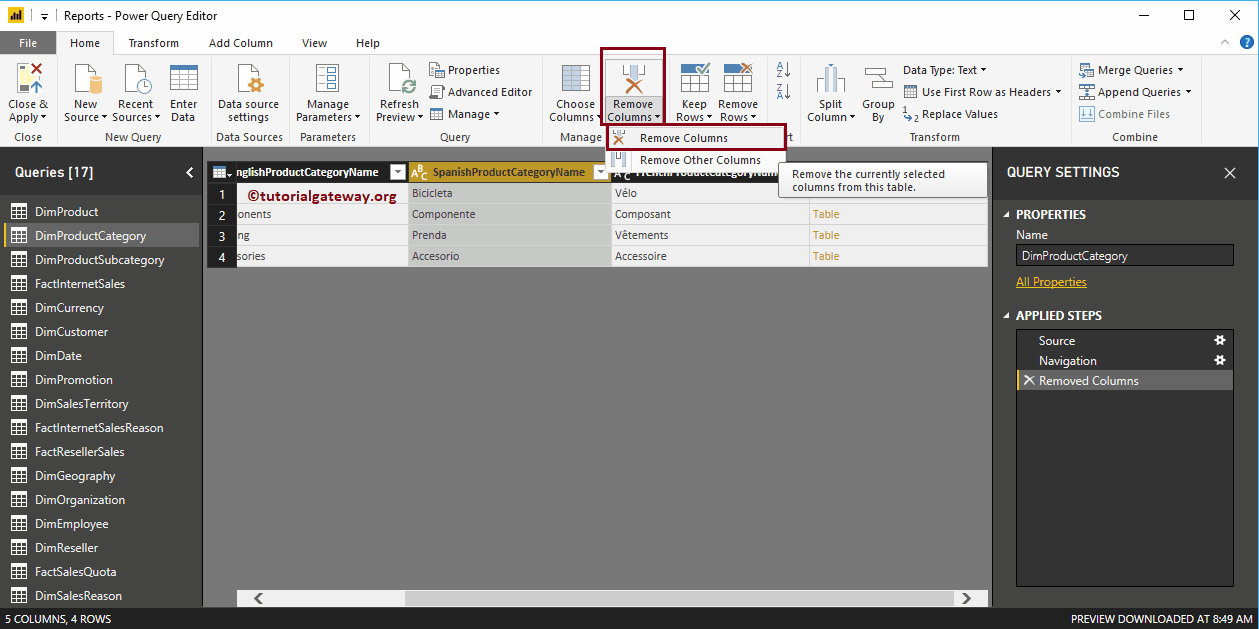
Remove columns from tables in Power BI: approach 2
First, select the column you want to delete and then click Remove columns option under the Home tongue.

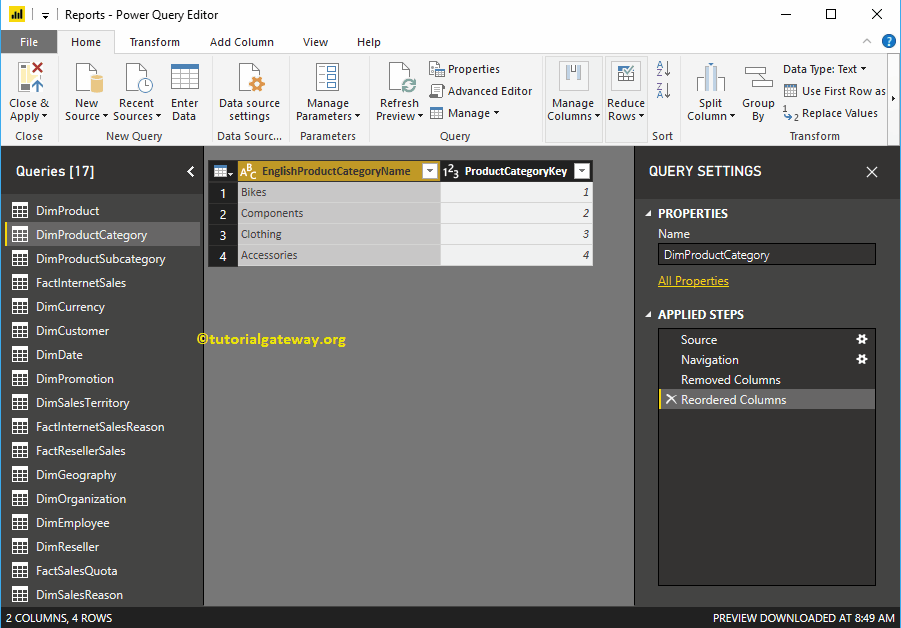
Reorder columns in Power BI tables
Drag the column and drop it according to your needs. For demonstration purposes, we dragged the English product category name from the last position to the first.

You can see the category name in the first position
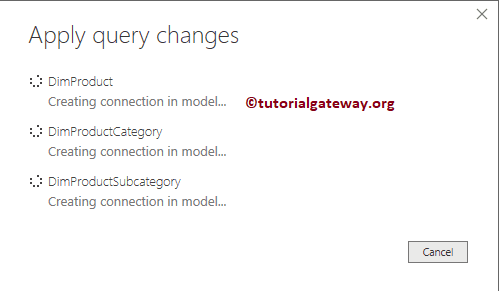
Whatever changes you have made, they will not take effect until you press Apply. Let me hit the Close and apply option under the Home tongue.

Wait until the changes are made.
And you can see that the Product Category table has only two columns.