
Los creadores de páginas han sido la comidilla de la comunidad de WordPress desde hace un tiempo. Estas herramientas han sido populares durante mucho tiempo, pero con la introducción del nuevo Editor de bloques, muchos se han preguntado qué tan relevantes siguen siendo.
While the Block Editor is an intriguing new feature, nonetheless nothing beats the Page Builder Plugins when it comes to designing custom pages and posts. the WordPress Beaver Builder Plugin is a perfect example of the benefits that this type of tool offers, as it is easy to use and surprisingly powerful.
En esta publicación, analizaremos de cerca Beaver Builder. Discutiremos sus características clave y sus precios, posteriormente le mostraremos cómo funciona en acción, para que pueda seleccionar por sí mismo si esta es la solución de creación de páginas adecuada para su sitio Web.
Let's jump right into our new and improved updated guide to Beaver Build WordPress page builder!
Why You Might Need a WordPress Page Builder
A menos que be nuevo en la plataforma, probablemente esté familiarizado con el editor clásico de WordPress:
Aún cuando es funcional, siempre fue un sistema básico. Casi todo su contents se agregó a un solo campo, incluidos texto, medios, etc. Era viable crear diseños únicos y agregar características interesantes, pero habitualmente requería conocimientos de codificación y / o algunos complementos adicionales.
Regardless, WordPress developers recently released a new version of the editor now powered by Gutenberg:
This change was a long time coming, but it's nothing particularly new either. The Block Editor is a simplified version of a page builder, a solution that has been popular with WordPress users for some time.
Aún cuando cada creador de páginas de WordPress es diferente, en un nivel básico casi todos se centran en el mismo concepto fundamental. Le proporcionan una selección de items prediseñados y le posibilitan crear contenido a partir de esas piezas. El target es hacer que sea más fácil e intuitivo crear contenido con diseños y características únicos, incluso si no tiene experiencia en diseño o codificación.
In spite of everything, it should be noted that the Block Editor is a very limited function. It enables you to design posts and pages in a more visual way, but it offers a small library of blocks and little support for complex layouts. That's why it's still worth looking out for other page builder options, like the plugin we'll discuss throughout the rest of this post.
Beaver Builder Basics
Beaver Builder is one of the most popular page builder plugins out there, and for good reason. It's easy for beginners to learn, but it comes with a wide range of options to play with. At a fundamental level, it's a drag-and-drop system for creating posts and pages, just like any other page builder. Nevertheless, at the same time it offers many additional functions.
Some of the key features of this plugin include:
- A large library of content 'modules', ranging from basic options (like text and image modules) to more advanced features (calls to action, maps and gallery modules, etc.).
- A custom editing interface that enables you to visually create custom pages, posts, and post types and see your changes immediately.
- The ability to create complex multi-column layouts and adjust sizes, spacing, and more.
- Predefined sections and page templates that enable you to jump-start the design process, which you can modify as needed.
- The option to create and save your own templates for later use.
- Opciones para agregar HTML personalizado y sus propias clases de CSS, para usuarios más avanzados.
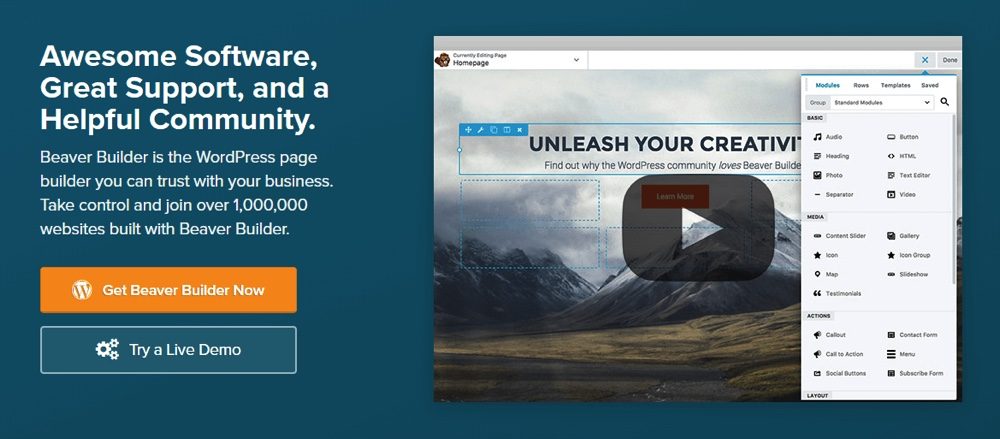
All this functionality definitely comes at a cost. Even when there is a Beaver Builder Lite version available for free, offers only some basic modules and does not include many outstanding features as templates and import / export options. Regardless, the lite version is useful to give this page builder a try and see if you like how it works.
If you're serious about using Beaver Builder, you'll want to get a premium license to get access to the full package. These start at $ 99 for use on unlimited websites and one year of support:
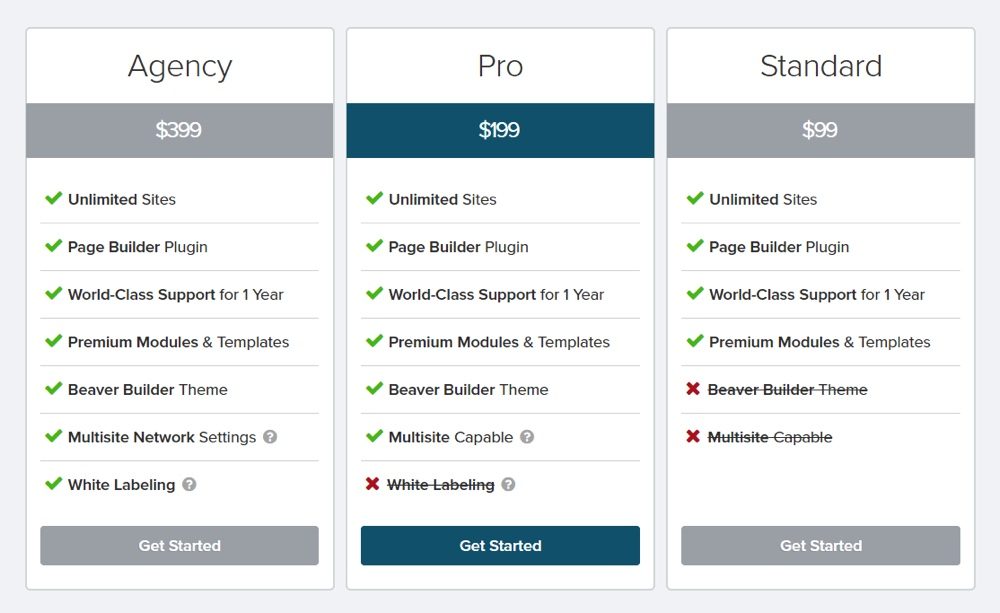
This particular tool make require an initial investment. Regardless, the initial cost can be paid in saved time and a more effective website in the long run, so it's not a bad deal if it's within your budget.
How to get started with Beaver Builder
When you are unsure about whether to get a new plugin for your website, the best thing to do is learn as much as you can about it. When it comes to page builders, this includes what they look like, how they work, and what options they offer.
With this in mind, let's take a look at what it's like to choose Beaver Builder and start using it to create posts and pages. Naturally, the first thing to do is install and activate the plugin.
At the same time, you will want to activate your license key if you bought the premium version (which we will use in this tutorial). Then you can get down to business.
Step 1: access the Beaver Builder editor
When you install the plugin, you will see a new Beaver Builder tab on your dashboard. This is where your custom content will be saved, for example, if you create your own unique templates.
At the same time you can create content with the page builder by going to Beaver Builder> Add New. Alternatively you can simply go to Pages> Add New (or the like for posts and custom post types). You will see a new option:
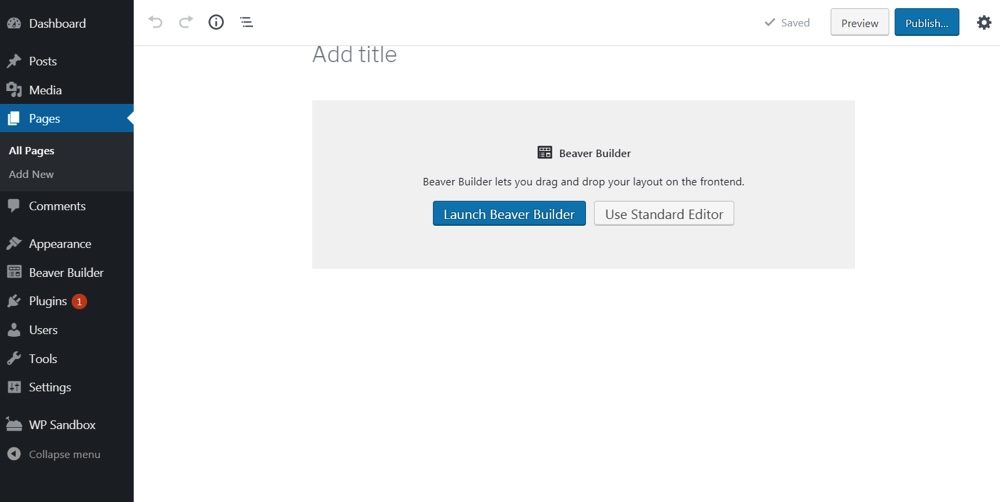
This means that you can create your content in the default WordPress editor or page builder. Let's hit the Launch Beaver Builder button:
As you can see, they will take you to a completely new interface. Here, you can create content and see exactly how it will look on the page.
Step 2: select a starter template
Notably, you don't have to use templates if you don't want to. You can create your pages and posts completely from scratch, adding the modules you want. Regardless, the easiest way to learn is by starting with a template, which is what we'll demonstrate here.
From the menu on the right side of the editor, select the Templates tab at the top, and you will see many options. Just click on a template or drag it onto the page and you will see the full version:
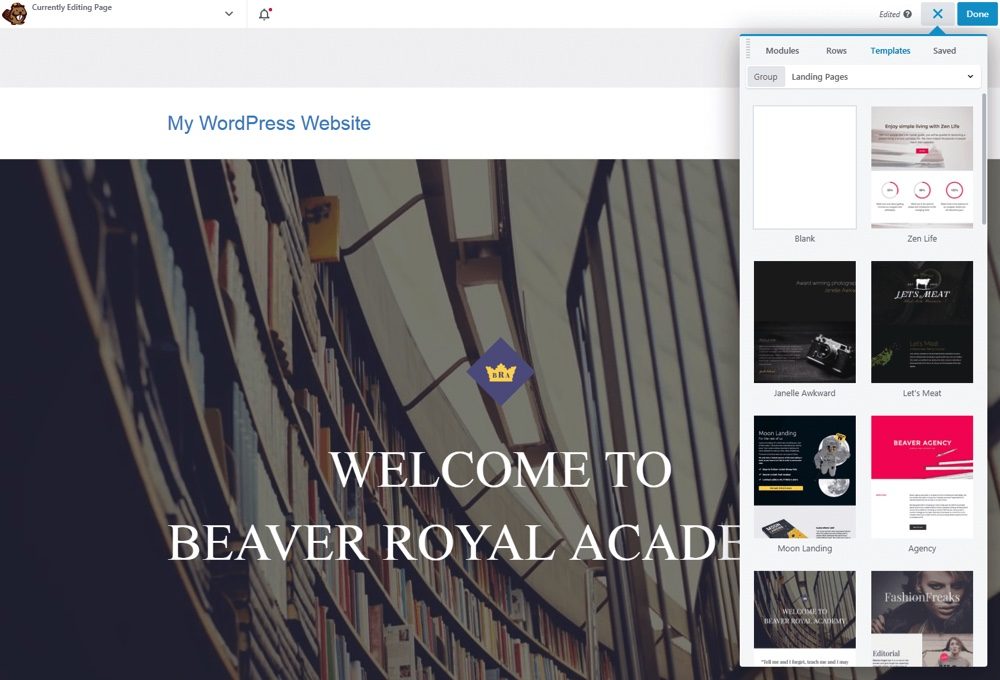
This provides you with an initial layout, along with placeholder text and images. Luckily, all the items here can be replaced and modified at will, so you can create something unique for your website.
Step 3: edit individual modules
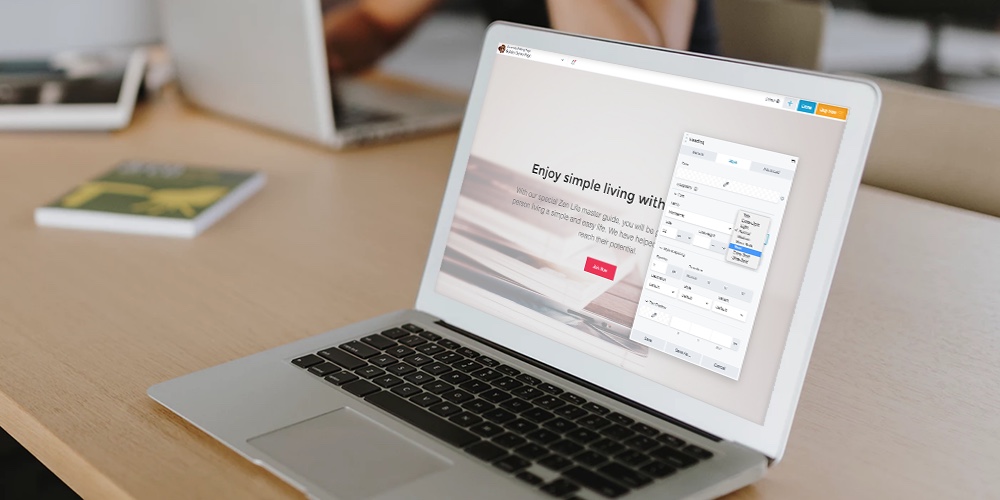
Each individual element of the Beaver Builder editor is a self-contained module. To see what we're longing to say, you can hover over a piece of text, an image, or a feature in your starter template. You will see the module highlighted in blue and if you click on it you will see a new menu:
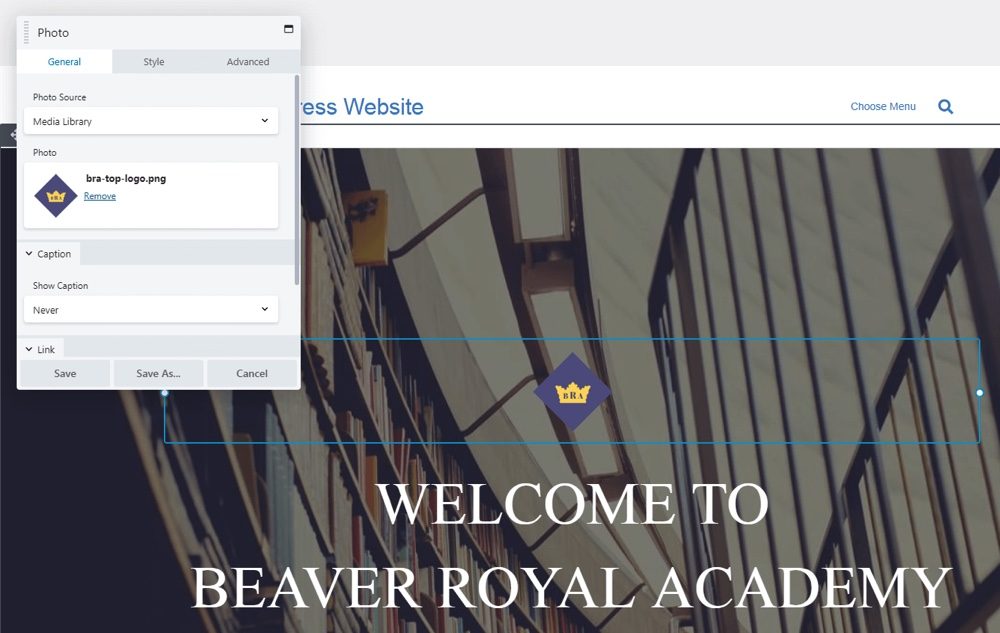
Este es el cuadro de configuración para ese módulo. Contiene todas las opciones de personalización para el contenido seleccionado. Por ende, exactamente lo que incluye dependerá del type of content con el que esté trabajando.
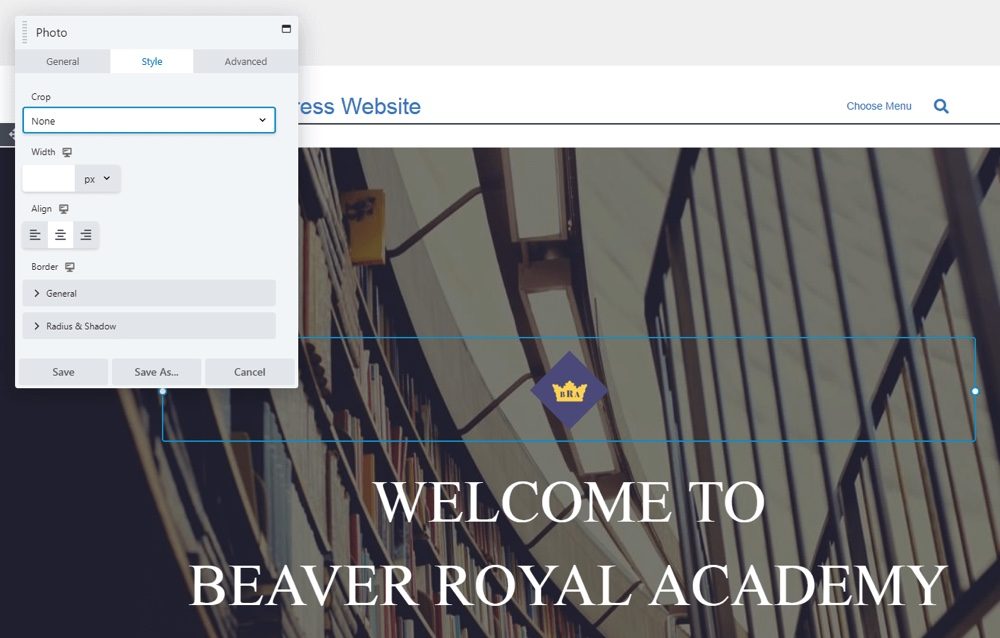
As an example, the Photo El módulo le posibilita cambiar qué archivo se utiliza y agregar un título y / o link. Al mismo tiempo puede cambiar al Style tab to modify the alignment, border and more of the image:
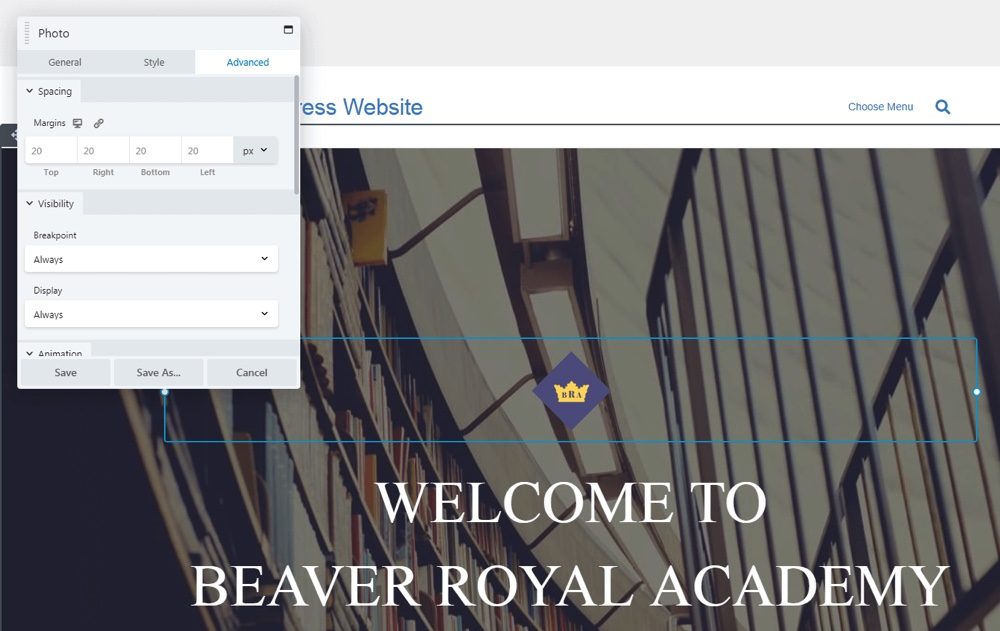
Most of the modules at the same time have Advanced tab, where you can adjust your margins, make it visible only on certain types of devices, add custom HTML, etc.
As you can see, customizing your Beaver Builder modules is extremely easy. It will take a bit of experience to familiarize yourself with the options each type of module offers, but once you do, you will find yourself adding your own content in no time.
Step 4: customize your content layout and organization
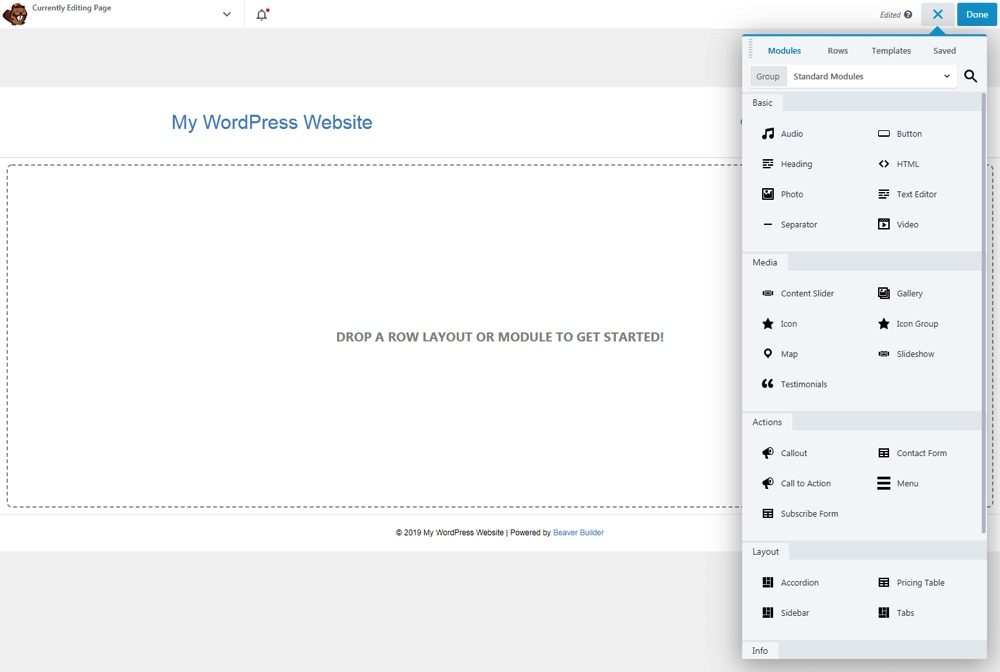
As well as making changes to individual modules, you can also customize your page as a whole. One of the ways to do this is by adding and removing modules. To add a module, simply select one from the editor's main menu and drag it into place on the page:
Apart from this, you can remove modules by pressing the X that appears when you hover over them. At the same time you can drag the modules up and down or side to side, to rearrange them at will.
At the same time, you can change the overall design of your page. To see an example of this in action, hover over a module and press Edit column> Column settings:
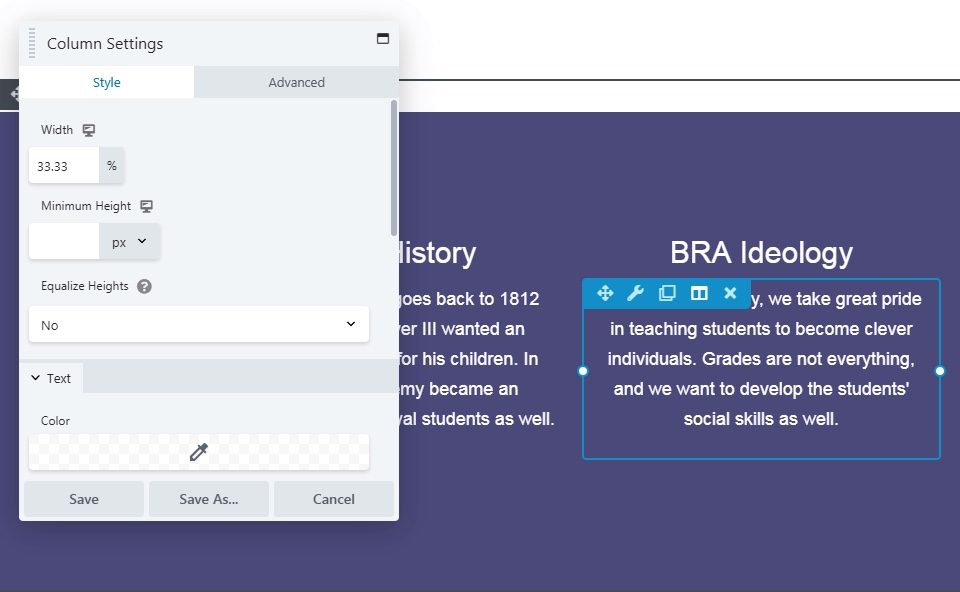
Here, you can find the options corresponding to all modules in the particular column. You can modify the background color and column spacing, for example, and even add a border.
Now hover over the page background and select Row configuration in the upper right corner:
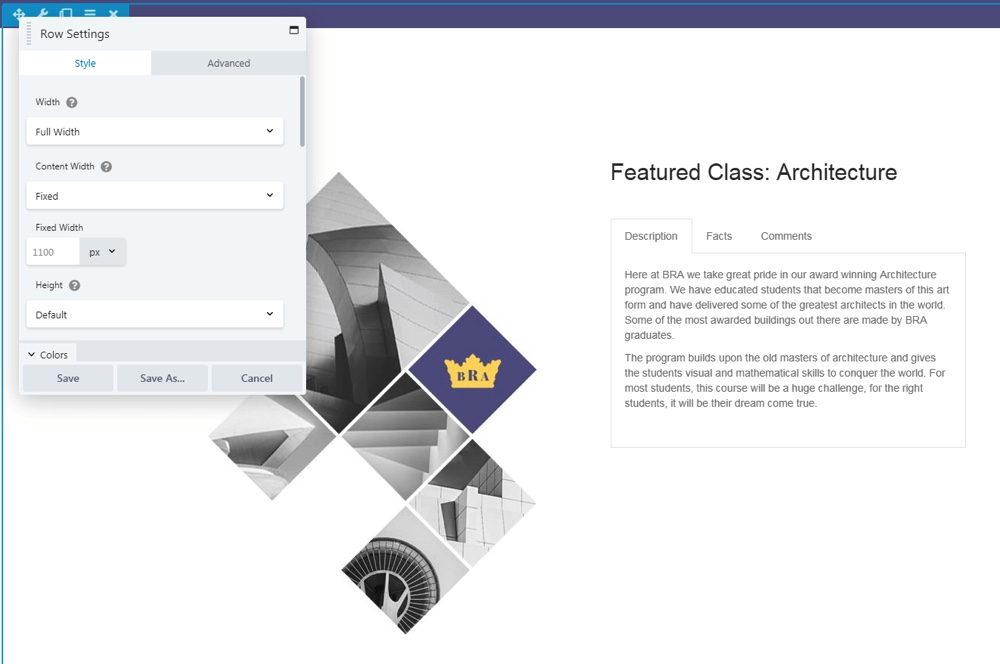
You will see an identical menu, but this time the options apply to the corresponding row of modules. You can set the row to fixed or full width, customize colors, and make many of the same changes that are available to columns.
In conclusion, select the editor main menu again and navigate to the Rows tongue:
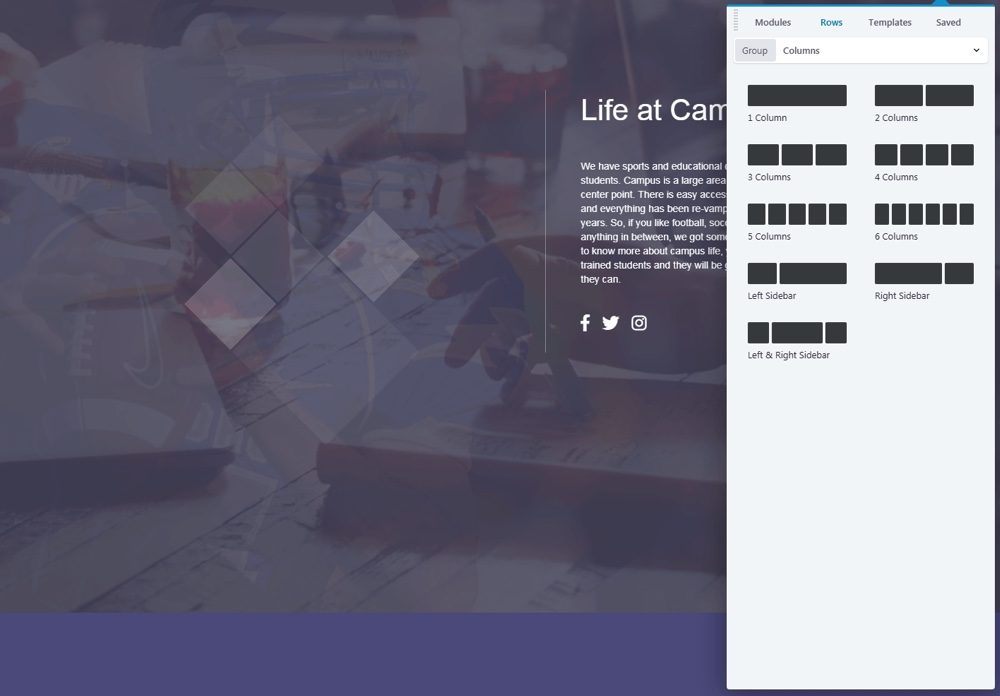
This is where you can add new rows and columns to your page, making it possible for you to change its layout drastically. At the same time, this is the first place you will want to go if you are creating a page or post from scratch. You can first determine the layout of your content and later add modules where you want.
Step 5: expand the Page Builder feature set (optional)
It should be noted that there are many other features and options At Beaver Builder, we've only scratched the surface here. Regardless, we have discussed the key features that you will need to understand to get started. Then the practical approach is the best way to learn to drive.
In spite of everything, before we finish, we must emphasize that there are some ways to get more out of this particular page builder. First, there is an official Beaver Builder theme, obtained free of charge with the top two license levels:
You can use Beaver Builder with any theme you like. Regardless, this one is built from the ground up to work alongside the page builder. It provides a basic framework that you can mold into many different types and styles of websites.
At the same time there is an optional add-on, Beaver Themer:

Con este complemento adicional, al mismo tiempo puede usar el generador de páginas de arrastrar y soltar de Beaver Builder en los headers y pies de página de su sitio, páginas de archivo, páginas 404 y de búsqueda, y más. Esto le posibilita diseñar casi todo su sitio web utilizando el mismo sistema.
A $ 147, puede que no se ajuste a todos los presupuestos, pero es una adición útil para un sitio web que desea monetize o para desarrolladores y diseñadores que trabajan en varios sitios.
Choosing a page builder for your website is a huge commitment. Changing the way you create and design content in the future can cause compatibility issues, so it's best to start with a tool that you know you'll be happy to use in the long run.
Fortunately, Beaver builder It is a solid option for both beginners and more advanced users. At the same time, it is easy to start as you have seen previously.
Have you ever used Beaver Builder and what was your experience like? Share with us in the comment section below!


