

The multimedia content in WordPress it is one of the most creative ways to illustrate content. This platform has evolved and presents different ways to upload files and optimize them. In this complete WordPress course we are going to teach you everything related to this topic and how you can create and manage multiple files.

Types of multimedia content in WordPress
- Images: is one of the most used options and is used to promote the aesthetics of a text. You can upload all kinds of extensions, you can even upload specific formats such as Photoshop PSD. Accept any size and weightIn most cases, you can reduce its dimensions just by touching its edges or compressing through plugins.
- Videos: just upload the video you want and that's it. Of course, it is worth mentioning that the upload and the space you have available is directly related to your hosting service. For these reasons and to avoid reloading a website, it is recommended to upload the video on another platform and then paste the code in the respective text field.
- Audio: like the other files, audio is another option to take into account. You can upload excerpts of songs or personal recordings. Apply the same rule for videos, you can upload as much as you want as long as your host has enough space.
- Pdf: this is another WordPress file that you should take into account if you want to improve the bibliography of your content. Just upload it and add it to your text so that it appears and can be downloaded.
Uploading and inserting images
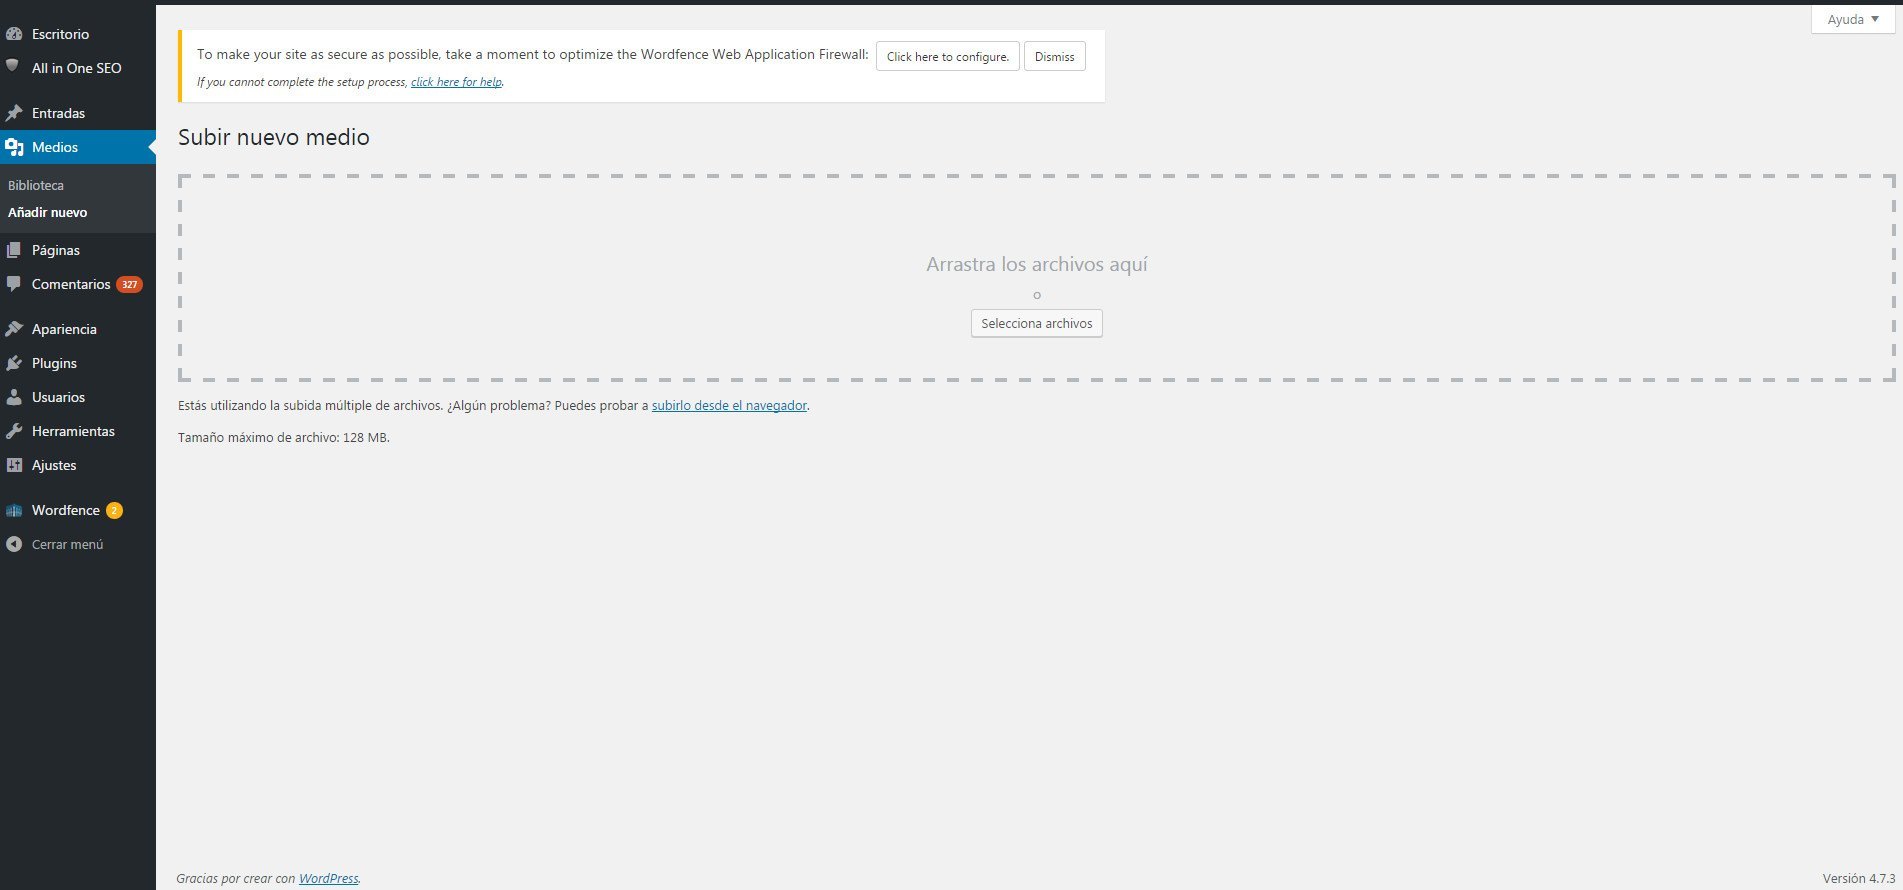
The first thing you should do is go to the WordPress panel then in Media> Add new> Select files. At this point you just have to select the images you want. Another way to do it is just by dragging the document to the middle of the screen.
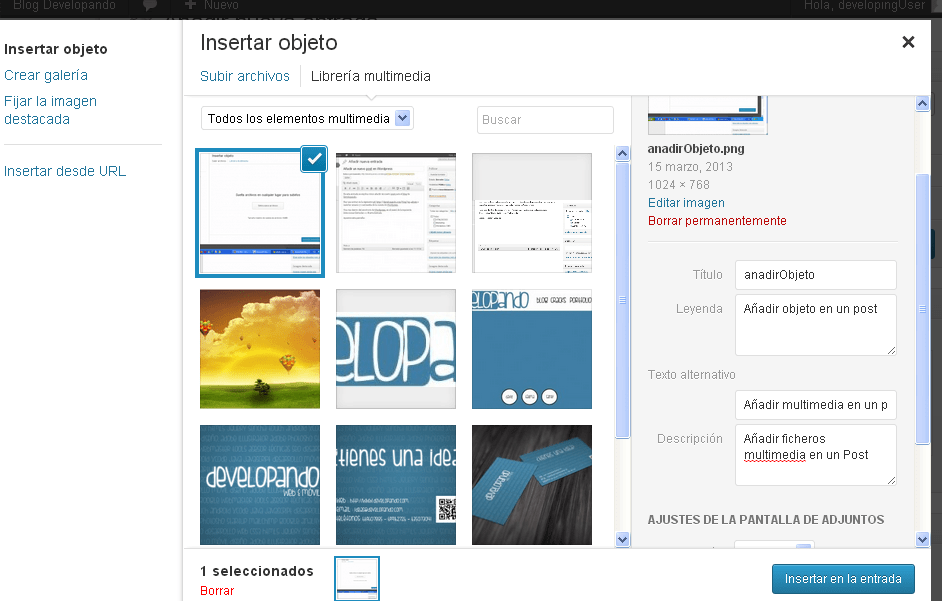
Another way to add an image to WordPress.org it is from the entry that is being made. If in one of the paragraphs you want to add content from this category, you just have to go to Add Object that is under the title tab.
When you have uploaded the first image, several fields will appear with which you can optimize so that search engines (such as Google) find you more easily:
- Url: in this circumstance you should not modify anything since it is the address where the image is hosted.
- Title: used to give a specific name to your file. This section is very important for SEO On Page as it details everything related to why and why you have uploaded that image.
- Legend: here you can add a comment as to why you have added that image, enlarge to make it more complete.
- Alternative text: is a generic title that helps you better describe the title. Let's give an example, let's suppose that we have uploaded the image of a German Shepherd dog. Well, the suggested title would be: Purebred dog, the alternative text would be: German Shepherd Dog.
- Description: in about 25 words you can summarize the main characteristics of the image itself or, describe why you have added it to the entry.
- Location: you can choose to appear on the left, center or right.
- Size: is the full size which means that when you click it will be published with its size as you downloaded it. Or, you have specific measures that WordPress suggests. The advantage of full size is that you can make it smaller by hovering over its sides.
Uploading videos, audio and PDF
The multimedia content in WordPress it goes up in the same way. In other words, that both the video, audio and PFD follow the same procedure, just go to Add Object and drag it.


