

Si es propietario de un sitio Web from WordPress, hay muchas cosas de las que ocuparse.
Actualizando constantemente el contents from his Blog, agregando nuevos productos, cambiando los precios, y ni siquiera mencionamos la actualización regular de complementos, brindando acceso a un desarrollador y haciendo muchas más cosas como parte de la rutina diaria de WordPress.
Sometimes if you need to modify the settings, you will find a long web page tutorial with many instructions to perform a single action. But what if you knew that most of these changes can be changed with a simple SQL query, a command that you run from your database administrator menu?
Since you are a busy person and saving time is a priority, here are the basic SQL queries that will help you reach the results in a few minutes.
First steps
When there is more than one website on your hosting account, before running SQL queries, you must ensure that you are modifying the correct database. You can find the database name assigned to a specific WordPress installation in your wp-config.php file in string:
define ('DB_NAME', 'yourdbname')
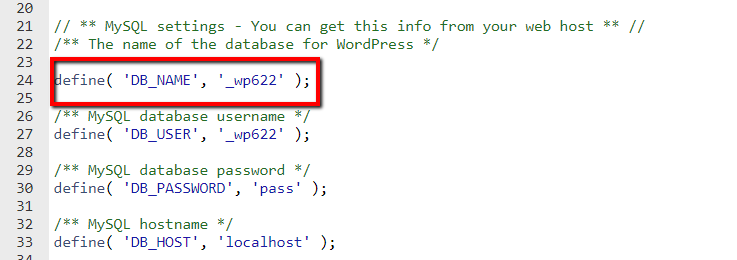
At the same time, pay attention to the table prefix, as you will need to specify it once you run the SQL commands. It's in the same file at the bottom of the page settings.

In this example above, the database name is _wp622. The table prefix is wpc7_. Now when we know, let's go to the database administrator. Most control panels use PHPMyAdmin for database management.
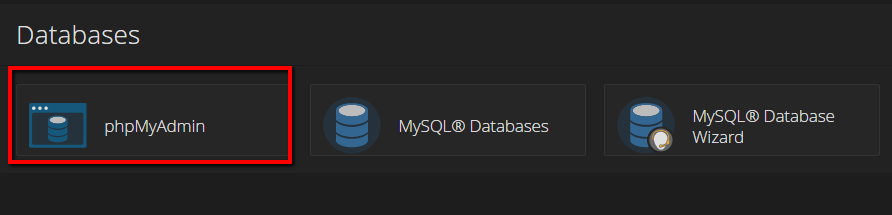
Once there, find your database name in the list and click on it:
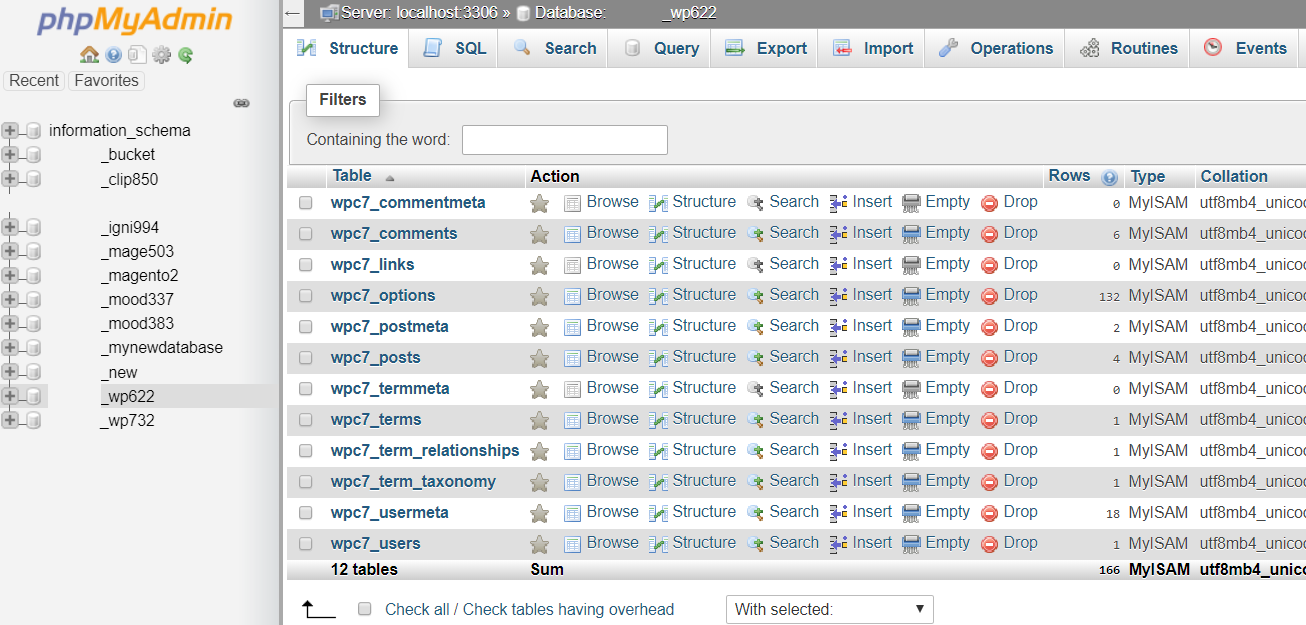
Before making any changes, be sure to create a backup for this database, so that you can quickly restore it in case something goes wrong.
We cover how to backup WordPress in detail in our general backup guide. But to give you a quick tour, choose the To export option, choose the method and format according to your needs and press Go (here we have configured all the default options):
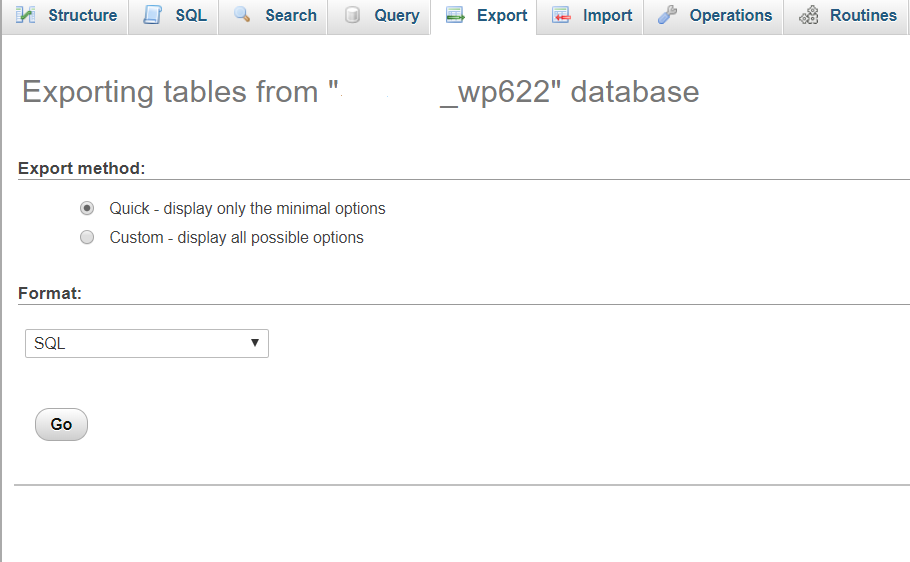
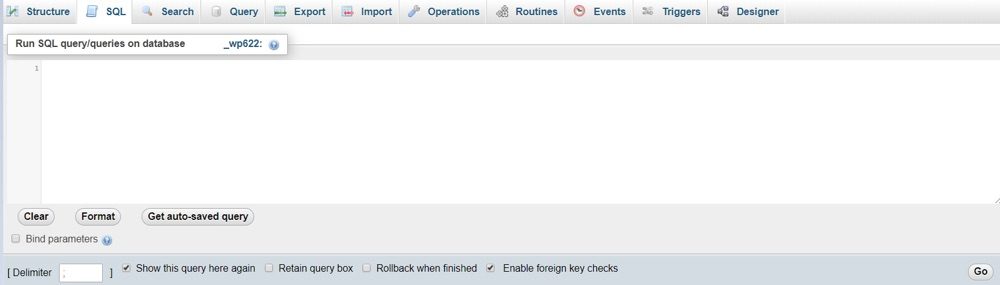
Once this is done, you can continue. Press the menu SQL and let's start:
Replace Url
Si planea actualizar la URL de su sitio web agregando el certificado SSL a su sitio web o haciendo otras modificaciones, asegúrese de usar el siguiente comando:
UPDATE wp_options SET option_value = replace(option_value, 'http://www.oldurlofthewebsite.com', 'http://www.newurlofthewebsite.com') WHERE option_name = 'home' OR option_name = 'siteurl';Digamos que quiero que mi URL be https //: y mi nombre de domain es example.com. En este caso, necesito modificar el nombre de la tabla wp_options y la misma URL:
UPDATE wpc7_options SET option_value = replace (option_value, 'http://www.example.com', 'https://www.example.com') WHERE option_name = 'home' OR option_name = 'siteurl';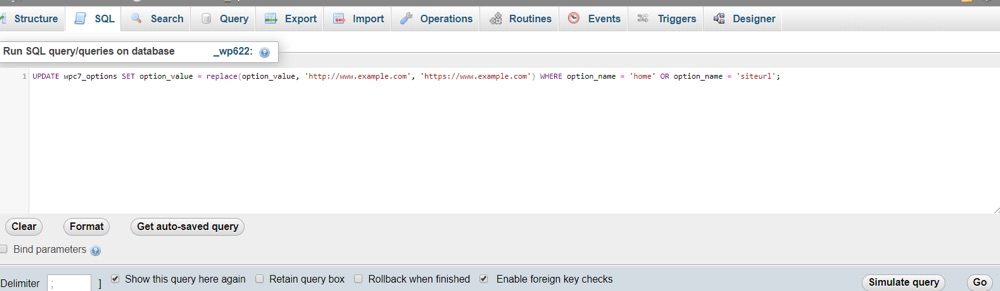
And wait for a success message.

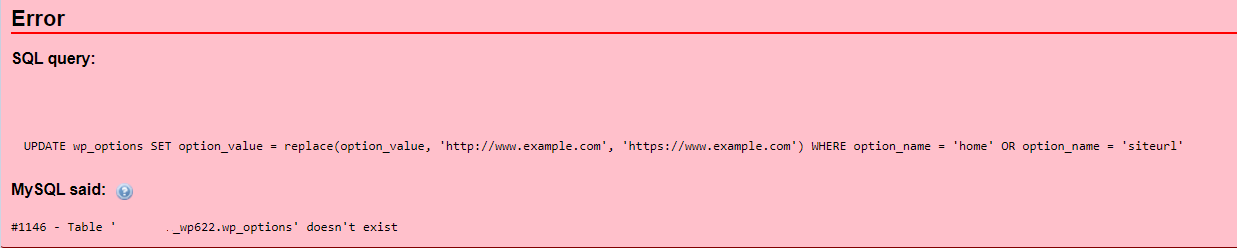
Why is it so important to see it? If you press Go But there are some errors in the query, the system will not be able to fulfill the request and you will get errors that means the execution failed. The error will look like this and will indicate the reason why the process failed.
Tenga en cuenta que este comando es básico y reemplazará solo la URL principal de su sitio web, por lo que si planea cambiar el nombre de dominio de su sitio web de example.com a test.net, deberá modificarlo incluyendo todos los tablas donde está la URL de su sitio web, como wp-posts, wp-postmeta y al mismo tiempo tenga cuidado con las tablas con filas que contienen URL generadas por complementos (a modo de ejemplo, WooCommerce).
To do that, you will need at least basic SQL training. One more option would be to open the database you exported in any text editor and with Ctrl + H replace all the mentions of your old domain with the new one. If this sounds too complicated, there are a range of other tools that help automate this operation (such as the interconnect / search and replace it database script, or the Best search and replace plugin basado en el mismo script) mientras simplemente carga el archivo en la carpeta de su sitio web para el sitio de trabajo y lo abre en un browser.
Create new Username administrator
If you need to add a new user with administrator role to your installation, you will need to use the following command and modify it according to your preferences:
INSERT INTO `wp_users` (` user_login`, `user_pass`,` user_nicename`, `user_email`,` user_status`) VALUES ('yourlogin', MD5 ('yourpassword'), 'firstname lastname','[email protected] ',' 0 '); INSERT INTO `wp_usermeta` (` umeta_id`, `user_id`,` meta_key`, `meta_value`) VALUES (NULL, (Select max (id) FROM wp_users), 'wp_capabilities',' a: 1: {s: 13: "administrator"; s: 1: "1";} '); INSERT INTO `wp_usermeta` (` umeta_id`, `user_id`,` meta_key`, `meta_value`) VALUES (NULL, (Select max (id) FROM wp_users), 'wp_user_level', '10');Note that you will need to modify the tables and login values based on your Username and databases.
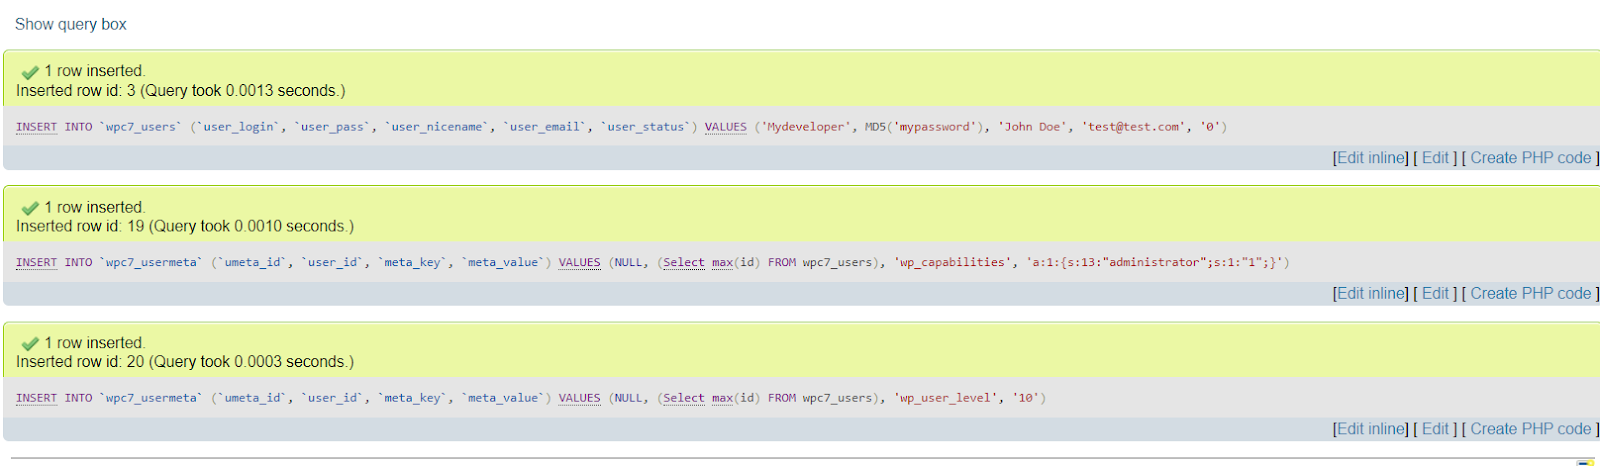
I want to create a user my developer with the password my password, my developer's name is John doe and the email is [email protected]. So my query will look like this:
INSERT INTO `wpc7_users` (` user_login`, `user_pass`,` user_nicename`, `user_email`,` user_status`) VALUES ('Mydev', MD5 ('mypassword'), 'John Doe','[email protected] ',' 0 '); INSERT INTO `wpc7_usermeta` (` umeta_id`, `user_id`,` meta_key`, `meta_value`) VALUES (NULL, (Select max (id) FROM wp_users), 'wp_capabilities',' a: 1: {s: 13: "administrator"; s: 1: "1";} '); INSERT INTO `wpc7_usermeta` (` umeta_id`, `user_id`,` meta_key`, `meta_value`) VALUES (NULL, (Select max (id) FROM wpc7_users), 'wp_user_level', '10'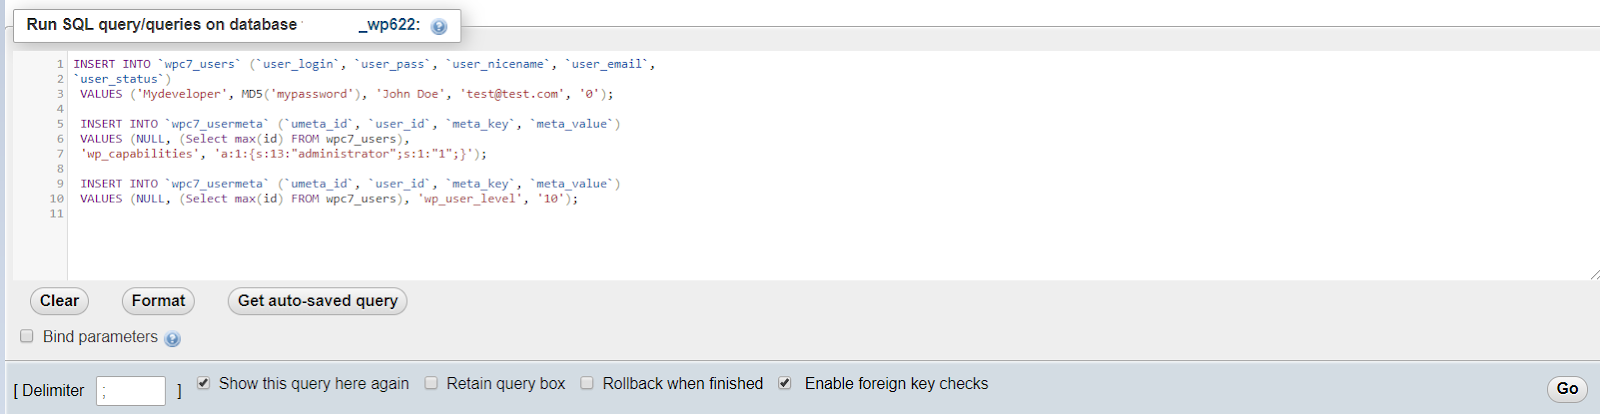
Note that I don't need to modify the row names (in other words, wp_user_level or play with numbers 0, 10, 13 since they refer to the user role and the corresponding rights. Once done, I press Go.
The output should show successful results like the following:
Change admin login username
Para cambiar el nombre de inicio de sesión del nombre de usuario, vuelva a la pestaña MySQL y ejecute el siguiente comando:
UPDATE wp_users SET user_login = 'newlogin' WHERE user_login = 'admin';Let's say your default username is my developer, the one you created before and want to configure safe user instead. In our particular case, we execute the following command, since at the same time we have the default prefix wp7c_:
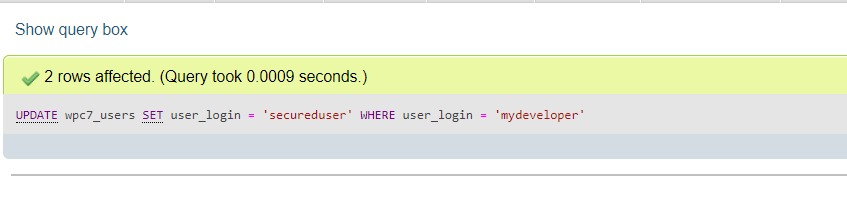
UPDATE wpc7_users_users SET user_login = 'secureduser' WHERE user_login = 'mydeveloper';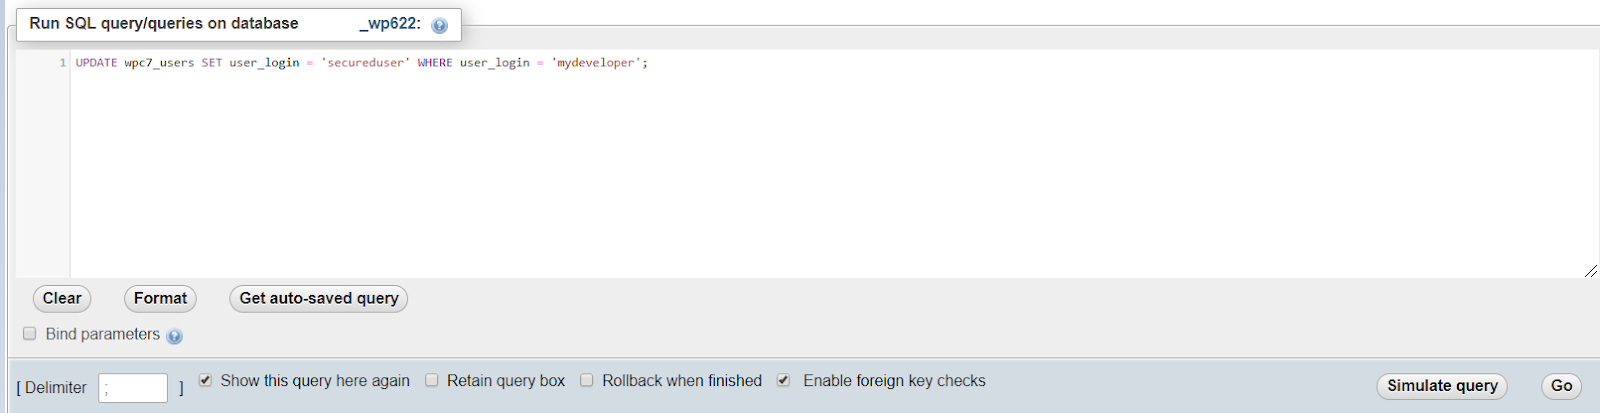
The successful result looks as follows:
Change admin password
Following the security rules of regular password changes, you may at the same time want to change the password of your safe user. Here is the query for it:
UPDATE wp_users SET user_pass = MD5 ('new_password') WHERE user_login = 'youruser';For this particular password change command, our command is as follows:
UPDATE wpc7_users SET user_pass = MD5 ('$tR0ngP @ s$w03D') WHERE user_login = 'secureduser';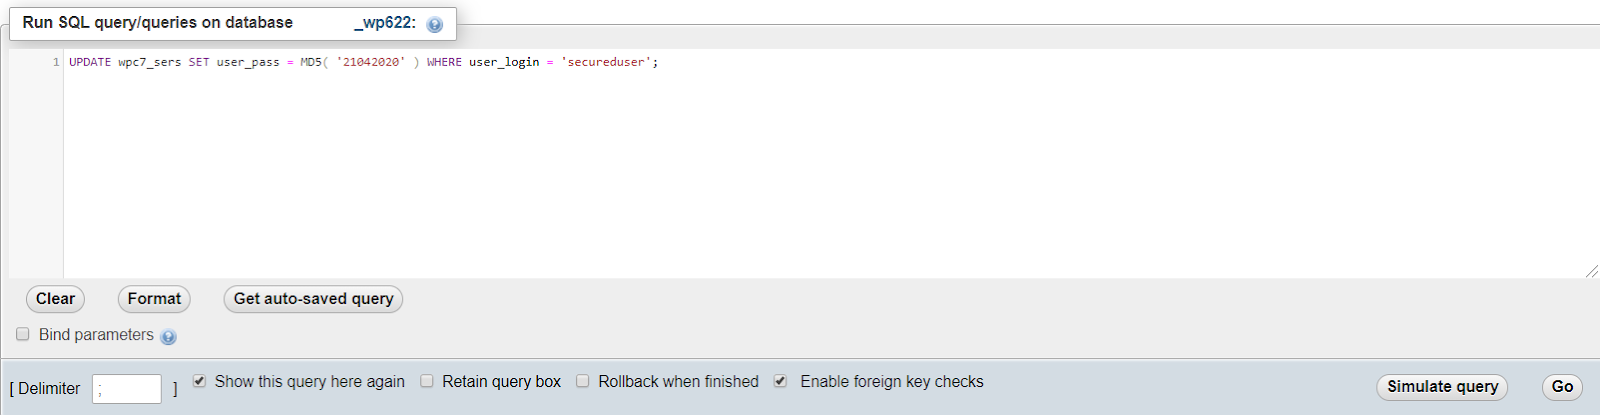
press Go and wait for the success message:

Erase spam
For users who post a lot of posts and leave the comments open for interaction, the problem with spam comments can get really painful. Even though you can filter comments by manual approval, you probably want to find a way to quickly delete anything you haven't approved. That is how:
DELETE FROM wp_comments WHERE wp_comments.comment_approved = 'spam';When customized for the particular case we are discussing here:
DELETE FROM wpc7_comments WHERE wpc7_comments.comment_approved = 'spam';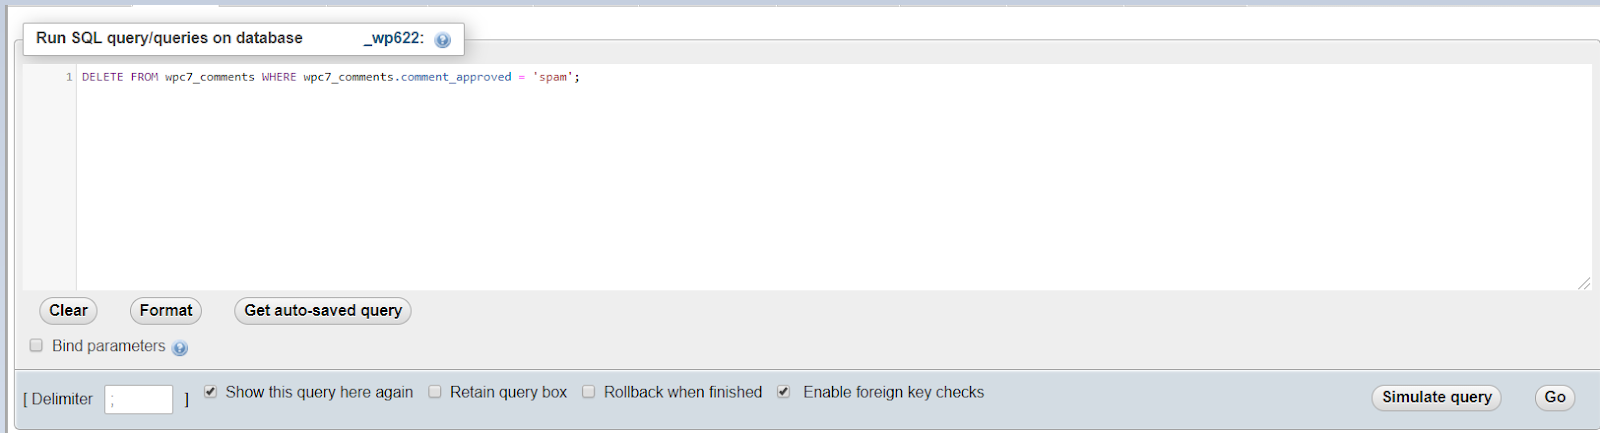
Note: the prefix must be modified in both places where it is, since wp_comments.comment_approved is the separate field of the table.
Here is the successful result:

Delete all comments on unapproved posts
At some point, you may find that you are tired of filtering and reading comments on articles before making the final decision to publish them, so you want to remove them. There is a command for that:
DELETE FROM wp_comments WHERE comment_approved = 0Note that the comment_approved The section does not need modification as this tab represents the default function in the table which is immutable.
The modified command looks like this:
DELETE FROM wpc7_comments WHERE comment_approved = 0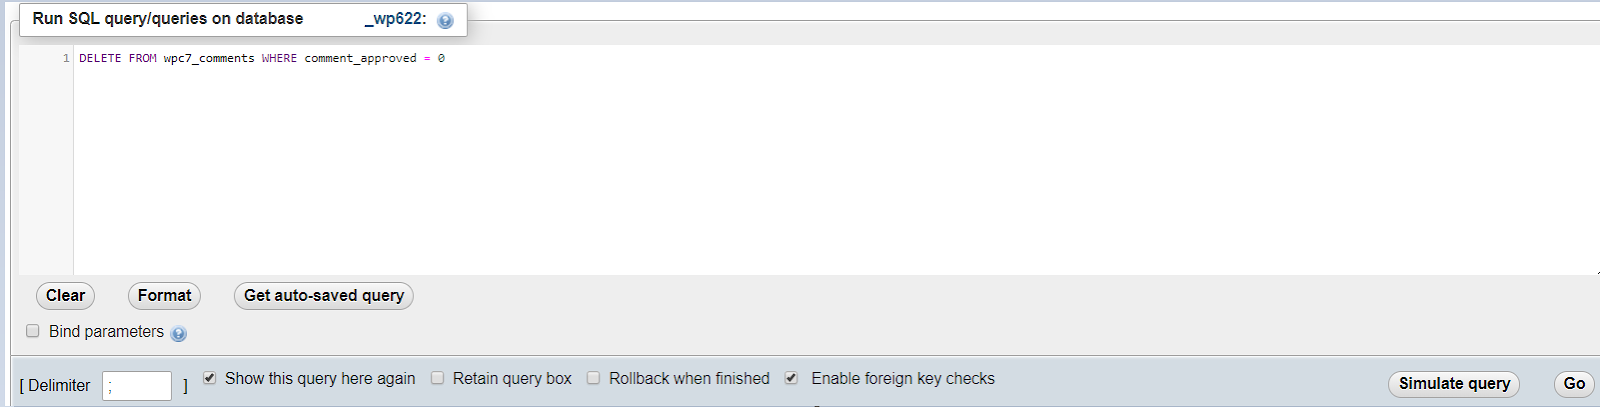
Once done, you can see the usual output of successfully executed commands:

While it may seem that following the instructions may take more time than simply doing things manually, it does not. The bigger your website, the more time you have to spend on it. A single action performed separately for 10 posts and you end up with 10 times more time spent executing.
In fact, you save a ton of your precious time running these commands, and you can use this time on more important things, like planning content or finding inspirational ideas.
Happy blogging!


