
Aunque muchos servicios en línea le permiten crear un sitio Web personalizado para su boda, generalmente disponen muchas restricciones en términos de diseño y funcionalidad. Al mismo tiempo, algunos de estos servicios pueden Quite expensive.
Este es tu gran día. El diseño del sitio web de su boda no debe ser limitado. ¡Debería poder crear un sitio web que be tan grande, atrevido y hermoso como su boda!
WordPress te ofrece funciones de personalización prácticamente ilimitadas, y si estás familiarizado con la plataforma, puede ser una magnífica opción. Al mismo tiempo de eso, hay muchas herramientas y recursos gratuitos o de bajo costo, lo que lo convierte en una opción muy asequible.
East post ofrecerá una guía punto a punto para crear un sitio web de bodas hermoso y funcional usando WordPress. Cubriremos todo, desde la configuración del Sistema de administración de contents (CMS) hasta la elección de un tema y la adición de contenido y funcionalidad.
Paso 1: elija un server web e instale WordPress
The first step is to select a host for your site. There are many great WordPress hosting options available, offering services for any price range. One thing to pay attention to is that you will probably only be running your wedding website for a limited time. Some hosts offer big discounts if you pay in advance for a certain period, which could save you a lot of money.

Sucede que tenemos un trato especial mediante de Bluehost. Básicamente haga clic en nuestro link para hosting compartido y pagará tan poco como $ 2.95 por mes y obtendrá su nombre de domain gratis (a lo largo del primer año) cuando se registre.
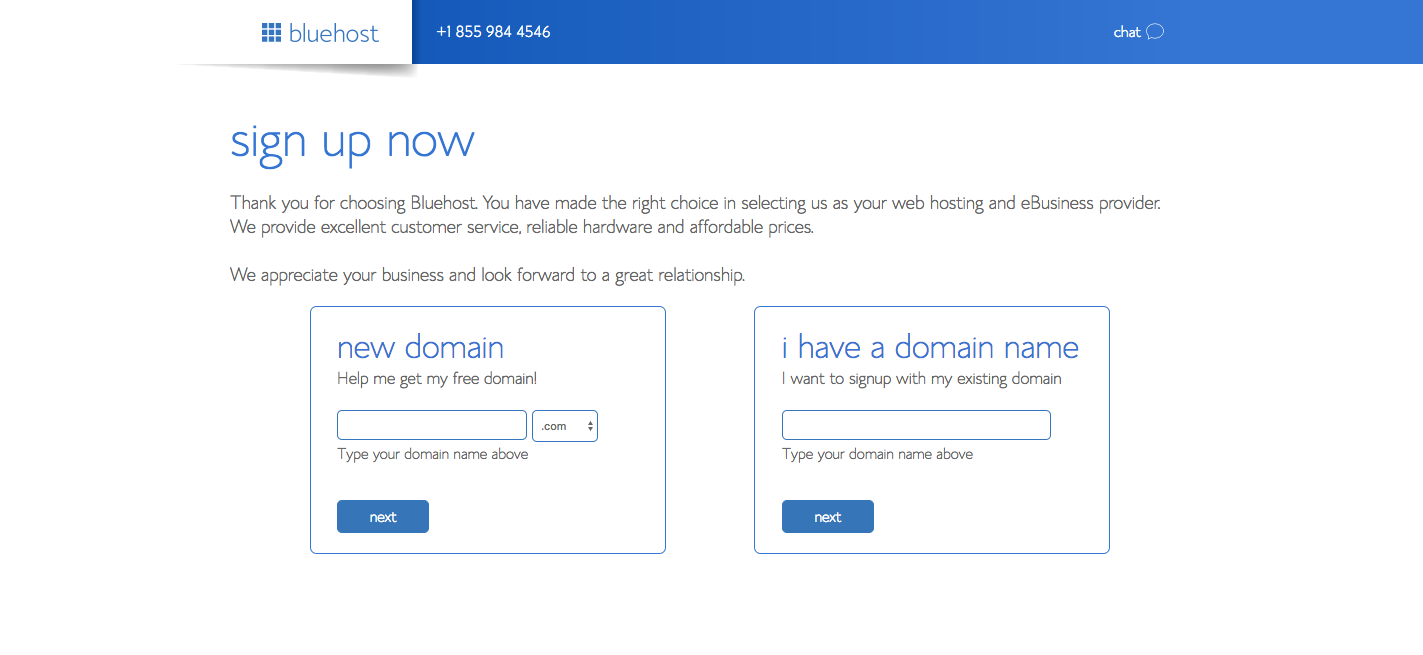
When you follow the instructions to sign up for your hosting account, you will need to select a domain name. This will depend on what is available, but choose a name that is easy for you (and your friends and family) to remember. A name like jackandjillswedding .com or theclarkewedding .com it would be perfect.
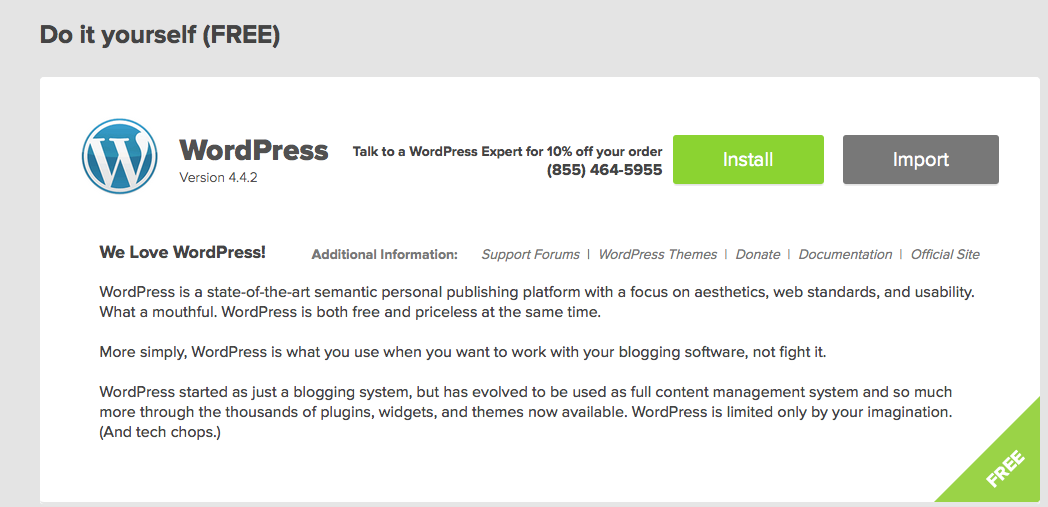
Once your host and domain are sorted, you can go ahead and install WordPress. With Bluehost (and many other shared hosting providers), this is a simple one-click procedure.
Busque la sección «Instalaciones con un clic» cuando inicie sesión en su cuenta de Bluehost y seleccione la opción de WordPress. Posteriormente, elija el nombre de dominio que seleccione para el sitio web de su boda. A continuación, debería ver un mensaje para agregar un título del sitio (como «La boda de Jack & Jill, o como quieras llamar a tu event), crea un nombre de Username de administrador (utiliza tu nombre para que sea más fácil), una contraseña de administrador (escribe esto (Lo necesitará para iniciar sesión en su sitio web de WordPress en un minuto) y su dirección de email. Posteriormente, solo marque la casilla para aceptar los términos e instalar WordPress. ¡Bluehost hace todo el trabajo duro por usted! Pero no se preocupe, además ofrecen mucho apoyo si se encuentra con algún bache.
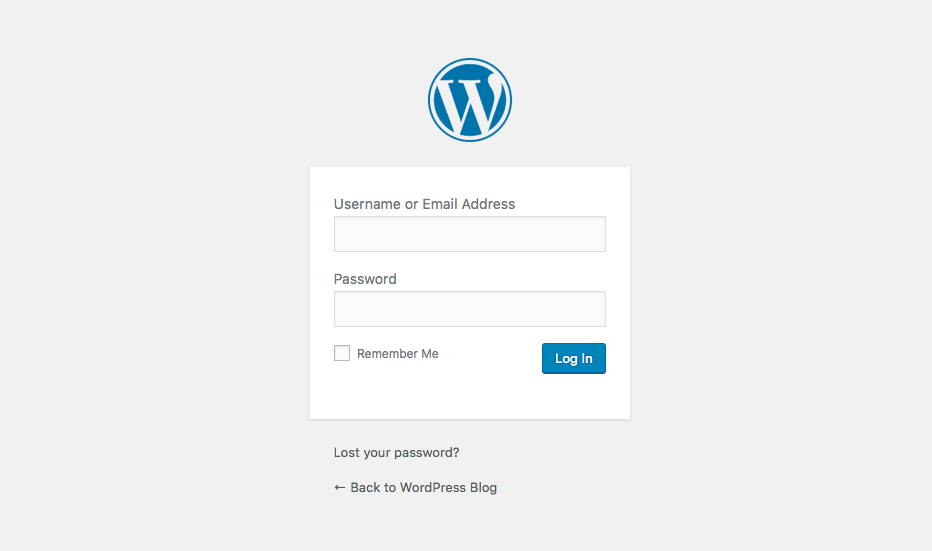
Now that your site is ready, you can log in to start building your actual website! Only for your domain name but add / wp-admin al final de la Url. Esto lo dirigirá a la pantalla de inicio de sesión de WordPress. Utilice el nombre de usuario de administrador y la contraseña que creó al configurar su cuenta de Bluehost para iniciar sesión. Esto debería llevarlo a su panel de WordPress donde instalará un tema, complementos y agregará todas sus publicaciones y páginas sobre sus próximas nupcias.
Step 2: select a wedding WordPress theme
With your website ready, the second step is to select a theme that will set the stage for your wedding. Your theme will determine the overall aesthetics of your website, and depending on your choice, it may also offer some additional functionality. For example, some wedding themes come with guestbook and countdown timer functions.
There are hundreds of WordPress themes to select from (including free options from WordPress.org as well as premium options from websites like Themeforest and Creative market) to select to start. At the same time, we have our own roundup of wedding WordPress themes that we think are pretty nifty. Alternatively, if you're familiar with multipurpose solutions, like Total WordPress ellose - you might consider keeping it and basically adding some wedding features (see step five for more information).
If you're looking for specific suggestions for your wedding theme, here are our top three picks.
Free WordPress theme for wedding brides
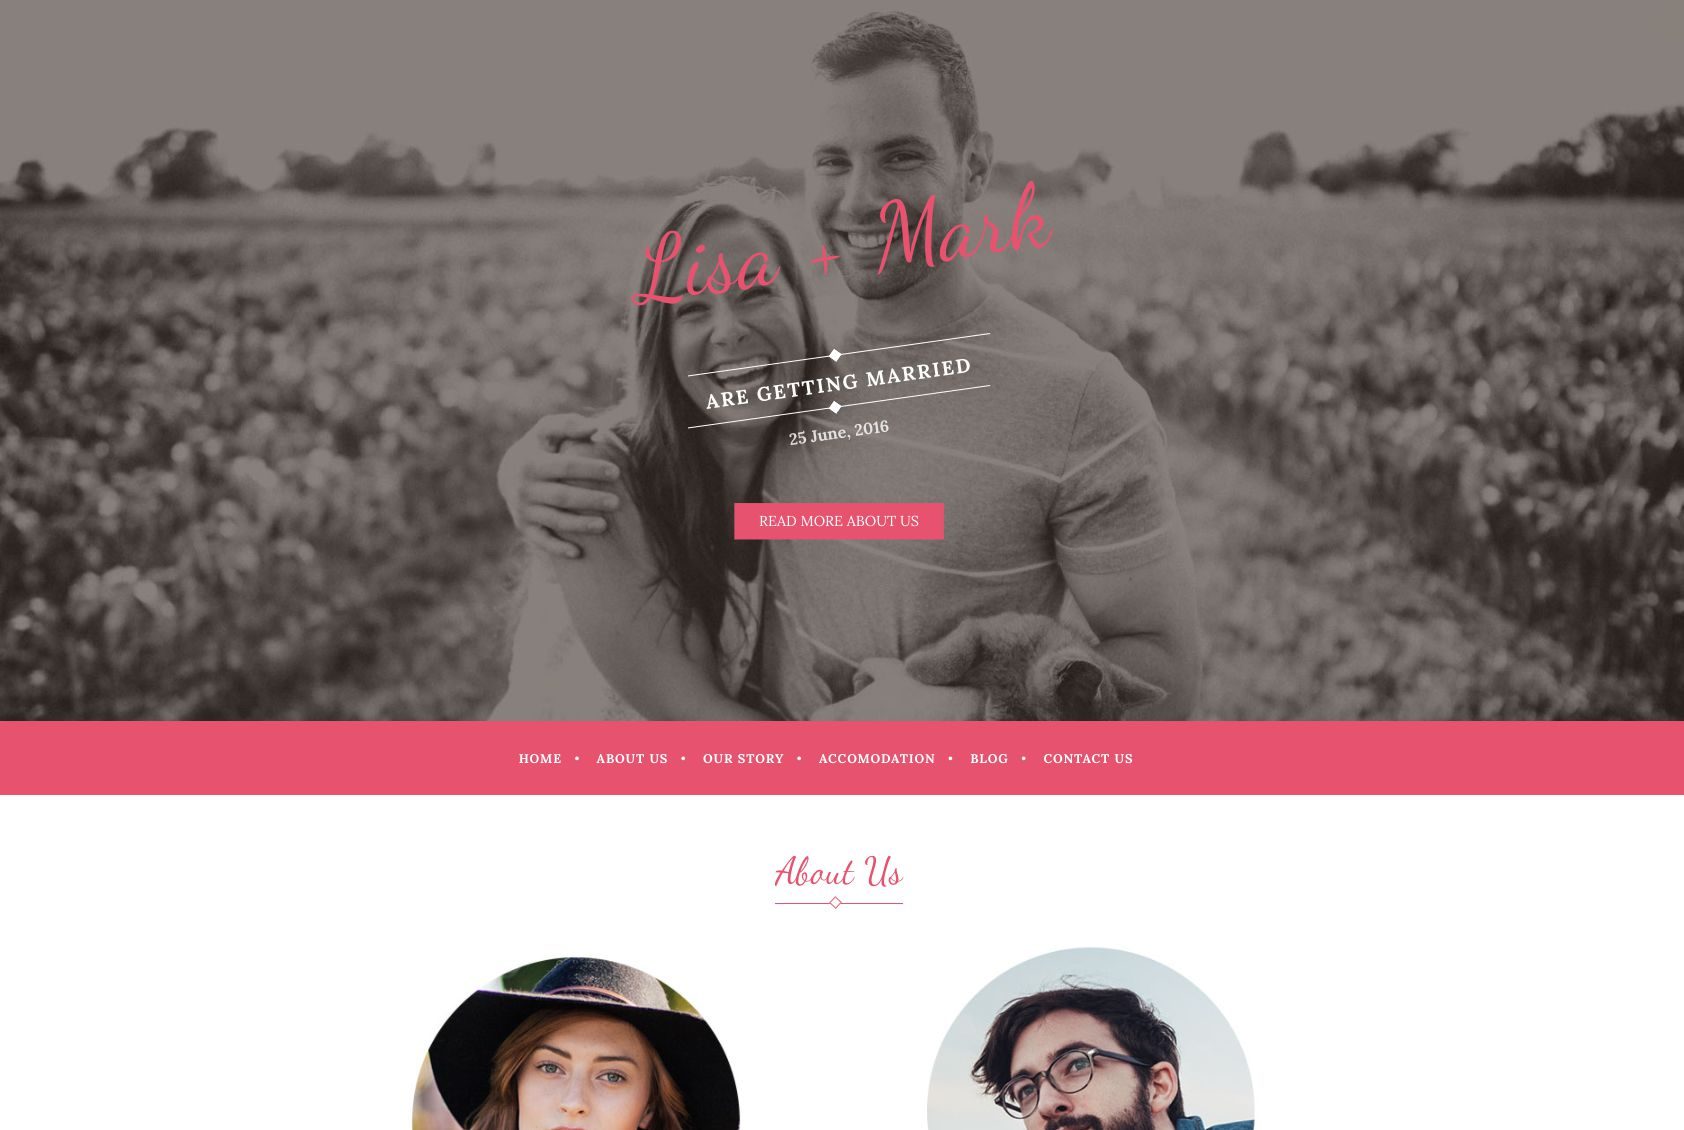
Wedding bride is a clean and simple single page wedding theme that is quick and easy to set up. The set design means all you have to do is add your own pictures and story, that's it. You can have a beautiful wedding website in no time. This theme does not have many of the extras that you can find in the premium alternatives, but they can be added as needed through plugins, which we will see later.
Total Drag & Drop Premium WordPress Theme
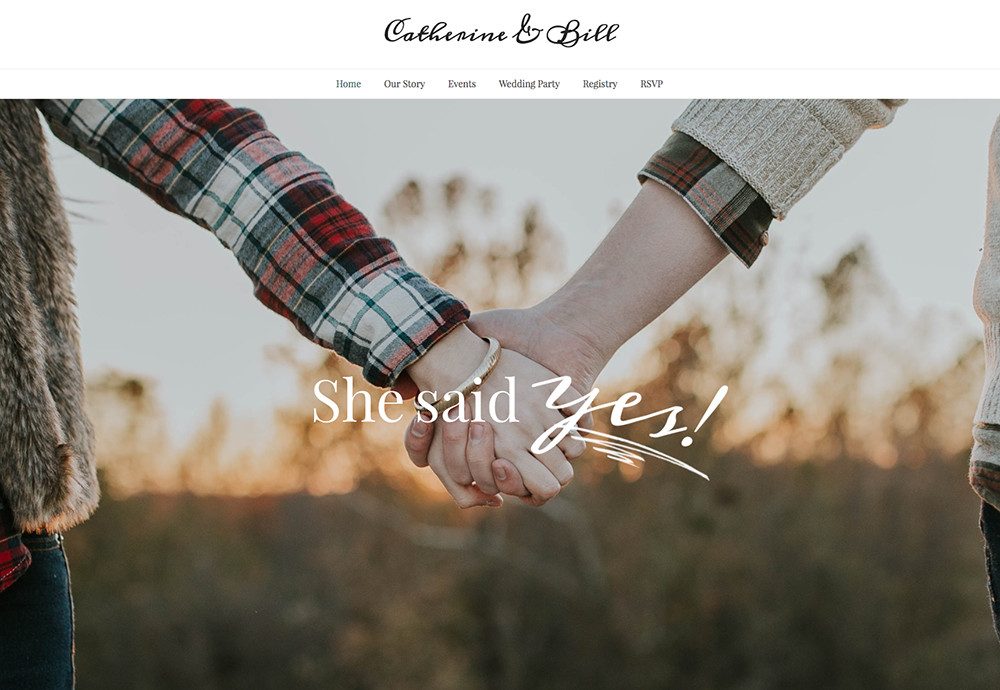
Total is a multipurpose theme with a drag-and-drop page builder that makes the creation of any type of website viable. This also makes any layout, color scheme and design style viable thanks to the super flexible page creation items and theme customization alternatives. Total includes premium sliders to add your engagement photos, milestones to share the number of days you've been together or the number of kisses shared over the years, contact form support so you can easily add an RSVP module, parallax and video backgrounds plus thousands of color and font alternatives, among many other features. It is undoubtedly our best option if you are looking for a premium theme.
WeddingEngine Premium WordPress Theme
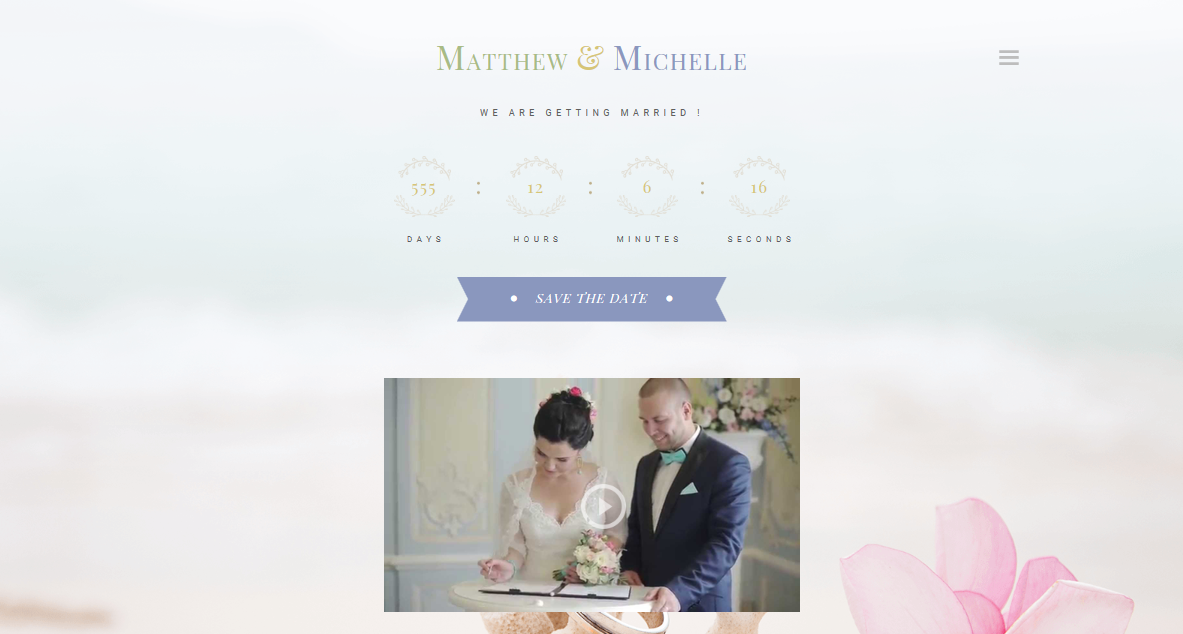
If you like classic styles, you will love the beautiful design of WeddingEngine. Its ornate borders and elegant compositions will make your website effortlessly charming. This theme comes packed with many features to help you create the perfect wedding site, including a countdown timer, RSVP module, image slider, timeline feature, and guestbook. It also offers an interface editor, which allows you to adjust your designs quickly.
Step 3: install your theme
Once you've chosen a theme, you'll need to install it. Fortunately, WordPress makes this very easy. We will show you using the
If you purchased a premium theme, you will need to download the installable WordPress theme files first. Most markets make it very easy and clearly label them. Basically log into your account, go to your download page, and search for the theme you purchased. Later download the «Installable WordPress file only»Option. If you don't have this option in your market, you may need to unzip the file after it is downloaded to locate the «just theme" proceedings.
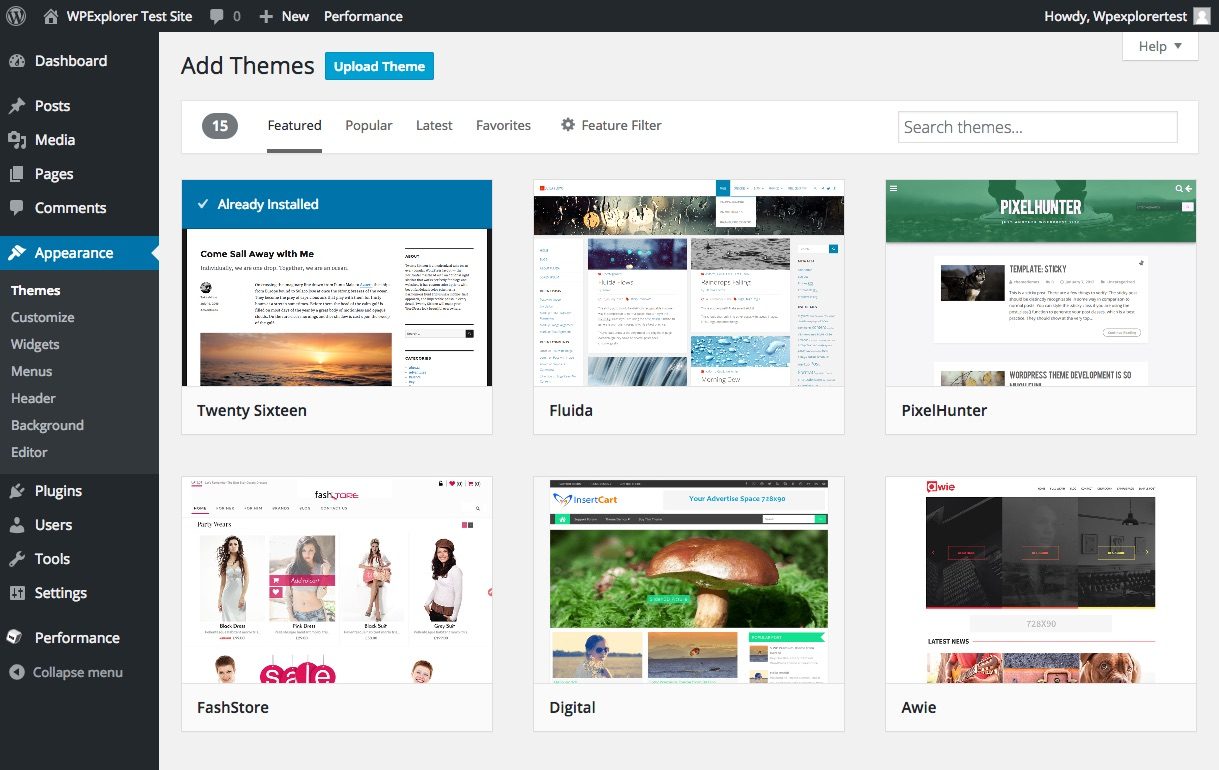
Next, go to your WordPress dashboard and navigate to Appearance> Themes> Add New. Now if you want to use a free WordPress.org theme, you can install the theme directly from here, basically click to install the one you want. To upload your own premium theme, click «Upload topic”At the top of the screen, then select the installable theme file you downloaded earlier to install.
Once your theme is installed, click to activate your theme. Now for the fun part: add all the details about your wedding, yourself and your partner, and still make your wedding website the most beautiful website viable.
Step 4: Set Up and Customize Your Wedding Website Pages
Your wedding website can include as many pages as you like. Typically, the wedding website features at least some of the following:
- Our history: Here, you can tell guests about anything from how you met to the history of your initiative.
- Venue of events: Include helpful details like location and directions.
- Hosting: Guests from out of town will appreciate a list of nearby places to stay.
- Guestbook: Un libro de visitas permite a las persons publicar notas y los mejores deseos antes del gran día.
- Gift Registry: You can avoid awkward interactions by add gift registry details to your site.
- RSVP: If you want to forego traditional mail-in RSVPs or provide an alternative, you can do so through their website.
- Photo gallery: You can add your own wedding photos or let the guests post theirs.
- Blog: If you like to write, you can blog about anything from wedding preparation to life as a couple.
It is the site of your wedding and you have free rein to do whatever you want with it. Whether your style is traditional, modern, or something else entirely, WordPress gives you a lot of flexibility.
Depending on the theme you choose, its setup can be quick and easy. Most of the free themes feature a simple page template where you can type your information and upload images according to the preset layout. Regardless, if you chose a premium theme, you will certainly have a lot more options.
Creating and customizing pages with a page builder
If you have decided to use a premium theme like Total, you will have the option to import a demo to get started (like the single page Married or a traditional multi-page wedding demo), or to create your pages from scratch. Total uses the Visual Composer page builder. It's an intuitive front-end live generator that you can use to insert blocks of content, make changes (colors, fonts, images, etc.), and then drag and drop them into place. Just be sure to save your changes when you're done!
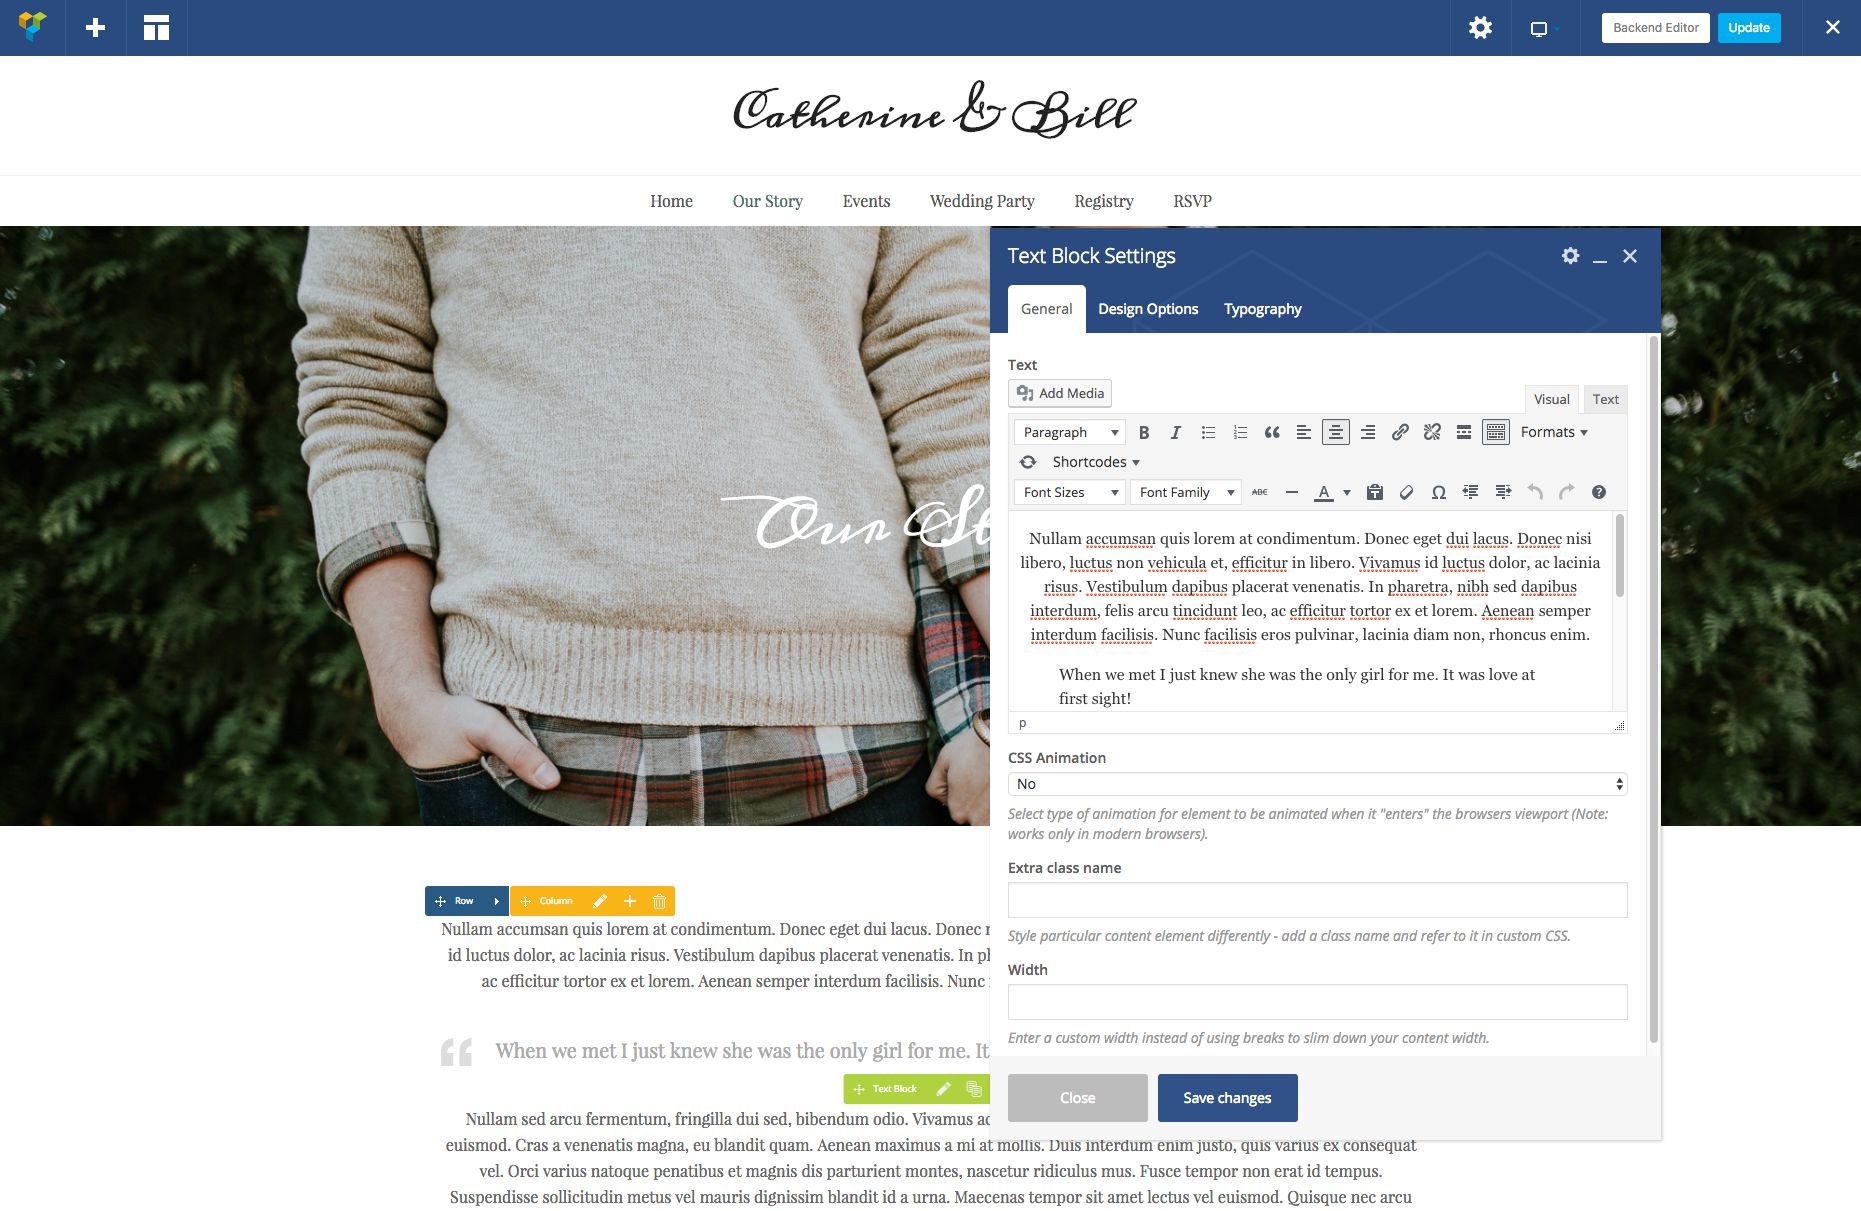
La ventaja de utilizar un tema con un constructor es que puede crear las páginas exactas que requiere o desea para el sitio web de su boda. Las plantillas son geniales y posiblemente fáciles, pero con un creador de páginas no requiere saber CSS or PHP o cualquier otro lenguaje de codificación para realizar cambios. ¡Es una gran solución para una novia o un novio de bricolaje! Todo lo que requiere es una tarde libre y una taza de café; estamos seguros de que lo dominará en poco tiempo.
Step 5: add functionality to your wedding site using plugins
With most of your pages out of the box, you may need to add a few more features to your website before sending our link to your loved ones. This is where WordPress plugins come in.
Los complementos son complementos de software que amplían la funcionalidad principal de WordPress. Aunque la mayoría de las páginas anteriores se pueden configurar sin necesidad de ellas, es viable que desee mejorar el diseño de su sitio con algunas. WordPress ofrece una gran cantidad de complementos gratuitos y premium para seleccionar y aquí hay algunas sugerencias que funcionan muy bien para los sitios web de bodas.
1. Slider Pro Premium WordPress Slider Plugin
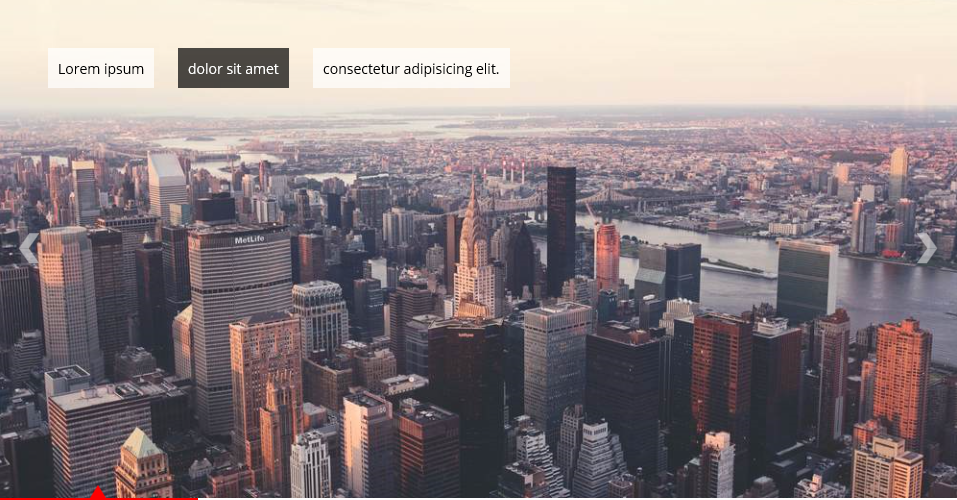
Many themes come with built-in slider options, but if yours doesn't, you may need a plugin solution. Sliders are a great way to display multiple images without scaling issues. At the same time, you can apply interesting transitions that result in unique slideshows for your visitors. The Slider Pro plugin is very popular thanks to its ease of use and advanced functionality.
2. jCountdown Premium WordPress Countdown Timer Plugin
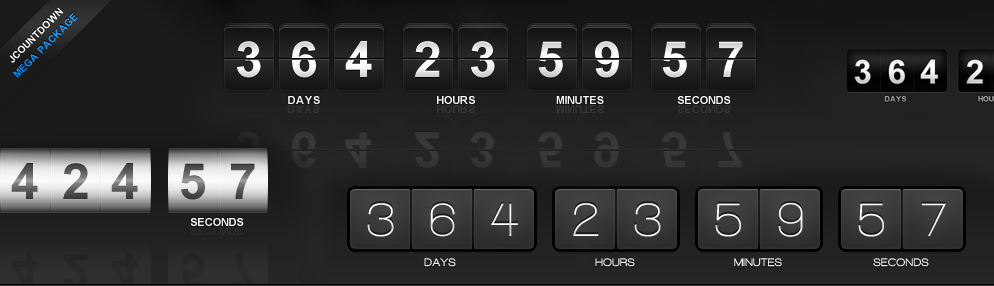
Countdown timers are a popular feature on wedding websites as they can let everyone know how close the big day is.
3. Complemento de asignación sin costes de marcas de posición de Google maps basic
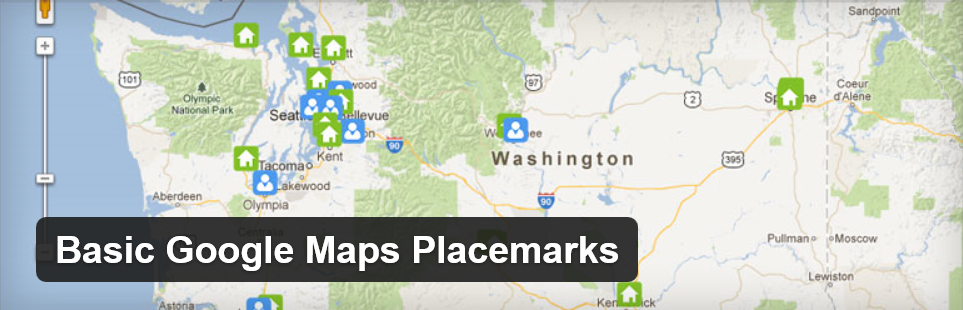
When providing your guests with the location and directions of your venue, a map can come in handy. Basic Google Maps placemarks is a free plugin that allows you to embed a Google map at your wedding site. If your event involves multiple locations, you can add multiple markers on the same map and even customize their icons.
4. Gwolle's Free Guestbook WordPress Plugin

To end, Gwolle's Guestbook is a useful free plugin that makes it easy to add a guestbook to your site. It provides an easy-to-use form that your invitees can fill out, displays a (customizable) list of messages, and sends you a notification every time someone comes in.
A dedicated website can help you plan your wedding, gather memories, and keep family and friends involved in every phase of the procedure. Regardless, creating the perfect venue can be quite overwhelming under normal circumstances, tripled when it comes to weddings.
Fortunately, WordPress provides all the tools you require to create an attractive and functional wedding website without any hassle. We've even summarized the entire procedure in four short steps so you can get started right away.
What pages do you think every wedding website should include? Let us know in the comment section!


