
A chatbot in WordPress puede ayudarte, entre otras cosas, a generate more conversions. In CourseWpress.com we teach you how to activate one.
Todo lo que implique, aunque be un mínimo uso de herramientas de Artificial intelligence, exceeds the length of an 800 word tutorial. In this article we will show you the basics so that you can activate a chatbot in WordPress. With this type of technology possibilities are limitless Shall we get down to work?
What does it take to activate a chatbot in WordPress?
Damos por sentado que tienes una Web corriendo en el best content manager in the world: WordPress.
In case you have skipped that point we have some tutorials that will help you get up to speed:
To create and activate a chatbot in WordPress you need
- Web, portfolio or ecommerce on WordPress.org
- An account in Dialogflow (you don't have to pay anything to create it)
- The plugin My Chatbot (which is free)
- Have the purpose of the bot defined (very important point).
Creating an account on Dialogflow
If you don't have an account Dialogflow the first step is create one.
- Ingresamos en el portal de DialogFlow a través de del siguiente link:
dialogflow.com/
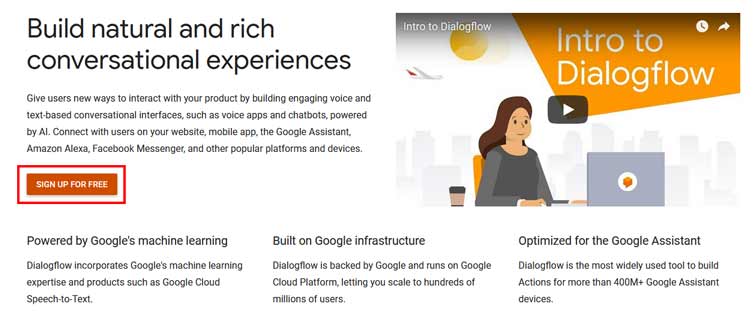
- In the splash screen you will find a title that says: Build rich and natural conversational experiences. And an orange button: Sing Up For Free (Sign up free). We click on that button.
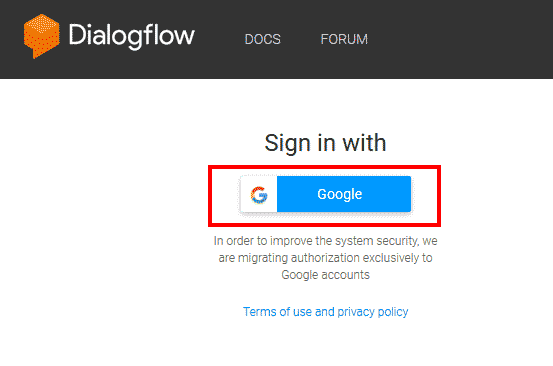
- The next screen is the record. The only way to sign up for Dialogflow It is through a cuenta de Google. Thus, with the sesión de nuestro gmail open, we press the button Google.
- The next thing is to wait a few seconds and authorize permissions access of We press the allow button.
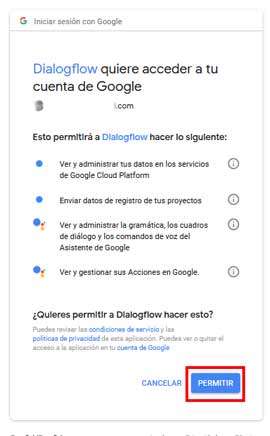 If everything has gone well up to here you will receive an email: "DialogFlow has connected to your Google account".
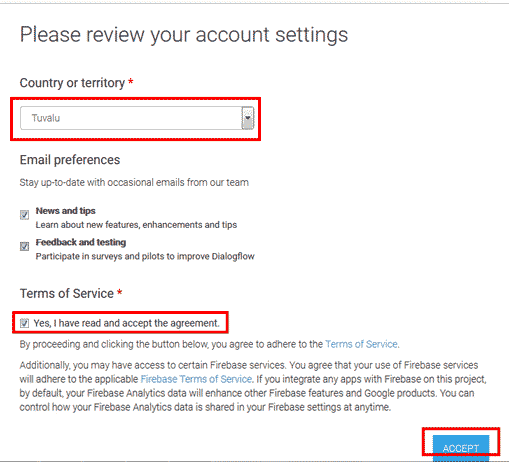
- We configure some details of our DF account: Country and email preferences. We accept the agreements and that's it. We have already created an account in Dialogflow.
Activating the My Chatbot plugin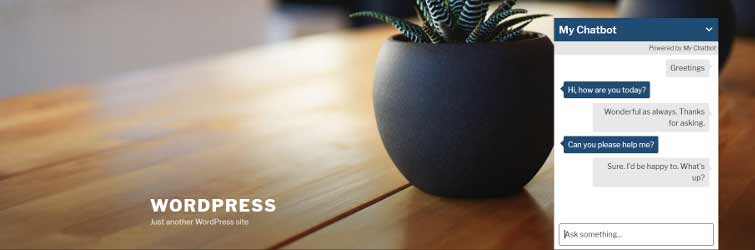
Once we have our account in DF ready the following is install and activate the plugin My Chatbot.
Sure you know how install and activate a plugin, but in case you need to remember a step, we prepare a tutorial very complete:
Plugins in WordPress: what they are and how to install them
The plugin that we will use, My Chatbot, is available in the official WordPress repository. Don't let your less than a thousand active installations fool you. It is a solid tool and with constant updates. At the same time it will be the platform that we will use to link our chatbot in WordPress.
We install and activate My Chatbot.
We go back to DialogFlow.
Set up chatbot on DialogFlow
Now we have to program our chatbot. For it logged in in DF we go to create agent (we can use any of the preloaded agents although they work only in English):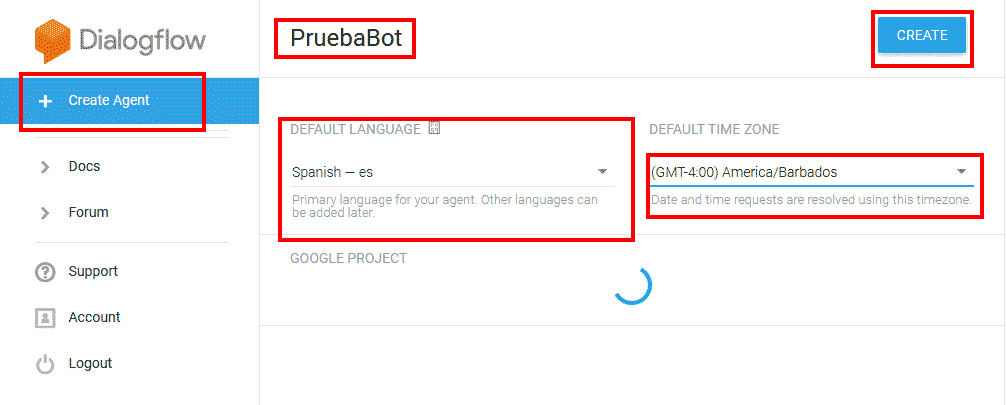
- We name our chatbot
- We define the language and the time zone
- We save the changes.
Create chatbot intent in DialogFlow
The next step will be create an intention (I tried) on DialogFlow (we can use one of the preloaded intentions on DialogFlow in English).
To create an intention: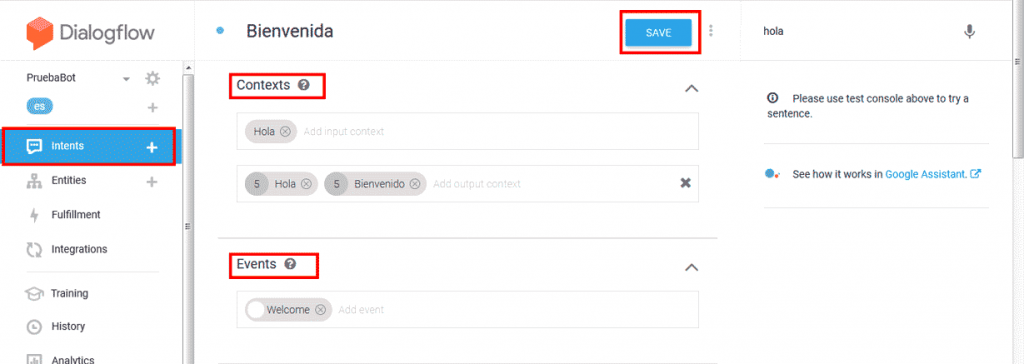
- We press Intent
- We give a name to the Intent.
Setting intention
One of the fundamental steps of creating a chatbot In WordPress (or for another platform) it is to know with certainty the function that the bot will have.
This will help us to identify the intention of the users so we must program responses according to that intention.
We told you at the beginning:
Having defined the purpose of the bot is a very important point.
Once you know what your chatbot is about, we can configure the intents from our bot in DialogFlow. The idea is to provide enough information to the bot on the following elements:
- Contexts
- Events
- Responses
The level of realism and of assertiveness of the answers of our chatbot in WordPress.
When you have fed the information enough to your chatbot (for this you can create as many intentions you need) we keep the changes.
Before returning to WordPress we locate the agent that we created in DialogFlow. We click on the gear that appears next to the name.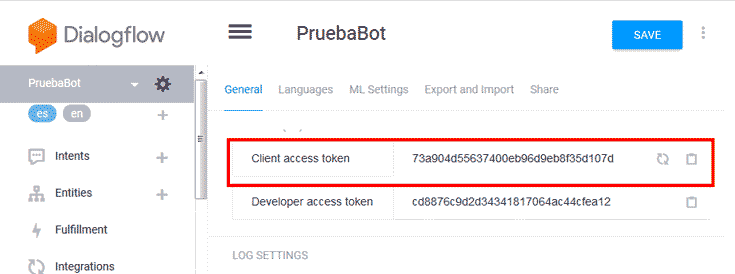
Certain information will appear to us. We will copy the code that appears in client access token.
Activating our chatbot in WordPress
We return to our WordPress dashboard.
If we already have our plugin My Chatbot installed and activated. We follow the following route:
Settings> My Chatbot
There we copy the code from client access token.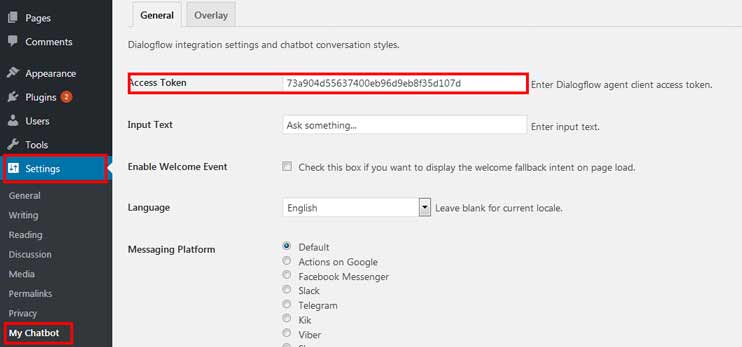
We leave everything as it comes by default (although we can configure the colors and aesthetics of our chatbot to our liking.
We save the changes.
Ahora lo único que tenemos que hacer es ir a la página o post donde pretendemos que nuestro chatbot se muestre y pegar el siguiente shortcode:
[my_chatbot]
We save the changes and that's it.
We already have a WordPress chatbot.
Now we can see the bot in operation. 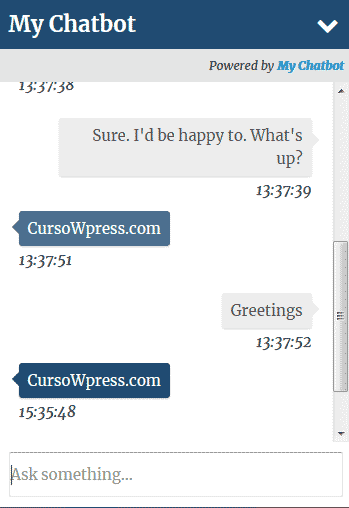
conclusion
Chatbots are here to stay. And this is just the beginning.
If you want to continue learning with we have prepared the best online WordPress course in Spanish. What are you waiting for to sign up?


