Gmail is one of the best communication channels that we have. Developed by Google, Gmail has many impressive features and it is free. Many applications and programs now allow access to Gmail, which has made life for Gmail users much easier.
A user may want to create multiple Gmail accounts with different usernames, but the only issue here is that a valid phone number is required at enrollment and a single phone number cannot be used with more. of a few Gmail accounts. Of course, you can't keep buying SIM cards for every Gmail account you create. So, for those who want to create multiple Gmail accounts but don't have enough phone numbers, there are a few tricks you can use to avoid the phone number verification problem. See this article for the details of these tricks.
Create multiple Gmail accounts without verifying the phone number
Method 1: CREATE EMAIL ACCOUNT WITHOUT PHONE NUMBER
To do this, you must use the private browsing mode of your browser.
1.For chrome,
- Open the Chrome web browser.
- Click on the three-dot menu icon in the upper-right corner of the window and select "New Incognito Window."
- In the new window, go to Gmail.com.
2.For Firefox,
- Open the Mozilla Firefox web browser.
- Click on the hamburger menu icon in the upper right corner of the window and select "New Private Window."
- In the new window, go to Gmail.com.
3. Click "Create Account" at the bottom.

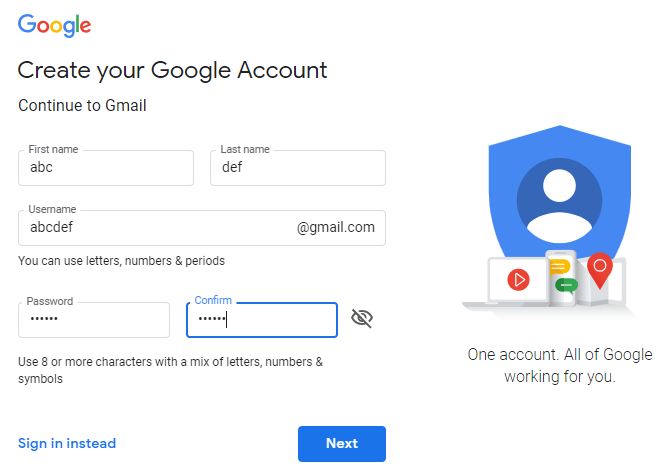
4.Fill in the details, entering your first name, last name, allowed username and a valid password and then click Next.
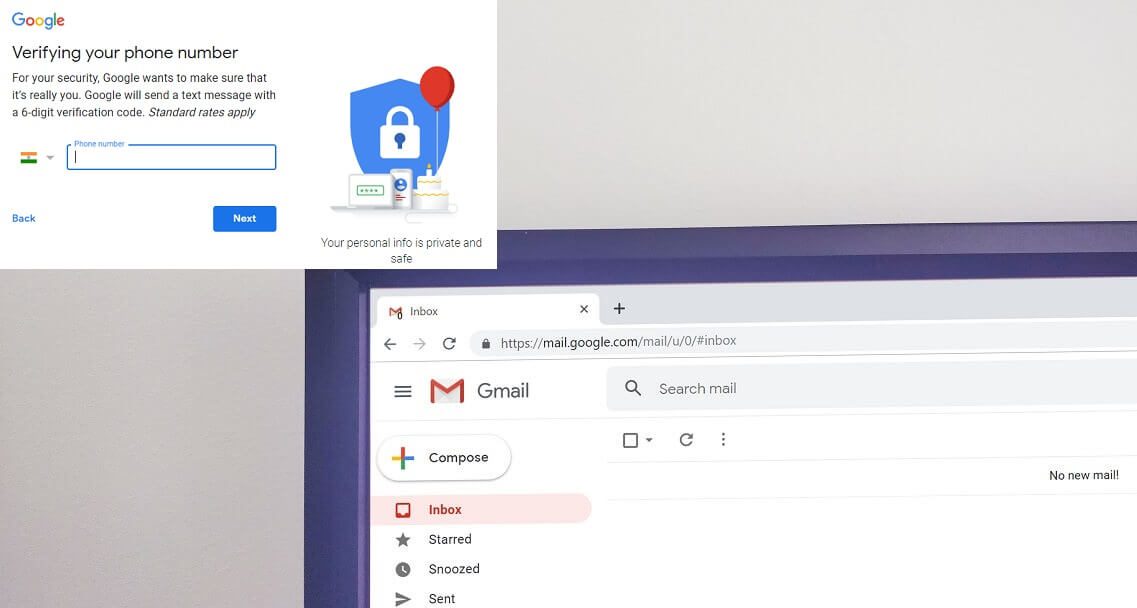
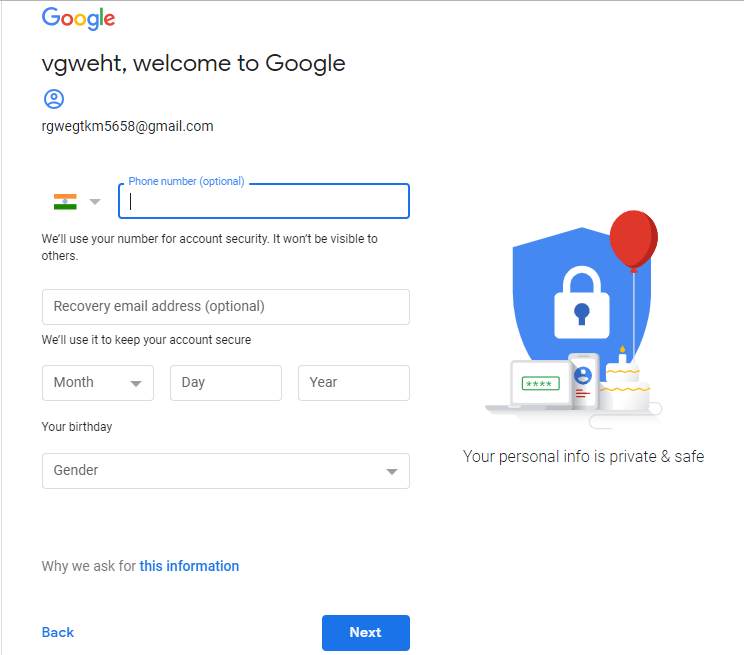
5. Leave the phone number field empty.
6.Uncheck the "Skip this check" box.
7. If this doesn't work for you, try doing the same in your browser's normal mode.
8.Enter the captcha and click on «Next step».
9. Accept the terms and conditions provided.
10.Your new Gmail account has already been created.
Method 2: CREATE VERIFIED MULTIPLE ACCOUNTS WITH UNIQUE PHONE NUMBER
For this method, you will have to change the number linked to the Gmail account that you have already created.
1.Go to gmail.com and access your current Gmail account (linked to your phone number).
2.Click on your profile photo in the upper right corner of the window and then click on your Google account.

3.On the Google accounts tab, click on "Personal Information" on the left panel.

4.Scroll down to the "Contact Information" block and click on your mobile number.
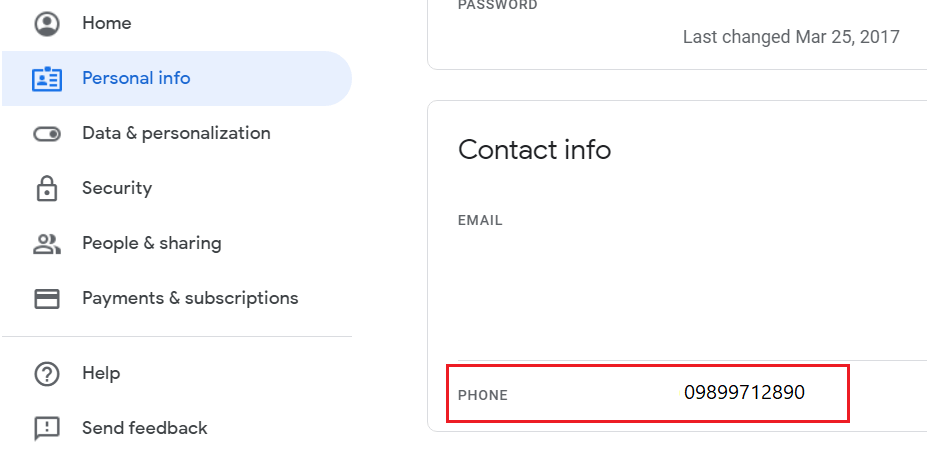
5.Next to your phone number, click the three dots icon and select Delete.
![]()
6.You may need to re-enter your Gmail credentials before confirmation.
7. Click "REMOVE NUMBER" to confirm.

Now, your phone number has been removed from your current Gmail account and will be available to be used for verification of a new Gmail account that you want to create. This method is secure and you can create any number of Gmail accounts with this method.
Method 3: USE THE EMAIL ADDRESS AS DIFFERENT EMAIL ACCOUNTS
Sometimes we need Gmail accounts to register on some other website and we might want to create multiple accounts on it. With this method, multiple Gmail accounts are not actually created. However, this trick will allow you to use your unique Gmail address with as many different Gmail accounts as you need to sign up for some other website or app.
- Use the address of the Gmail account you have already created or, if you haven't already, create one with your phone number verification as you normally would.
- Now let's say your address is [email protected]. If you want to use this address as a different Gmail account, just add one or more periods (.) To your address.
- In this way, you can create accounts like [email protected] or [email protected] and so on. Although they will all be treated as different Gmail accounts, they actually all belong to the same email address.
- All emails sent to any of these addresses will be sent to your original email address. This is because Gmail ignores the period of your address.
- You can also use [email protected] for the same purpose.
- Not only this, you can also filter the emails you receive in your Gmail using the "To:" filter.
- Use this trick to register multiple times on different websites and applications with your only Gmail account.
METHOD 4: USE BLOCKERS
Bluestacks is an Android emulator that allows you to use many Android applications on your Windows or iOS PC. Using this method allows you to bypass the phone verification and replace it with a recovery email.

- Download Bluestacks on your PC.
- Open its exe file and click "Install Now" and then "Complete" to install Bluestacks on your computer.
- Launch Bluestacks and open it. This may take some time when you first open it.
- Go to settings and click Google.
- Now, add a new Google account to create a new Gmail account.
- Enter all the necessary details like your first name, last name, username, etc.
- Set up a recovery email. This is a necessary step because if you don't enter a recovery email now, you will be asked to verify your phone number in a couple of days. The recovery email is necessary to recover your account in the moments when you forget the password of the same.
- Enter the Captcha.
- Your new Gmail account has now been created without phone number verification.
These methods will allow you to create multiple Gmail accounts without needing to verify the phone number or with a single phone number if you have one. Now if you still have any questions about this guide, feel free to ask them in the comments section.