Create a pop-up window at the end of an article to show users related articles.
You will learn how to create a pop-up window that:
- It is full width
- Encourage the visitor to stay after reading an article.
- Proporciona una mejor user experience a sus visitantes.
Design the pop-up window and its content
- Go Templates> Pop-ups> Add New and give your new popup a name. (An alternative method is to press CMD + E or CTRL + E open Discoverer, search Arise, choose Add new popupand give it a name.)
- Choose a predesigned popup template or close the library overlay and design your popup from scratch. For this example, we will design our own.
- At Popup Settings, below Design, change the Width to 100vw, so it will be displayed in the 100% of the width of the viewport.
- Then configure the Layout> Horizontal position to Center, and the Layout> Vertical position to Background.
- Click the Add New Section icon
 to add a new section with 4 columns.
 - Edit each column, setting the width of the first column to 55% and each of the other columns to 15%.
- Add a header widget and a text editor widget to the first column.
- Add an image widget to each of the other columns.
- Ingrese la Url of link para cada uno de los widgets de imagen, cada uno apuntando al artículo relevante.
- Add image effects. For an image, go to Normal tabs Estilo> Filters CSS and change the Saturation to 0. So under the Float up tab, go to Style> CSS Filters and make sure the saturation is still at 100.
- Right-click on the image widget and choose Copy.
- Right-click on each of the other image widgets and choose Paste style.
- Click on the gear icon
 to open the Popup Settings panel. To go Entrance animation and choose Swipe up.
 - Select the Cover to Hide.
Set publishing options
- Add a new one Condition how Include> Singular> All Pages> Page Name
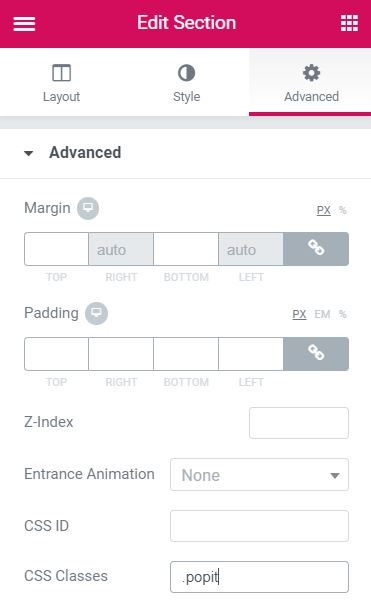
- Add a new one Trigger. Set On Scroll to Element to yes and enter a CSS class name of your choice in the Selectfield r.
- Click on the gear icon to open the Popup Settings panel.
- Edite la página donde desea que aparezca la ventana emergente. Una vez allí, edite el elemento que activará el Popup cuando el Username se desplace hacia él.
- Go to item Advanced> CSS Classes and enter the same CSS class name you entered in the Trigger on.

All ready. Now visit the live page, scroll down to the end of the article and see your Related Items Popup in action.