
Cuando finalices de leer este curso completo de WordPress, obtendrás la capacidad de crear tu propio sitio Web, pero en este artículos explicaremos how to configure menus in WordPress. Vamos a ir paso a paso para que comprendas la relevance de los menús. En versiones anteriores de WordPress, se requerían programaciones complicadas, ahora todo es más sencillo y efectivo para el editor.
What are menus in WordPress?
They are sections that are at the top or bottom of a web page. They can be displayed to show three types of access:
- Buttons to access internal pages: cuando creas un menú tienes esta opción, que sirve para enlazar a una página interna que hayas creado con un propósito específico como de qué va tu Blog o de contacto. Basta con seleccionar el nombre y añadirlo al menú que se vaya a crear.
- Buttons for blog posts: in this case you will be shown the complete list of the entries that you have created on your website. Just choose the ones you want to appear in the main menu. Te recomendamos que elijas las que más visitas o conversiones tengan (puedes ver este dato en Google analytics).
- Botones hacia dirección dirección url: here you can customize the button so that when they click it they can go directly to a specific url address. This can be for the same blog or for a different site.
- Categories: one of the most used options at the time of create a menu. Si tienes a tu disposición de categorías madre y subcategorías aquí las puedes ordenar. En este módulo te explicamos la relevancia de las categories dentro de un blog.
Recommendations before creating a menu
- Do not repeat addresses: si vas crear un menú, procura que este se muestre una sola vez en la web. Frecuentemente se ve el error de que se duplica en la parte de la cabecera y en el pie de página, el problema aquí es que puede confundir al Username cuando navegue.
- Content de valor: It is not about sending a visitor a page or category just to fill in or make the menu look nice. The idea is that they can go to a content that serves them and that shows relevant content in relation to your topic.
How to create menus in WordPress
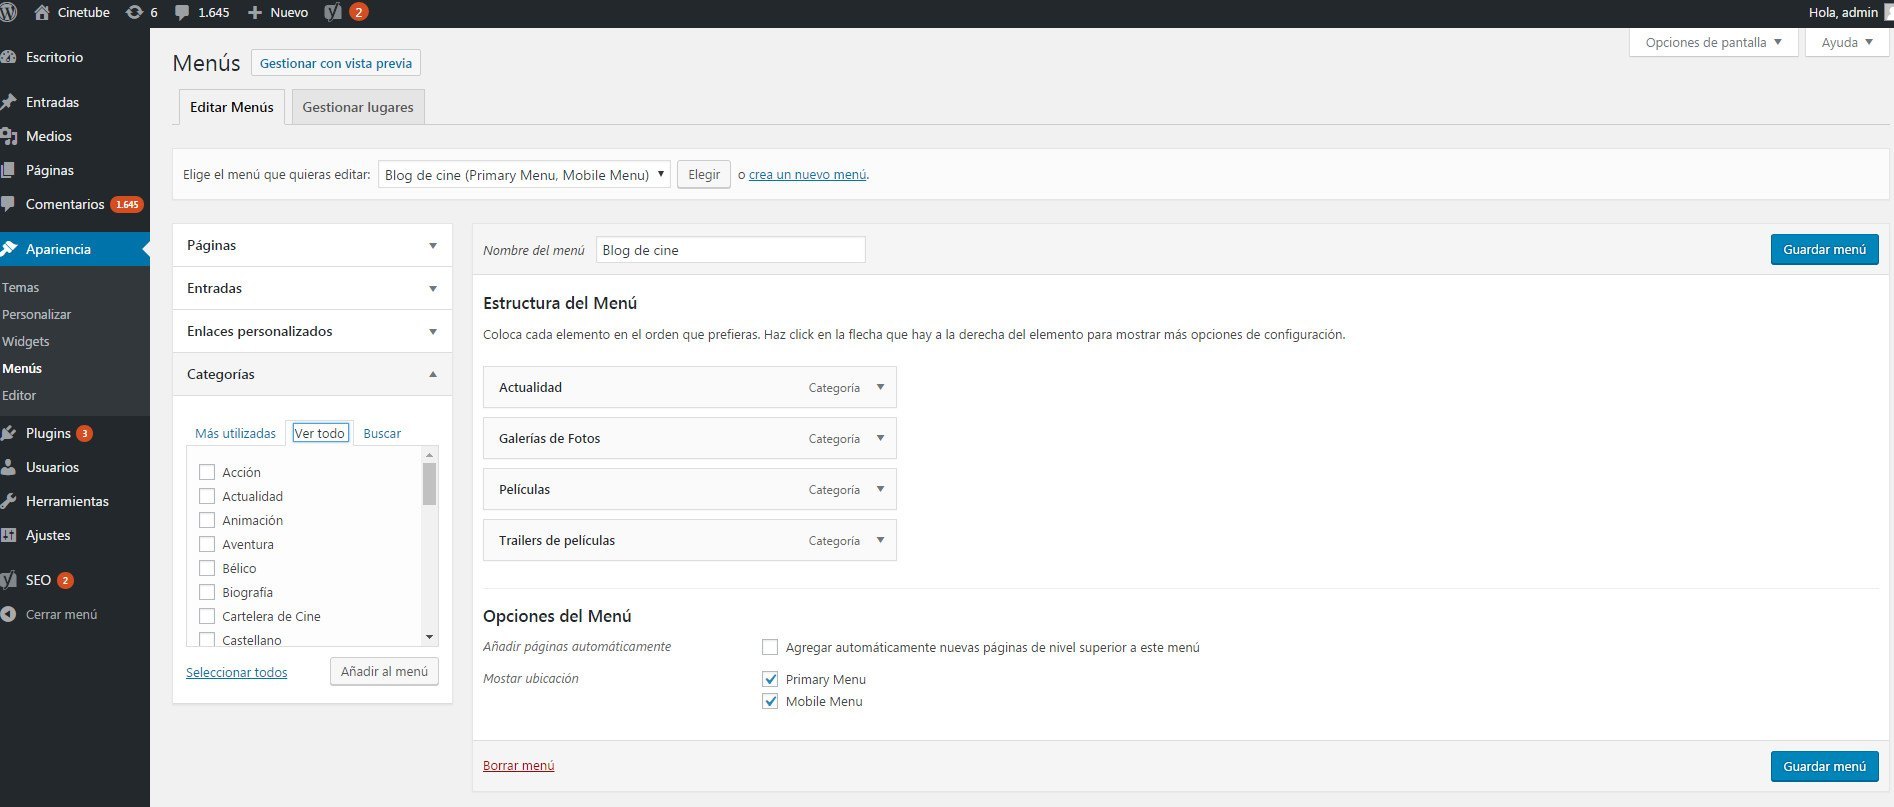
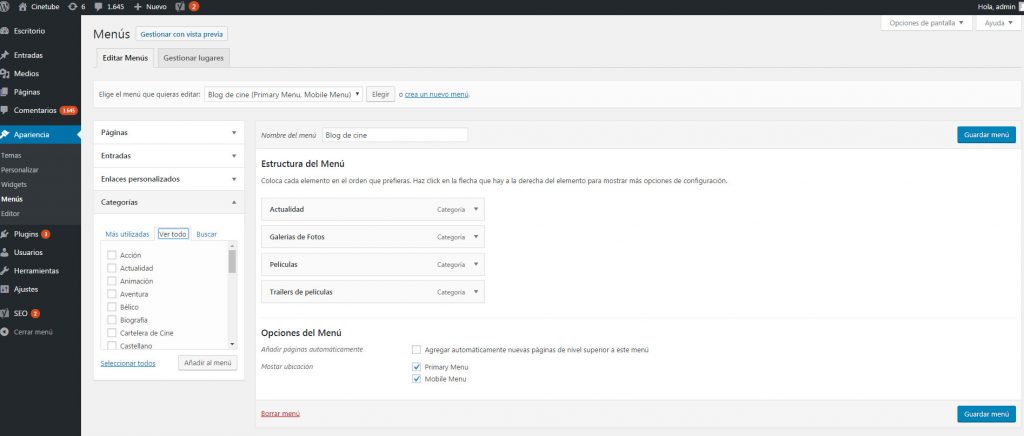
- The first thing you should do is enter the WordPress dashboard and go to Appearance> Menus. At this point, a screen will appear showing several sections that will help you to create and configure a menu within your blog.
In the left column you will see four options, they are the same as described above: Pages, Posts, Custom links, Categories. On the right side you will see an option that says Menu name, here you must enter the name with which you want the new menu to be identified. When you've written it, click Create menu and you're done.
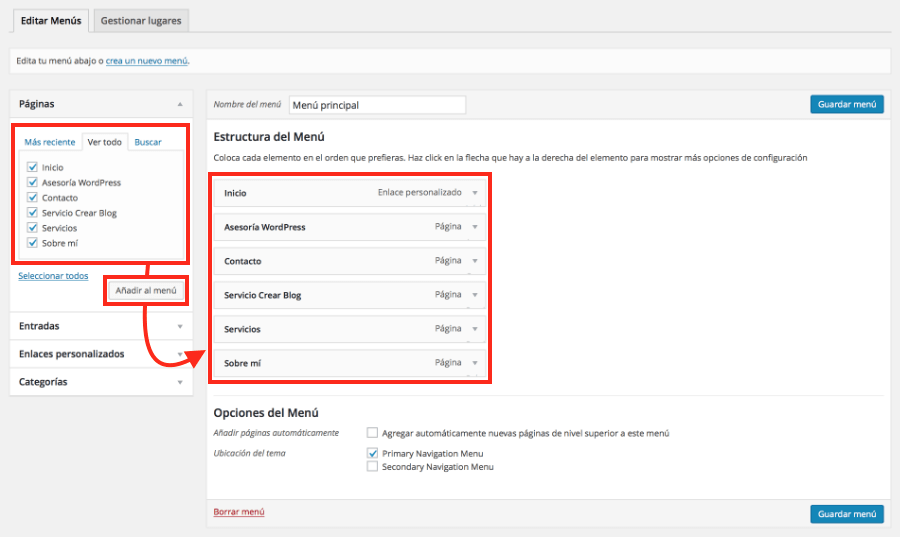
- Step # 2: If you already have the name of the menu, now you have to add the respective tabs. This is where you must be clear about where you are going to direct your visitors. If you choose pages then make sure that they are only pages, in the same way with categories, links, entries and permanent links.
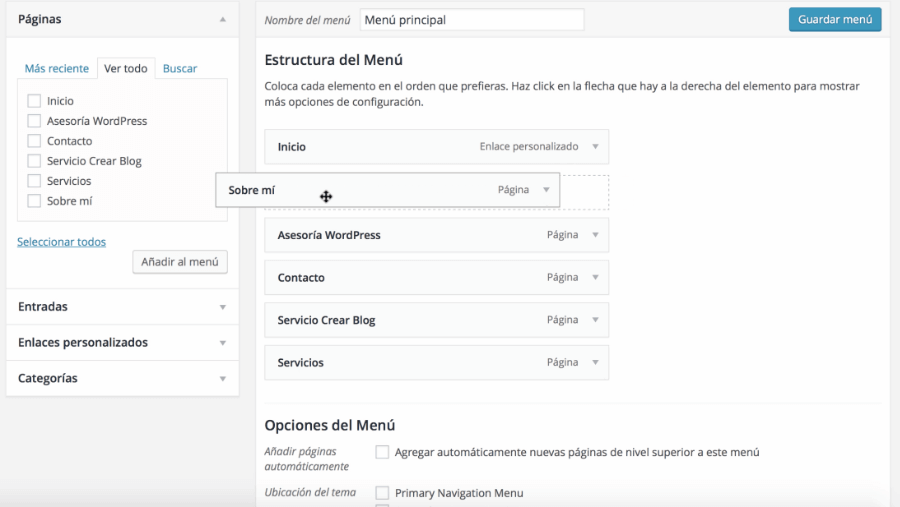
- With your WordPress menu already done now you have modify its structure. You can change their order by simply dragging the category from top to bottom. For it to unfold, you just have to drag a little to the right, that way it will look like a drop-down and you won't take up much space at the top.
Cuando hayas definido el orden llega el momento de determinar su ubicación, en la mayoría de casos hay dos opciones: Navegación primaria del Menú o Navegación secundaria. Si deseas que aparezca en la parte superior elige la primera, si necesitas que su ubicación be inferior elige la segunda opción. Luego de esto te diriges a la parte de abajo y das clic en Guardar Menú.
You can create so many menus on WordPress.org as you wish but remember to place them strategically, so the visitor will be able to locate the greatest amount of information easily. At the same time you can modify the menu created as many times as you want, that is one of the advantages of this platform.


