

When people think of WordPress, they often think of blogs, but the world's favorite content management system has come a long way in the last ten years. In fact, with a plugin or two WordPress can be many things for many people, not least. an excellent platform on which to build a web store.
There is no shortage of plugins and ecommerce themes to transform your WordPress installation into a web store. They range from free to not so free, and the quality of the plugins varies wildly. For the newcomer to e-commerce, selecting which platform to choose can be a nightmare.
With that in mind, in this post I have decided to take a closer look at one of the best deals on the market. It is free and exceptionally well built. Decidedly what I'm talking about WooCommerce by WooThemes.
A short description of WooCommerce
WooCommerce is WooThemes' enterprise-grade ecommerce software (which has now been acquired by WOrdPress itself). It makes it possible to add premium extensions so that you can take advantage of the default installation in countless ways. Here's a quick rundown of the key WooCommerce features (as noted on the product page):
- Fully audited by WordPress security company Sucuri
- Comprehensive store management
- Extensive reporting options
- Simple one page checkout
- Various payment gateway options
- Various marketing and promotion options
These features only scratch the surface of WooCommerce functionality. Even though you cover the requirements of many online stores out of the box, when you contemplate the many premium extensions available, you should be able to build a store that is fully tailored to your needs (regardless of how unique they may be).
WooCommerce installation
Before installing WooCommerce, you'll want to make sure your current theme is WooCommerce compatible. WooCommerce should appear as a feature on the theme page. If you are creating a store, we recommend that you get a premium theme. This is to ensure that your theme is continuously compatible with the latest version of WooCommerce (you don't want any security holes due to your free theme not being updated). At the same time, if you choose a premium theme like Chic or Total, a custom style is added to make the store and all its WooCommerce widgets look great (as the default style for the plugin is regular).
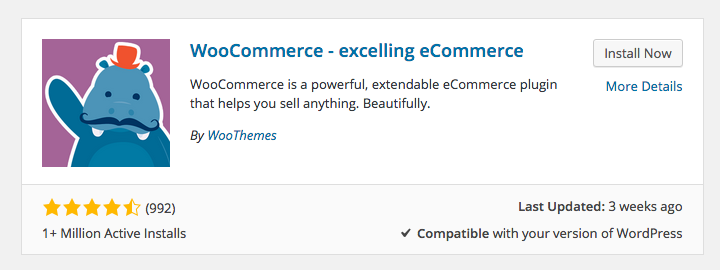
Ok no, you have a compatible theme, it's time to install it! Installing WooCommerce is as easy as installing any other plugin from the WordPress plugin repository. In your WordPress panel you must go to Plugins> Add New and then search for WooCommerce. The plugin must be on the Popular list. Just click on the Install Now option and once the installation is complete, click on Activate Plugin.
This will take you to the WooCommerce settings page, which requires a final step before the plugin is fully installed. At the top of the page is a big notification asking you to install WooCommerce pages:
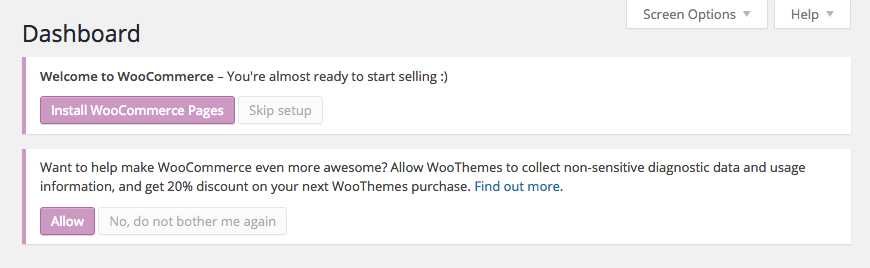
By clicking on the Install on pc The button will create all the essential pages for your online store. After adding your pages, you will be taken to the WooCommerce welcome screen:

Now that the plugin is fully installed, you need to check the status of the WooCommerce system to make sure there are no immediate problems.
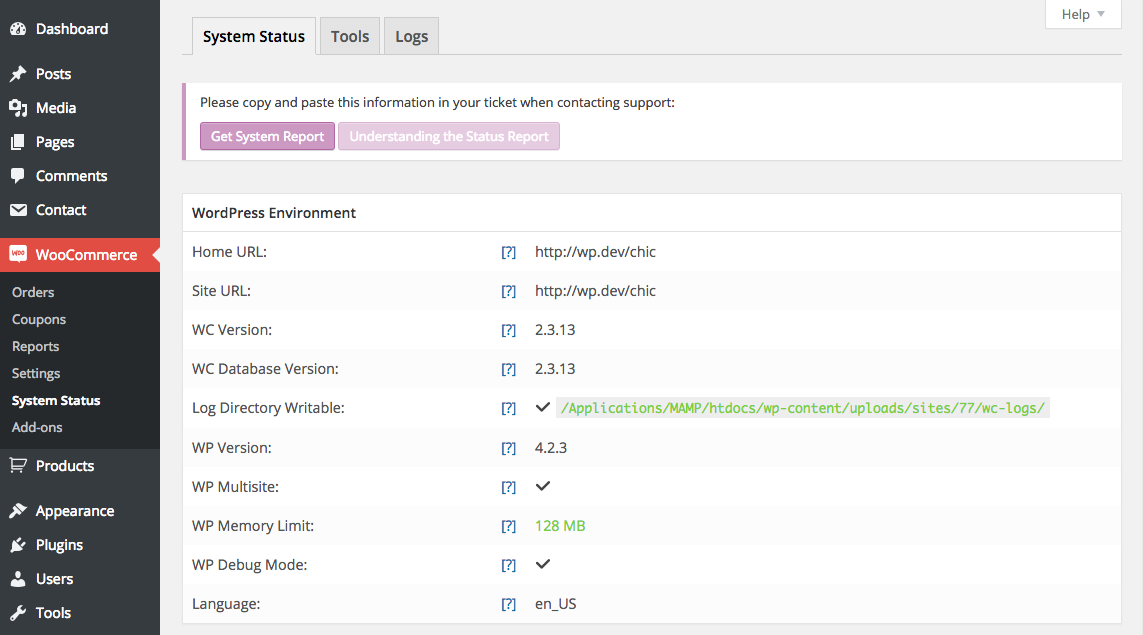
This can be found in WooCommerce> System Status. If there is a problem, you will be provided with information on how to resolve it (what to do before proceeding).
WooCommerce Settings
Now that the plugin is fully installed, it's time to start setting up your store. At WooCommerce> Settings menu you are presented with numerous options. Let's take a look at the options you can configure on each tab.
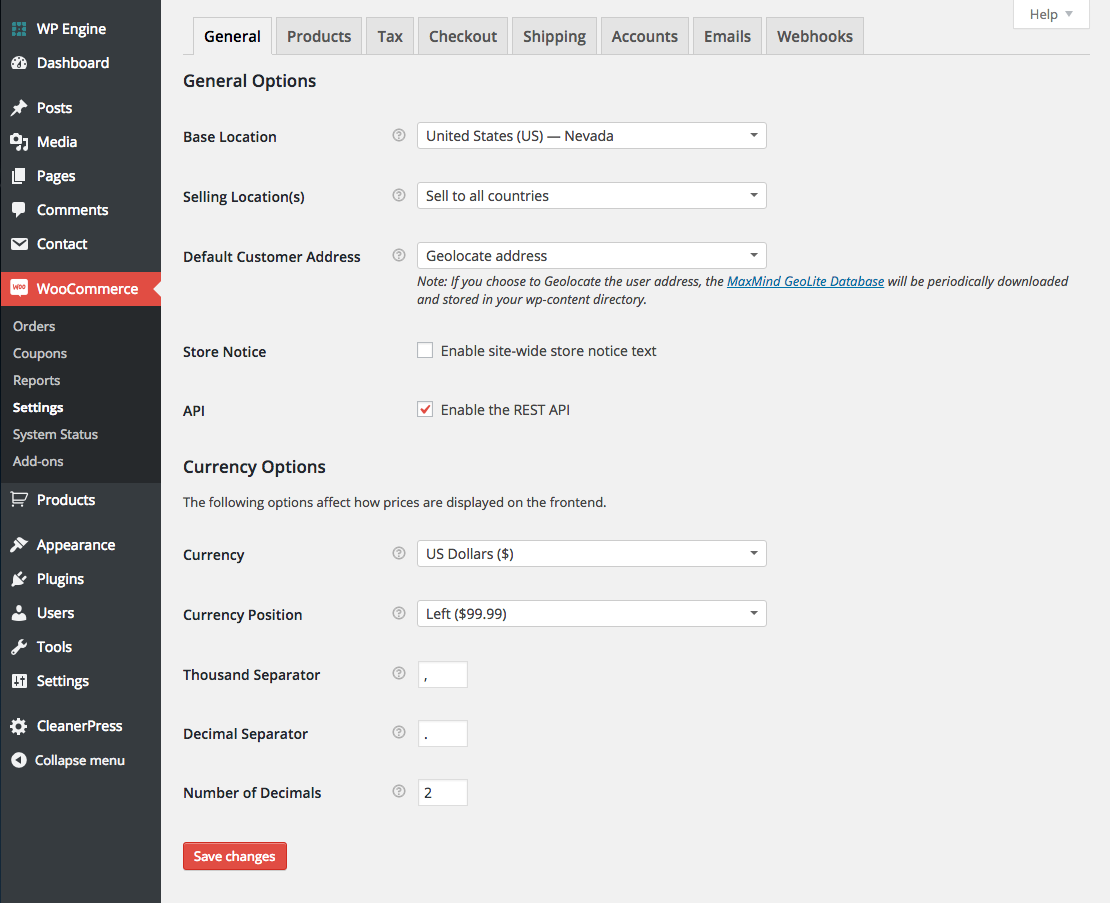
general
Unsurprisingly, this tab gives you some of the basic settings for your store. Options in this section include location, api, and currency options.
products
This section covers all your product configurations. This includes units of measure, review options, product and store options, product image cropping, inventory options, and downloadable product configurations.
Tax
Taxes are exactly what it sounds like: tax settings. There are a lot of options for calculating tax rates and they can get a bit complicated. We suggest taking a look at set up taxes in WooCommerce documentation before delving into this section.
Check out
From here you can configure your cart and payment pages, add terms and conditions, and select your payment gateways. Bank transfer, check, COD, PayPal, and credit cards are WooCommerce's included options. Although there are many plugins and extensions available through third parties to add additional payment gateways.
Here at the same time is where you can enable coupons. Coupons and discount codes can be a great way to give loyal customers a reason to shop with you again. Many online stores offer discounts to newsletter members or discounts for returning customers and it is a noteworthy thing to consider.
Shipment
This is where you set up all aspects of the shipping process for your store (if you sell physical products). In addition to the shipping calculations display options, you can enable and configure the following shipping options:
Choose your shipping methods, set flat rates, enable free shipping, add international shipping options, and even choose special settings for local pickup or delivery. You can enable all of these options individually and configure every detail of the shipping methods you choose to use.
Accounts
The accounts page provides options to configure your user accounts page, add custom URLs for important account pages, and enable / disable accounts and registration.
This section enables you to configure the email options and email templates that are used when communicating with your customers. Emails can be configured for various triggers such as new, processed, or complete orders, as well as invoices, password resets, and more. You can even choose custom colors!
Webhooks
Webhooks are used to trigger events, such as opening a pop-up window for a coupon code when customers add a product to their shopping cart. This section makes it much easier for WooCommerce to work with third-party plugins that you may want to use to extend WooCommerce functionality.
Add your products
Now that you've worked through your store setup, it's time to start adding your products. The product creation process is almost exactly the same as creating a normal blog post in WordPress.
You can create categories and labels for your products and add shipping classes to group your products by those that have specific shipping requirements. At the same time there is an option to add additional attributes to your products, such as various colors or sizes.
When you add a product, you are presented with a page similar to the standard post page with some additional sections.

Product dates
This section enables you to configure everything about the product. There are four types of products available for you to choose from: simple, bundled, external / affiliate, or variable. The simple product type is the only one that enables you to make the product a digital download or virtual product.
You must ensure that each product has a SKU, which is a unique identifier for the stock management options. This section is where you set the price of the product, any additional attributes the product has, and the stock management options for the product.
At the same time there is a fantastic section that enables you to link other products to allow you to up sell and cross sell to your customers. This is a great way to gently pressure your customers to buy additional products from you. Amazon is an expert in this technique and it is worth taking time to observe how they approach product linking to drive their own sales.
Brief description of the product
This is the content snippet that will appear next to your product image on the actual product page (the longest description you add above is displayed in a tab next to customer reviews). This is a great section to add a couple of quick sentences or a bulleted list about your product features.
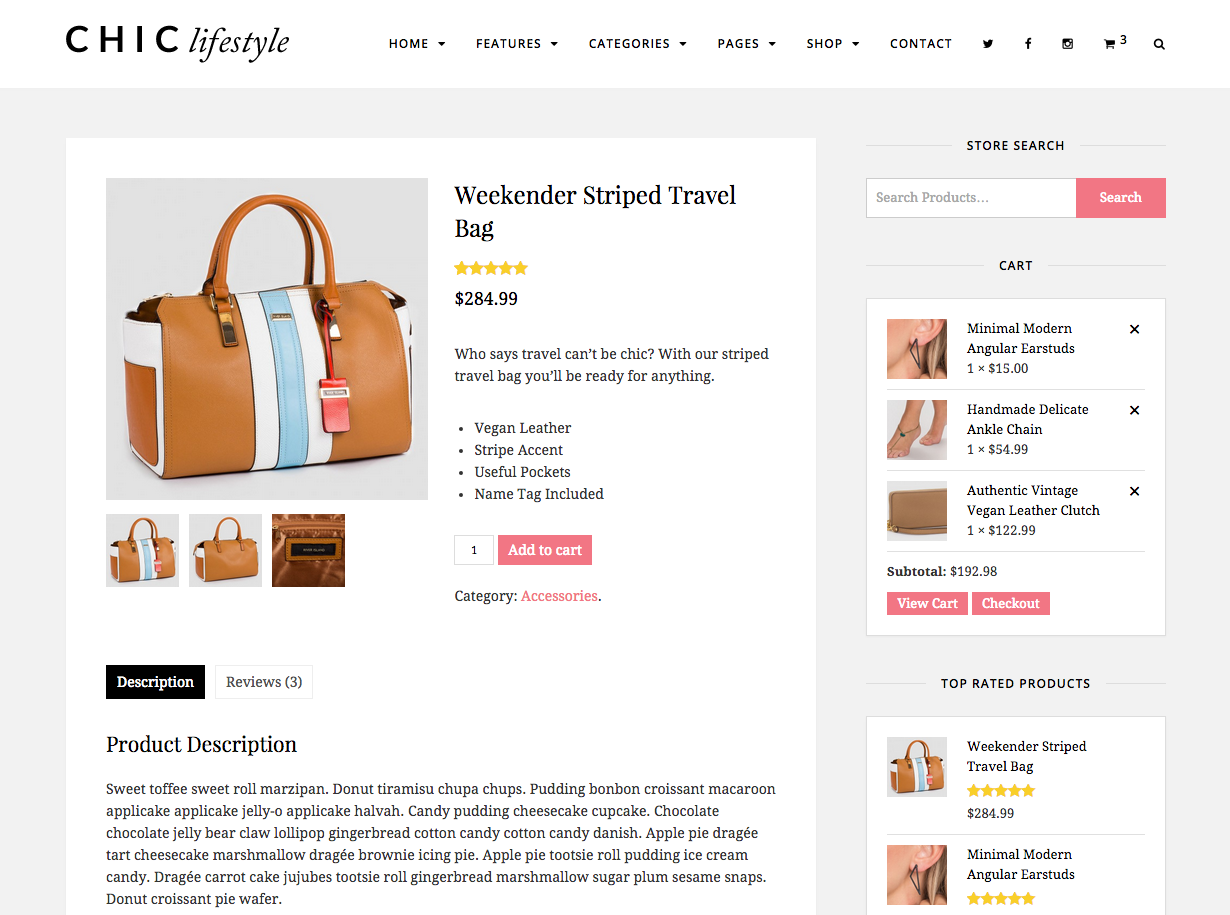
Product gallery
This is exactly what it sounds like: an image gallery of your products. It's usually a good idea to add a few snapshots of what you're selling, so customers can see it before finalizing their purchase. In our Chic theme, we have updated the gallery to have a beautiful picture lightbox to make it even easier for your clients to view your galleries.
Reporting
Once your store is up and you've sold a few products, it's worth looking at WooCommerce's reporting features. These can be found in the WooCommerce> Reports menu.
There are reports that break down your sales by day, month, product, category and at the same time by your best sellers and by your income. At the same time of the sales of your products, at the same time you have reports for the use of discount coupons and various reports on your customers. At the same time there is an area that monitors its low and out-of-stock products.
These reports are a great way to stay on top of all aspects of your business. This function not only allows you to know your best-selling products, but at the same time it allows you to see which products are not selling. This information can allow you to make profitable decisions. Knowing all this information is an important aspect of running a successful store and WooCommerce provides you with all the data you need.
A unique and simple solution
There are many eCommerce solutions for WordPress, but WooCommerce is among the best. It is free of charge and comes with more functionality than many premium ecommerce plugins. With your store up and running, you can use these tips for selling online alongside these content marketing tips to grow your business.
Do you use WooCommerce? What do you think of the plugin? Are there other plugins that you would recommend instead of WooCommerce? Let us know in the comments below!


