
Los sliders son items que pueden mejorar la apariencia y la funcionalidad de tu Web. Aprende a crear sliders responsivos con plugins gratuitos.
What is a slider?
A slider is an element that within a web displays or demonstrates multimedia items (imagen o video) en forma de presentación. Algunos muestran el contents de forma automática, otros requieren de la interacción del visitante para funcionar.
They are very functional and visually attractive as they are a content gallery with a dynamic character. They are useful on websites where the Photography and video play a vital role.
A slider is a must have if you have at your disposal a website of briefcase. A corporate site. Or if you move into a niche or sectors where more and better things can be said with images:
- sports
- tourism and travel
- Entertainment
- Real estate
- fashion
- Pets.
What you should keep in mind when creating Sliders
Many page builders o maquetadores visuales incorporan dentro de sus opciones Widgets de sliders. Incluso algunos temas tienen esa opción. Pero si no pretendes instalar un maquetador y no precisas cambiar de tema, bien puedes tirar de plugins gratuitos.
But you must take into account certain issues such as:
Responsiveness
This point is not negotiated. You need your slider to display on all screen sizes.
Loading times
Not all plugin free to create responsive sliders have the same loading times. We have tested them all in our projects. The best times that have given us have been: Nivo Slider and Soliloquy.
We present them to you so that you can choose the one that convinces you the most.
Nivo Slider
As of the date of this tutorial, Nivo Slider is a plugin that constantly receives updates. And it has more than 40,000 active installations.
It is a pluging freemium but without paying anything with your lite version you can take advantage of many of its features:
- Create a carousel
- Mount presentations from galleries or certain categories
Soliloquy
Its developers say that Soliloquy es el mejor plugin para crear sliders responsivos en WordPress. Aún cuando es un pluging de pago, en su versión free puedes montar un slider responsive de forma simple.
Are there more options when creating a responsive presentation in WordPress?
Yes. If you take a tour of the WordPress plugin repository by following this link:
wordpress.org/plugins/tags/slider/
You will find yourself with many options.
And if there are so many options, why do they only show me two?
We explain only two options because of the entire arsenal you have in the repository. These are the ones that still offer you in their lite versions better performance.
Creating responsive sliders in WordPress with free plugins
We get down to work.
Creating a slider with Nivo lite
- We install and we activate the plugin
- We follow the following route:
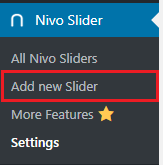
Nivo Slider> Add New Slider
- We give Name to our slider
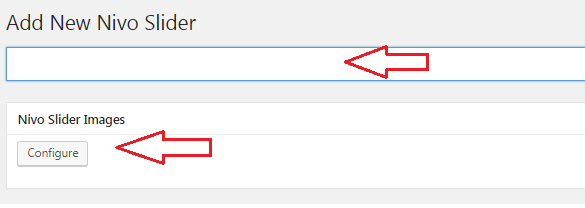
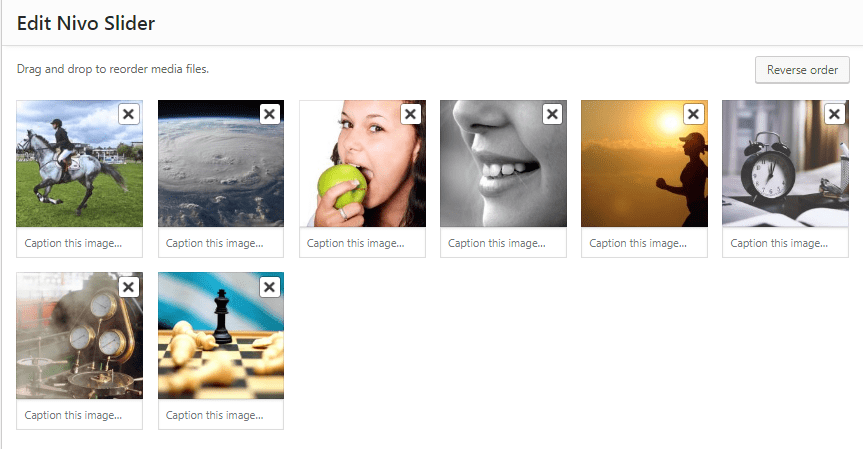
- We add the images, for this we press the configure button. A window identical to ours will open media library of WordPress. We select the images. We keep the changes.
- Now you can set up the rest of the parameters as you like.
- When you have configured everything to taste you save the changes.
- To use your slider all you have to do is copy a shortcode which will appear in the right column of the Nivo panel:
[nivoslider slug = »slider-con-nivo»]
- Then you paste that shortcode en la ubicación donde requieras tu slider. Puede ser una página o un post. Listo.
Now we will create a slider using Soliloquy.
Making responsive sliders with Soliloquy
- We install and activate Soliloquy

- To create our slider we follow the following route:
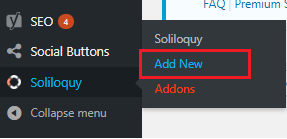
Soliloquy> Add new
- We name our slider in the top bar.
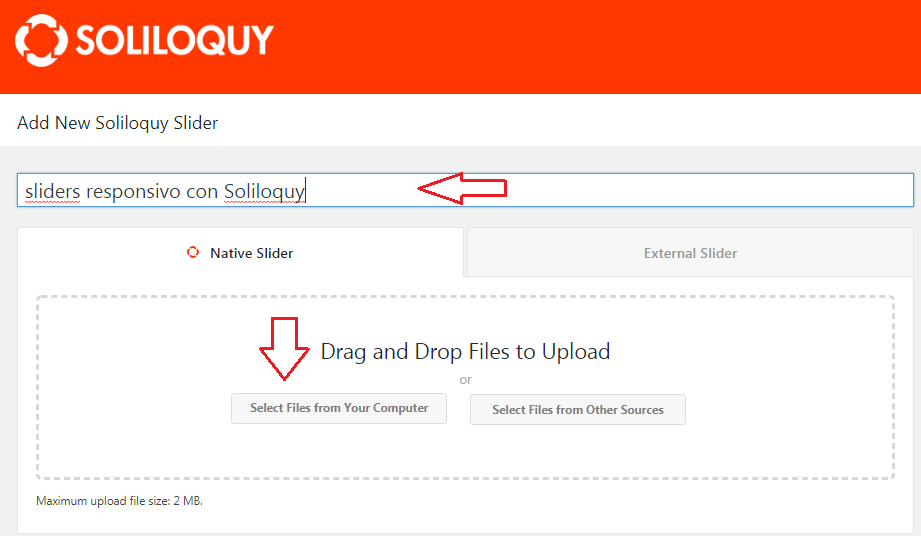
- For add images we have two options. We can either upload them from our team or from other sources (such as from the WordPress media library).
- The uploaded images will appear at the bottom of the panel like this:
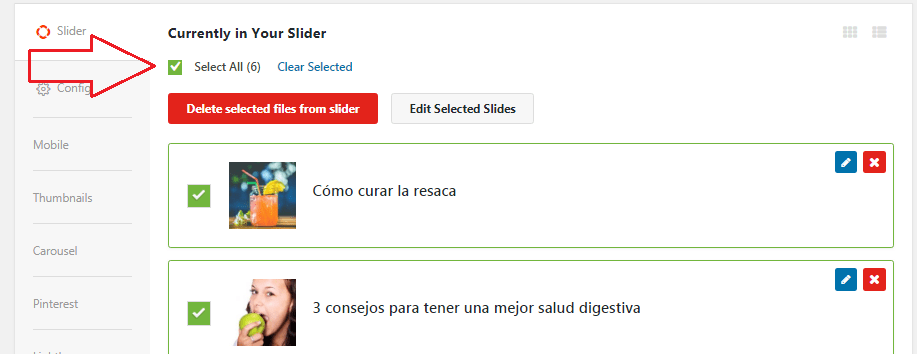
Press the button select all or select the images you need.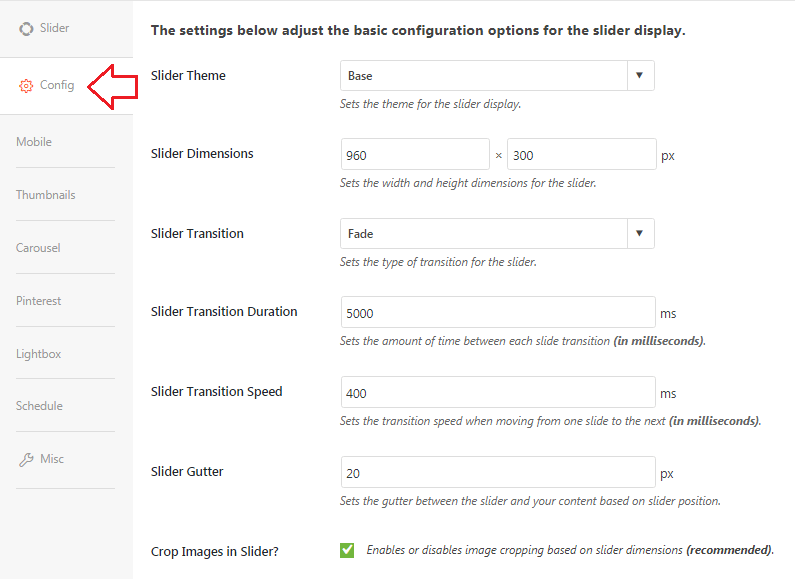
- Now we must configure our slider. For this we enter the configuration tab. For this case, we will configure the parameters to taste. Save the changes.
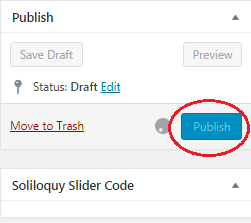
- The only thing missing is to post our slider. When the changes have been saved correctly they will appear in the right column (just like in Nivo) with the shortcodes. A) Yes.
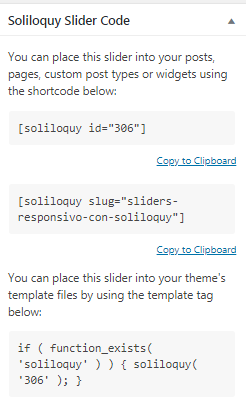
- We copy the shortcode:
[soliloquy slug = »responsive-sliders-with-soliloquy»]
(Using the option copy to clipboard. Then we paste in the place where we need it. And ready. We have our slider created with Soliloquy lite.
Finally
Los sliders pueden mejorar la apariencia de tu web, pero existen muchas posibilidades para potenciar tu Blog. Si quieres saber más inscríbete en el best online course in Spanish from the best content manager: WordPress.org.


