
Sure you already know that Google see with better eyes those websites that they use H.HL. Learn how to get and activate a SSL gratuitous for you Web WordPress.
What is SSL
SSL or Secure Sockets Layer (SSL) is a cryptographic security protocol in the web.
Es lo que hace que la dirección de ciertas páginas webs be: HTTPS en lugar de HTTP.
Where the letter "S " it means Sure.
Why is HTTP insecure?
First we have to know what HTTP is a exchange protocol or information transfer.
The HTTP protocol is insecure because the data that is transferred from the browser Web to the server Web are transferred in plane text.
So that means that, the information that the users de una web pueden introducir desde sus browsers can to be intercepted for attackers.
What kind of information can be intercepted in the HTTP protocol?
All information and data which is entered by users in their browsers. But attackers are always looking sensitive information.
What do we mean by sensitive information?
All the information that can be used to some degree, such as:
- Users and keys access
- Credit card data (TDC)
- Keys to digital wallets
- Personal information: names, phone numbers, addresses
- And a long etc.
How to get a free SSL for my WordPress website
How will you know the SSL certificates are paid.
In some cases, some web service providers include them in their packages and service plans.
In others you will need to pay a certain amount to make your website go from HTTP to HTTPS.
But here in this CourseWpress.com tutorial we tell you how you can get a free SSL certificate for your website.
For enable HTTPS on our website, for free we will use: Zero SSL.
Zero SSL
Zero SSL is a free SSL certificate provider. What Zero SSL does is facilitate the security certificates of the platform lets encrypt.
Entering Zero SSL
- The first thing we have to do is go to zerossl.com/
- Once on the Zero SSL website, we follow the following route: zerossl.com> certificates and tool > FREE SSL Certificate Wizard> Start.
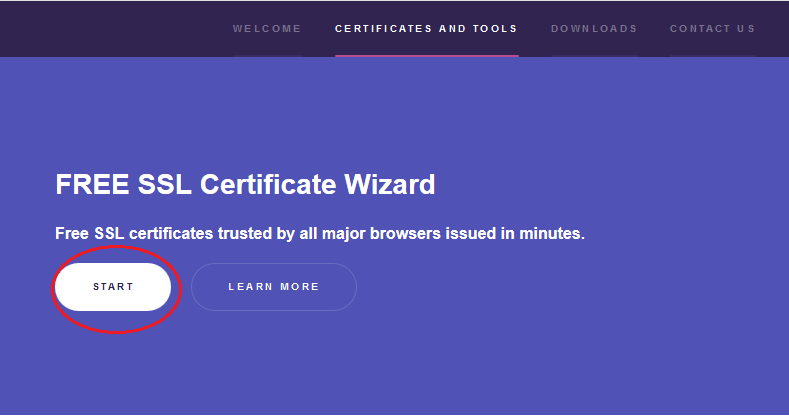
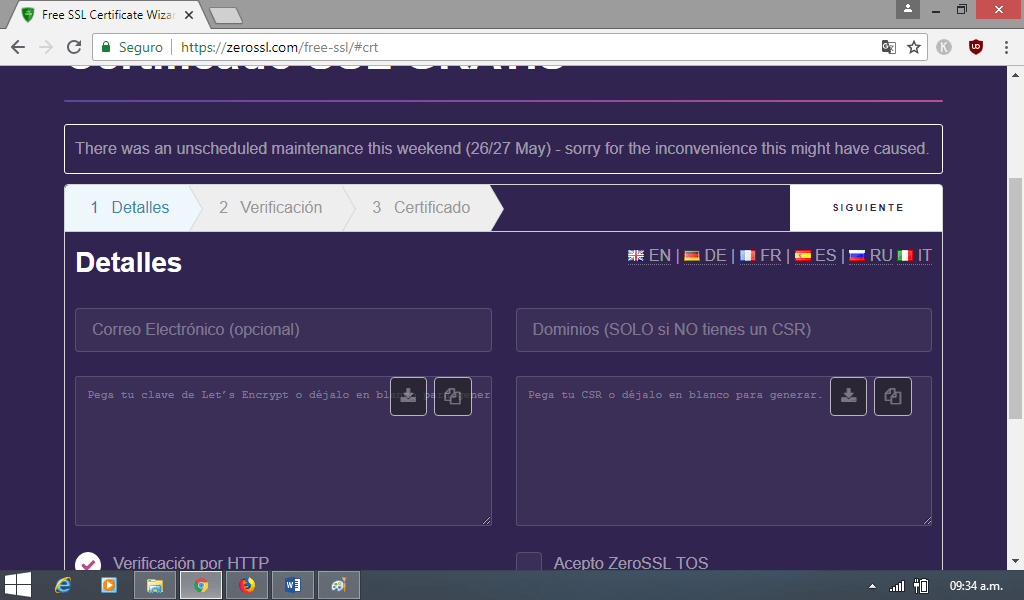
- We press the Start button. We wait for the options to load. There we can select language. Zero SSL comes by default in English but we can change it to Spanish.
Entering our web address
- Now we enter our web address en el recuadro. Debemos hacerlo de la siguiente forma: paginaejemplo.com, paginaejemplo.com. Dicho de otra forma primero ingresamos nuestra dirección sin www, una coma, un espacio y seguido agregamos la dirección con www. Tal como se muestra en la imagen.
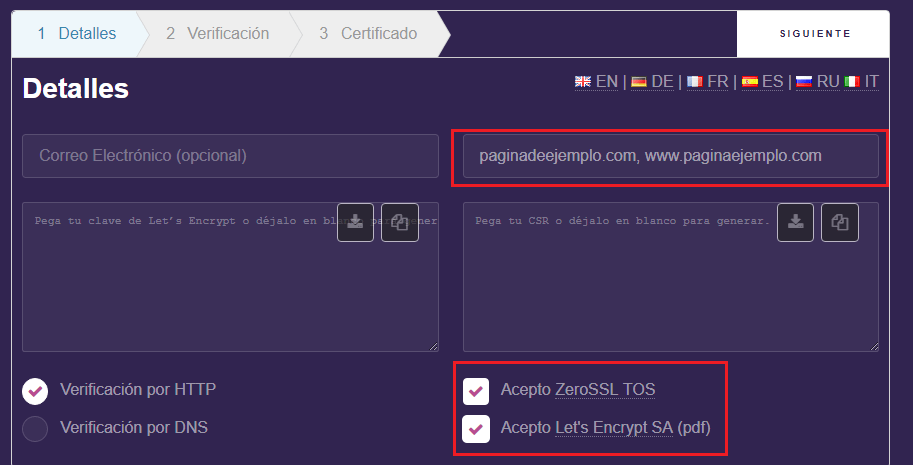
- When you have added address either way, the following is accept the terms and conditions of the service.
- We verify that the web address is well written and we press the button: following (up to the right).
Generating CSR
- If everything is in order, a sign will appear indicating that it is Caused CSR.
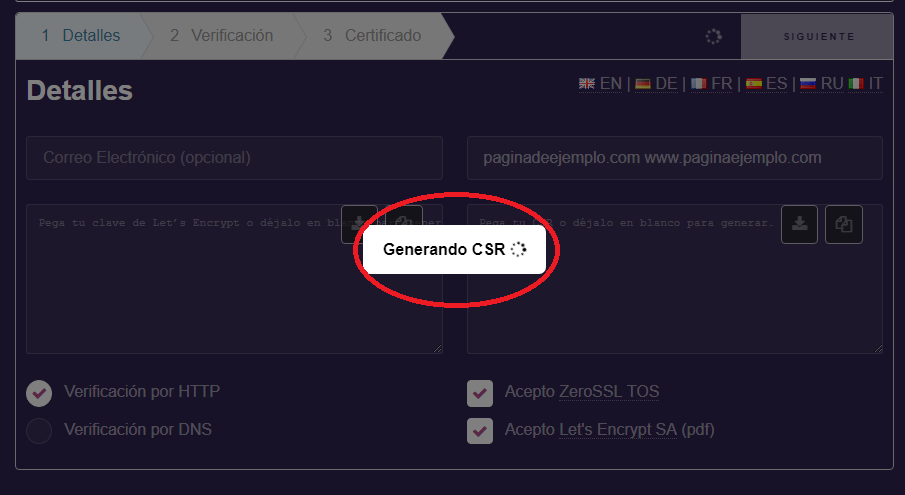
- When the CSR has been caused, a series of codes will appear in the panel below the web address. We download it. It is a .TXT file that we will use later.
- And once again we press the next button (up to the right). Now a poster will appear: Generating Account Key.
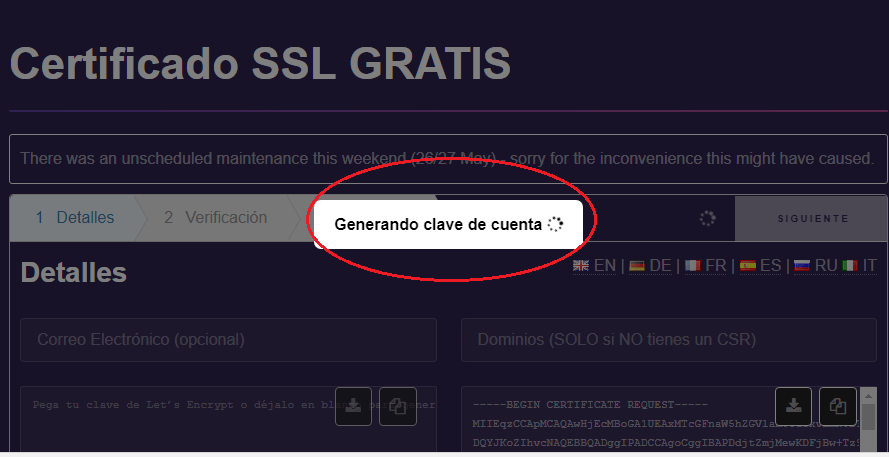
- We will know that the Account key It has been caused because we will see a series of codes that begin with the label: BEGIN RSA PRIVATE KEY. It we download. It's another .TXT file that we'll reserve for later use. We press following.
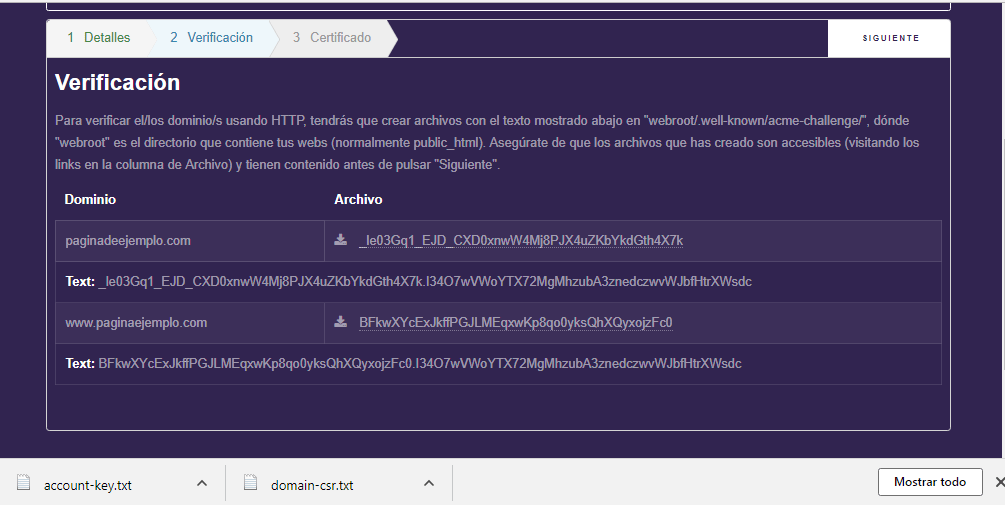
- Now we will see a screen with the files that we generated in the previous steps. We download them again to have them as backup.
Ingresando a cPanel
- We enter our cPanel. Ubicamos el domain al cual le aplicaremos el certificado SSL.
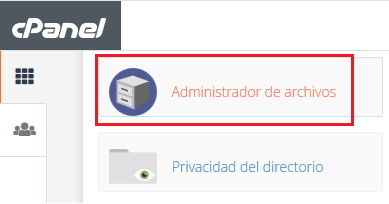
- We came in file manager. We locate the folder. Public_html.
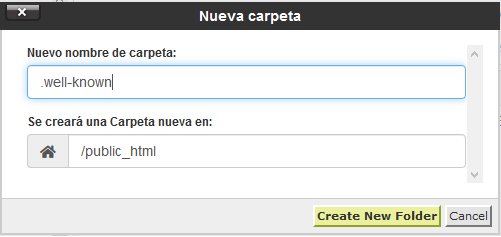
- In public_html we created a new folder. We will call this one.well-known that is, point well known script.
- We press the create new folder button. Now in that newly created folder we will create a new one. We will call this one.acme-challenge.
- What we will do next is to upload the two .TXT files that we downloaded from Zero SSL. These files must go in the folder acme-challenge.
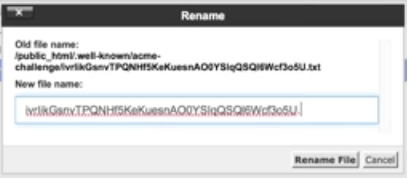
- It is possible that in your case the files that we download from Zero SSL do not come with the .TXT extension. But if this is your case, once you have uploaded them to the folder, you must rename them and remove the extension.
Last steps
- We return to the portal of Zero SSL. There we will verify that the verification of our files works. To verify them we have to open them in a new tab.
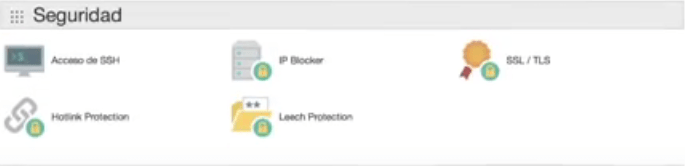
- We once again enter our cPanel. We locate the security section and enter a section called SSL / TLS. There we will locate the option manage SSL SITE.
- In the section manage SSL site we must paste the codes that we generate in Zero SSL.
- When we have completed the last step we can press the button to generate certificate and that's it. We have our website with a free SSL certificate.

Do you intend to continue learning with us? Sign up for the best online WordPress course in Spanish.


