

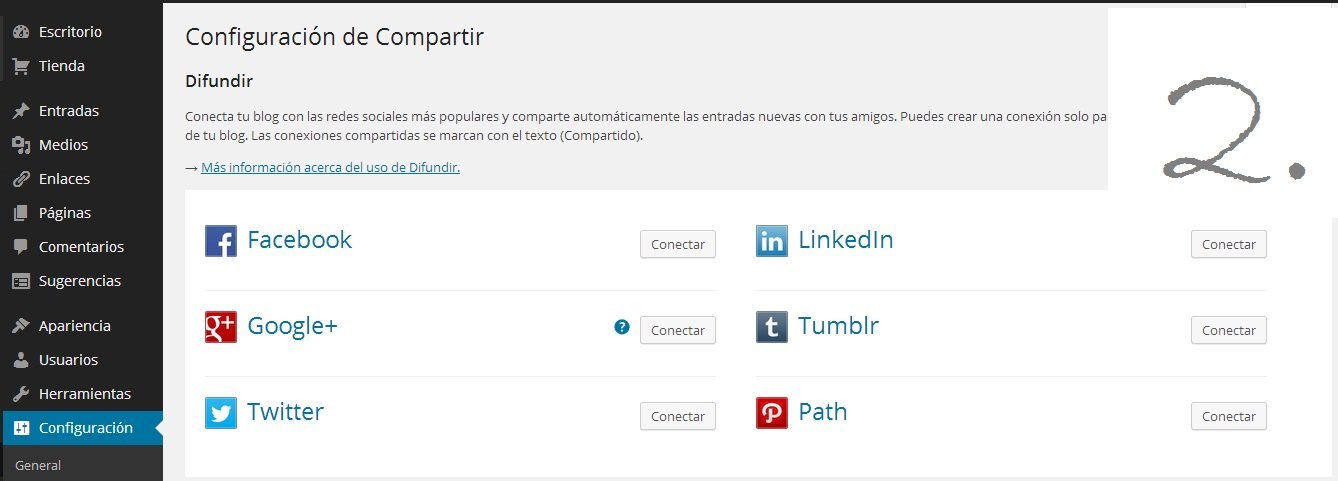
World 2.0 (everything linked to content on the Internet) does not work as a separate system, on the contrary, it is interconnected and this feature should be used to maximize the reach of our website. If you have a personal blog or a corporate website at your disposal, you should take advantage of the social options that can be incorporated into WordPress. The advantage of this platform is that it enables you share content from your blog on various social networks.
Why are social buttons important?
- More traffic: when you have social buttons you're more likely to have your content outreach. If a user considers that your content is valuable, they will share it on Facebook, Twitter, Google Plues, among other networks. In this way, many more people will want to enter that link that translated into economic profitability translates into more money in AdSense.
- Positioning: Google sees the social behavior on a blog as a positive point for your positioning (SEO). Having social buttons and that these are active and used makes the Google algorithm understand that your website is of general interest and, therefore, you will obtain a better positioning.
Considerations before installing a social button
Before installing a plugin or any code, take into account the recommendations of this complete WordPress course.
- Loading speed: It is important that you do not use a very heavy social plugin. If you do this, the loading speed of your blog will decrease and therefore the content will take longer to display. You can use native codes -which adds sections without installing a plugin- of social networks such as Facebook for the speed of your web hosting.
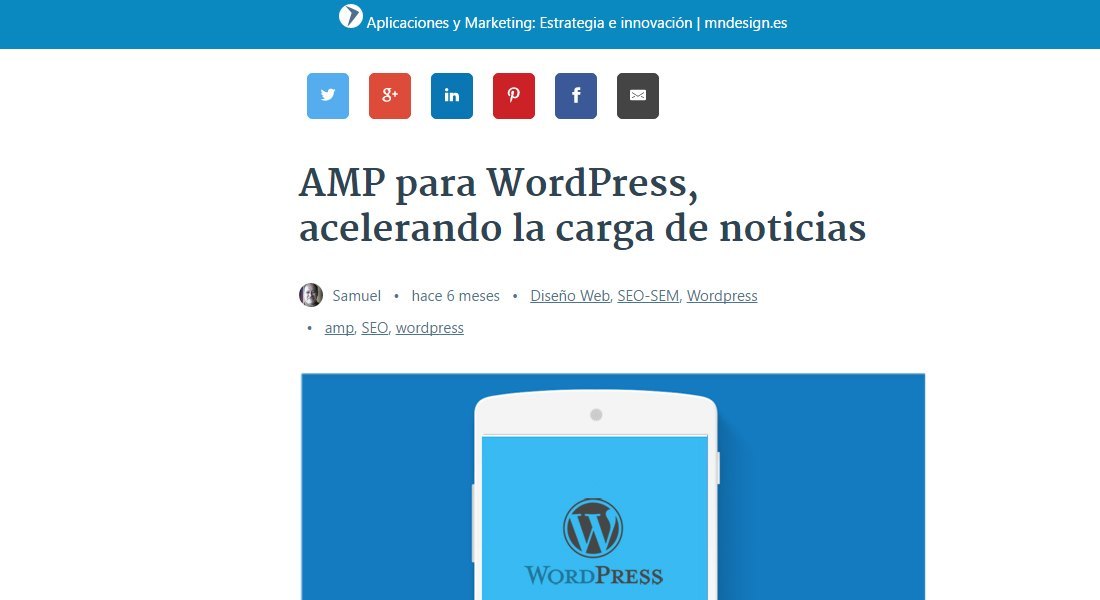
- Responsive: the social button for WordPress has to be able to adapt to all types of screen resolution. If you see that it is large when viewed on a mobile device, look for another one, these damage the user experience.
- Design: the design has to be intuitive (easy to understand), showing the visitor what to share or comment on.
How to add social buttons to WordPress
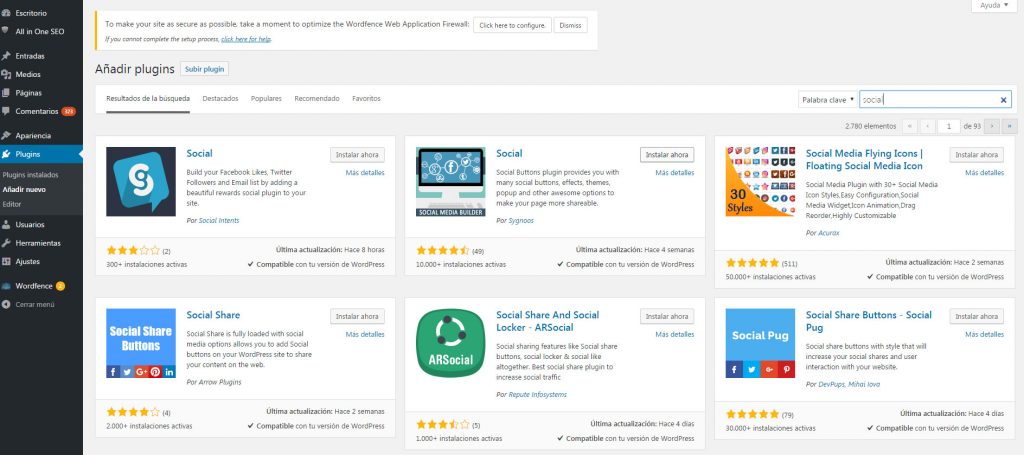
- From the central library: if you already have the name of the social plugin you want to add you just have to perform the following steps. Go to the left sidebar of your WordPress Plugin then Add New, look for the name and it will appear, click Install Now and then activate it and that's it. After this you will only have to configure it according to your requirements.
- From the computer: if you have downloaded a plugin and you have it on your computer in .zip format then you must follow these steps: Plugins> Add New> Upload Plugin> Select file> install now. Ready, you just have to activate it and configure it.
In some cases, the plugins are automatically inserted into every post on your blog. But some you have to add manuallyIf this is the case, follow these steps: go to Appearance> Widgets> drag the name of the social plugin you have installed. You must add it to blank spaces that are on the right side, generally these spaces have the title Sidebar or Header Widget.


