¿Buscas una forma de hacer capturas de pantalla de desplazamiento en Windows 10? o ¿quieres capturar una captura de pantalla de una ventana de desplazamiento? No te preocupes, hoy veremos varias formas de tomar capturas de pantalla con desplazamiento. Pero antes de seguir adelante, entendamos primero qué es una captura de pantalla. Una captura de pantalla es la única respuesta a muchos problemas. Con las capturas de pantalla, puedes llevar un registro de tu pantalla, guardar tus recuerdos, explicar fácilmente algún proceso que de otra manera no puedes poner en palabras. Una captura de pantalla, básicamente, es la imagen digital de todo lo que se ve en la pantalla. Además, una captura de pantalla en movimiento es una captura de pantalla extendida de una página o contents más largo que no puede caber completamente en la pantalla de tu dispositivo y que necesita ser desplazada. Una ventaja importante que ofrecen las capturas de pantalla con desplazamiento es que puede caber toda la información de la página en una sola imagen y no tiene que hacer varias capturas de pantalla que, de lo contrario, tendrían que mantenerse en orden.
Algunos dispositivos Android ofrecen la posibilidad de desplazarse por las pantallas y bajar la página una vez que se ha capturado una parte de ella. En su computadora con Windows también, tomar una captura de pantalla con desplazamiento será bastante fácil. Lo único que necesita es descargar un software en su ordenador porque la «Herramienta de recortes» integrada en Windows sólo le permite capturar una captura de pantalla normal y no la captura de pantalla en movimiento. Hay muchos programas de Windows que le permiten capturar capturas de pantalla en movimiento y no sólo eso, sino que le permiten hacer algunas ediciones adicionales de sus capturas. A continuación se mencionan algunos de estos fantásticos programas.
How to take scrolling screenshots in Windows 10
Note: Make sure to create a restore point in case something goes wrong.
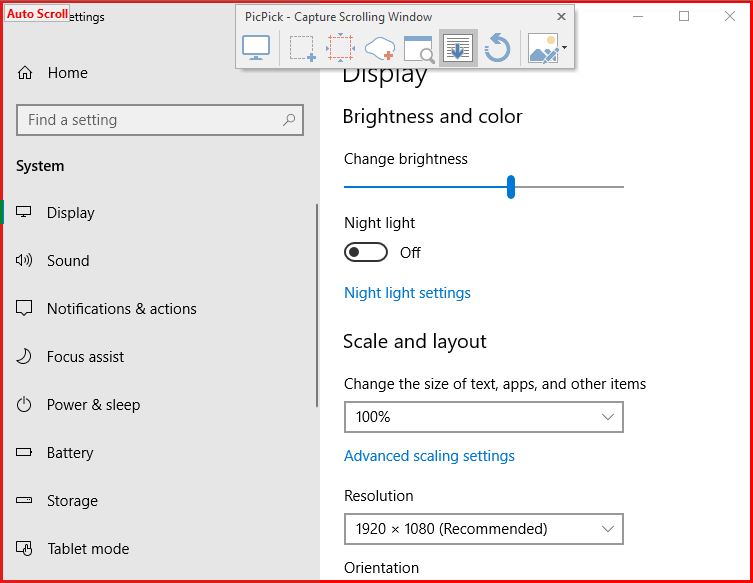
Method 1: Use PicPick to Take Scrolling Screenshots in Windows 10
PicPick is a great software for capturing screen images, which offers you many options and modes of screen capture, including scrolling the screen.
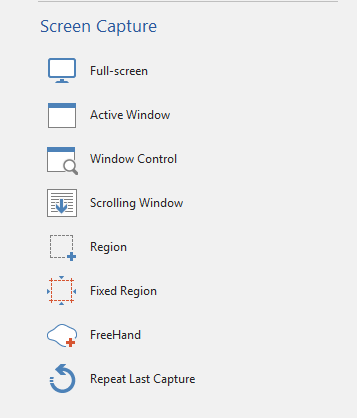
It also offers many other features like crop, resize, magnifying glass, ruler, etc.
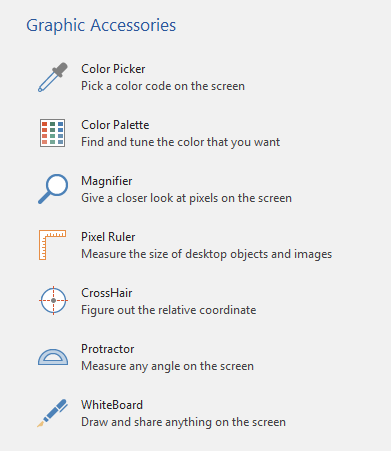
If you are using Windows 10, 8.1 0r 7, this tool will be available to you. To take screenshots with PicPick,
1.Download and install PicPick from its official site.
2.Open the window you want a screenshot of and launch PicPick.
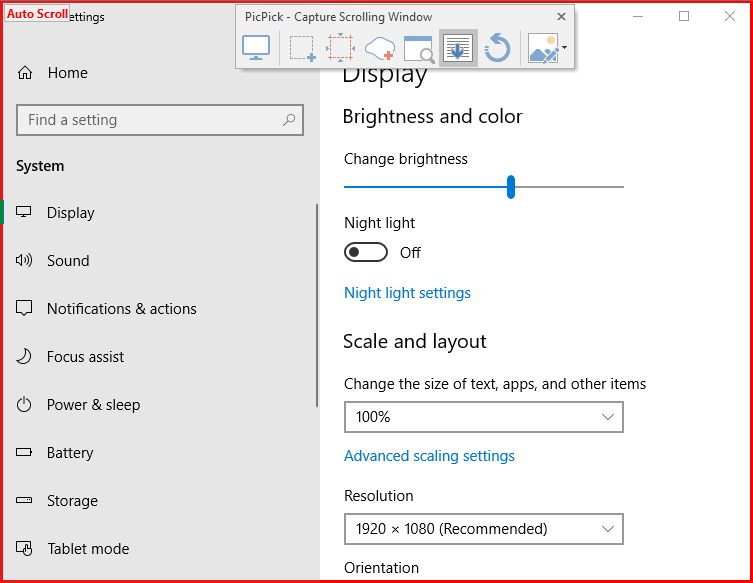
3.While the window is in the background, click on the type of screenshot you want to take. Let's try scrolling the screenshot.
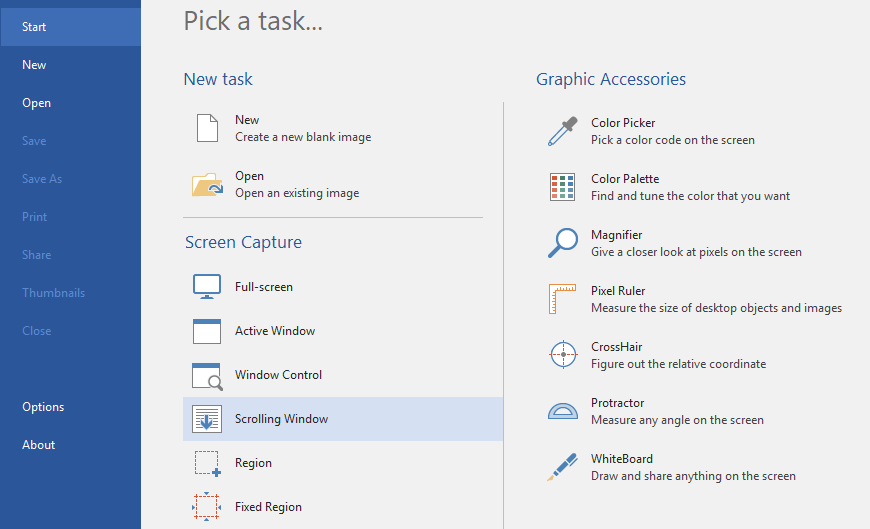
4. You will see the PicPick - Capture scrolling window. Choose whether you want to capture the entire screen, a particular region, or a scrolling window and click on it.
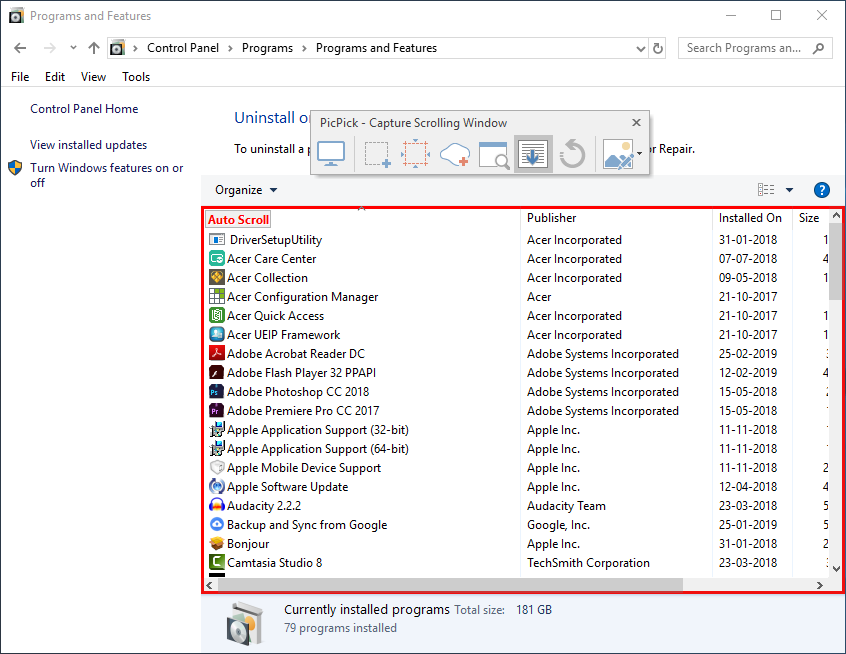
5.Once the desired option is selected, you can move the mouse over the different parts of the window to decide from which part you want to capture the screenshot. The different parts will be highlighted with a red border for your ease.
6.Move your mouse to the desired part and let PicPick scroll automatically and capture a screenshot for you.
7. Your screenshot will open in the PicPick editor.
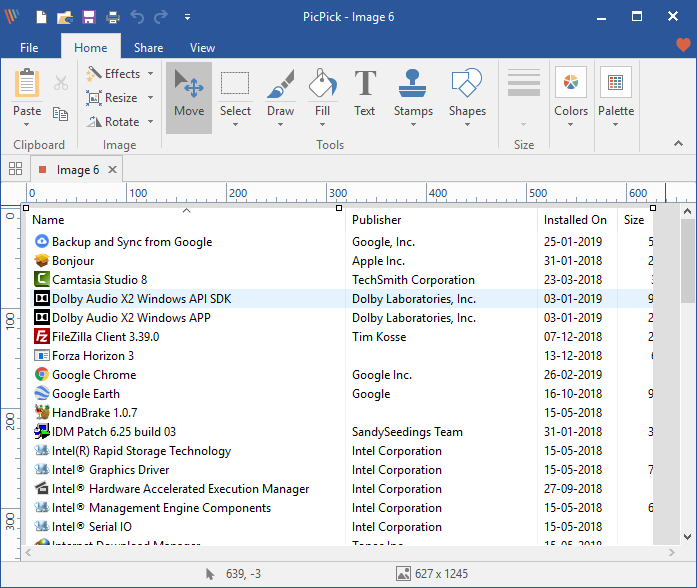
8.Once you are done editing, click on File in the upper left corner of the window and select "Save As".
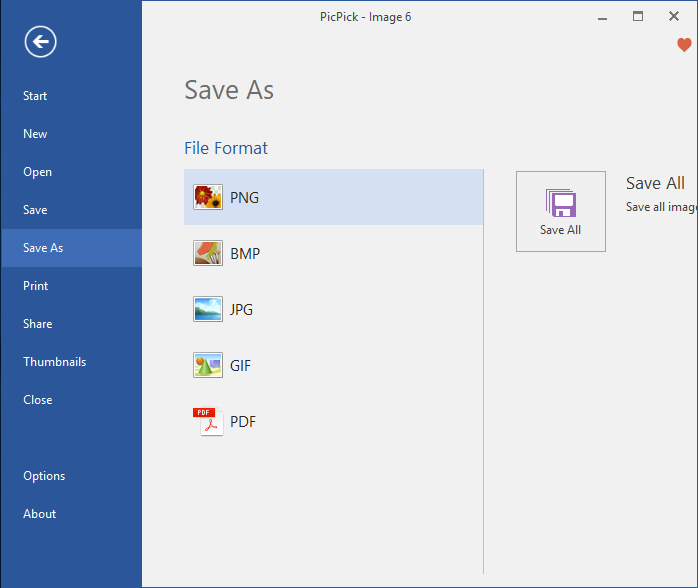
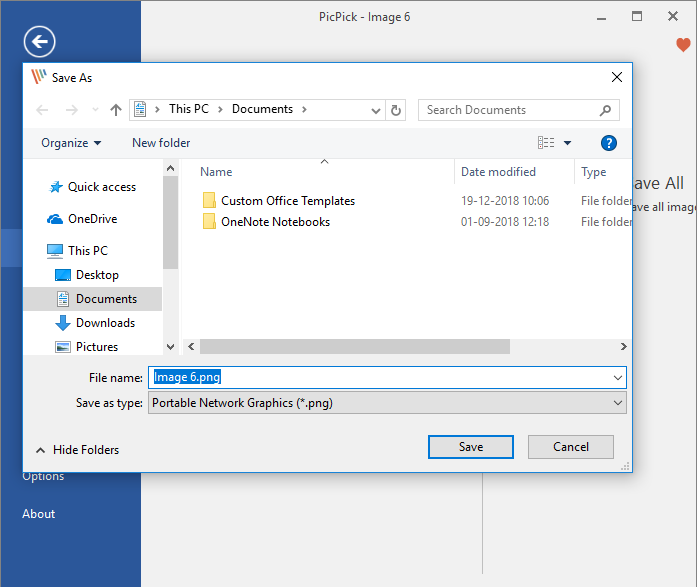
9.Navigate to the desired location and click Save. Your screenshot will be saved.
10.Tenga en cuenta que PicPick comenzará a capturar la captura de la pantalla de desplazamiento de la página desde el punto que es visible en su pantalla. Por lo tanto, si necesitas capturar una captura de pantalla de una página Web completa, tendrás que desplazarte a la parte superior de la página manualmente primero y luego iniciar la captura de pantalla.
Method 2: Use SNAGIT to take scrolling screenshots in Windows 10
Unlike PicPick, Snagit is free for only 15 days. Snagit has stronger features and a more user-friendly interface at your service. To capture high-quality screenshots with additional editing, you should definitely take a look at Snagit.
1.Download and install the TechSmith Snagit.
2.Open the window you want a screenshot of and launch Snagit.
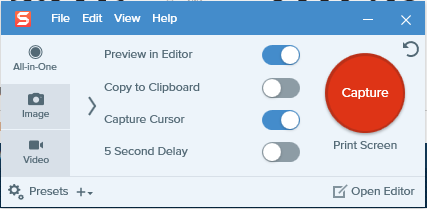
3.With the window open in the background, toggle the four given switches according to your need and then click "Capture".
4.For a normal screenshot, click on the area from which you want to start capturing the screenshot and drag in the corresponding direction. You can change the size of the capture and once you are satisfied, click "capture image". The screenshot will open in the Snagit editor.
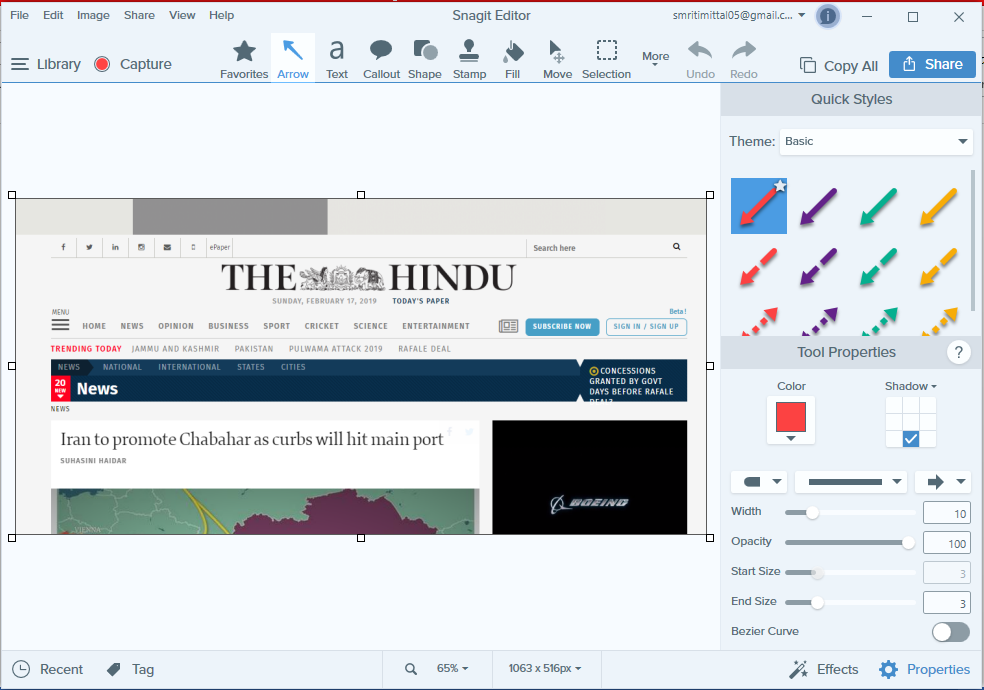
5.For a scrolling screenshot, click one of the three yellow arrows to capture the horizontal scrolling area, vertical scrolling area, or full scrolling area. Snagit will start scrolling and capturing your web page. The screenshot will open in the Snagit editor.
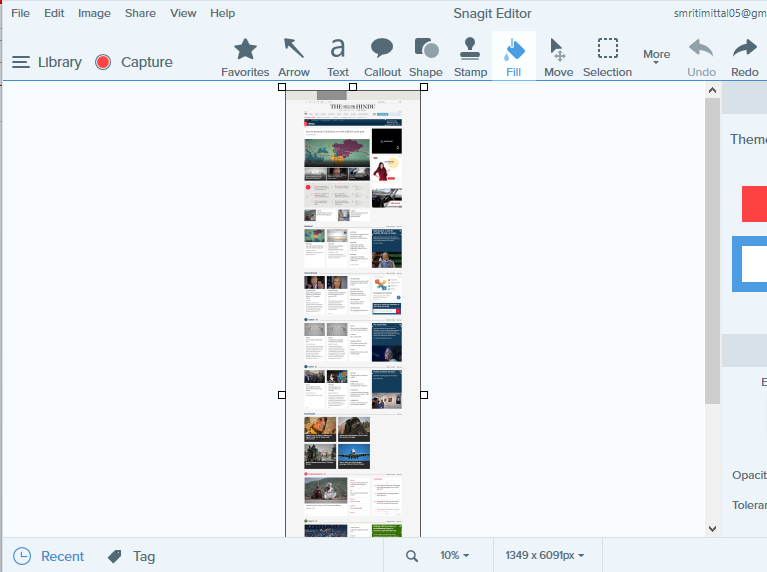
6.You can add text, callouts and shapes or fill your screenshot with color, among many other impressive features.
7.Once you are done editing, click on File in the upper left corner of the window and select "Save As".
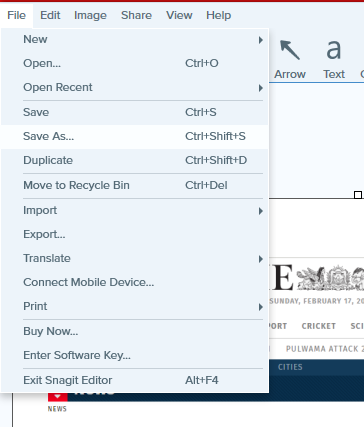
8.Navigate to the desired location and add a name and then click Save.
9.Another advanced snagit screen capture mode is panorama mode. Panning is similar to scrolling capture, but instead of capturing an entire web page or scrolling window, you control exactly how much to capture.
10.For panoramic capture, click Capture and select a part of the area that you want a screenshot of (the way you would for a normal screenshot). Resize if you want and click to launch a panoramic shot.
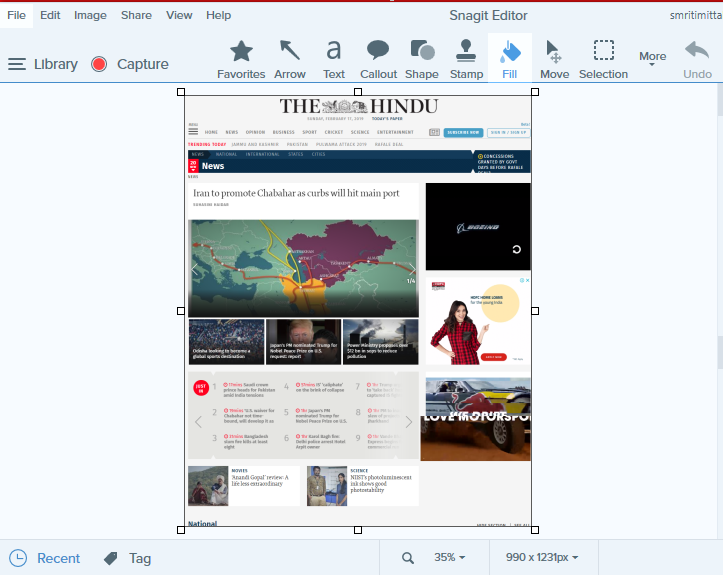
11.Click Start and start scrolling the page as desired. 12. Click Stop when you have covered the required area.
12. Besides screenshots, you can also make a screenshot with Snagit. The option is provided on the left side of the Snagit window.
Method 3: Full Page Screenshot
While the above software allows you to take screenshots of any type of page, window or content, Full Screen Capture allows you to capture screenshots of scrolling web pages only. It is a Chrome extension and will work for web pages open in Chrome, so you can skip downloading a huge software for your task.
1.From the Chrome Web Store, install the full page screenshot.
2.Ahora estará disponible en la esquina superior derecha del browser.
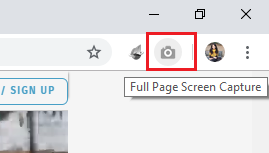
3.Click on it and it will start scrolling and capturing the web page.
![]()
4.Keep in mind that the screenshot will be taken automatically from the beginning of the page no matter where you left it.
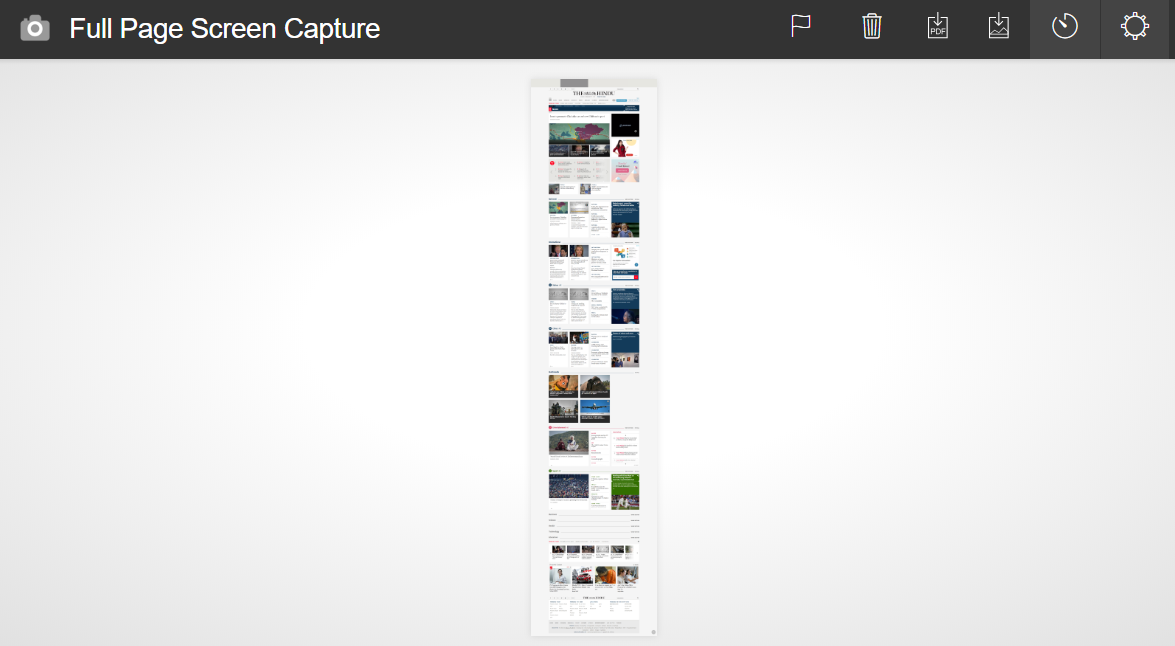
Decide if you want to save it as a pdf or image and click the corresponding icon in the upper right corner. Allow necessary permissions.
![]()
6.The screenshot will be saved in your download folder. However, you can change the directory in Options.
PAGE SCREEN
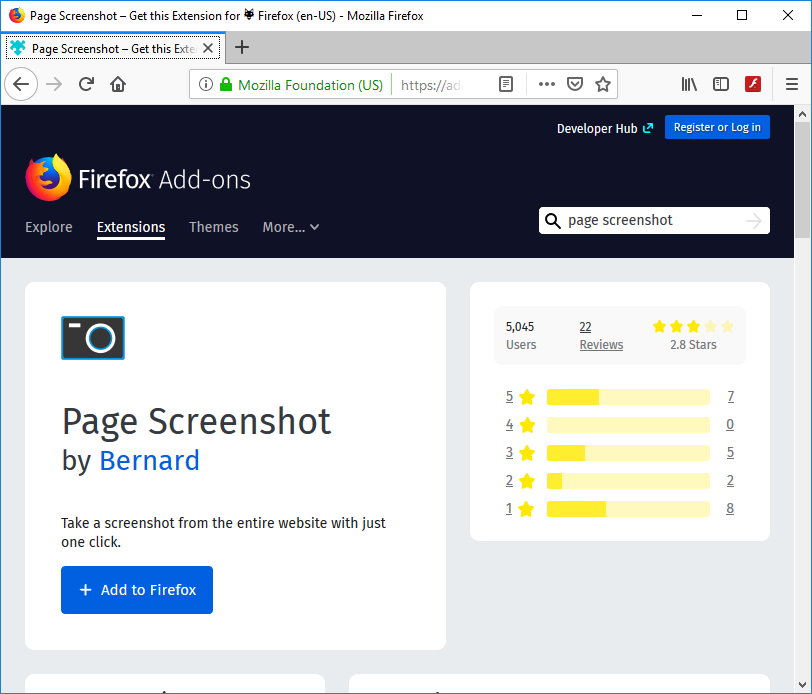
Si necesitas capturar sólo las páginas web en Mozilla Firefox, entonces Page Screenshot será un complemento increíble. Sólo añádelo en tu navegador Firefox y evita tener que descargar cualquier software para hacer capturas de pantalla. Con Page Screenshot, puedes tomar fácilmente capturas de pantalla de páginas web en movimiento y también decidir su calidad.
These are some easy-to-use programs and extensions that you can use to take scrolling screenshots on your Windows computer easily and efficiently.
Hope the above steps were helpful and you can now easily take scrolling screenshots in Windows 10, but if you still have any questions about this tutorial, feel free to ask them in the comment section.

