

<>

Windows puts at our disposal more than 200 different fonts with which we can customize our documents to the maximum, since they are not only letter fonts, but also some of these they offer us symbols, which avoids us having to resort to images to complement our documents.
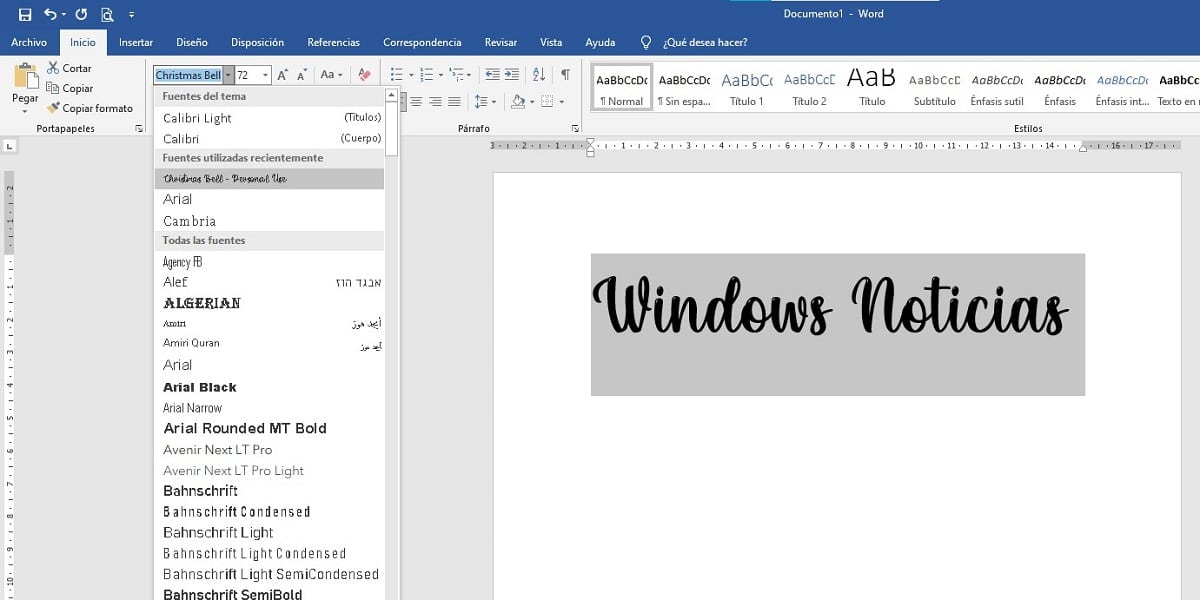
Todas las grandes compañías utilizan una fuente distinto, ya be Microsoft, Facebook, Twitter, Apple … La fuente que utilizan es exclusiva y nunca la hallaremos en Windows. No obstante, gracias a la comunidad que se ocupa de crearlos, podemos download and use them in Word or any other application.
The first thing to pay attention to when installing fonts to use in Word is that we will not be able to install them directly in Word, but we are going to have to install them in Windows, so that from this dynamic, all the applications available on our computer can access them.


Cuando se instale en Windows, al mismo tiempo de Word, Excel y PowerPoint, otras aplicaciones como Photoshop además podrán entrar a ellas. How do I install fonts in Windows? If you are looking to know the procedure, I invite you to continue reading.
- If we have already downloaded the font we are looking for (DaFont es un portal Web interesante donde podemos descargar una gran cantidad de fuentes), debemos descomprimirlo y ubicar el .odt file, file that includes the font that we intend to install.
- Next, we must enter the Fonts directory located inside the Windows folder. To enter it, we just have to open Windows Explorer, click on drive C and go to the Windows> Fonts directory.
- To finish, we just have to drag the font we have downloaded to the font directory Windows.
From this moment on, we can use the new font in Word and any other installed applications in our team. This trick is valid for any version of Windows from Windows XP, as long as the letter we have downloaded is accepted by the PC.


