En tiempo real, es posible que obtenga los datos que tienen columnas fusionadas (una columna con demasiada información). En esa situación, puede usar la opción Dividir columnas de Power BI para dividir esa columna en varias columnas. Este artículo le muestra cómo dividir columnas en Power BI con un ejemplo.
How to split columns in Power BI
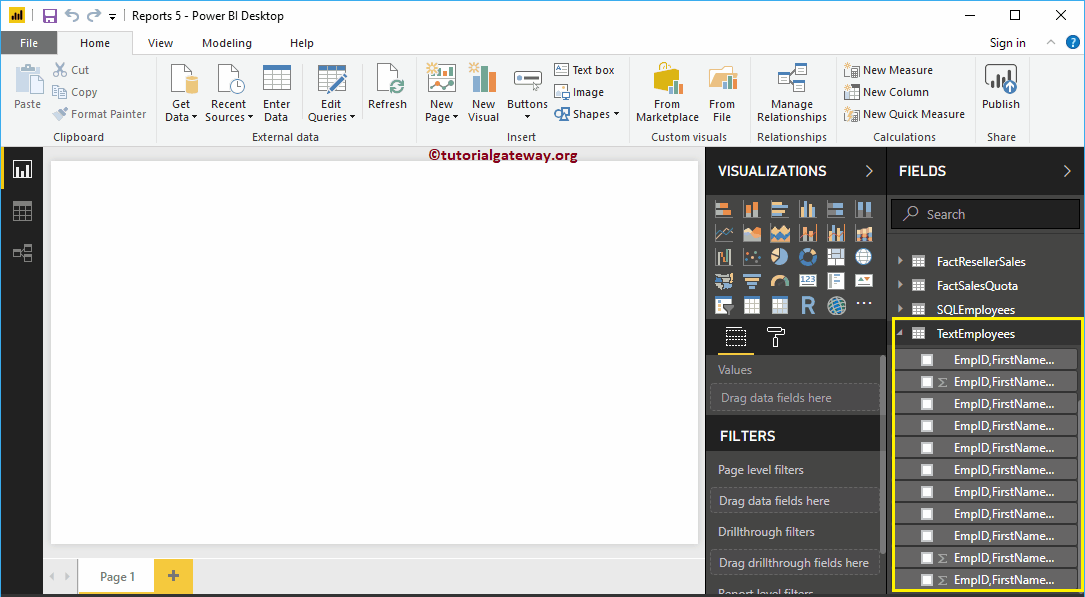
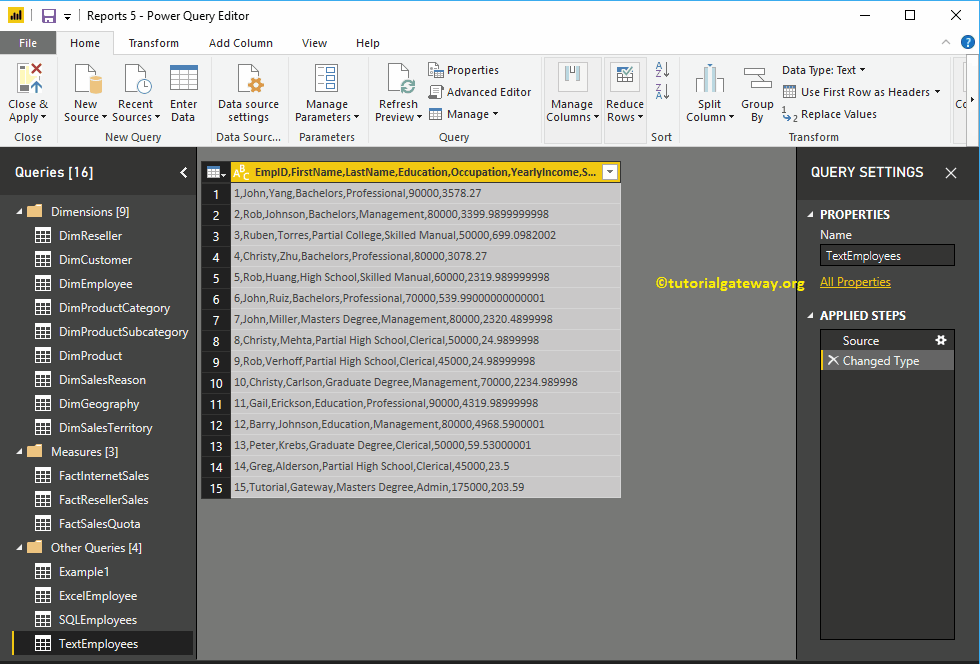
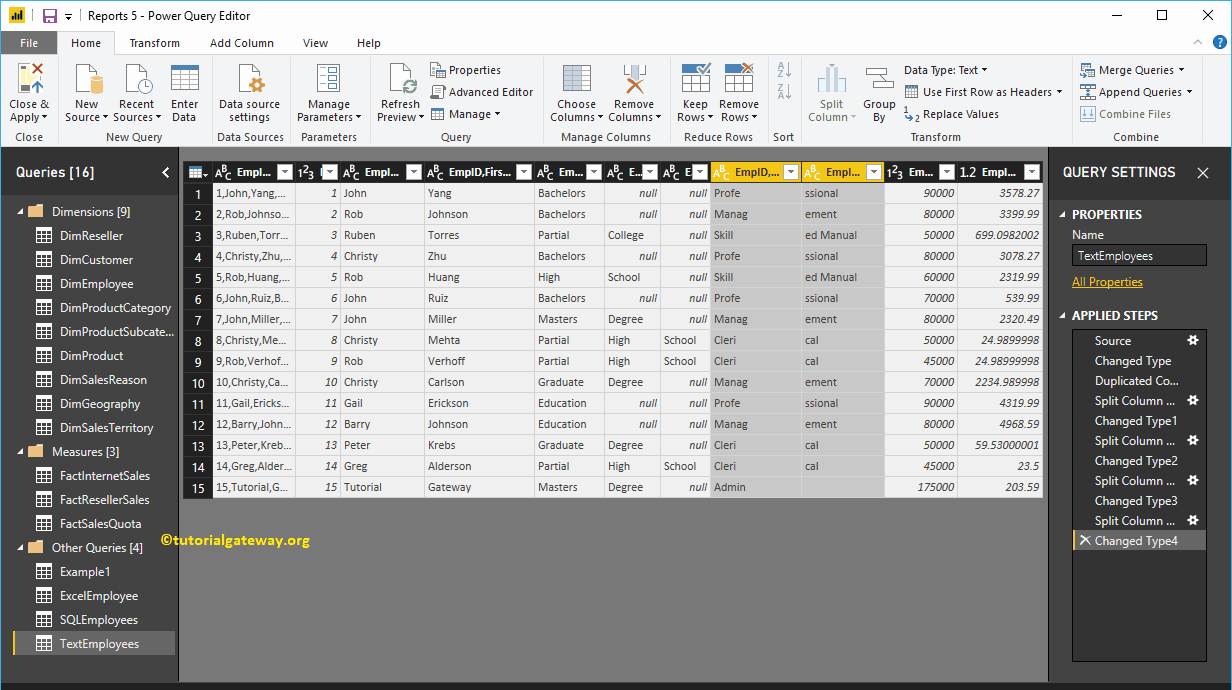
Para demostrar esta opción de columnas divididas de PowerBI, usaremos la tabla Text Employee que importamos en el artículo Enter Data.
To split columns in an existing table, click the Edit queries option under the Home tongue.
 <>
<>
Clicking Edit queries The option opens a new window called Editor de Power Query. En la captura de pantalla siguiente, puede ver que la tabla de Power BI tiene solo una columna.
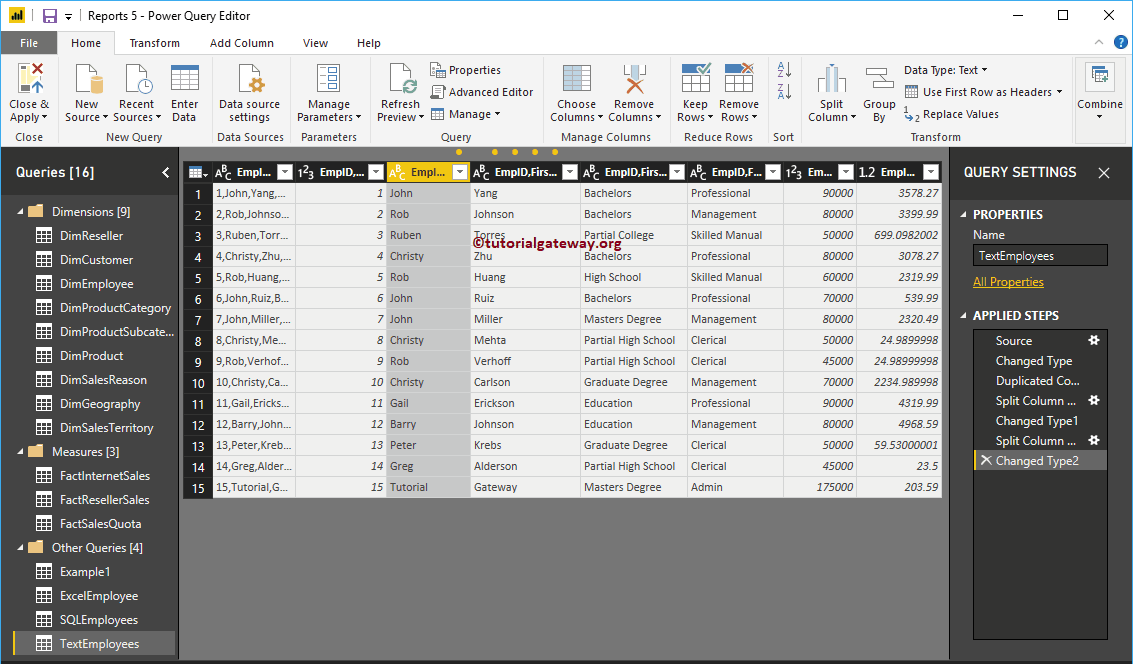
Antes de comenzar a dividir las columnas en Power BI, permítanme duplicar esta columna. Para hacerlo, haga clic derecho en el nombre de la columna y seleccione Duplicate column context menu option.
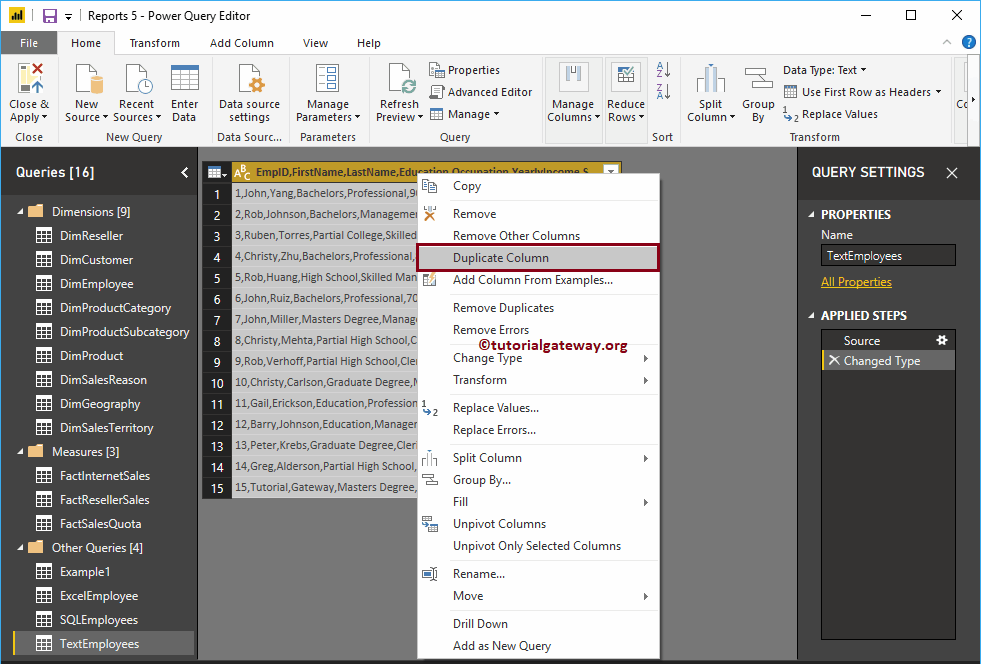
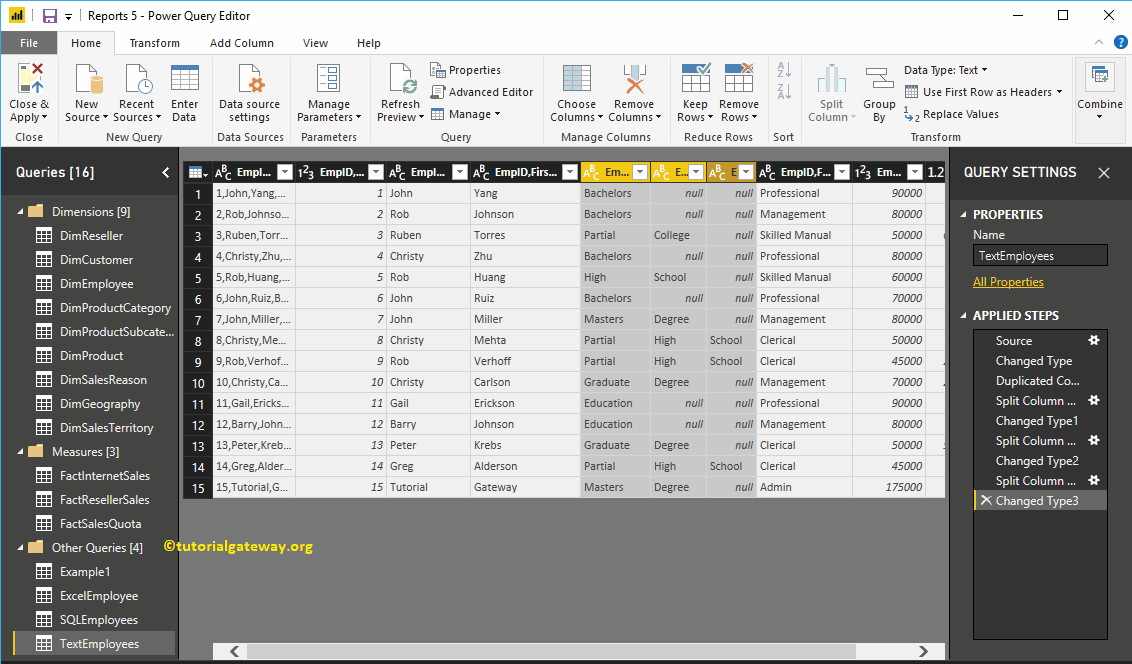
Now you can see the Duplicate column

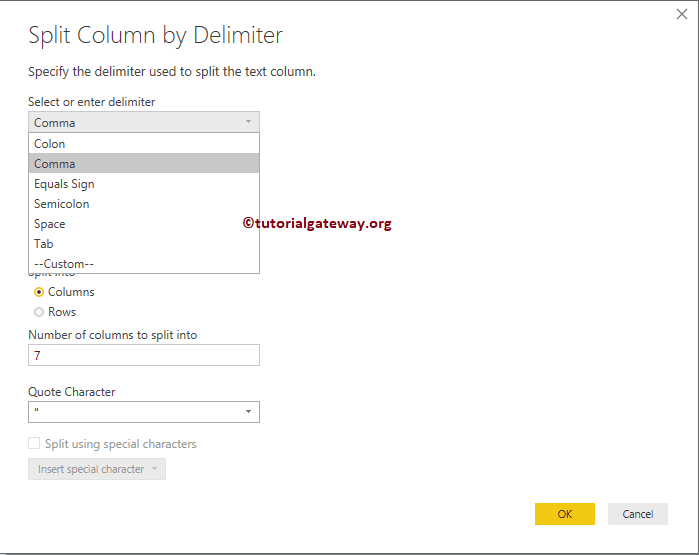
Para dividir las columnas en una tabla de Power BI, haga clic con el botón derecho en la columna que desea dividir para abrir el menú contextual. Por favor seleccione el Split columns and then select By Delimiter option.
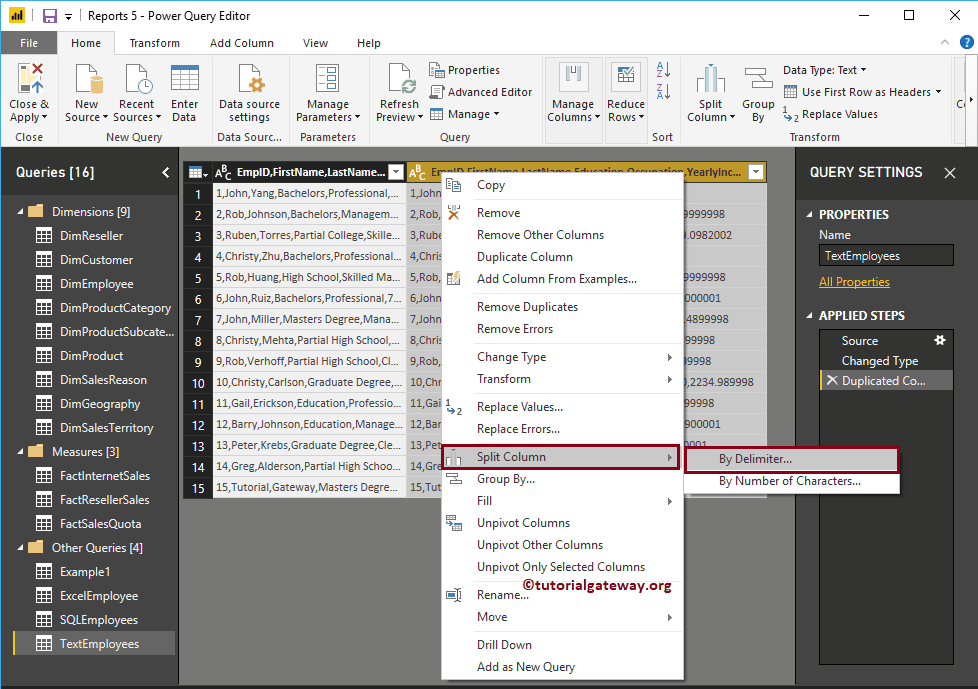
Select the By delimiter The option opens the following window.
- Select or enter delimiter: En la lista desplegable, seleccione el delimitador que desea utilizar como carácter dividido. Si no está en la lista, seleccione la opción Personalizado y especifique ese carácter personalizado.
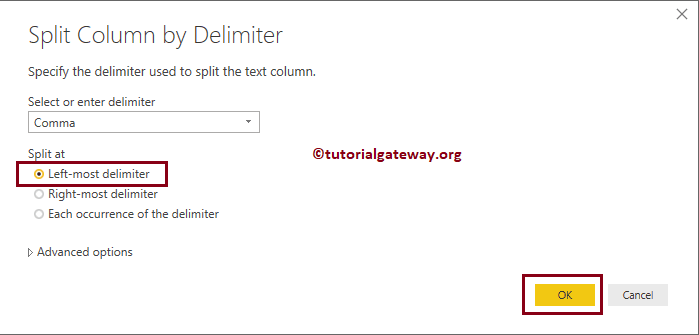
- Leftmost delimiter: This option splits the leftmost string before the first delimiter.
- Rightmost delimiter: This option splits the rightmost string after the last delimiter.
- Each occurrence of the delimiter: The text is split at each occurrence of a delimiter.
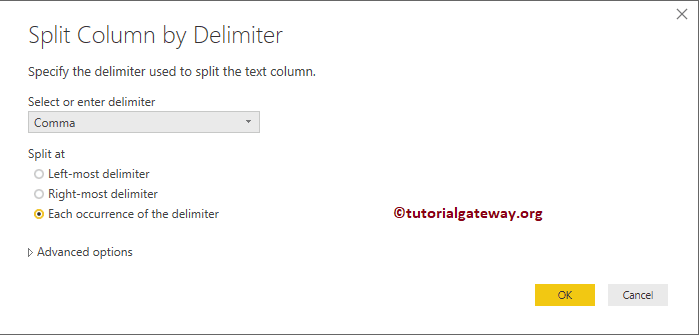
Estamos seleccionando Coma como delimitador. Recuerde, en la sección Avanzado, puede especificar el número de columnas o filas.
Let me select the leftmost delimiter option and click OK
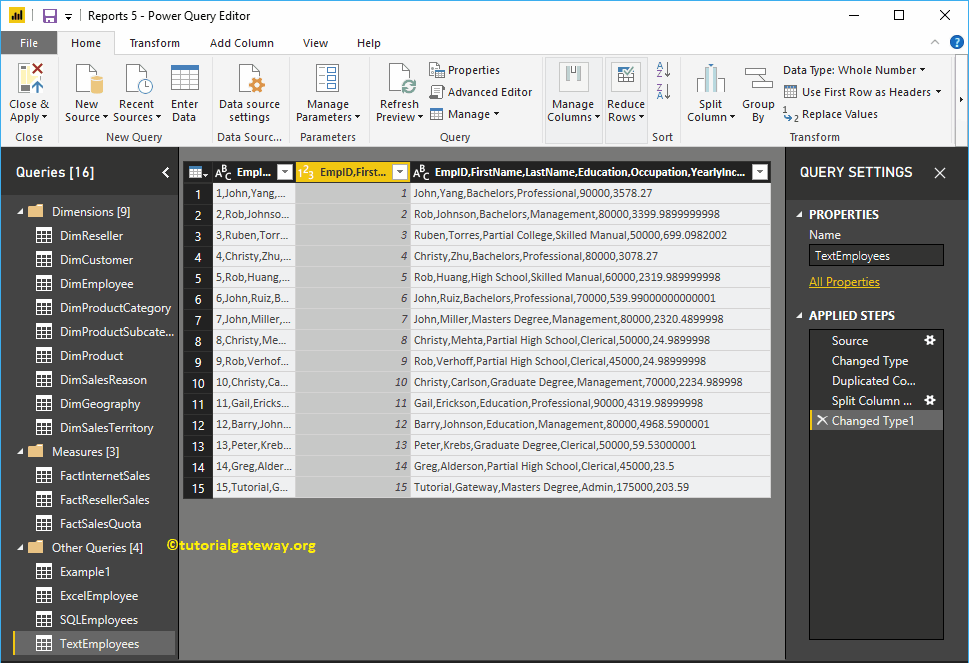
Now you can see that the employee IDs are separated from the original column and placed in the new column.
This time we select the Divide option at each occurrence of the delimiter option.
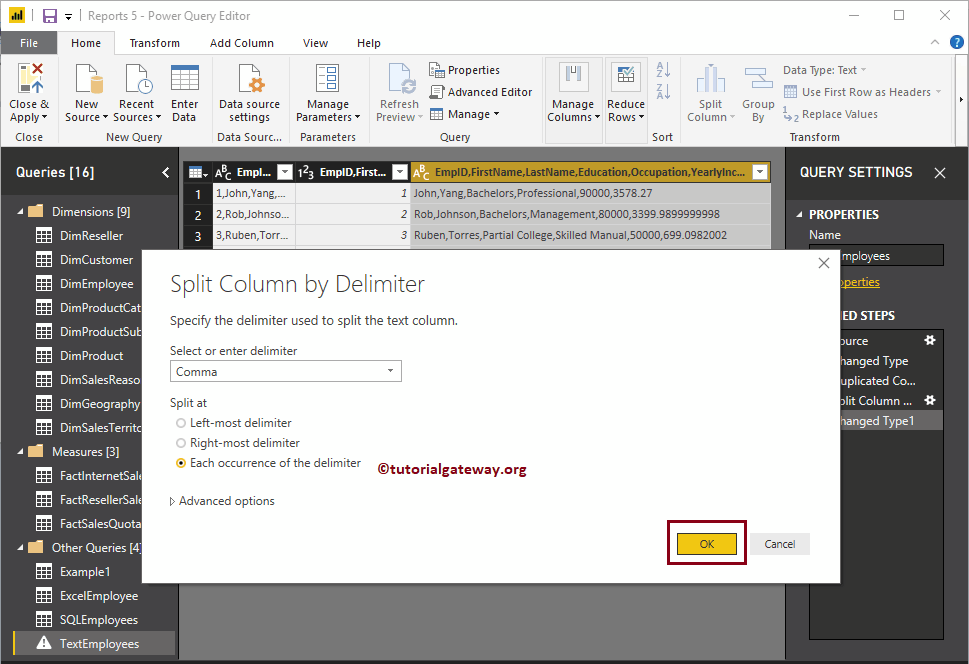
Now you can see that the text at each occurrence of the comma is separated from the original column and placed in a new column.
Déjame probar con otro delimitador. Para la demostración de Power BI Split Columns, seleccionamos la siguiente columna y dividimos esa columna usando el delimitador de espacio.

Now you can see the different columns that stored the split text at each occurrence of space.
Power BI split columns by number of characters
Haga clic con el botón derecho en la columna que desea dividir para abrir el menú contextual. Por favor seleccione el Split columns and then select the By number of characters option.
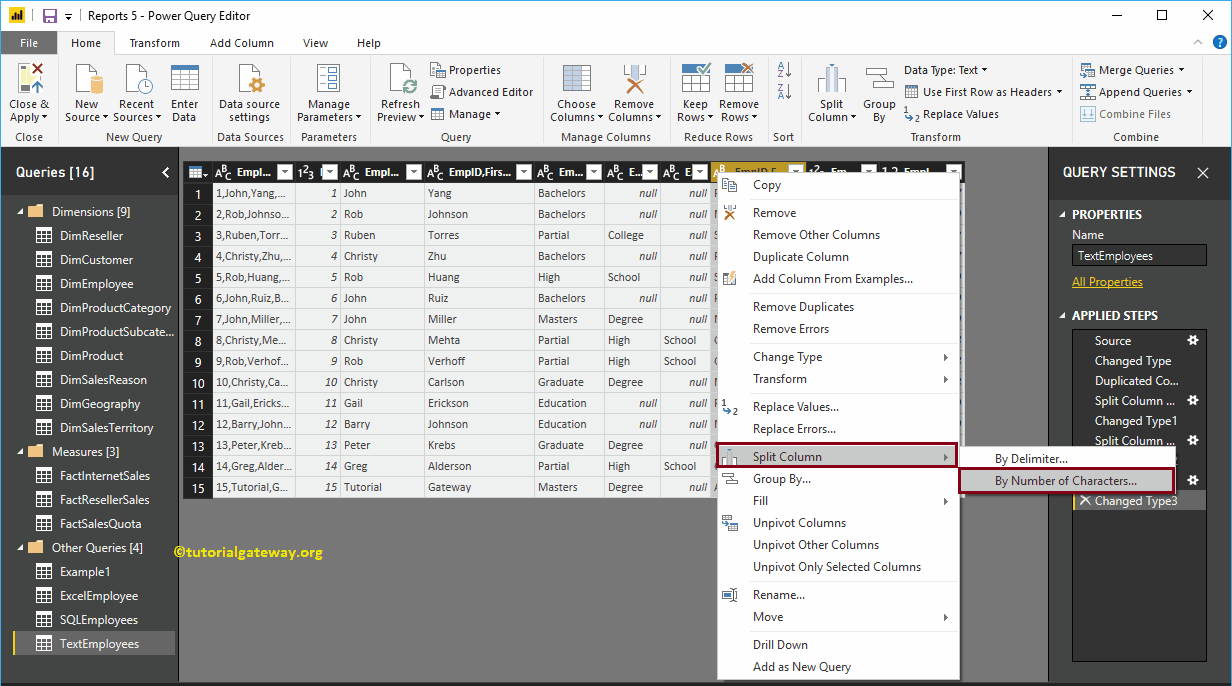
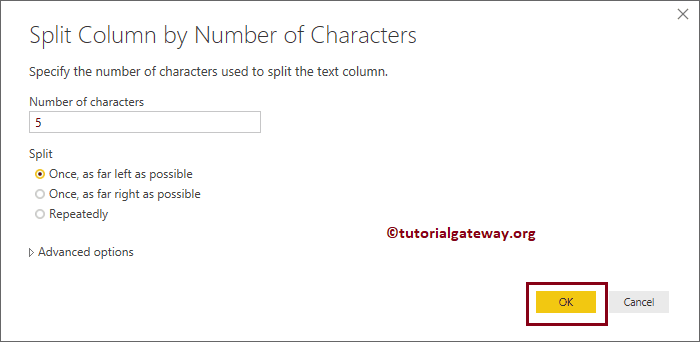
Select the By number of characters opens the Split column by number of characters window.
- Number of characters: Specify the number of characters used to divide the column.
- Once, as far to the left as possible: This option splits the leftmost string before the number of characters.
- Once, as far to the right as possible: This option splits the rightmost string after the number of characters.
- Repeatedly: The text is divided by every 5 characters.
You can now see the split columns in the Power BI query editor
Independientemente de los cambios que haya realizado (columnas divididas en Power BI), no afectarán hasta que presione Aplicar. Déjame golpear el Close and apply option under the Home tongue.
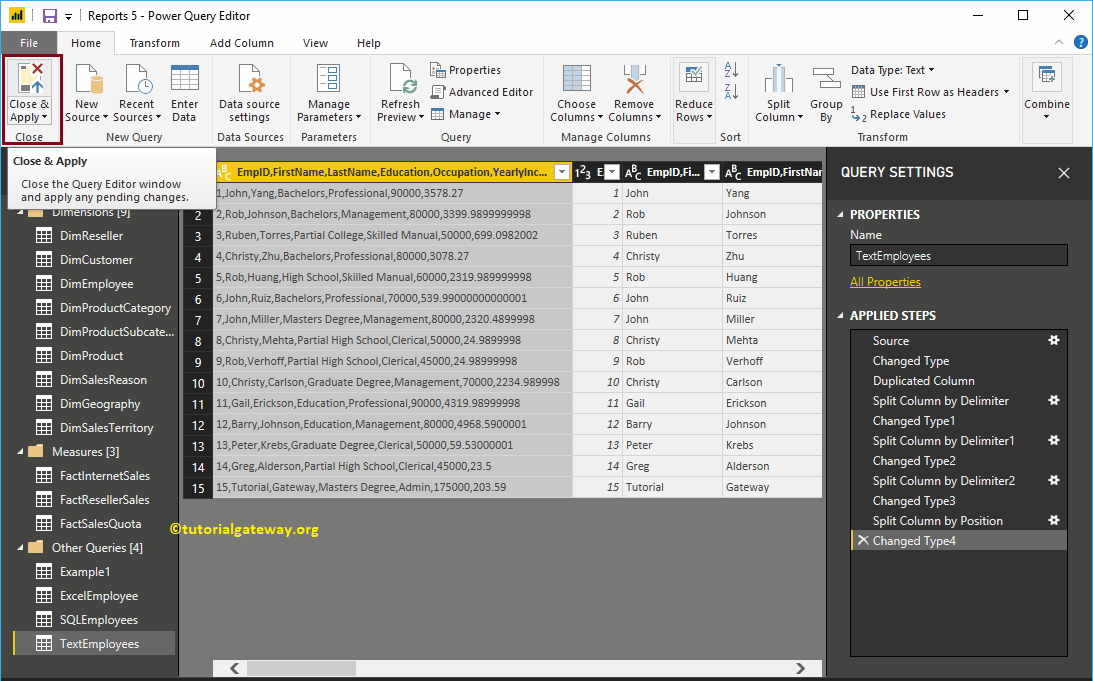
You can now see 11 columns within the Text Employees table.