reCAPTCHA es una de las formas más populares de prevenir el spam y el abuso al evitar que los bots puedan enviar formularios.
Para agregar un reCAPTCHA, primero debe obtener las claves reCAPTCHA del sitio Web from Google. Puede elegir entre reCAPTCHA v3 o reCAPTCHA v2. Recomendamos v3 ya que es el nuevo método más seguro y menos intrusivo de usar.
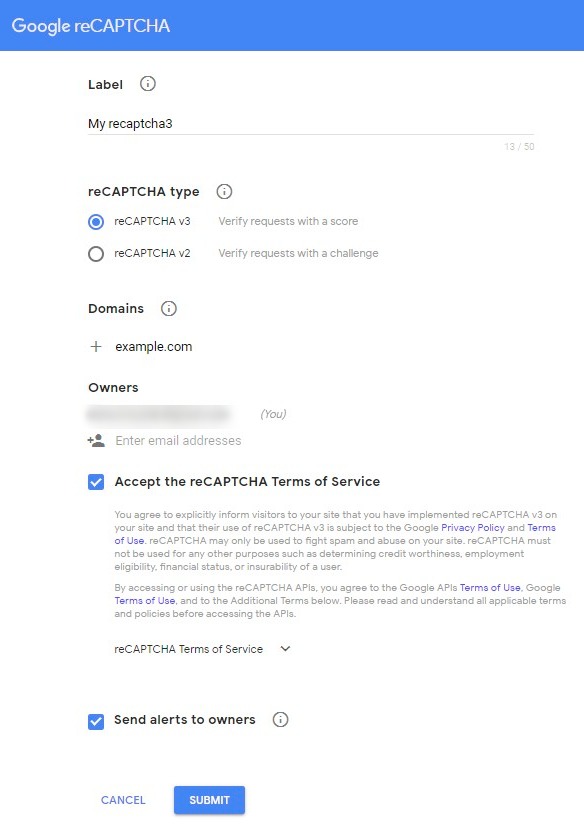
reCAPTCHA v3:

- Go to the Google site reCAPTCHA and choose v3.
- Add a tag to identify this instance.
- Agregue un domain, por ejemplo, example.com
- Choose the owner's email address or add a new one
- Accept the Terms of Service and Send.
- On the next page, copy both the site key and the secret key.
- Enter these keys in the Elementor> Settings> Integrations> reCAPTCHA options and click Save Changes. (You can change the score threshold if you want. If the bots manage to get around the reCAPTCHA, increase the score.)
- Add a new page and Edit with Elementor
- Drag a Form widget
- Go Form> Content> Campos de formulario and click Add item
- For Type, choose reCAPTCHA3
- Choose if you want to place the badge on the Right (bottom of the page), left (bottom of page), or online.
- Click Save
You will now see the badge on the page.
reCAPTCHA v2:
- Go to the Google reCAPTCHA site and click Get reCAPTCHA
- Below Label enter your website name, choose reCAPTCHA V2 "I am not a robot", enter the domains you want to protect and accept the Terms and Conditions
- Recibirás dos claves API
- Back to Tablero de WordPress > Elementor > Configurations > Integrations
- Below reCAPTCHA, enter the two API keys and click Save Changes
- Add a new page and Edit with Elementor
- Drag a Form widget
- Go To form > Content > Form fields and click
- For Type, choose reCAPTCHA
- Now you see the 'I am not a robot'text in the form
- Click Save