

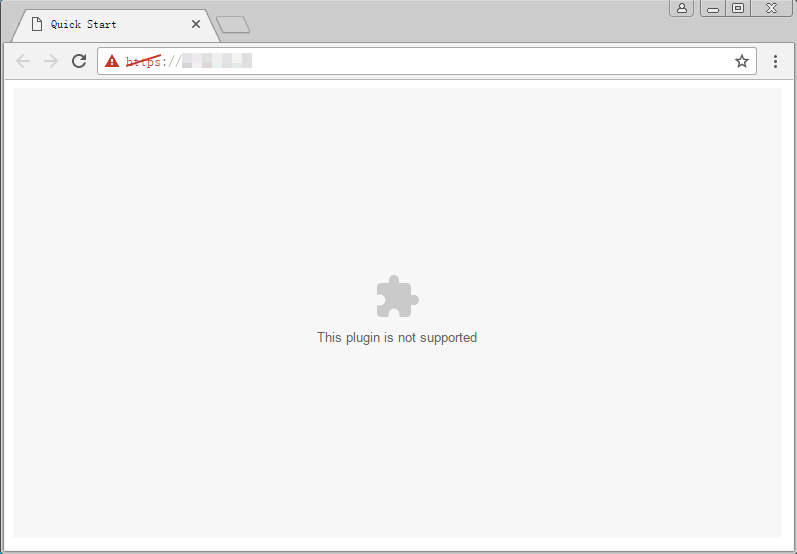
Fix this plugin not supported error in Chrome: If you are facing the error message «This plugin is not supported”En el buscador de Google Chrome, esto significa que el portal Web o la página que está intentando cargar tiene contents multimedia, como videos, y el contenido multimedia no se carga, lo que genera el mensaje de error anterior. A veces, este error puede ocurrir si los medios de la página web disponen un formato de video que no es compatible con Chrome.
Google Chrome, Firefox y otros browsers ya no son compatibles con los complementos NPAPI, por lo que si el portal web que está intentando visitar usa los complementos NPAPI para mostrar el video, el video no se cargará y verá el mensaje de error «Este El complemento no es compatible ”. Desde 2015, Google ha adoptado HTML5 para el browser Chrome y esta es el motivo por la que Chrome does not support Active-X, Java, or Silverlight plugins.
So as a publisher I'm pretty sure there are a lot of websites that don't use HTML5 yet and there are a lot of websites with multimedia content that will require some kind of plugins to get into the content. Of course, without giving up time, let's see how Fix this plugin not supported error on Chrome with the help of the tutorial listed below.
Fix this plugin not supported error on Chrome
Método 1: habilitar y actualizar Flash Player en Chrome
1.Open Google Chrome than in the address bar, navigate to the following:
chrome: // settings / content
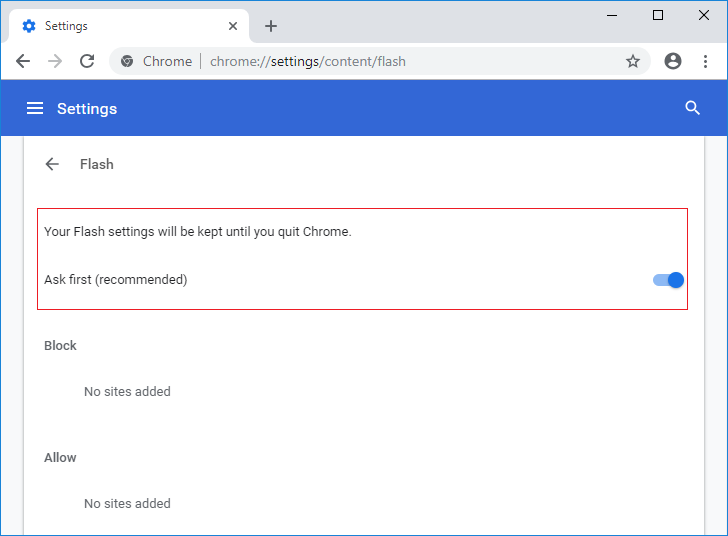
2.Now in the list find and click on Flash.
3.In Flash, make sure enable the toggle for Flash. When Flash is enabled, you will see the settings change to Ask first (recommended).
4.Close Google Chrome, then open it again and visit the web portal that previously gave the above error message.
5.This time, the web page will probably load without a problem, but if it's still stuck, you should. update Flash Player to the latest version available.
6.In Chrome, navigate to Adobe Flash Player web portal.
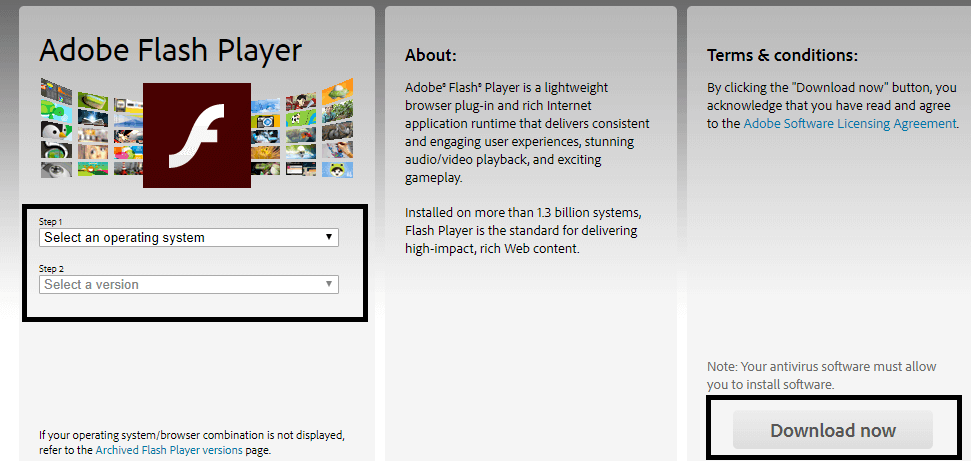
7.Download the latest version of Flash Player and install it to solve the problem successfully.
Recommended: enable Adobe Flash Player in Chrome, Firefox, and Edge
Method 2: delete browsing data in Chrome
1.Open Google Chrome and press Ctrl + H to open the story.
2.Then click Clear navigation left panel data.
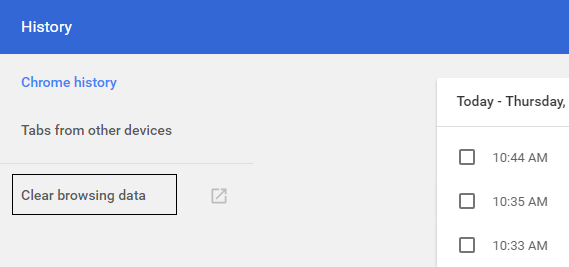
3. Now you need to choose the period for which you are removing the date from the history. If you want to erase from the beginning, you must select the option to erase the browsing history from the beginning.
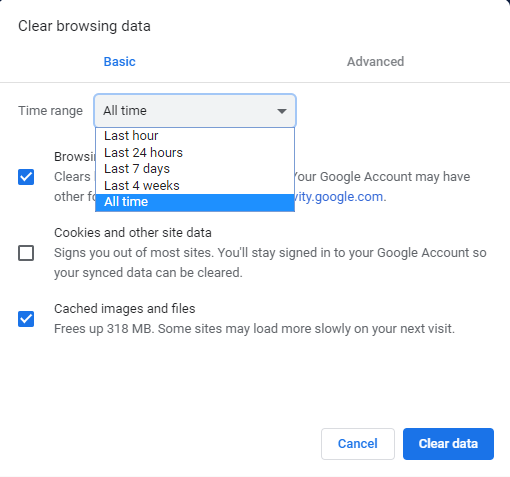
Note: You can also choose other options such as Last minute, Last 24 hours, Last 7 days, etc.
At the same time, check the following:
- Browsing history
- Cookies and other site data
- Imágenes y archivos en cache
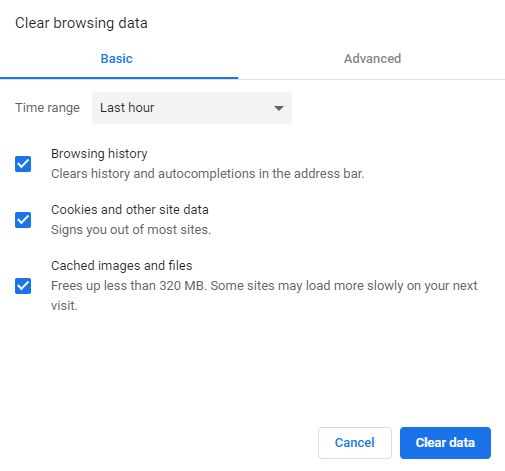
5.Now click Delete data to start clearing your browsing history and wait for it to finish.
6.Close your browser and restart your computer.
Method 3: update Google Chrome
To check if there is an update available, follow the steps below:
Note: It is recommended to save all important tabs before updating Chrome.
1.Open Google Chrome by searching for it using the search bar or by clicking on the Chrome icon available on the taskbar or on the desktop.
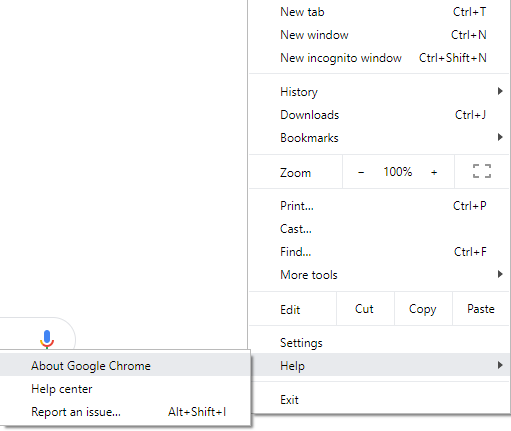
2.Click three points icon available in the upper right corner.
![]()
3.Click the Help button in the menu that opens.
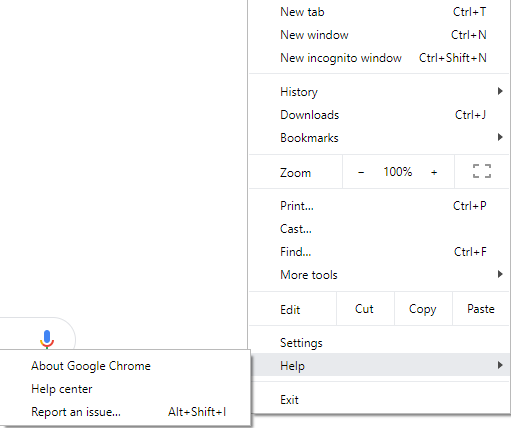
4.In the Help option, click About Google Chrome.
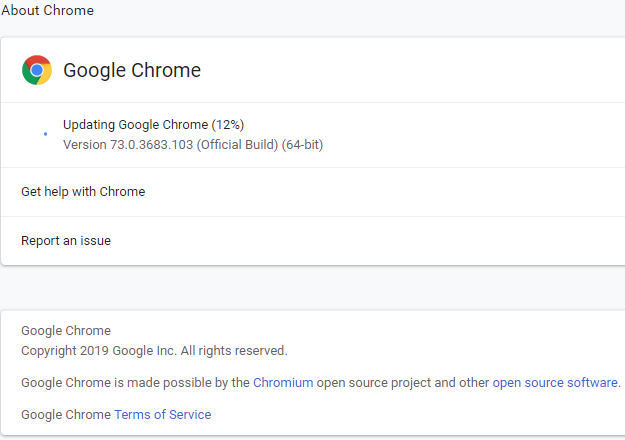
5.If updates are available, Chrome will start updating automatically.
6.Once the updates are downloaded, you need to click the Reset button in conclusion of updating Chrome.
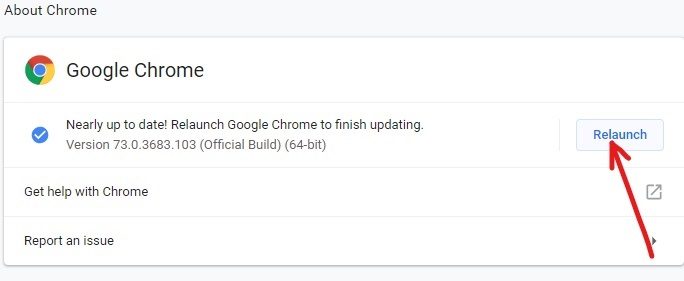
7.After clicking Relaunch, Chrome will automatically close and install the updates.
Once the updates are installed, Chrome will start again and you can try to open the web portal that previously displayed the «This plugin is not supported”In Chrome, but this time you will be able to successfully open the web portal without any errors.
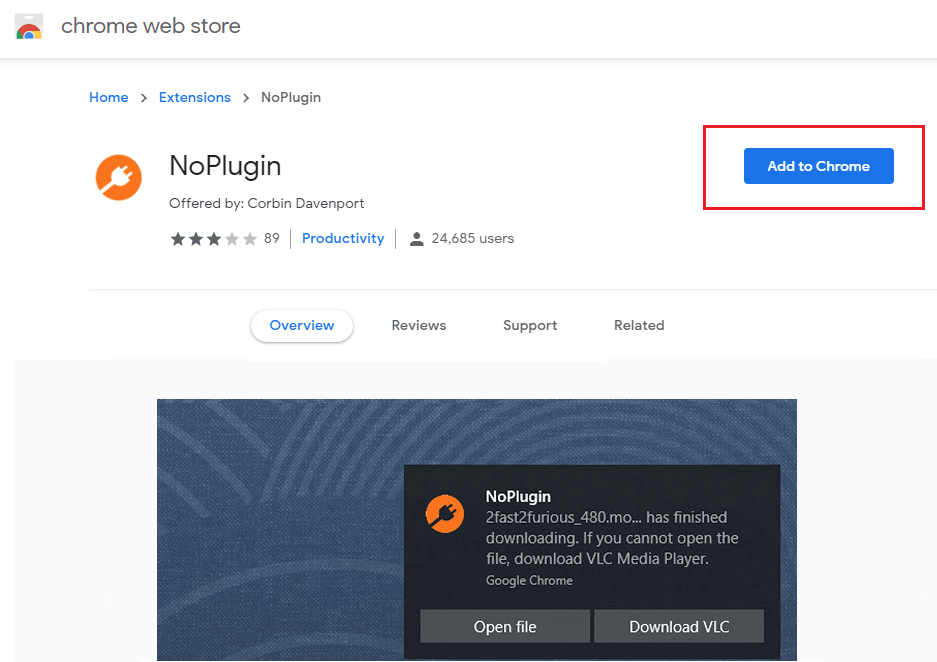
Method 4: add NoPlugin breadth in Chrome
NoPlugin breadth enables you to play multimedia content without plugins (Flash, Java and ActiveX).
1.Open Google Chrome and then click on this link to navigate to NoPlugin page.
2.Click «Add to Chrome«Button next to NoPlugin extension.
3. Once the plugin has been successfully installed, restart your browser.
4. Retry to load the page that was previously giving the error «This plugin is not supported".
Method 5: add IE tab breadth to Chrome
If the web page you are trying to access loads smoothly in Internet Explorer, this means that the media content is in the format that Chrome does not support (Java, ActiveX, Silverlight, etc.). With the breadth of the IE tab you can promote IE environment in Chrome browser.
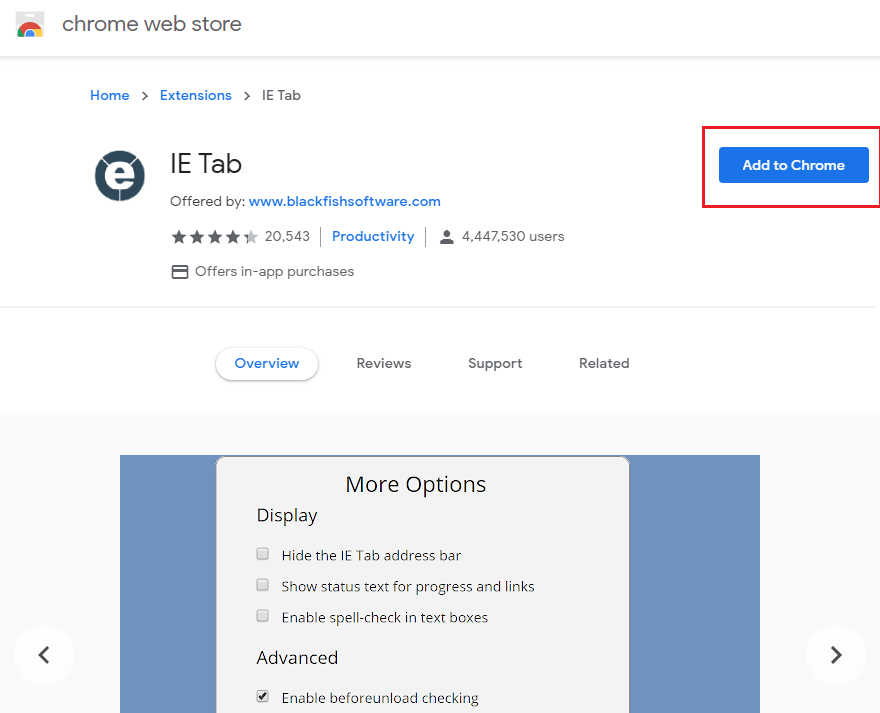
1.Open Google Chrome and then click on this link to navigate to the IE tab extension page.
2.Click «Add to Chrome”Next to the breadth of the IE tab.
3. Once the plugin has been successfully installed, restart your browser.
4.Open the web page that was not loading before, then click on the IE tab icon from the toolbar.
![]()
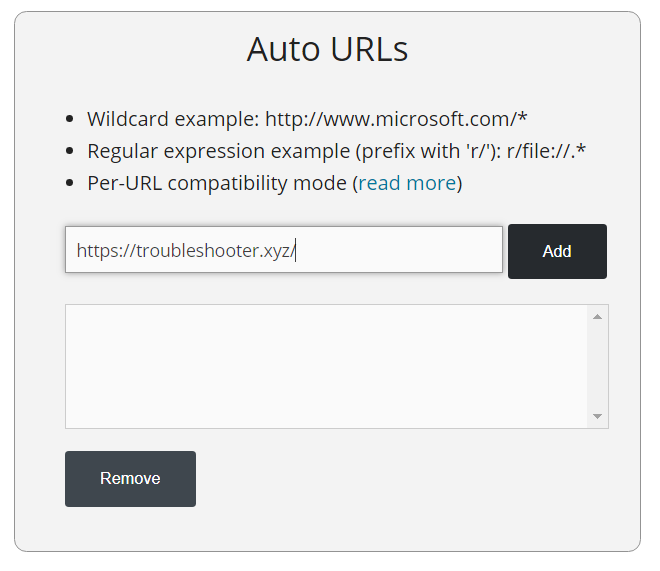
5.If you want to set the IE tab to always load the specific web portal, basically right-click on the IE tab icon and then select Options.
![]()
6.Scroll down until you find Sección de Url automáticas, here enter the address of the web portal that you want Chrome to load automatically each time you visit. press Add and restart Chrome to store the changes.
Recommended:
That's all you have with success Fix this plugin not supported error on Chrome But if you still have any query regarding this post, feel free to ask in the comment section.


