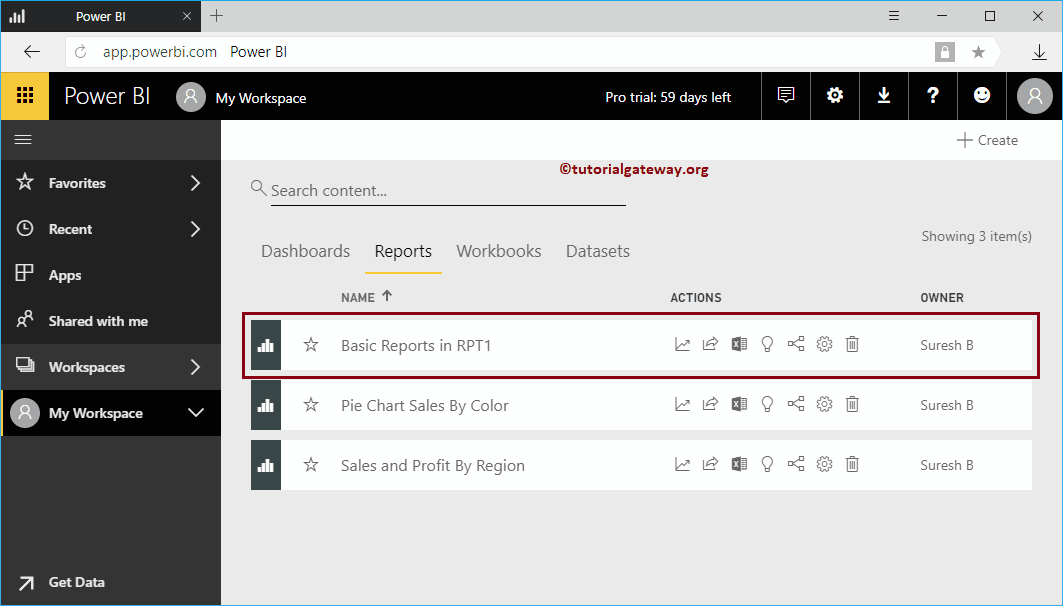
In this article, we show you the step-by-step approach to share a report in Power BI across your organization with a practical example. Before you start sharing Power BI reports, let me show you the existing reports in my Power BI workspace.
To view them, click on Power BI My Workspace and then go to the Reports tab. As you can see in the screenshot below, there are currently three reports in my workspace.
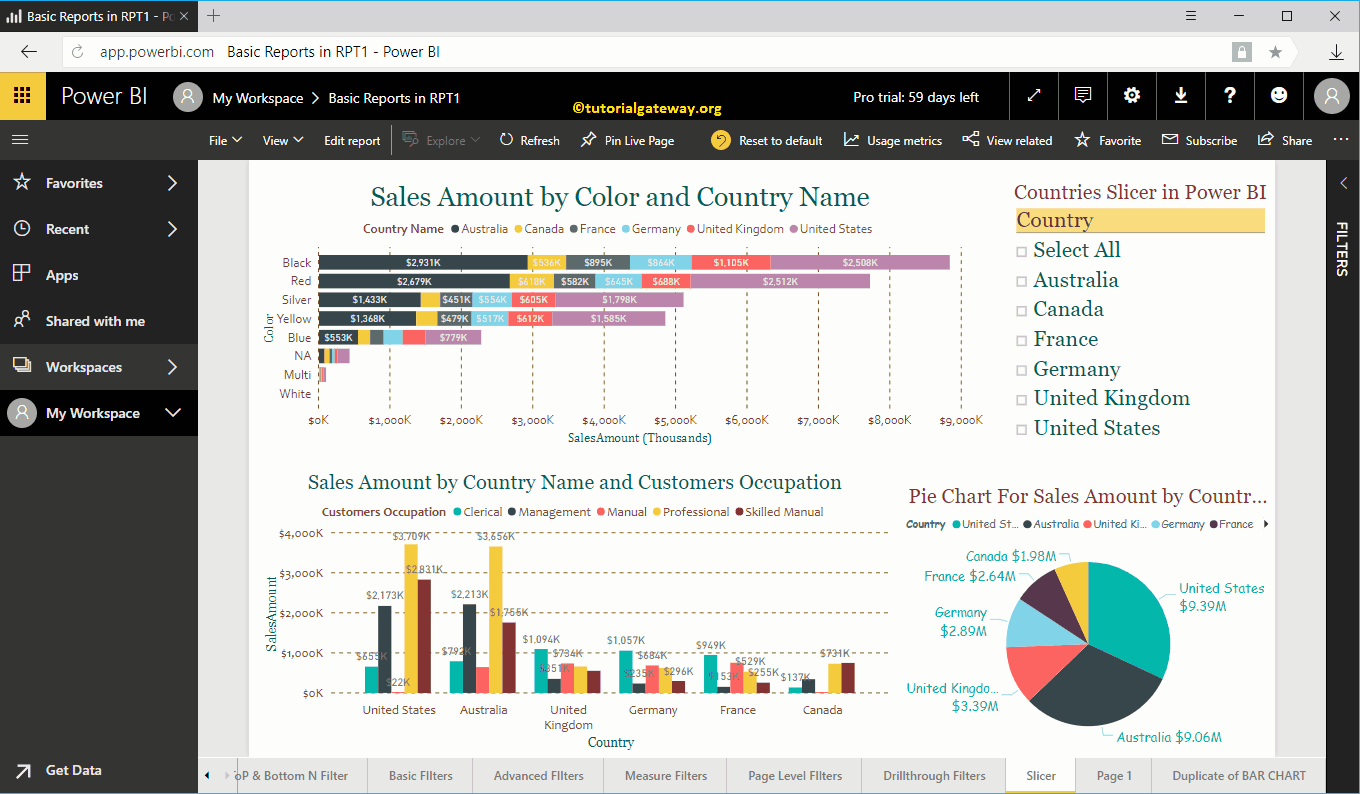
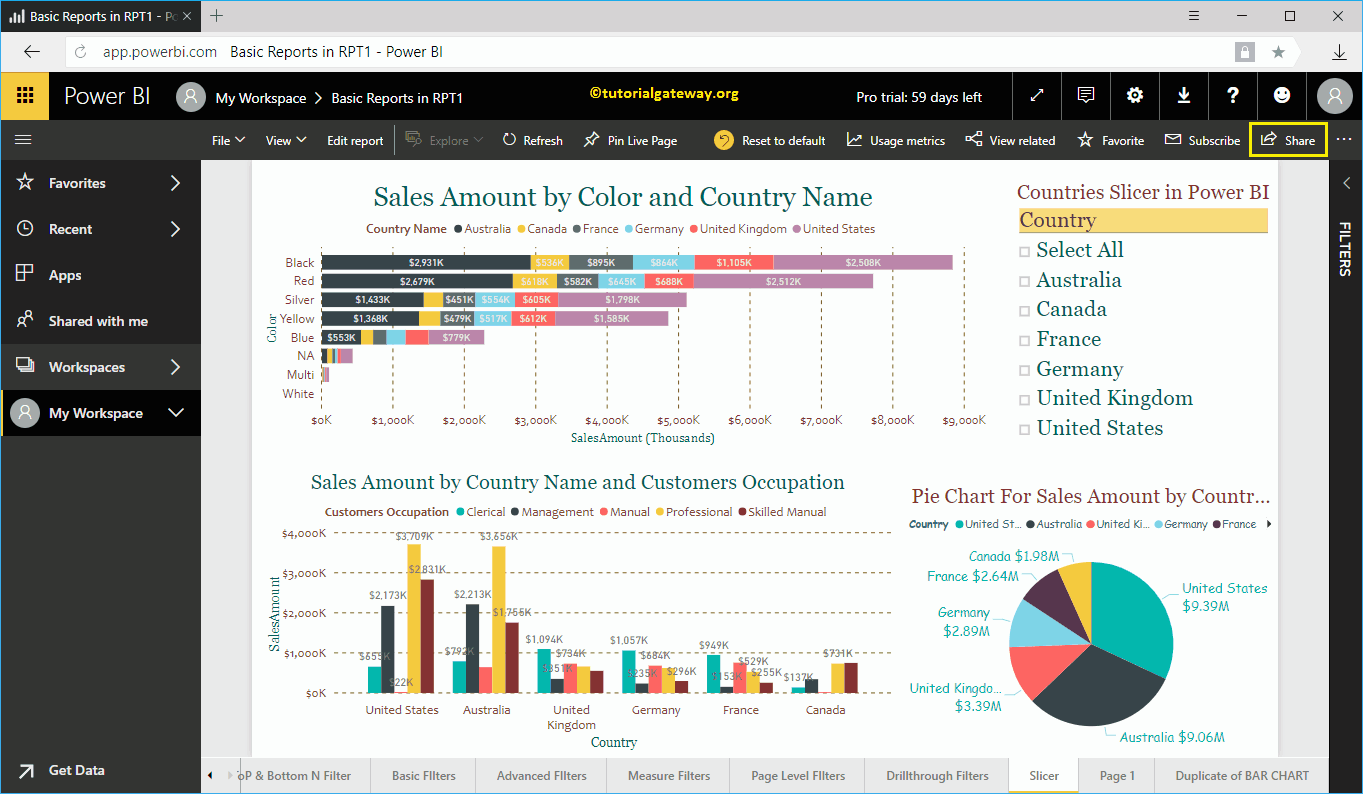
In this example Share a report in Power BI, we share the basic reports in the RPT1 report. Let me open the report to see the images in it.
 <>
<>How to share a report in Power BI
As you can see in the workspace screenshot below, there are 22 pages in this report.
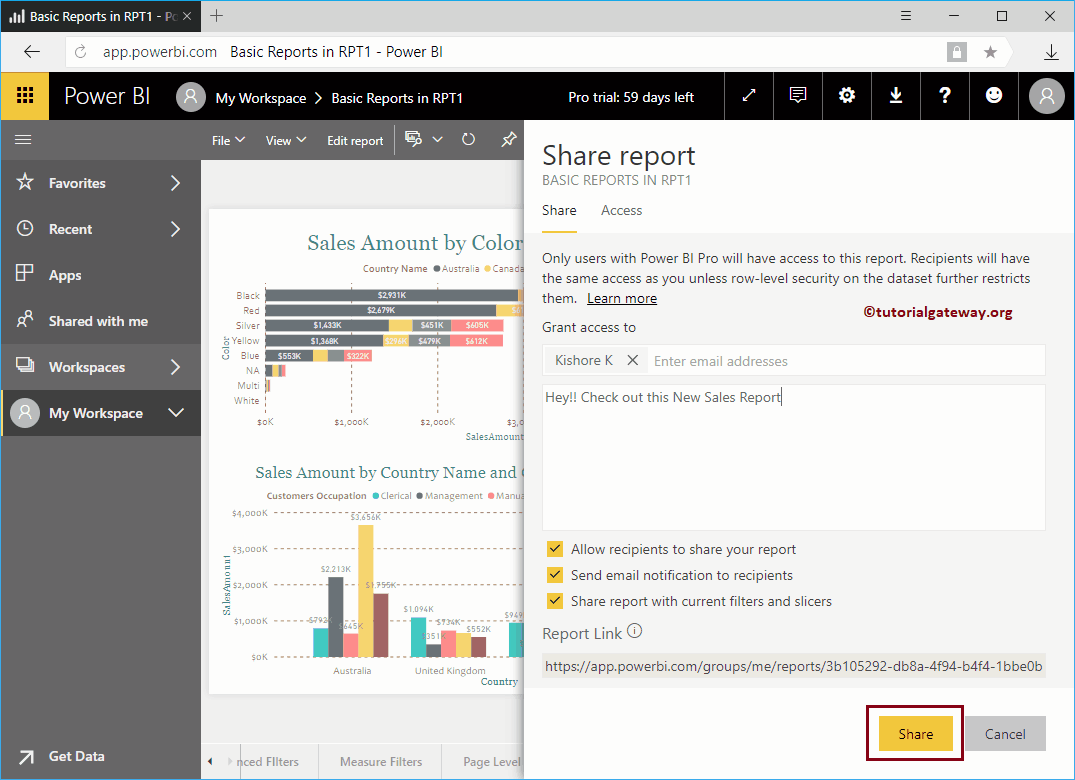
To share this report, click the Share in the upper right corner, as shown below.
By clicking on the Share The button opens the Power BI Share Report window.
- Grant to: Provide the email IDs you want to share with.
- Optional message: You can write a custom message
- Let the recipient share your report: Esto permite al destinatario compartir este informe de Power BI con otras persons de su equipo.
- Send email notification to recipient: Send an email about this report.
- Compartir informe con filters y segmentaciones actuales: This shares the report along with the filters I applied and the segmentations I used.
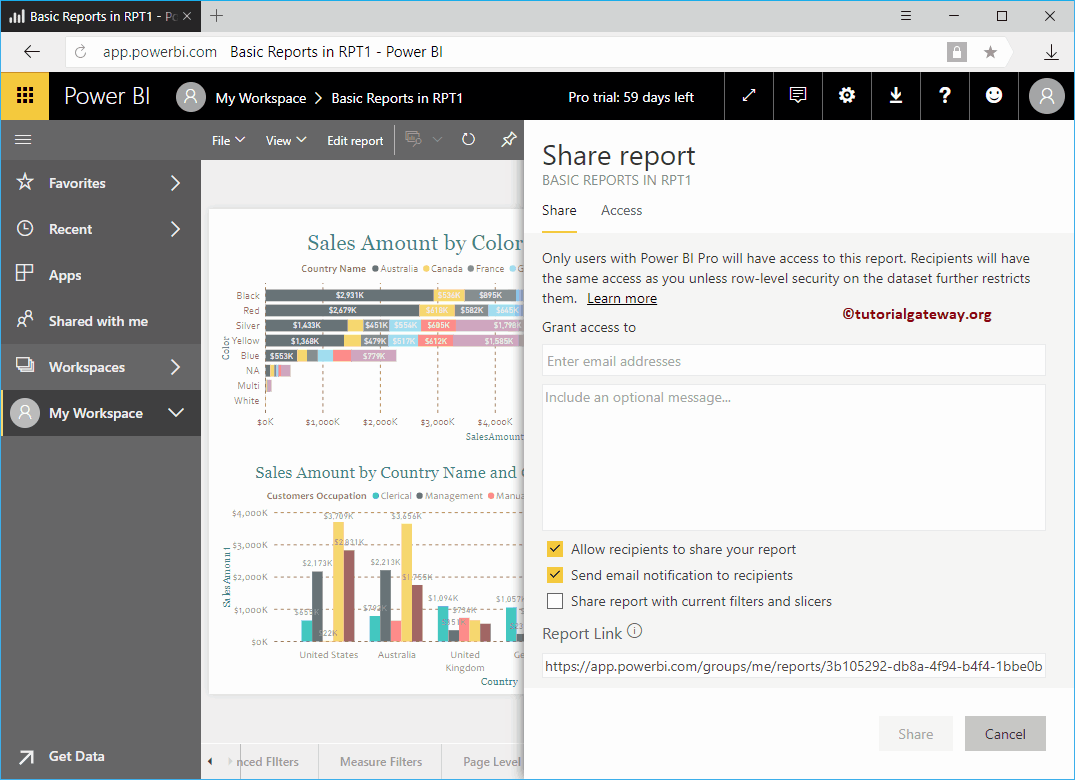
Let me share this report with Kishore, who works in the same organization.

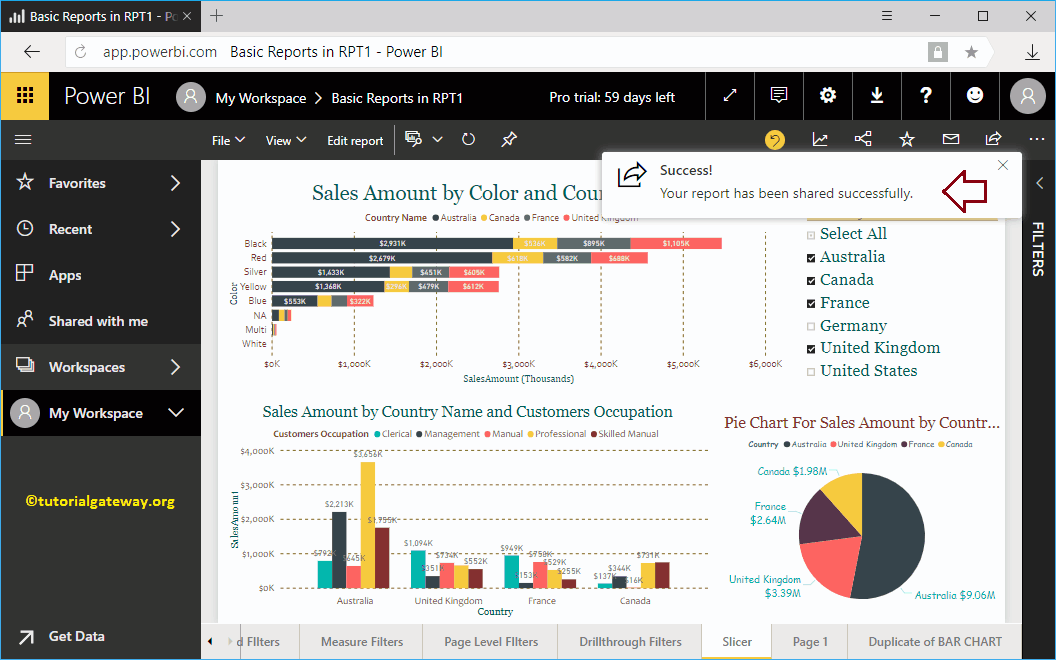
You can see that sharing is a success.

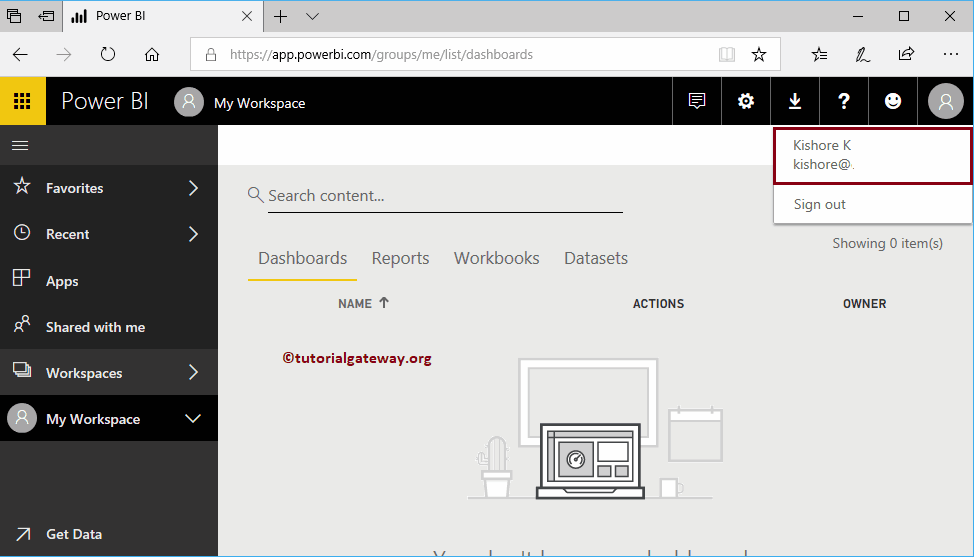
Let me open the Power BI service with the Kishore account
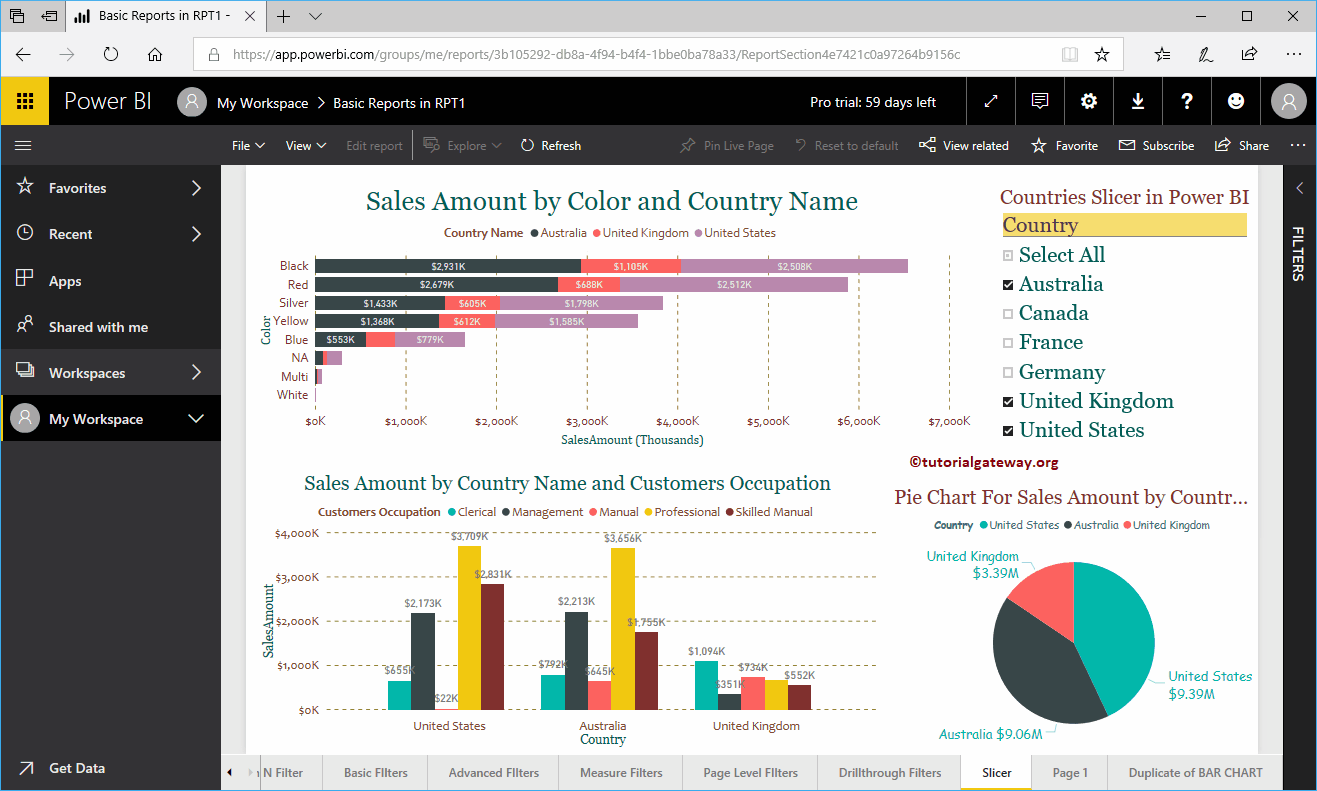
On the Shared with me tab, you can see the Report that Suresh shared.
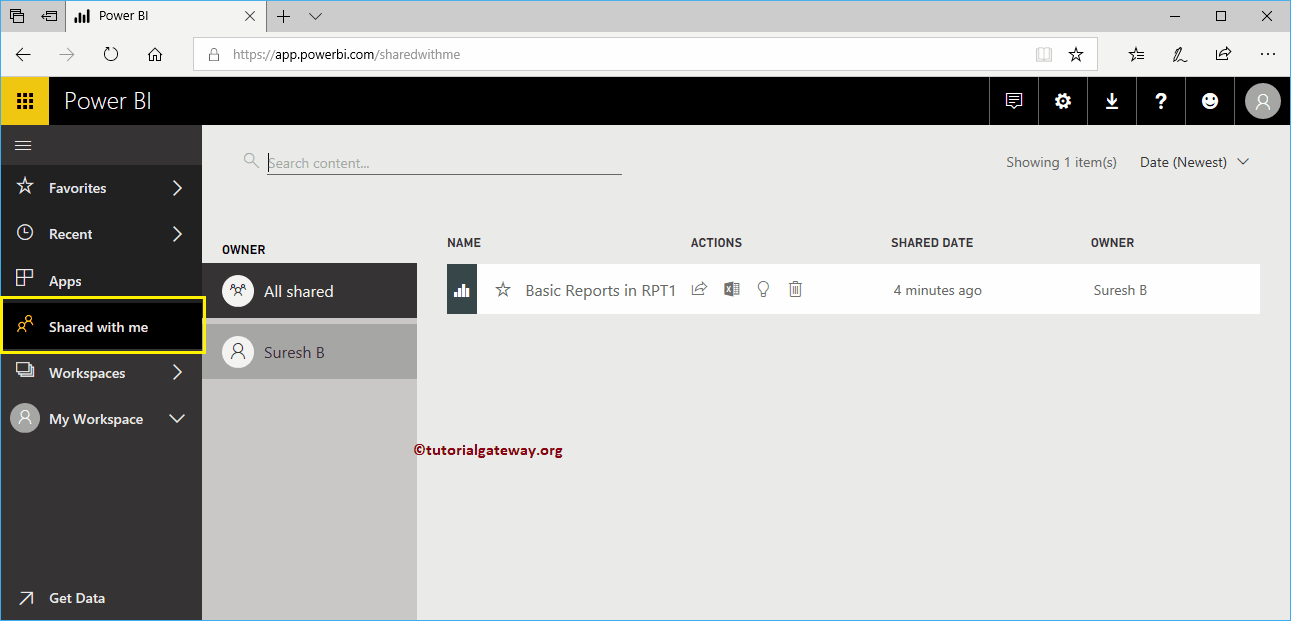
You can click on that report to see the images