Zapier es un servicio de automatización semejante a IFTTT (SI Esto Entonces Eso). Zapier comprueba normalmente si hay un disparador en las aplicaciones que ha seleccionado, si el disparador ocurrió, Zapier realizará una acción o inclusive varias acciones.
What does Zapier have to do with Elementor?
Una de las características más poderosas de Elementor es su widget de formulario. Con este widget, puede crear formularios y empezar a compilar clientes potenciales en su sitio. Este es un paso crucial para cualquier negocio en crecimiento.
Los clientes potenciales recopilados se pueden agregar de forma automática a la automatización del marketing por email y los servicios CRM que ya se han integrado a Elementor. Estos incluyen MailChimp, MailPoet, ActiveCampaign, Campaign Monitor, GetResponse, Drip y Hubspot.
Además puede configurar los formularios para que se integren con Zapier, conectándolos así a los más de 1000 servicios que están conectados a Zapier.
El procedimiento de conectar formularios Elementor a Zapier es un poco más largo que las integraciones habituales. Incluye la creación de un disparador en Zapier desde Elementor. Una vez que se envía un formulario de Elementor, se activa el disparador Zapier. Posterior a esto, se realiza la acción o acciones, causando que el envío del formulario ingrese al servicio integrado.
Este procedimiento de dos pasos para crear el disparador y la acción se realiza con Zapier, y en los siguientes pasos, aprenderá cómo configurarlo.
Creating the Elementor trigger within Zapier
Your first step is to create a 'Zap' in Zapier. A Zap is a plan for a task that you want to do over and over again. In words, a Zap looks like this: "When I get a new thing in A, I do this other thing in B."
Inside Zapier
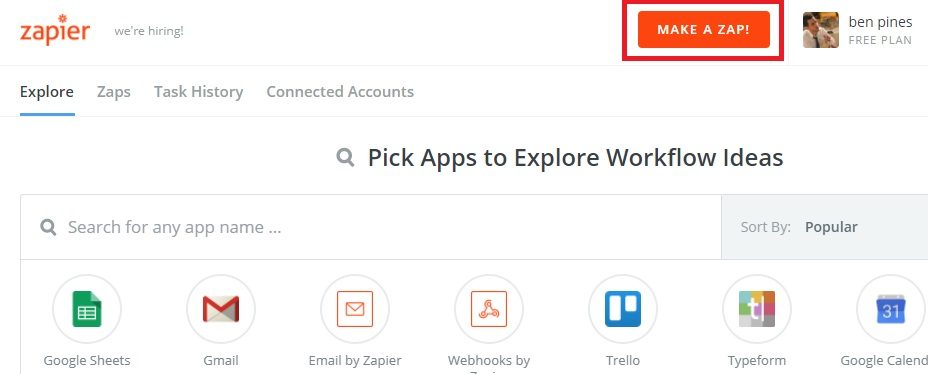
1. Click on 'Make a Zap'
2. Choose the application - On the left, you will see all the steps required to complete the Zap. Choose 'Webhooks' under 'Built-in Applications'
3. Choose trigger - En la pantalla ‘Elegir webhooks por disparador Zapier’, elija ‘Atrapar gancho’ y pulse ‘Guardar + Continuar’
4. Configure options - Under 'Configure webhooks by Zapier Hook', no further actions are needed (choose 'Continue')
5. Try this step - Copy the Zapier webhook to your clipboard
Dentro de su propio portal Web
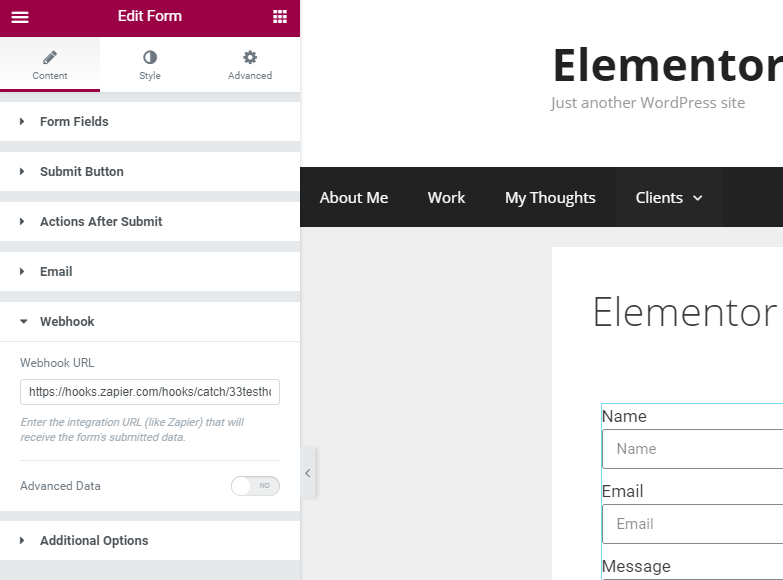
1. Vaya a su portal web y, dentro de Elementor, edite el formulario que desea integrar en Zapier. En Acciones posteriormente del envío, agregue Webhook.
2. Open the Webhook toggle and enter the hook you copied from Zapier
3. Save the page and go to the live version of the page. Now submit the form. This sends the Webhook to Zapier, to confirm the hook we created.
4. Back in Zapier, click continue. You should receive a "Test Success" notice.
Create the action that Zapier performs
In this part, we create the action that follows our trigger. As a reminder, the trigger is the Elementor form submission.
Let's choose one of the 1000+ apps to show you how to add the action to Zapier. I'll go ahead and choose MailerLite.
Inside Zapier
1. MailerLite - In the search bar, enter MailerLite
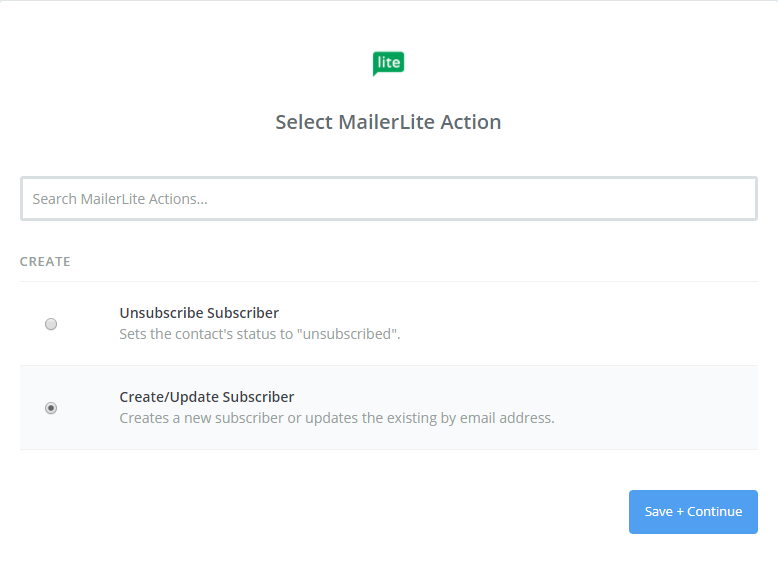
2. Crear / actualizar subscriber – Choose 'Create / Update Subscriber' and click 'Continue'
Inside MailerLite
1. Ir al portal web de MailerLite – Obtengamos la API from MailerLite yendo a su imagen de perfil> Integraciones> API de desarrollador y haga clic en ‘Utilizar’
2. Copy the API key
Back in Zapier
1. Back at Zapier, let's connect our account
2. Paste our API key
3. Continúe con el paso siguiente.
4. Edit template - Match the list and subscriber group fields
5. Try this step - Run a test in MailerLite
6. Try this step - Get approved for the test

7. Rename the step - Turn on your Zap and give it a name

DONE!
Ahora vaya a la página Elementor en su portal web, envíe un formulario de prueba y vaya a MailerLite para asegurarse de que el nuevo envío se haya agregado correctamente.