

Although many online services allow you to create a custom website for your wedding, they generally have many restrictions in terms of design and functionality. At the same time, some of these services can be quite expensive.
This is your big day. Your wedding website design should not be limited. You should be able to create a website that is as big, bold and beautiful as your wedding!
WordPress offers you virtually unlimited customization features, and if you’re familiar with the platform, it can be a great option. Along with that, there are plenty of free or low-cost tools and resources, making it a very affordable option.
This post will offer a point-by-point guide to creating a beautiful and functional wedding website using WordPress. We’ll cover everything from setting up your Content Management System (CMS) to choosing a theme and adding content and functionality.
Step 1 – Choose a web host and install WordPress
The first step is to select a host for your site. There are many great WordPress hosting options available, offering services for any price range. One thing to pay attention to is that you will probably only be running your wedding website for a limited time. Some hosts offer deep discounts if you pay in advance for a certain period, which could save you a lot of money.

We happen to have a special deal through Bluehost. Basically click our link for shared hosting and you’ll pay as little as $2.95 per month and get your domain name free (throughout the first year) when you sign up.
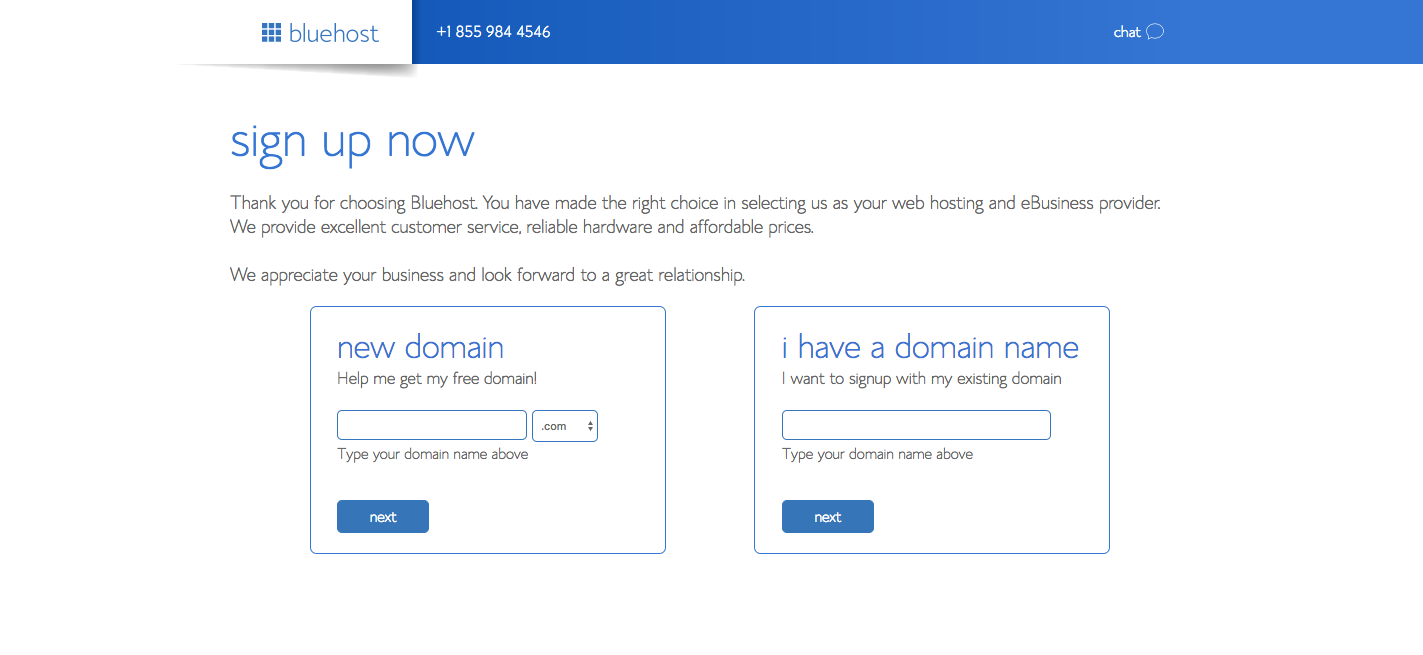
When you follow the instructions to sign up for your hosting account, you will need to select a domain name. This will depend on what’s available, but choose a name that’s easy for you (and your friends and family) to remember. A name like jackandjillswedding .com or theclarkewedding .com would be perfect.
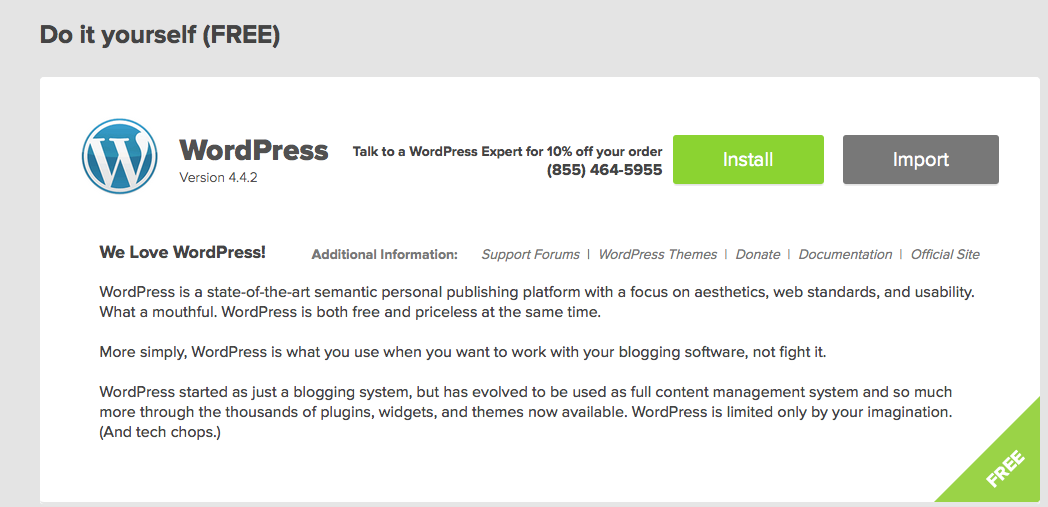
Once your host and domain are sorted, you can go ahead and install WordPress. With Bluehost (and many other shared hosting providers), this is a simple one-click procedure.
Look for the «One Click Installs» section when you log into your Bluehost account and select the WordPress option. Next, choose the domain name you select for your wedding website. You should then see a prompt to add a site title (such as «Jack & Jill’s wedding, or whatever you want to call your event), create an admin username (use your name for ease of use), an admin password (type this in (You’ll need it to log into your WordPress website in a minute) and your email address. Then just check the box to agree to the terms and install WordPress. Bluehost does all the hard work! But don’t worry, they also offer plenty of support if you hit a bump.
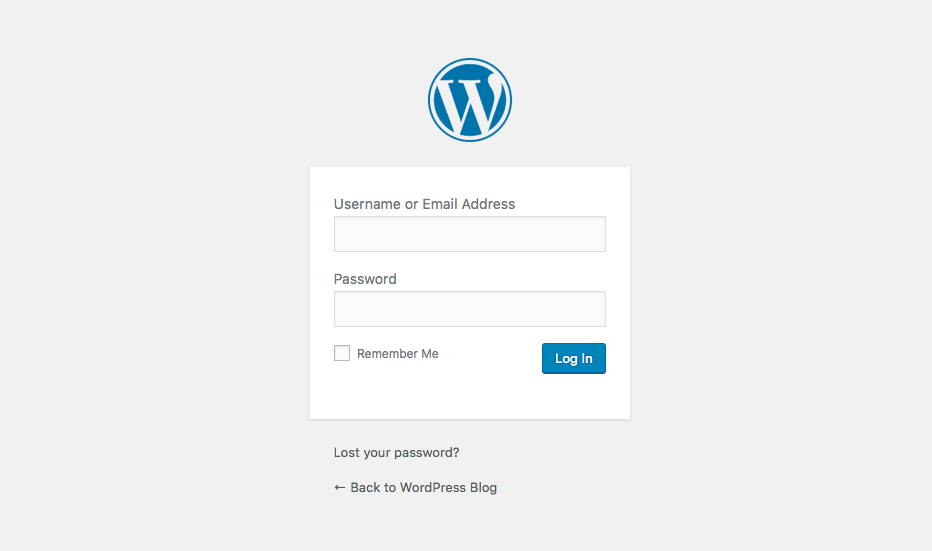
Now that your site is ready, you can log in to start creating your actual website! Just for your domain name but add /wp-admin to the end of the URL. This will take you to the WordPress login screen. Use the admin username and password you created when setting up your Bluehost account to log in. This should take you to your WordPress dashboard where you will install a theme, plugins, and add all your posts and pages about your upcoming nuptials.
Step 2 – Select a Wedding WordPress Theme
With your website ready, the second step is to select a theme that will set the stage for your wedding. Your theme will determine the overall aesthetic of your website, and depending on your choice, it may also offer some additional functionality. For example, some wedding themes come with guestbook and countdown timer features.
There are hundreds of WordPress themes to choose from (including free options from WordPress.org as well as premium options from websites like Themeforest and Creative Marketplace ) to select from to get started. At the same time, we have our own roundup of wedding WordPress themes that we think are pretty nifty. Alternatively, if you’re familiar with multipurpose solutions like Total WordPress they e – you might consider keeping it and basically adding some wedding features (see step five for more info).
If you’re looking for specific wedding theme suggestions, here are our top three picks.
Free WordPress Theme for Wedding Brides
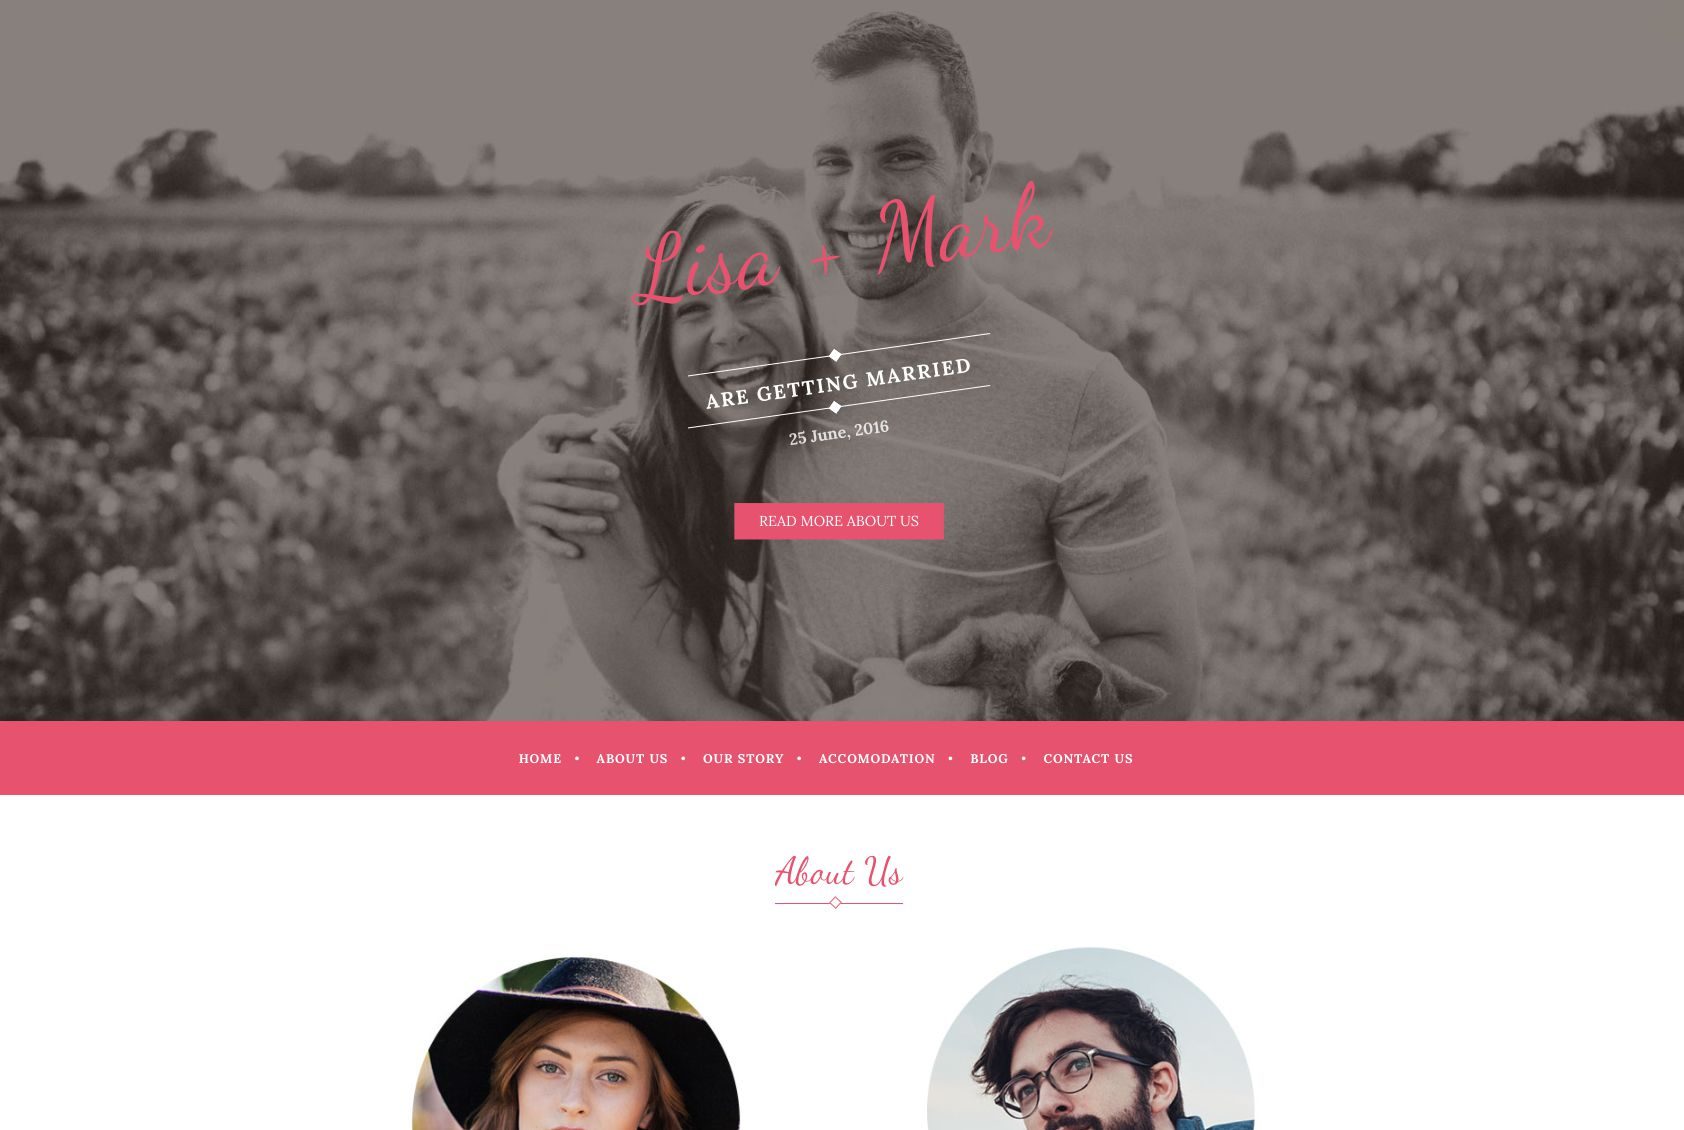
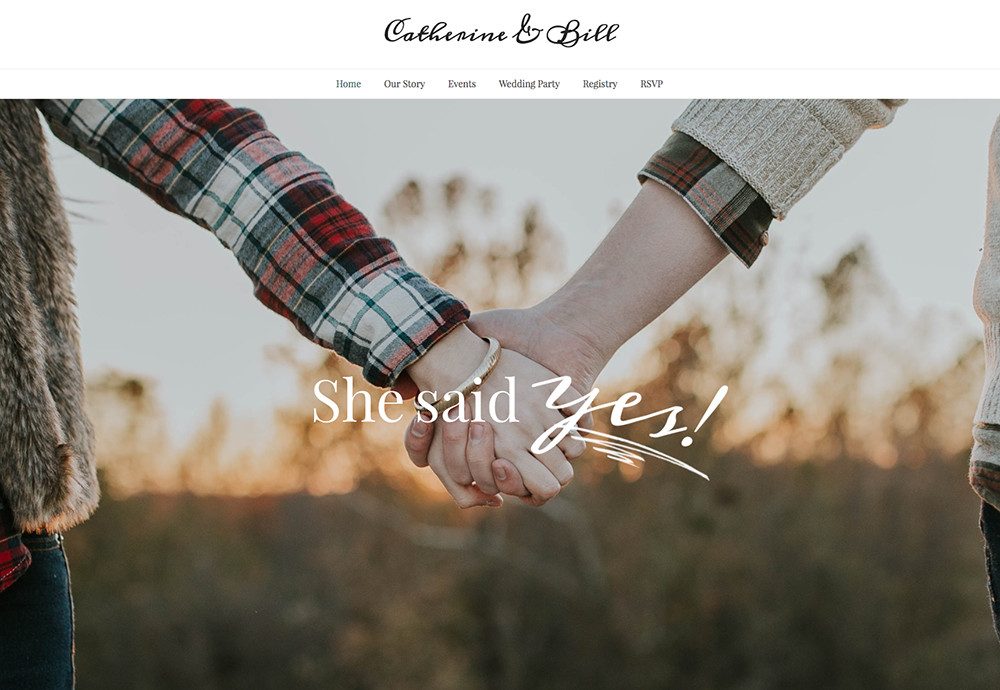
Wedding Bride is a clean and simple single page wedding theme that is quick and easy to set up. The set design means all you have to do is add your own images and story, that’s it. You can have a beautiful wedding website in no time. This theme doesn’t have many of the extras you might find in premium alternatives, but they can be added as needed via plugins, which we’ll cover later.
Tema de WordPress Premium Total Drag & drop
Total is a multipurpose theme with a drag and drop page builder that makes it feasible to create any type of website. This also makes any layout, color scheme and layout style viable thanks to super flexible page builder items and theme customization options. Total includes premium sliders to add your engagement photos, milestones to share the number of days you’ve been together or number of kisses shared over the years, contact form support so you can easily add an RSVP module, parallax and video backgrounds plus thousands of color and font alternatives, among many other features. It is undoubtedly our best option if you are looking for a premium theme.
WeddingEngine Premium WordPress Theme
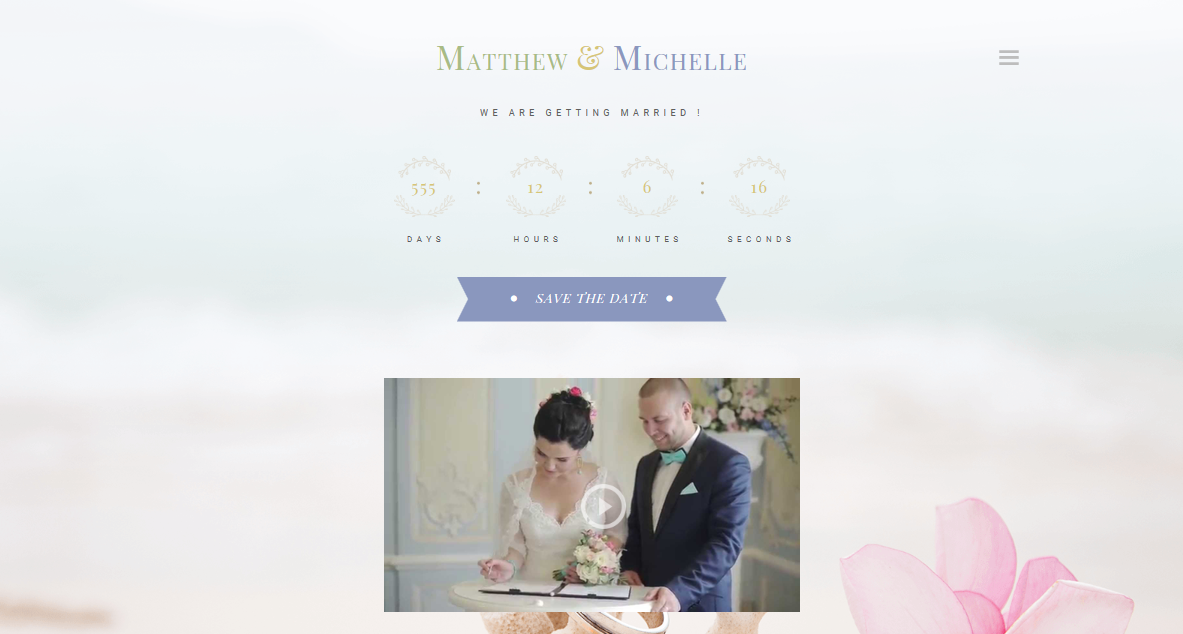
If you like classic styles, you’ll love the beautiful design of WeddingEngine. Its ornate borders and elegant layouts will make your website effortlessly charming. This theme comes with many features to help you create the perfect wedding site, including a countdown timer, RSVP module, image slider, timeline feature, and guestbook. It also offers an interface editor, which allows you to quickly adjust your designs.
Step 3: Install your theme
Once you have chosen a theme, you will need to install it. Fortunately, WordPress makes this very easy. We will show you using the
If you purchased a premium theme, you will first need to download the installable WordPress theme files. Most markets make it very easy and label them clearly. Basically log in to your account, go to your download page and find the theme you purchased. Then download the » Installable WordPress Archive Only » option. If you don’t have this option in your marketplace, you may need to unzip the file after it’s downloaded to locate the » theme only » file.
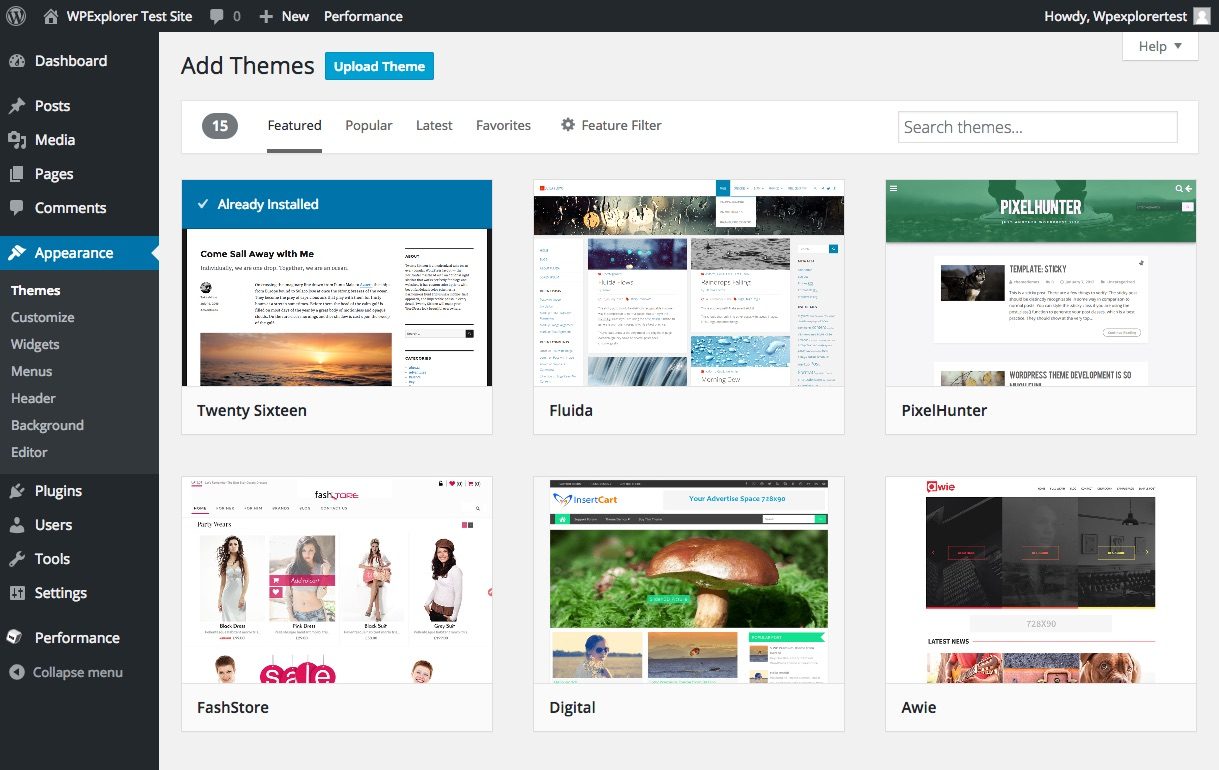
Next, go to your WordPress dashboard and navigate to Appearance> Themes> Add New . Now, if you want to use a free theme from WordPress.org, you can install the theme directly from here, basically click to install the one you want. To upload your own premium theme, click “ Upload Theme ” at the top of the screen, then select the installable theme file you downloaded earlier to install.
Once your theme is installed, click to activate your theme. Now for the fun part – add all the details about your wedding, you and your partner and still make your wedding website the most beautiful website workable.
Step 4: Set up and customize your wedding website pages
Your wedding website can include as many pages as you like. Typically, the wedding website features at least some of the following:
- Our Story: Here, you can tell guests about anything from how you met to the story of your initiative.
- Event Venue: Include helpful details like location and directions.
- Hosting: Out-of-town guests will appreciate a list of nearby places to stay.
- Guestbook: A guestbook allows people to post notes and best wishes before the big day.
- Gift registry: You can avoid awkward interactions by adding gift registry details to your site.
- RSVP: If you would like to opt out of traditional mailed RSVPs or provide an alternative, you can do so through their website.
- Photo Gallery: You can add your own wedding photos or let guests post theirs.
- Blog: If you like to write, you can write a blog about anything from wedding preparations to your life as a couple.
It is the site of your wedding and you have free rein to do what you want with it. Whether your style is traditional, modern, or something else entirely, WordPress gives you a lot of flexibility.
Depending on the theme you choose, your setup can be quick and easy. Most of the free themes have a simple page template where you can write your information and upload images according to the preset layout. However, if you chose a premium theme, you will certainly have a lot more options.
Creating and customizing pages with a page builder
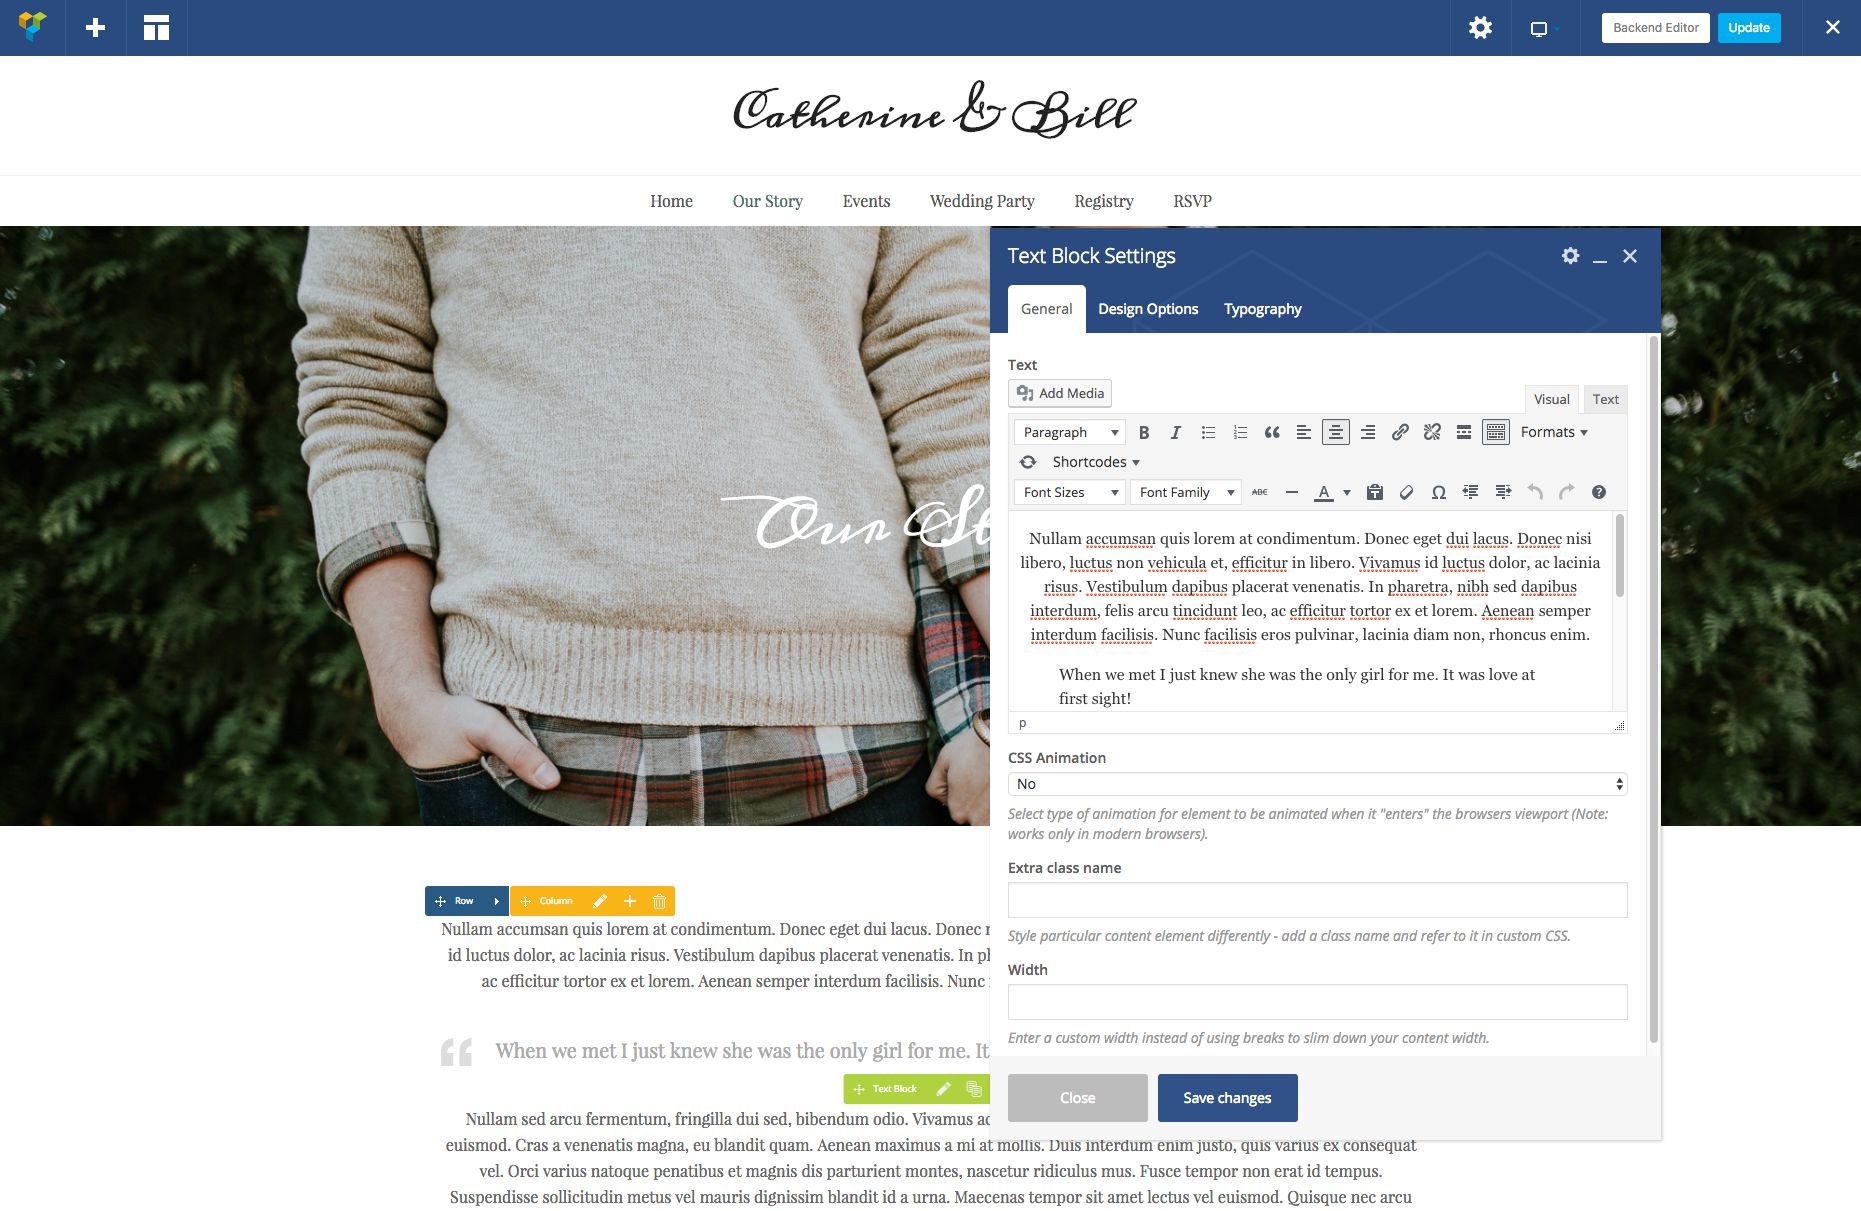
If you’ve decided to use a premium theme like Total, you’ll have the option to import a demo to get started (such as the single page Married or a traditional multi-page wedding demo), or to create your pages from scratch. Total uses the Visual Composer page builder. It’s an intuitive front-end live builder that you can use to insert content blocks, make changes (colors, fonts, images, etc.) and then drag and drop them into place. Just be sure to save your changes when you’re done!
The advantage of using a theme with a builder is that you can create the exact pages you require or want for your wedding website. Templates are great and surely easy, but with a page builder you don’t need to know CSS or PHP or any other coding language to make changes. It’s a great solution for a DIY bride or groom! All it takes is a free afternoon and a cup of coffee; we are sure you will master it in no time.
Step 5 – Add functionality to your wedding site using plugins
With most of your pages out of the box, you may need to add a few more features to your website before sending our link to your loved ones. This is where WordPress plugins come in.
Plugins are software add-ons that extend the core functionality of WordPress. While most of the above pages can be configured without them, you may want to enhance your site’s design with some. WordPress offers a plethora of free and premium plugins to select from and here are a few suggestions that work great for wedding websites.
1. Slider Pro Premium WordPress Slider Plugin
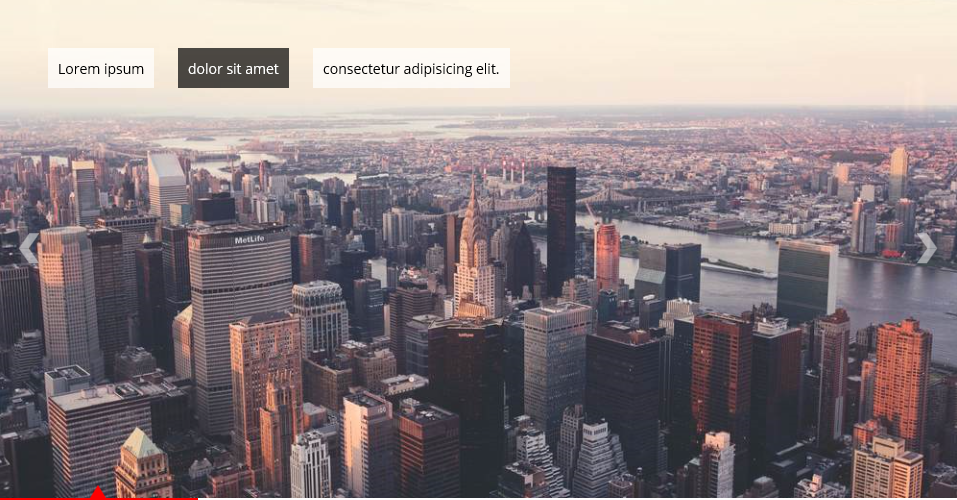
Many themes come with built-in slider options, but if yours doesn’t, you may need a plugin solution. Sliders are a great way to display multiple images without scaling issues. At the same time, you can apply interesting transitions that result in unique slideshows for your visitors. The Slider Pro plugin is very popular thanks to its ease of use and advanced functionality.
2. jCountdown Premium WordPress Countdown Timer Plugin
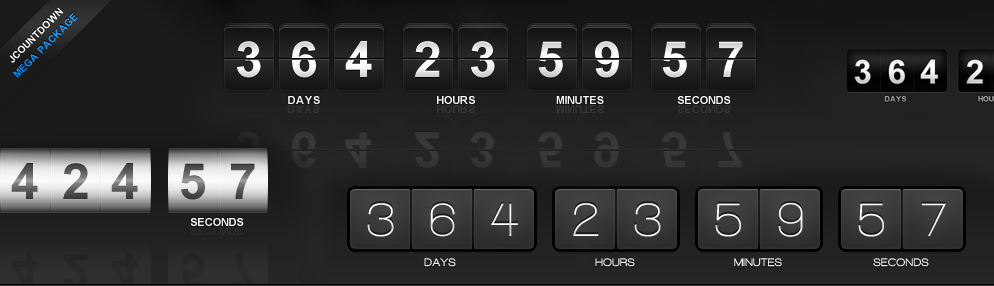
Countdown timers are a popular feature on wedding websites as they can let everyone know how close the big day is.
3. Basic Google Maps Placemarks Free Mapping Plugin
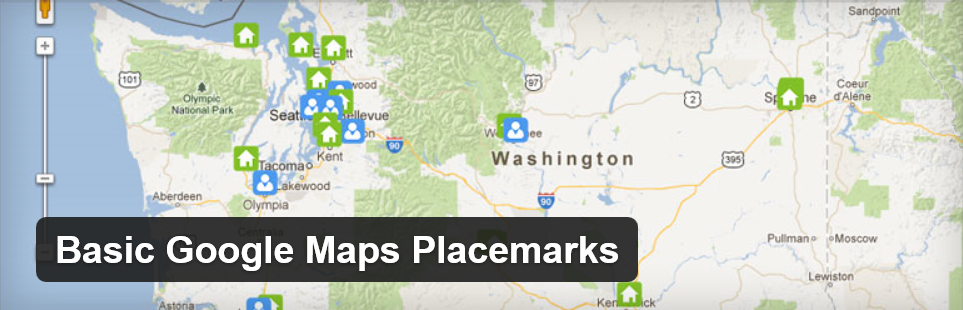
When providing your guests with the location and directions to your venue, a map can come in handy. Google Maps Basic Placemarks is a free add-on that allows you to embed a Google Map on your wedding site. If your event involves multiple locations, you can add multiple markers on the same map and even customize their icons.
4. Free Gwolle Guestbook WordPress Plugin

In short, Gwolle Guestbook is a useful free plugin that makes it easy to add a guestbook to your site. It provides an easy-to-use form that your guests can fill out, displays a (customizable) list of messages, and sends you a notification every time someone joins.
A dedicated website can help you plan your wedding, compile memories, and keep family and friends involved at every stage of the proceedings. However, creating the perfect site can be quite overwhelming under normal circumstances, tripled when it involves weddings.
Fortunately, WordPress provides all the tools you need to create an attractive and functional wedding website without any hassle. We’ve even broken down the entire procedure into four short steps so you can get started right away.
What pages do you think every wedding website should include? Let us know in the comments section!


