

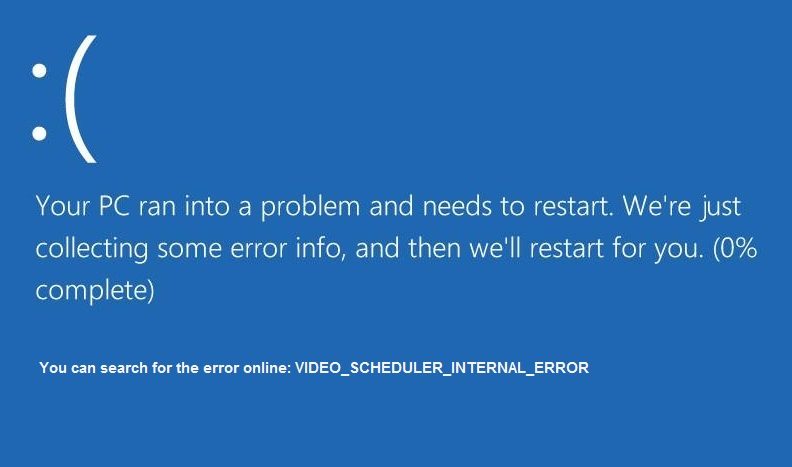
El VIDEO_SCHEDULER_INTERNAL_ERROR ocurre si recientemente instaló nuevo hardware or software que causa un conflicto entre los controladores de video y Windows 10. El Error interno del programmer de video es un error de pantalla azul de la muerte (BSOD) que indica que el programador de video ha detectado una infracción fatal. El error es provocado principalmente por la tarjeta gráfica, es un obstáculo de controladores y tiene un código de error de detención 0x00000119.
When you see VIDEO_SCHEDULER_INTERNAL_ERROR, the computer will generally reboot and before this error occurs, your computer will most likely freeze for a few minutes. The screen seems to crash from time to time, which seems to frustrate many users. But before we take a step towards answering this problem, we must absolutely understand what is causing this VIDEO_SCHEDULER_INTERNAL_ERROR and then be ready to correct this error.
Various causes of internal video programmer error:
- Incompatible, corrupt, or outdated graphics drivers
- Corrupted Windows Registry
- Infección por virus o malware
- Corrupted Windows system files
- Hardware problems
The internal video scheduler error can occur at any time while working on something important or while casually watching a movie, but when this error occurs, you will not be able to save any work on your system as you will be directly faced with this BSOD error and later to restart your computer losing all your work. So without giving up time, let's see how to solve this error with the troubleshooting tutorial listed below.
Fix internal video scheduler error
Make sure to create a restore point in case something goes wrong.
Method 1: Run System File Checker (SFC) and Check Disk (CHKDSK)
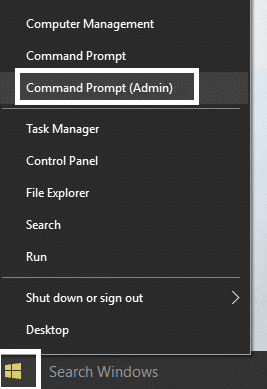
1. Press Windows Key + X, and then click Command prompt (administrator).
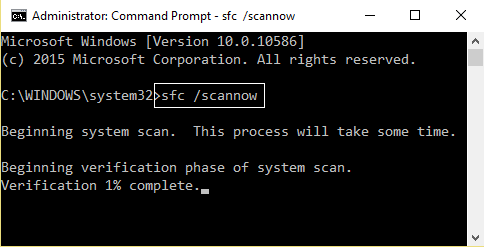
2. Now type the following in the cmd and hit enter:
Sfc / scannow sfc / scannow / offbootdir = c: / offwindir = c: windows
3. Wait for the above procedure to finish and, once done, restart your computer.
4. Then run CHKDSK from Repair file system errors with the Check Disk (CHKDSK) utility.
5. Allow the above procedure to complete and restart your computer again to store the changes.
Method 2: Run DISM (Deployment Image Servicing and Management)
1. Press Windows Key + X, and then select Command prompt (administrator).
2. Type the following command in cmd one by one and hit Enter:
Dism / Online / Cleanup-Image / StartComponentCleanup
Dism / Online / Cleanup-Image / RestoreHealth

3. If the above command doesn't work, try the following:
Dism / Image: C: offline / Cleanup-Image / RestoreHealth / Source: c: test mount windows
Dism / Online / Cleanup-Image / RestoreHealth / Source: c: test mount windows / LimitAccess
Note: Replace C: RepairSource Windows with the location of your repair source (Windows Install or Recovery Disc).
4. Do not run SFC / scannow, instead run the DISM command to verify system integrity:
Dism / Online / Cleanup-Image / CheckHealth
5. Restart your computer to save the changes.
Method 3: uninstall the graphics card driver
1. Right-click on your NVIDIA graphics card under Device Manager and select Uninstall
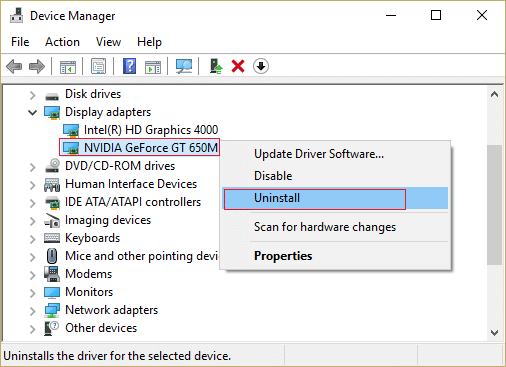
2. If asked for confirmation, select Yes.
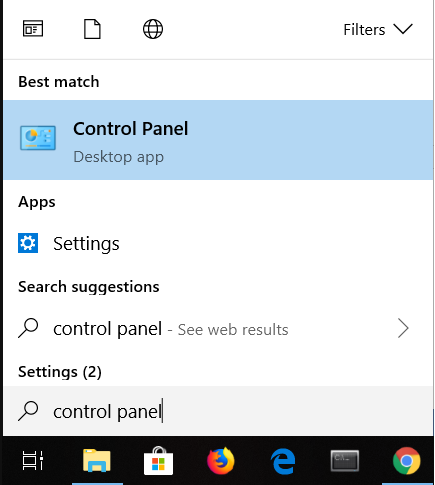
3. Type control in Windows search, and then click Control Panel in the search result.
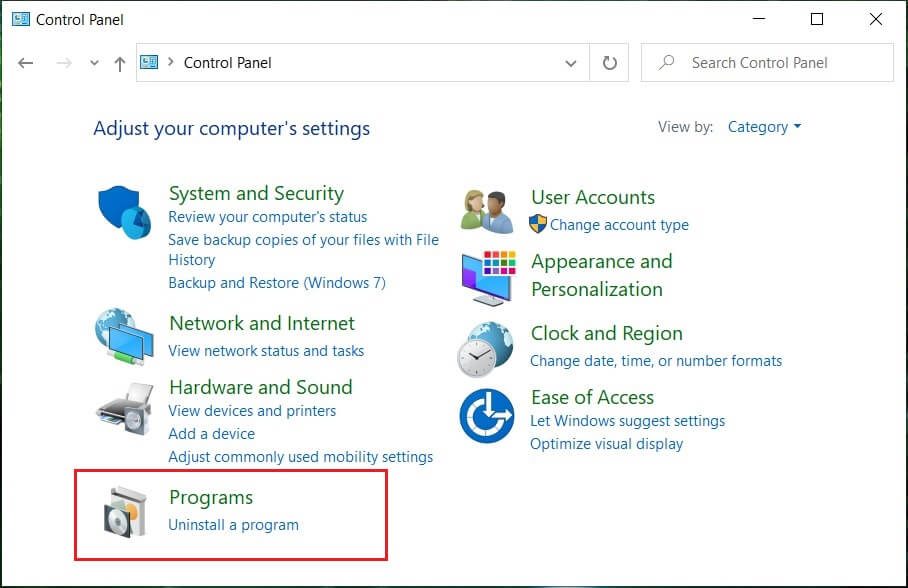
4. From the Control Panel, click Uninstall a program.
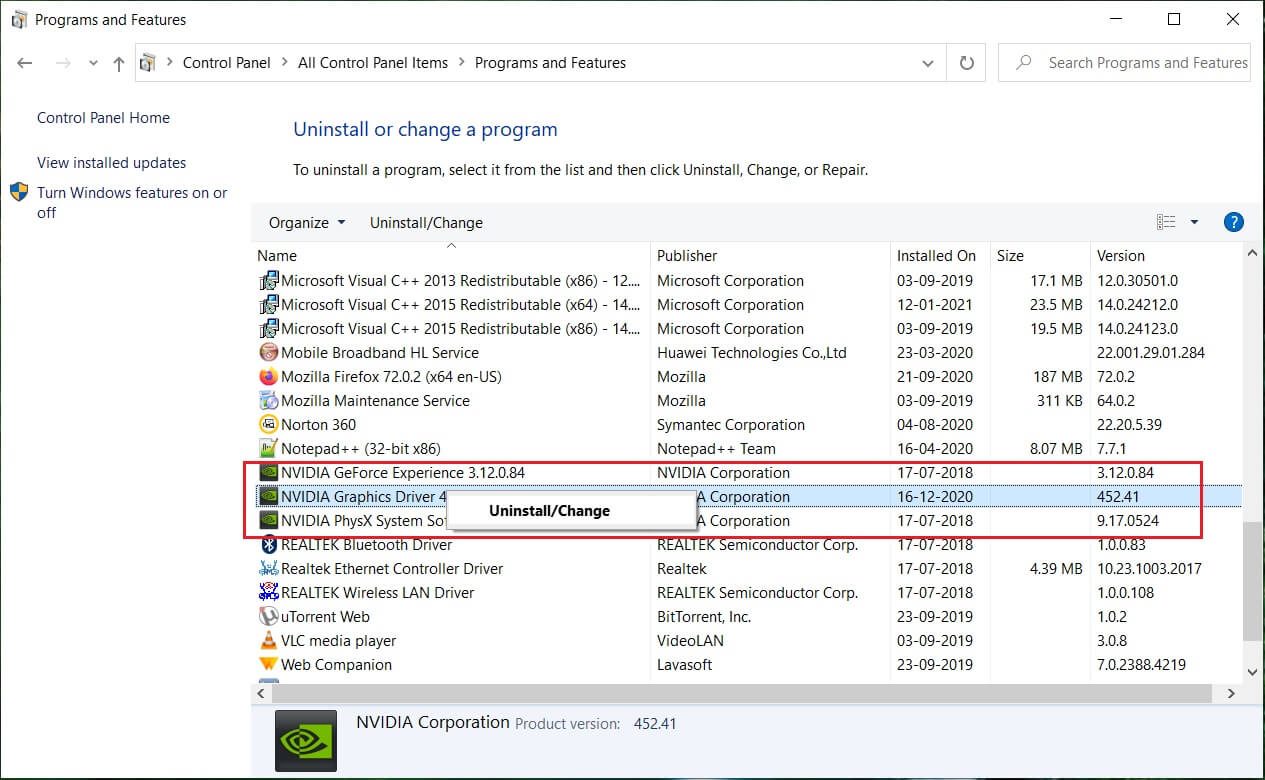
5. Then uninstall everything related to Nvidia.
6. Reboot your system to store the changes and again download the configuration desde el portal Web del fabricante. En nuestro caso, tenemos la tarjeta gráfica NVIDIA para descargar la configuración desde la Nvidia web portal.
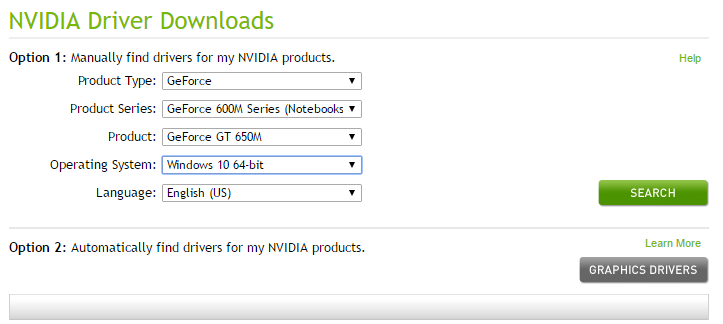
7. Once you are sure you have removed everything, try installing the drivers again. The settings should work without a hitch.
Method 4: update graphics card drivers
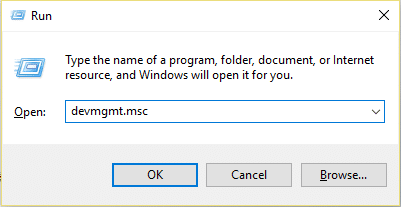
1. Press Windows Key + R and then type "devmgmt.msc”(No quotes) and hit enter to open Device Manager.
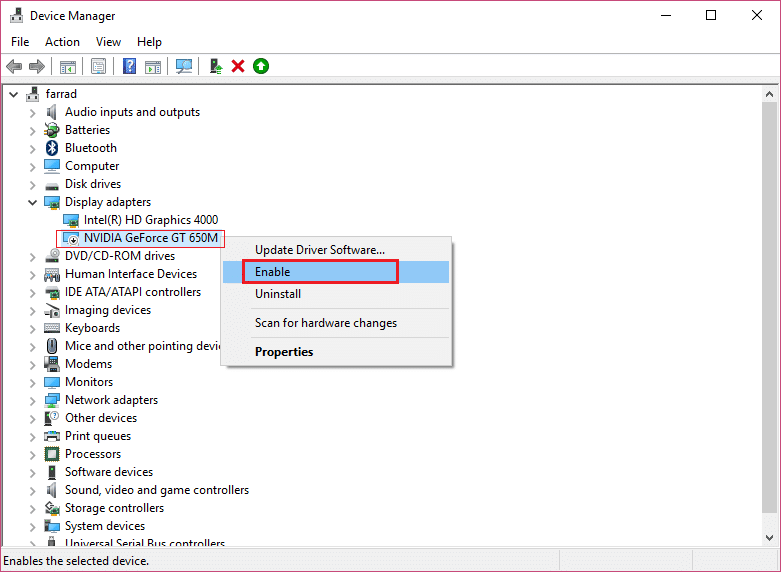
2. Then expand Display adapters and right click on your Nvidia graphics card and select Let.
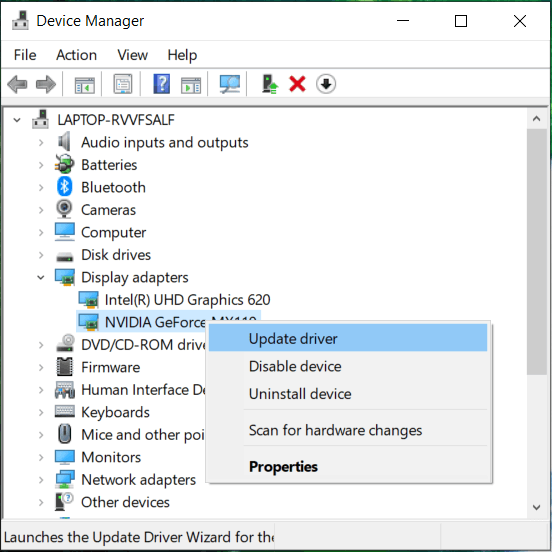
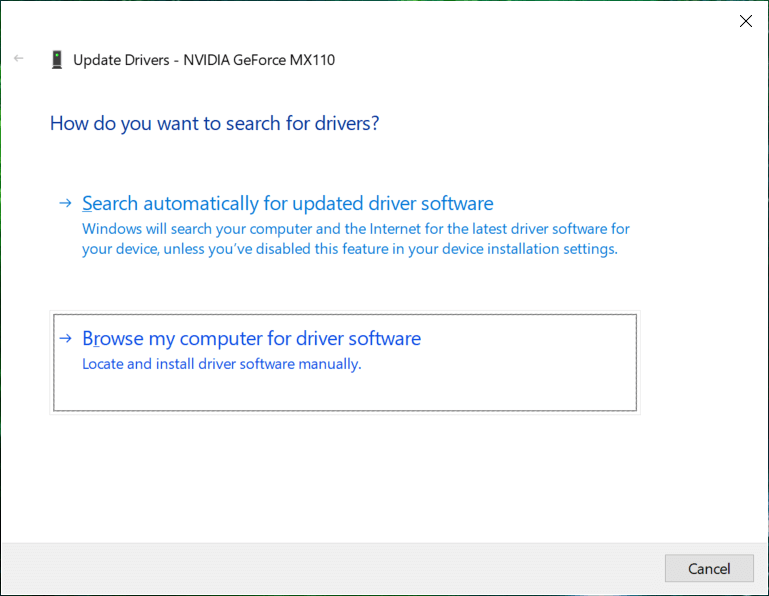
3. Once you have done this again, right click on your graphics card and select «Update the driver software.«
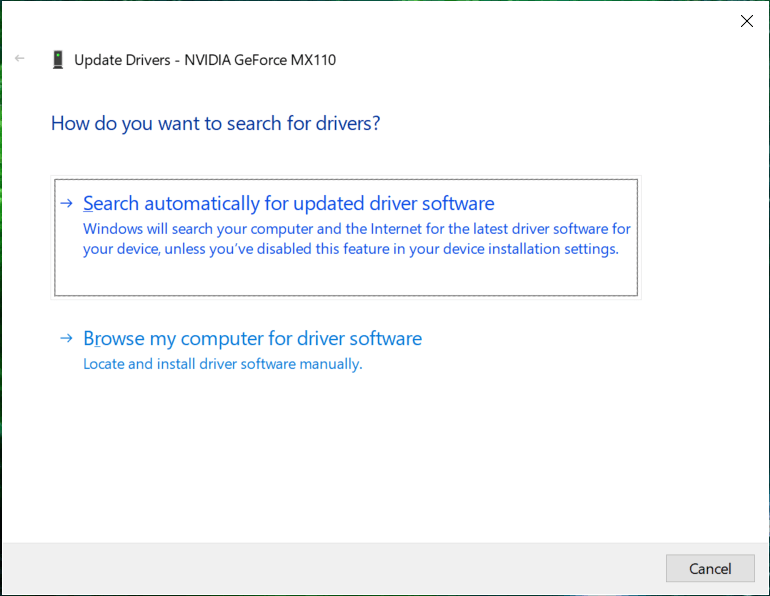
4. Select «Automatically search for updated driver softwareAnd let the procedure finish.
5. If the previous step was able to solve your problem, then fine, if not, continue.
6. Choose «Update the driver software"But this time on the next screen select"Search my computer for driver software.«
7. Now select «Let me select from a list of device drivers on my computer. «
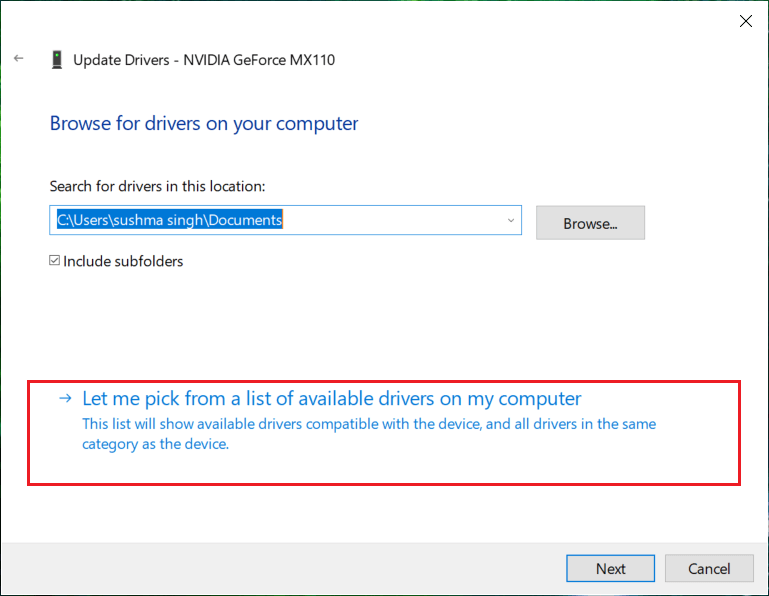
8. Finally, select the compatible driver from the list for your Nvidia graphics card and click Next.
9. Allow the above procedure to finish and restart your computer to store the changes. After updating the graphics card, you may be able to Fix internal video programmer error.
If you cannot update the graphics driver through the steps above, you can update the graphics drivers in other ways.
Method 5: Run Disk Cleanup
Disk Cleanup is a tool built into Windows that will allow you to remove unnecessary and temporary files according to your needs. To run disk cleanup,
1. Go to This Computer or My Computer and right-click the C: drive to choose Properties.
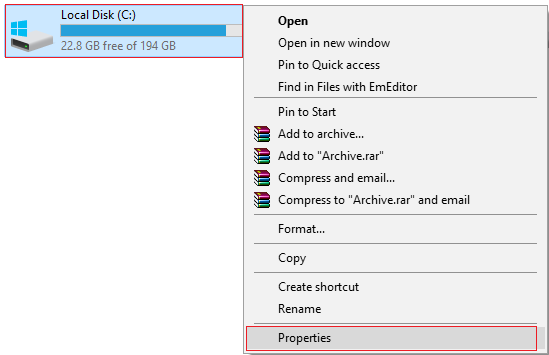
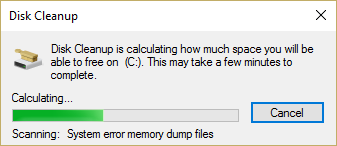
2. Now from the Properties window, click Disk cleanup Low capacity.
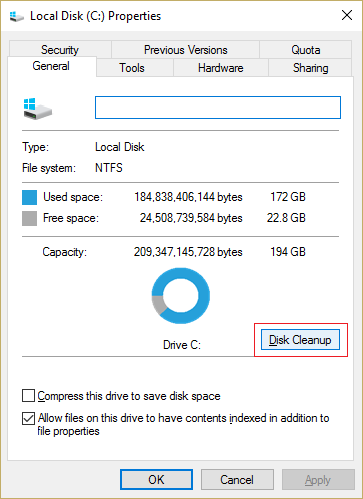
3. It will take some time to calculate how much space Disk Cleanup will free up.
4. Now click Clean system files at the bottom under Description.
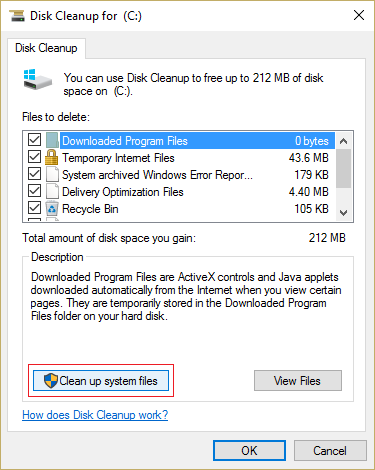
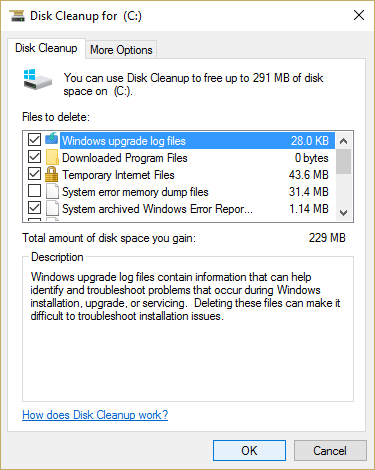
5. In the next window, be sure to choose all in Files to remove and then click OK to run Disk Cleanup. Note: We are looking for "Previous Windows installations" Y "Temporary Windows installation files”If available, make sure they are checked.
6. Allow Disk Cleanup to complete, and then restart your computer to store the changes. Try to run the installation again, and this may Fix internal video programmer error.
Method 6: run CCleaner
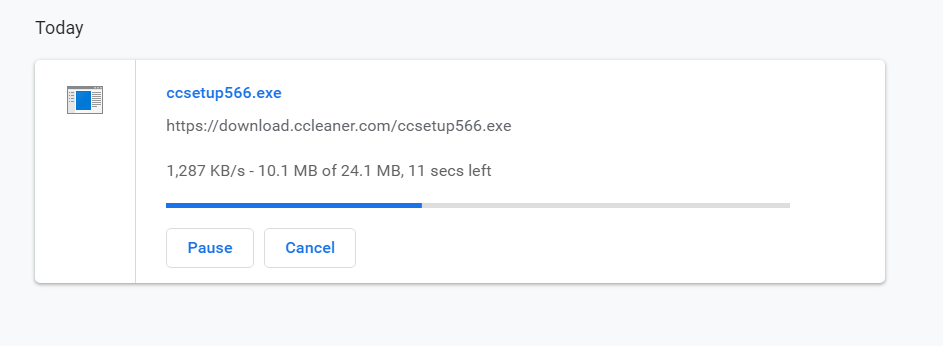
1. Download and install CCleaner.
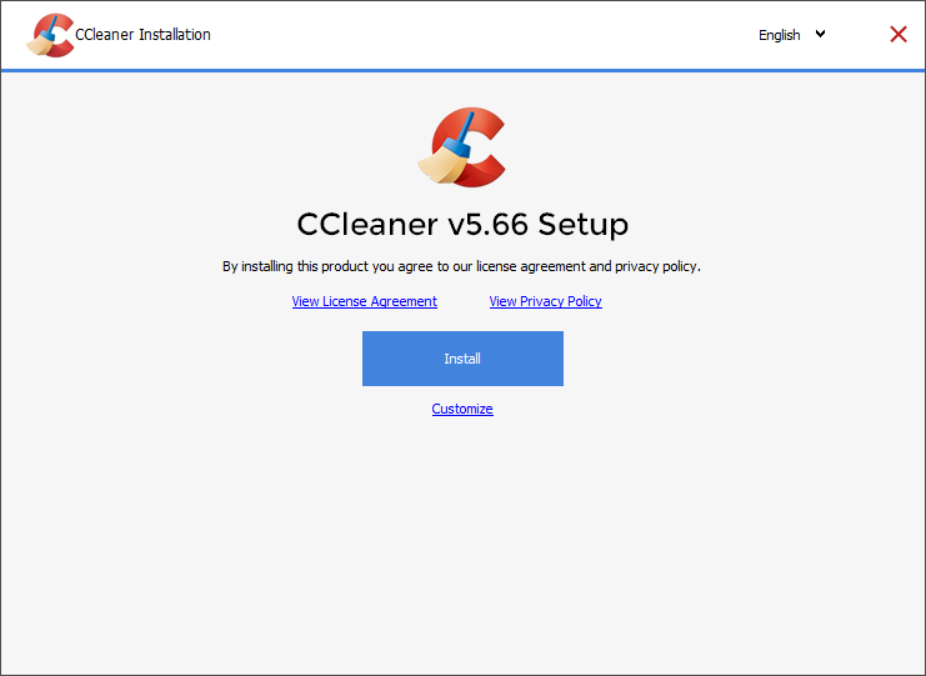
2. Double-click setup.exe to start the installation.
3. Click the Install button to start the CCleaner installation. Follow the onscreen instructions to complete the installation.
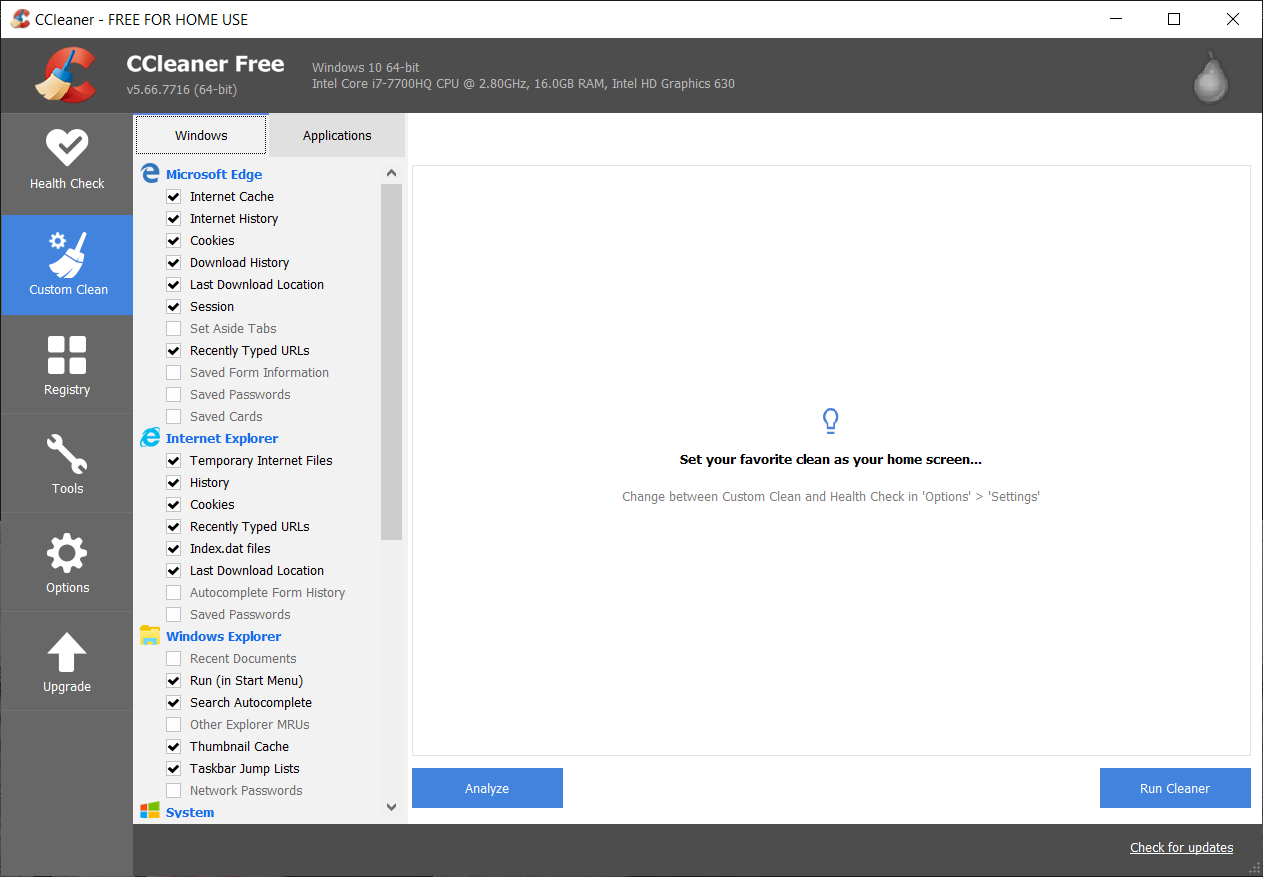
4. Launch the application and from the menu on the left side select Personalized.
5. Ahora vea si requiere marcar otra cosa que no be la configuración predeterminada. Una vez realizado esto, haga clic en Analizar.
6. Once the analysis is finished, click on «Run CCleaner" button.
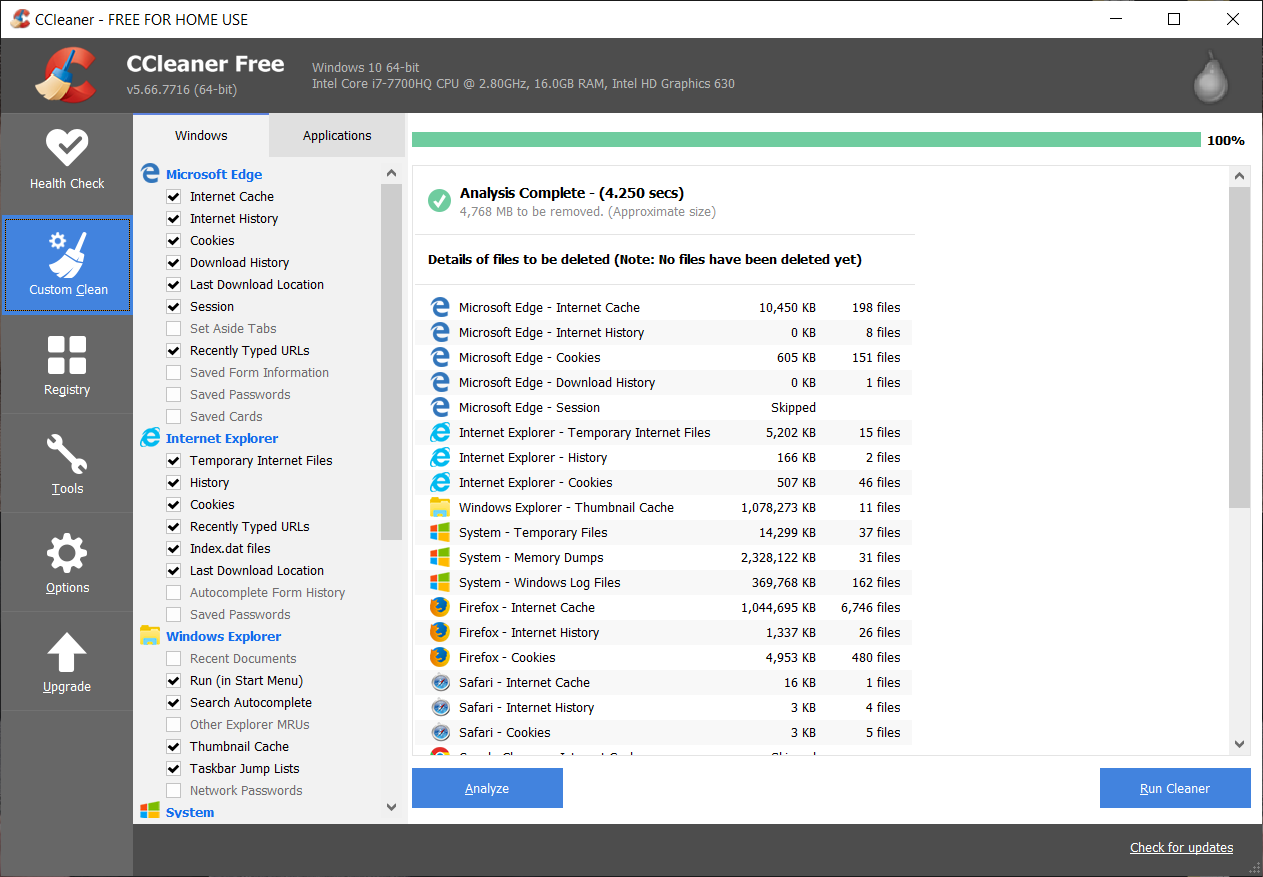
7. Deje que CCleaner siga su curso y esto borrará todo el cache y las cookies de su sistema.
8. Now, to further clean your system, select the Registration tab, and make sure the following is verified.
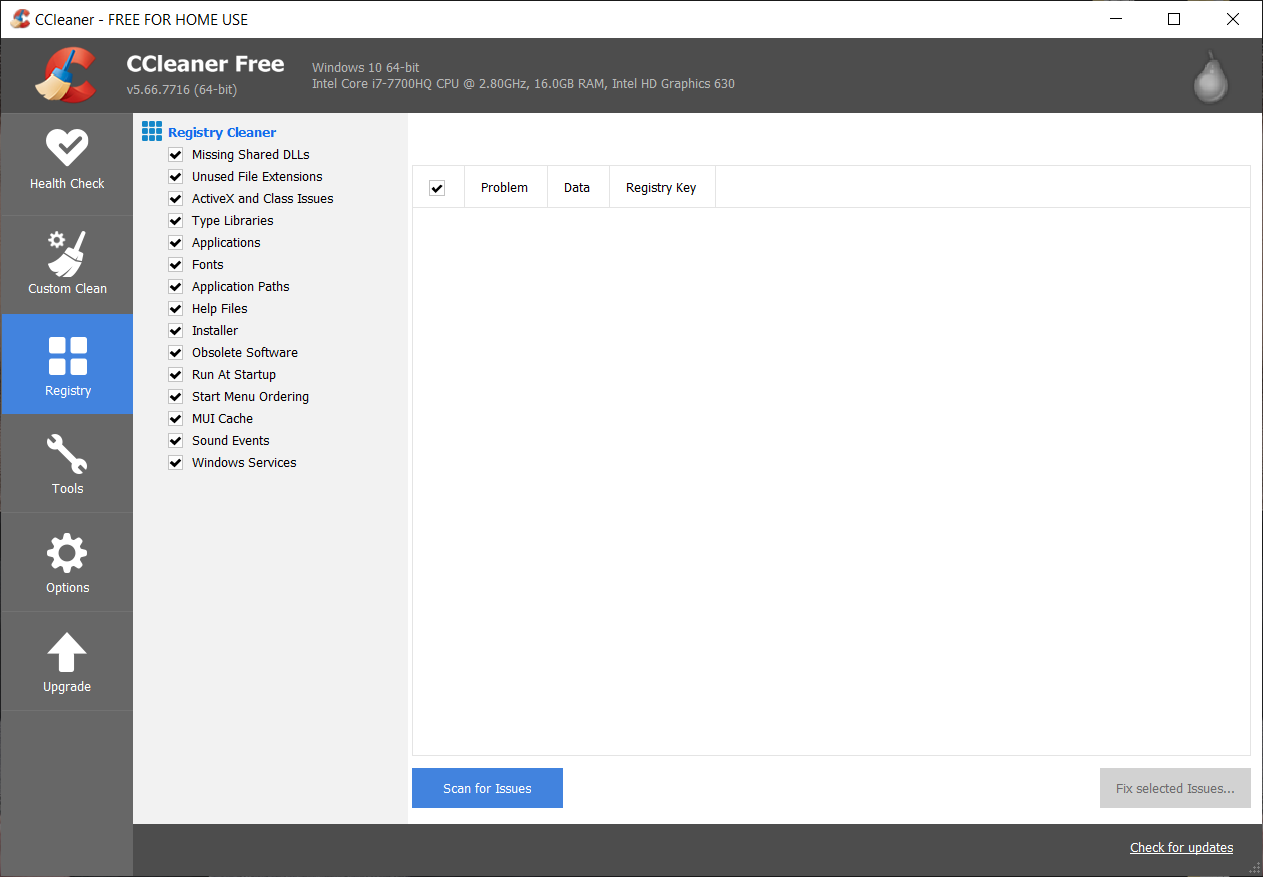
9. Once done, click on «Scan for problemsAnd allow CCleaner to scan.
10. CCleaner will show current problems with the Windows Registry, click the answer to selected problems button.
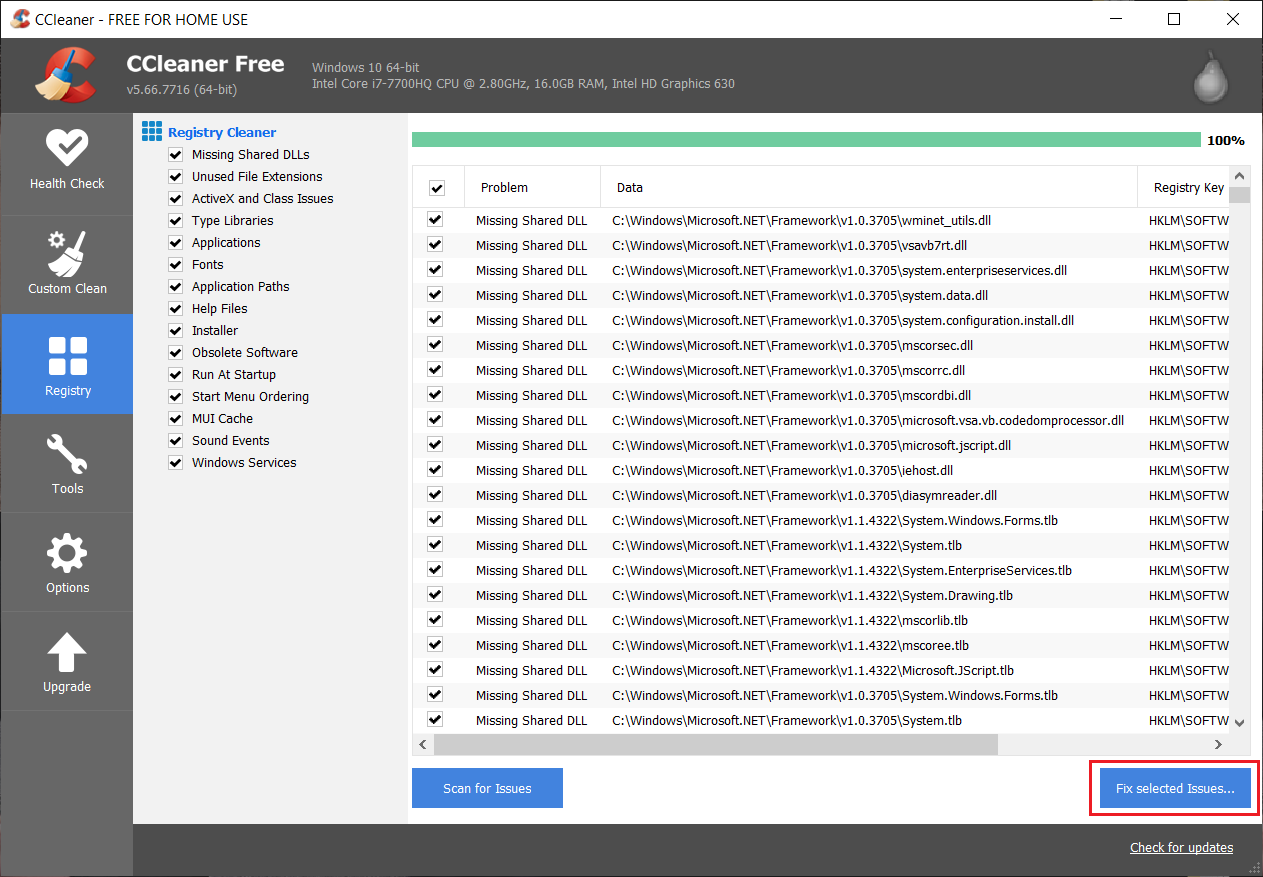
11. When CCleaner asks «Do you want to back up your registry changes?»Select Yes.
12. After the backup is complete, select Fix all selected issues.
13. Restart your computer to save the changes.
This method seems Fix internal video scheduler error where the system is affected due to malware or virus. Otherwise, if you have third-party antivirus or malware scanners, you can also use them to remove malware from your system.
Method 7: make sure Windows is up to date
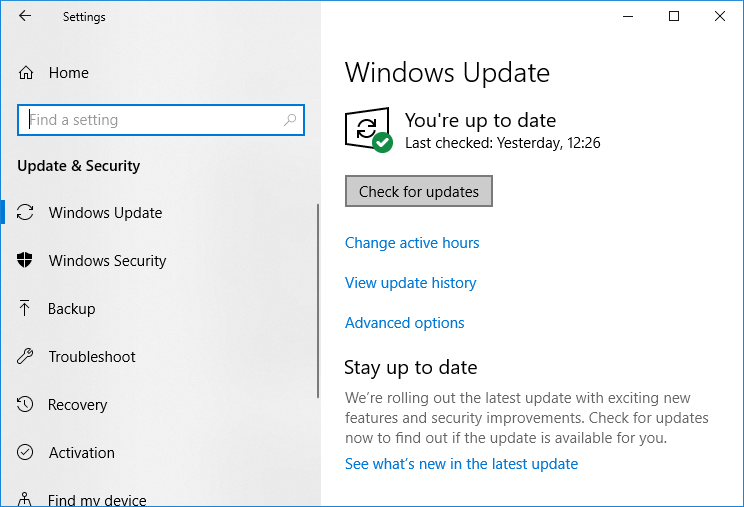
1. Press Windows key + I to open Settings and then click Update and security.
![]()
2. From the left side, the menu clicks Windows update.
3. Now click on «Search for updates”To check for available updates.
4. If there are any pending updates, click Download and install updates.
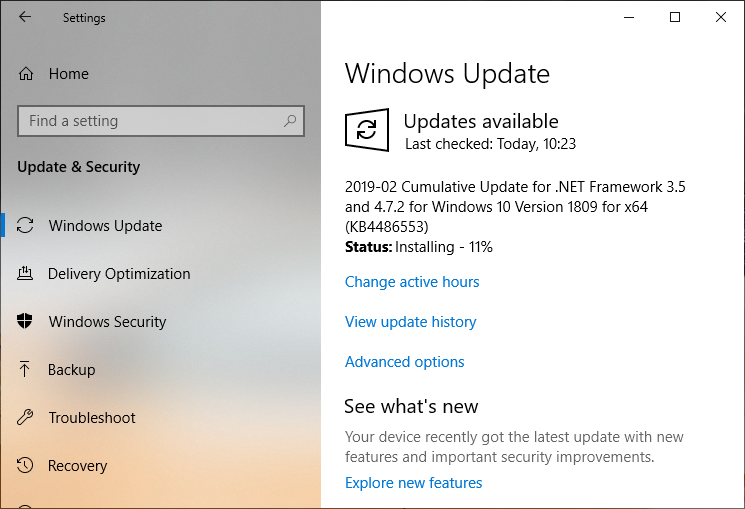
5. Once the updates are downloaded, install them and your Windows will update.
6. After the updates are installed, restart your computer to store the changes.
Recommended:
That's all you have with success Fix internal video scheduler error But if you still have any questions regarding this post, feel free to ask in the comment section.


