
How to fix unresponsive audio services in Windows 10: So you've been using Windows 10 for quite some time, but suddenly one day out of nowhere you get an error saying 'Audio services are not respondingAnd the audio no longer works on your computer. Don't worry, this is absolutely fixable, but let's first understand why you are getting this error.
El error de servicio de audio que no se ejecuta puede ocurrir debido a controladores de audio desactualizados o incompatibles, los servicios relacionados con el audio pueden no estar funcionando, permiso incorrecto para los servicios de audio, etc. Sea cual sea el caso, sin renunciar tiempo, veamos Cómo Fix unresponsive audio services in Windows 10 with the help of the troubleshooting steps listed below.
Audio services are not responding in Windows 10 Fix:
A suggestion from Rosy baldwin que parecen funcionar para todos los usuarios, así que he decidido incluir en el post principal:
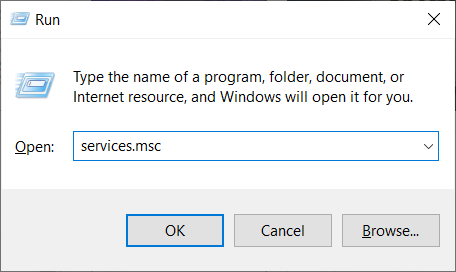
1. Press Windows key + R later write services.msc and press Enter to open the Windows services listing.
2. Find Windows Audio in the list of services, press W to find it easily.
3. Right-click Windows Audio and select Properties.
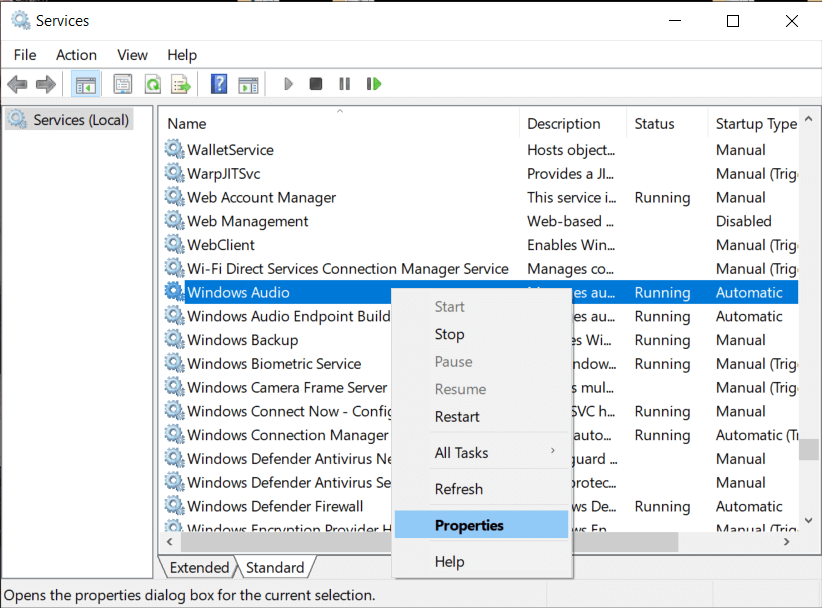
4. From the Properties window, navigate to the «Have access" tab.
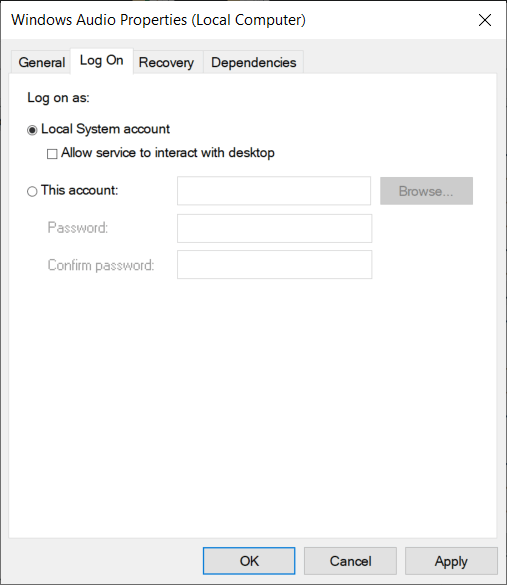
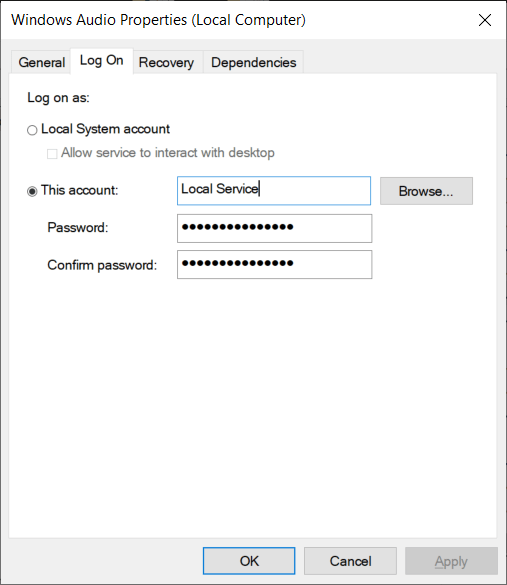
5. Then select This account and make sure Local service is selected with Password.
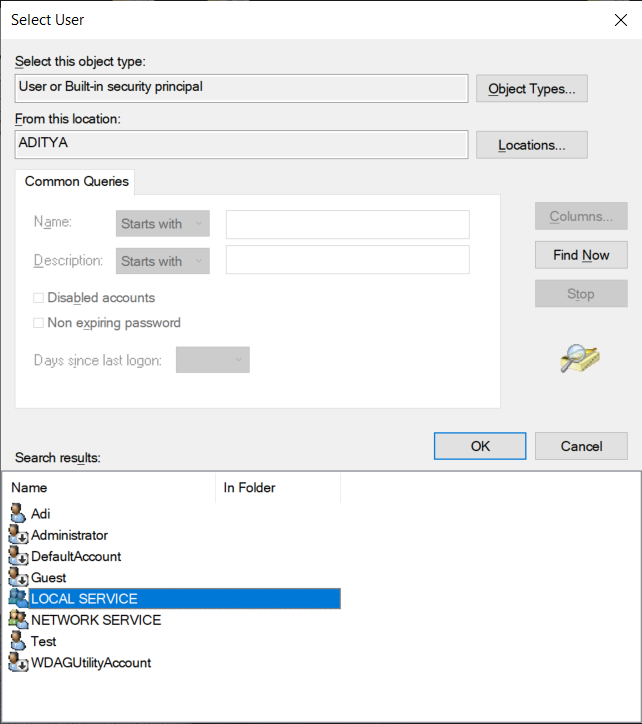
Note: If you do not know the password, you can enter a new password and click OK to save the changes. Or you can click on the Surf then click on the Advanced button. Now click Find now later select LOCAL SERVICE search results and click OK.
6. Click Apply and then OK to save the changes.
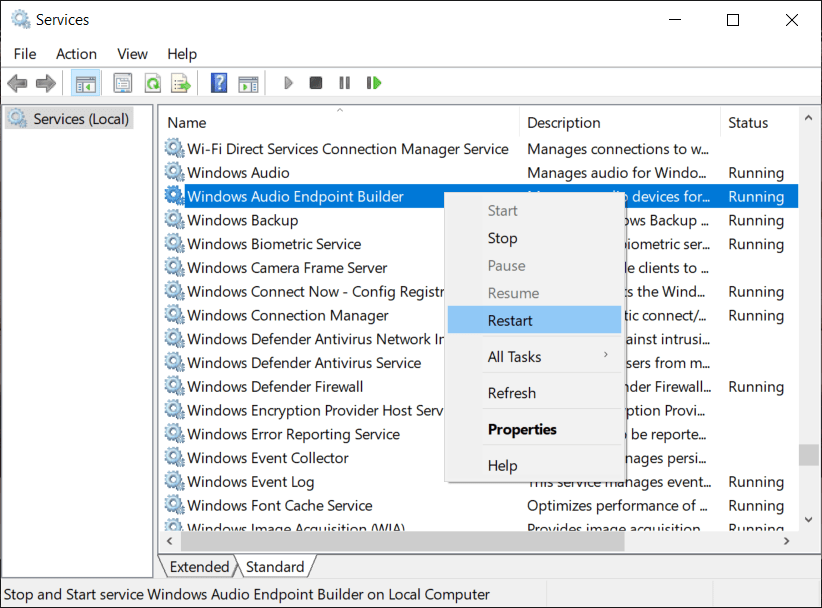
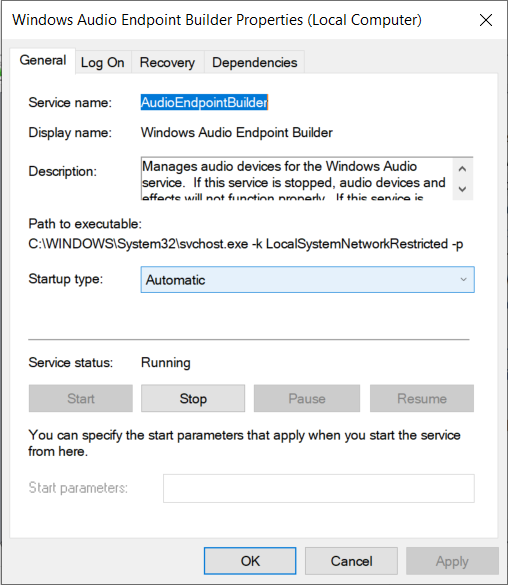
7. If you cannot save your changes, you must first change the settings of another service called Windows Audio Terminal Generator.
8. Right-click Windows Audio Endpoint Builder and select Properties. Now navigate to the "Login" tab.
9. From the «Login» tab select Local System Account.
(*10*)
10. Click Apply followed by OK to save the changes.
11. Now try again to change the Windows audio settings from the «Have accessTab and this time you will be successful.
Method 1: start Windows audio services
1. Press Windows key + R later write services.msc and press Enter to open the Windows services listing.
2. Now locate the following services:
Windows Audio Windows Audio Endpoint Builder Plug and Play

3. Make sure your Start type is defined in Automatic and the services are In a hurryEither way, reset them all one more time.
4. If the startup type is not Automatic, double-click the services and, within the property, configure them in the window Automatic.
Note: You may need to stop the service first by clicking the Stop button to set the service to Automatic. Once this is done, click the Start button to re-enable the service.
5. Press Windows key + R and then type msconfig and click Get Access to open System Settings.

6. Switch to the Services tab and make sure the above services are marked in the system configuration window.
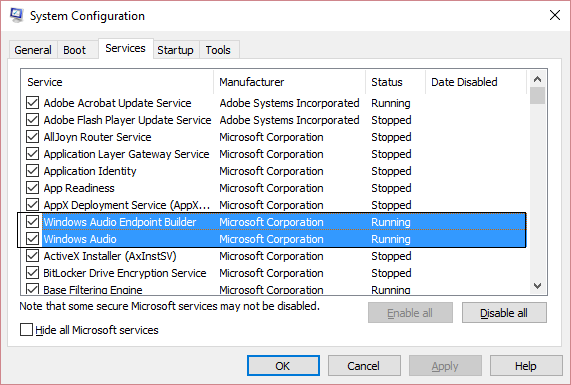
7. Restart your computer to apply these changes.
Method 2: start Windows audio components
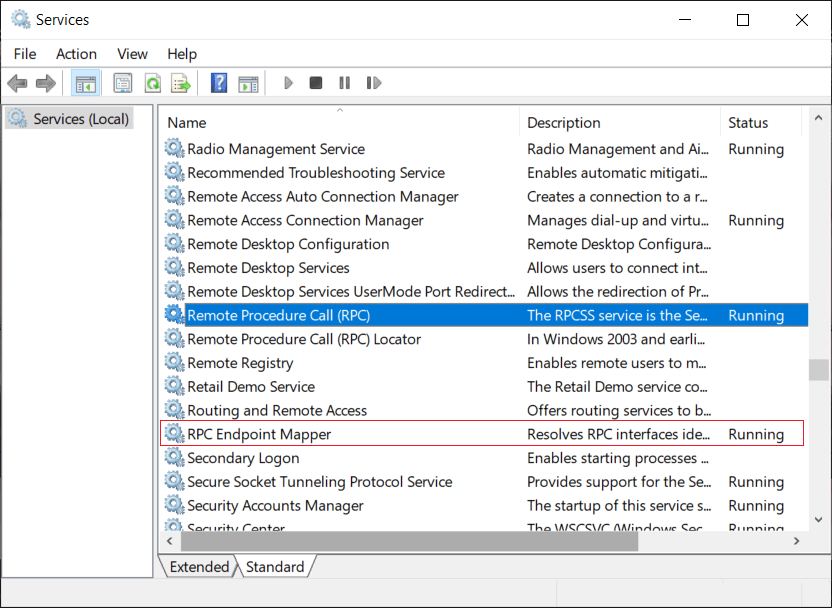
1. Press Windows key + R later write services.msc
2. Locate Windows Audio Service and double click on it to open properties.
3. Switch to Dependencies tab and expand the components listed in «This service depends on the following system components. «

4. Now make sure that all the components listed previously are Started and running in services.msc
5. In conclusion, restart Windows audio services and reboot to apply the changes.
See if you can fix unresponsive audio services on Windows 10 errorIf not, continue with the next method.
Method 3: uninstall the sound drivers
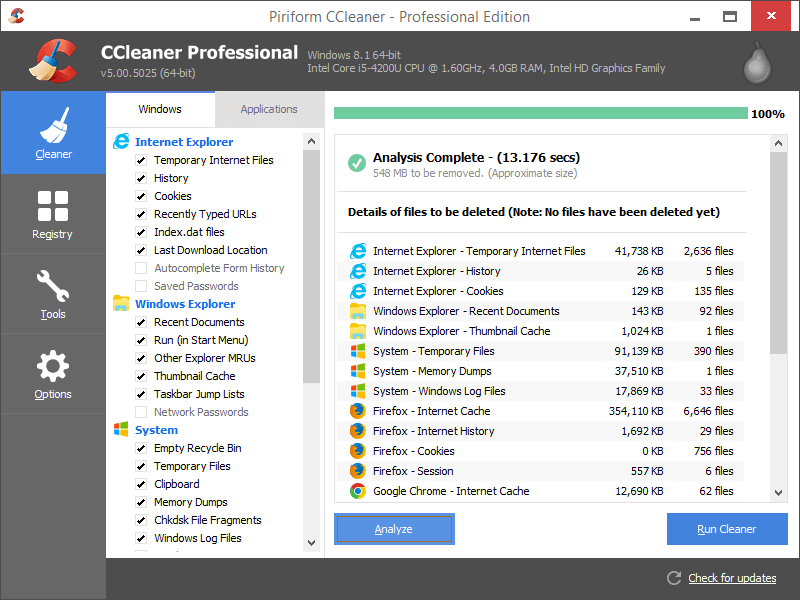
1. Download and install CCleaner.
2. Go to Log window on the left, then find all the problems and let me fix them.
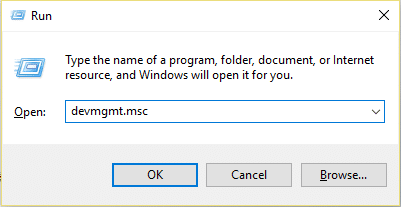
3. Next, press Windows key + R and then type devmgmt.msc and hit enter to open Device administrator.
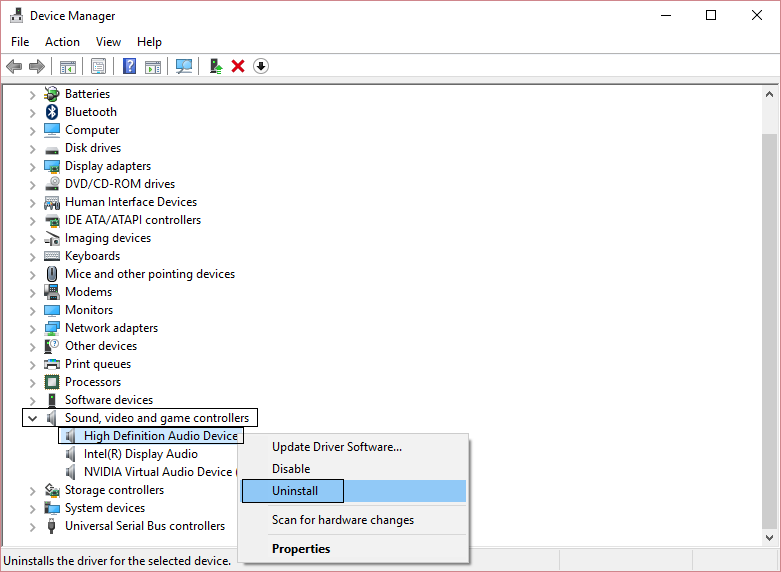
4. Expand Sound, video and game controllers and click on the sound device and then select Uninstall
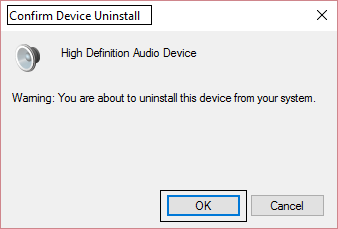
5. Now confirm uninstall clicking OK.
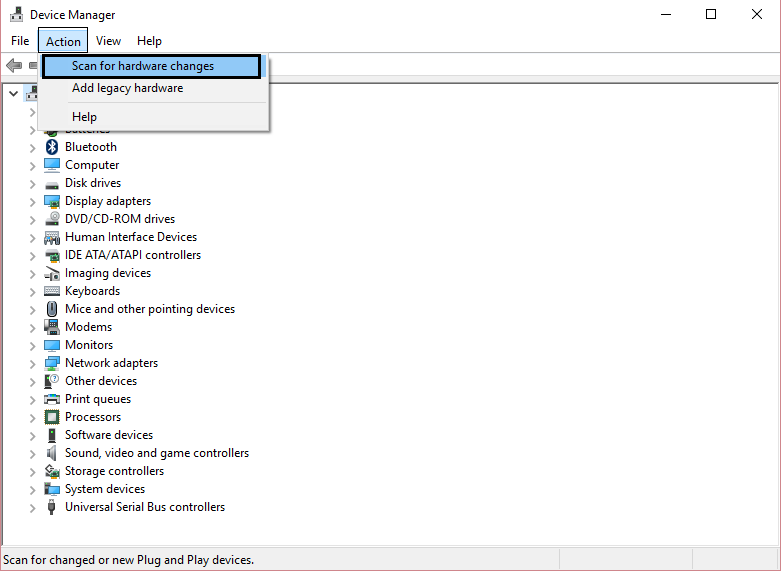
6. In conclusion, in the Device Manager window, go to Action and click on Busque cambios de hardware.
7. Reboot to apply the changes.
Method 4: Restore the Antivirus registry key
1. Open your antivirus and go to virus vault.
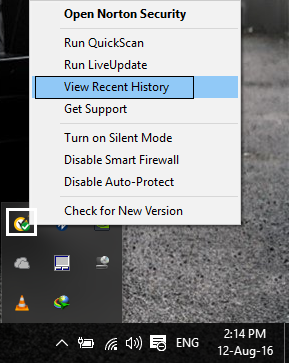
2. From the system tray, right-click on Norton Security and select «View recent history.«
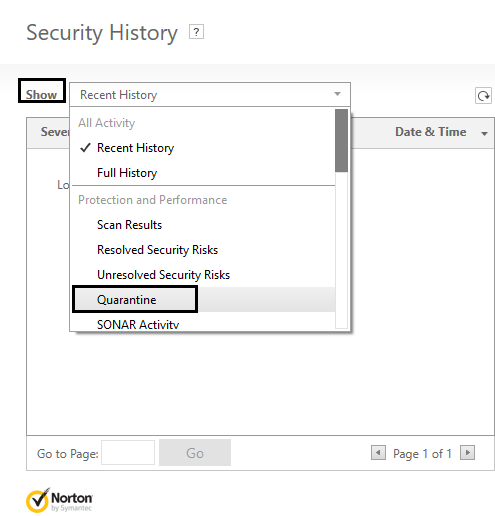
3. Now select «Quarantine”In the drop-down menu Show.
4. Inside the quarantine or virus vault, look for the Audio device or services that are quarantined.
5. Find the registry key: HKEY_LOCAL_MACHINE SYSTEM CURRENTCONTROL and if the registry key ends in:
AUDIOSRV.DLL
AUDIOENDPOINTBUILDER.DLL
6. Restore them and reboot to apply changes.
7. See if you can fix the problem "Audio services are not responding in Windows 10"; otherwise Repeat steps 1 and 2.
Method 5: modify the registry key
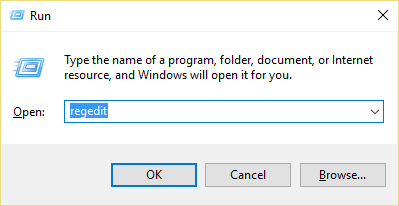
1. Press Windows key + R and then type regedit and hit enter to open Registry editor.
2. Now, within the Registry editor, navigate to the next key:
HKEY_LOCAL_MACHINESYSTEMCurrentControlSetServicesAudioEndPointBuilderParameters
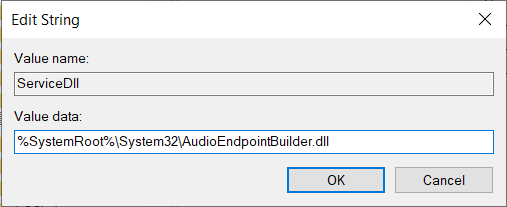
3. Locate ServicDll and if the value is % SystemRoot% System32 Audiosrv.dll, this is the cause of the problem.
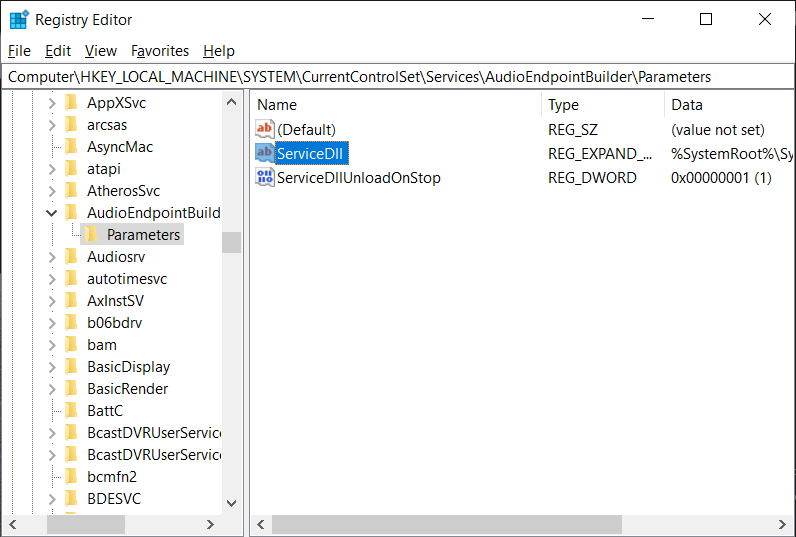
4. Replace the default value in Value data with this:
% SystemRoot% System32 AudioEndPointBuilder.dll
5. Restart your computer to apply the changes.
Method 6: run the audio troubleshooter
1. Press Windows key + I to open Settings then click on Update and security.
![]()
2. In the menu on the left, select Solve problems.
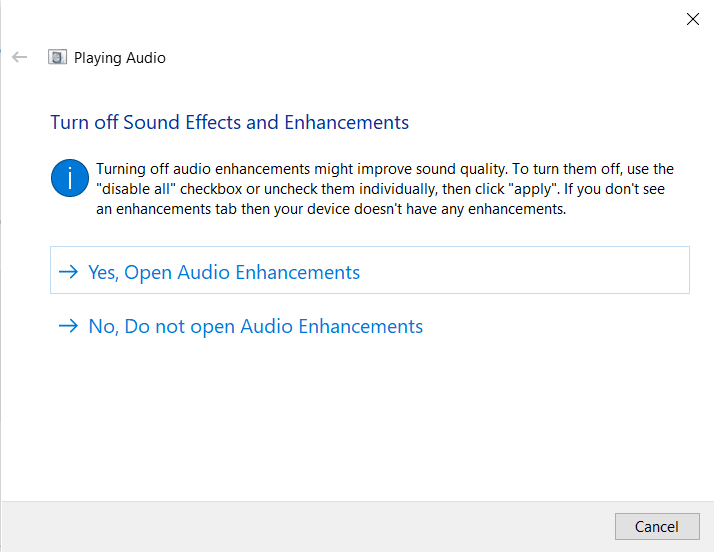
3. Now under the «Get underway«Header click Audio playback.
4. Then click «Run the troubleshooter”In Audio Playback.

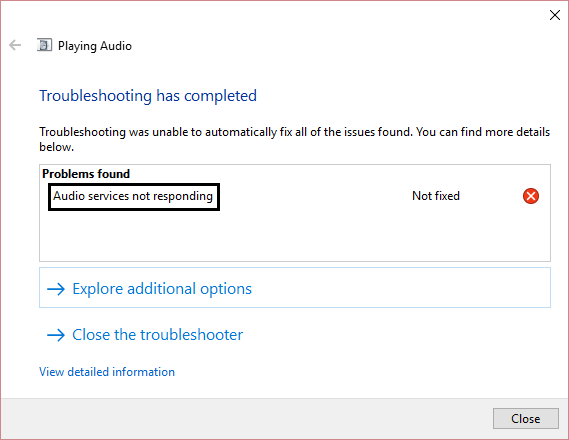
5. Try the troubleshooter's suggestions and if a problem is found, you must give the troubleshooter permission to correct the error Audio services are not responding.
6. The troubleshooter will automatically diagnose the problem and ask you if you want to apply the answer or not.
7. Click Apply this fix and restart to apply changes.
.
If you have followed each and every step according to this guide, you basically solved the problem «Audio services are not respondingBut if you still have any questions regarding this post, feel free to check them out in the comment section.


