
Restaurar TrustedInstaller como propietario de archivos en Windows 10: TrustedInstaller.exe es un servicio de módulos de Windows que forma parte integral de Windows Resource Protection (WRP). Restringe el acceso a determinados archivos del sistema central, carpetas y claves del registro que forman parte de la instalación de Windows. TrustedInstaller es una cuenta de Username incorporada que, de forma predeterminada, tiene todos los permisos necesarios para acceder a los archivos y carpetas de Windows.
What is the job of Windows Resource Protection (WRP)?
WRP protects Windows files with extensions .dll, .exe, .oxc and .sys from being modified or replaced. By default, these file extensions can only be modified or replaced by the Windows Module Installer service which is TrustedInstaller. If you change or customize the default TrustedInstaller settings, you are putting your system at risk.
A veces es necesario cambiar la propiedad del archivo para modificar o reemplazar los archivos de sistema, pero una vez que se ha terminado la personalización no hay opción de devolver el permiso a TrustedInstaller y a veces esto puede llevar a que el sistema be inestable, ya que no puede proteger los archivos centrales del sistema. Por lo tanto, en esta guía le mostraremos cómo restaurar el TrustedInstaller como propietario de archivos en Windows con los pasos que se indican a continuación.
Restore TrustedInstaller as File Owner in Windows 10
Make sure to create a restore point in case something goes wrong.
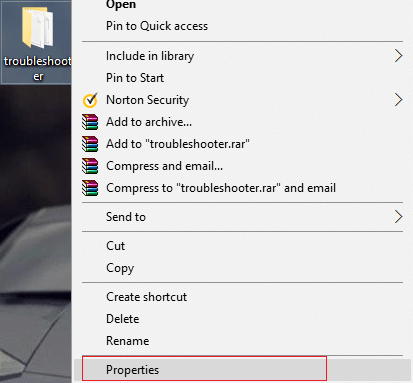
1.Right-click the file, folder, or registry key where you want to restore the property to the default TruestedInstaller, and then click Properties.
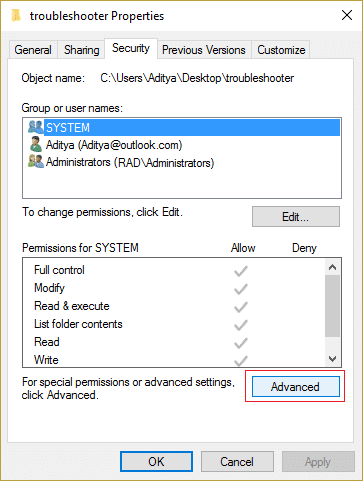
2.Now switch to the security tab and then click on the Advanced button near the bottom.
3.On the Advanced Security Settings page, click Change in the Owner section.
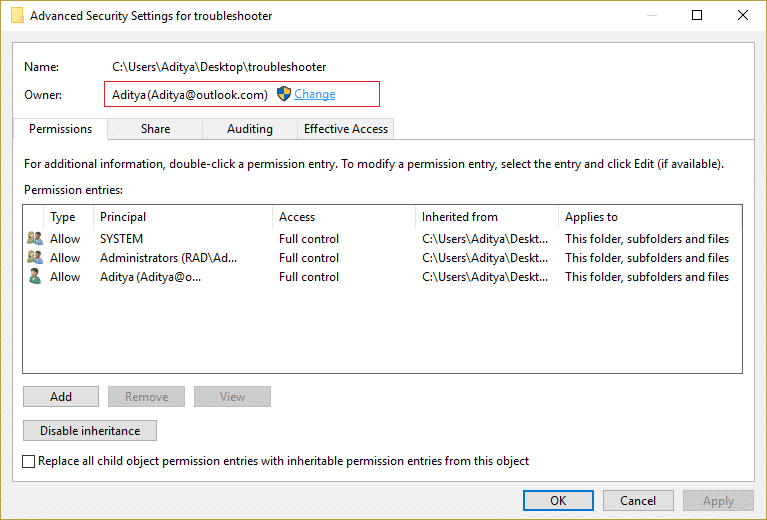
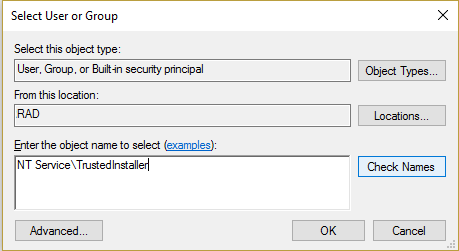
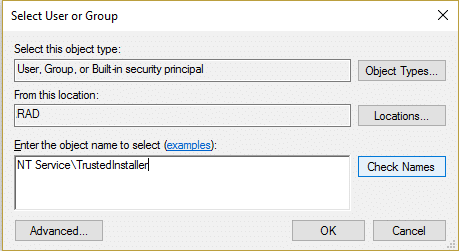
4.Then type "NT ServiceTrustedInstaller" (without quotes) under Enter the name of the object to select and click Check Names and then OK.

5. Make sure to check "Replace owner on subcontainers and objects" under Owner and re-check "Replace all minor object permission entries with inheritance permission entries for this object" at the bottom.
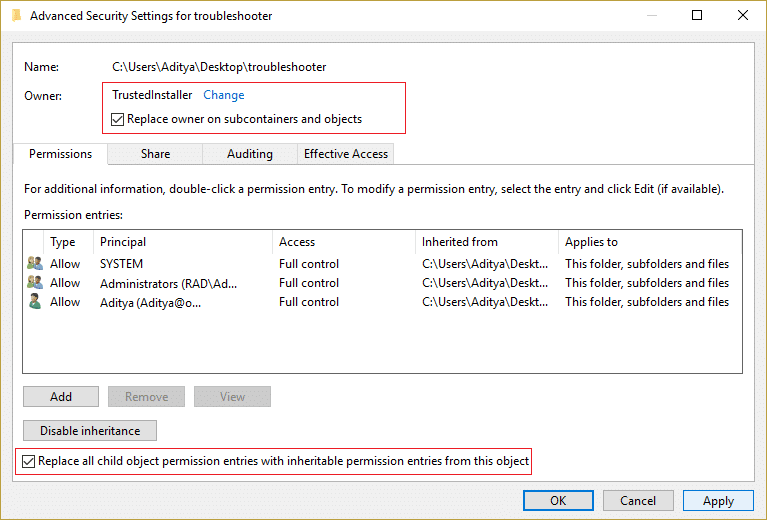
6. Click Apply and then OK.
Now, if you have granted full control of your user account, you must also remove these settings, you just have to follow the following steps to do so:
1. Again, right-click the same file, folder, or registry key and select Properties.
2.Switch to the Security tab and click the Advanced button near the bottom.
3.Now, on the Advanced Security Settings page, select (highlight) your account from the list of permission entries.
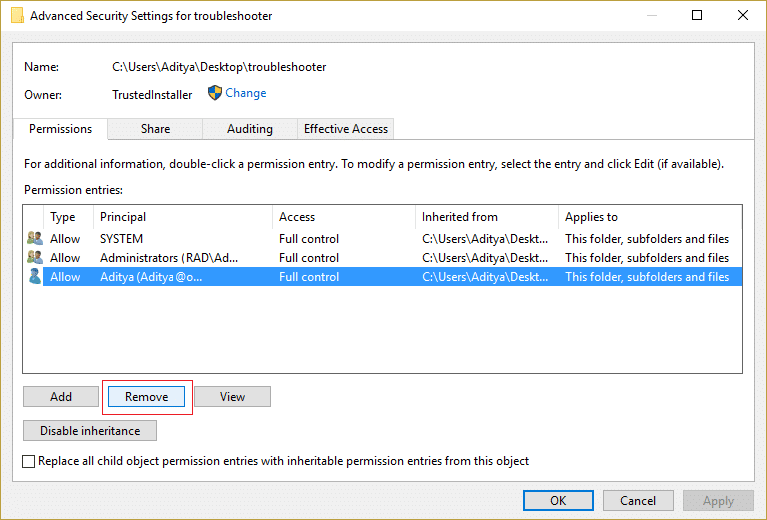
4. Click Remove and then Apply and then OK.
Recommended for you:
- Fix Windows 10 brightness settings not working
- Cómo corregir Internet Explorer no puede mostrar el error de la página Web
- 5 ways to fix Windows has detected an IP address conflict
- Fix Windows Store Error Code 0x8000ffff
That's all you have successfully learned How to Restore TrustedInstaller as File Owner in Windows 10. If you still have any questions regarding this post, feel free to ask in the comment section.


