Ya sabes que nos gusta que estés al día de las últimas tendencias, es por esto que cada cierto tiempo dedicamos un post a explicarte técnicas y trucos de fotografía dispositivo móvil, dado que es este tipo de fotografía de la que Instagram se basa principalmente.
This time we want to clarify how to get a double exposure effect on your instagram photos through the use of a simple application.
The double exposure effect gives the photos a more abstract and personal character and consists of merging 2 photos into one.
Even though it may seem complicated at first glance, today there are different applications with which anyone can obtain this effect on their photos directly from their mobile device.
Apply the double exposure effect on your Instagram photos with BlendPic
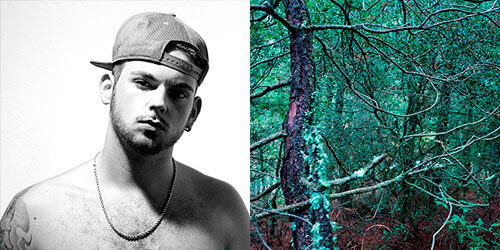
As we have talked about before, what we want is to make a fusion between two photographs. Typically, a portrait photograph and a landscape photo or texture are used so that the portrait takes on the texture of that landscape.
It is very important that the main photo (the portrait in this case) has a soft and highly contrasted background so that the double exposure only affects the area where the main figure is.
Next we will show you how to get this effect on your photos thanks to the help of a free application called BlendPic (Android Y ios). You just have to follow these simple steps:
- In case you don't have it yet, download and install the app BlendPic. It's only meant for double exposures, so it's very easy and intuitive. Ideally, this application is completely free and is available for Android and iOS.
- Think about which two photos you are going to merge, remember that the main photo must have a high contrast between the background and the main figure. In our case we are going to use a portrait with a white background and a photograph of nature.
 <>
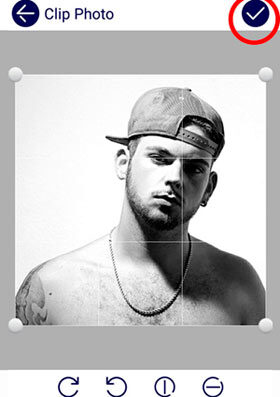
<> - Open the app and press the red button to open the gallery in case you have already taken the photo with your mobile device before. Once inside the gallery, choose the photo that you are going to use as the main image.
- On the next screen, the app gives you the ability to rotate and flip your photo. Once you've decided how you want it, tap the checkmark in the top right corner to continue.
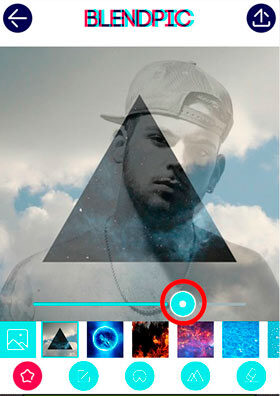
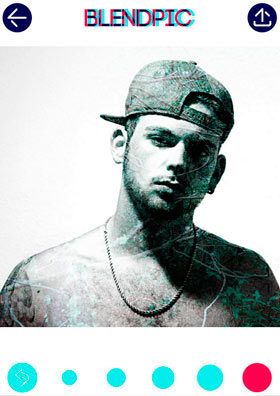
- We are now in the edit window where we have 5 buttons on the bottom bar. Pressing the first button (star-shaped) we access the image selection menu. We can select between one of the images offered by the application or one from our gallery. In our case we are going to take one from our gallery.
- Once we have the second imported photo, we choose its opacity level with the bar that appears on the screen.
- Para completar la doble exposición pasamos al cuarto botón (con los triángulos). En este menú tenemos una serie de filters que dan el toque final a nuestra composición.
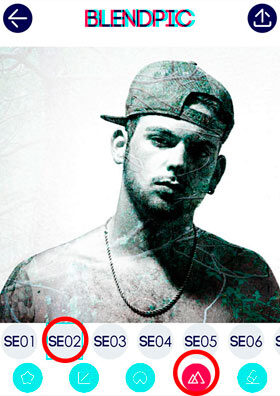
- If we want to perfect our double exposure we can use the eraser to erase the parts that we don't like from the image that we have superimposed, and thus obtain a cleaner background.
- To finish, BlendPic shows us the final result and allows us to share our photo directly on Instagram or save it on your device.
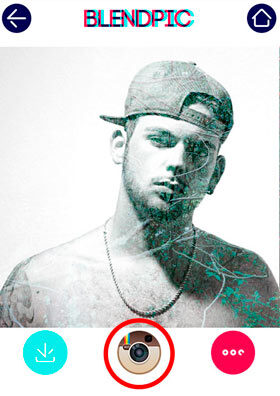
As you can see, we have achieved a more than acceptable composition, if we take into account that it did not take us more than 5 minutes to do it and that it is done with a mobile device application. Thanks to this technique we can take our photos to a more artistic level and transform the scenes thanks to our creativity and a mobile device.
We hope that thanks to this small tutorial it has become clear to you how to get the double exposure effect on your instagram photos.


