RECOMMENDED: Click here to fix Windows errors and get the most out of your system performance
This is a known roadblock with 1803, it happened with the new update that the new drive is discovered and starts getting low space notifications. You can do the following to hide it and it won't do any damage anywhere.

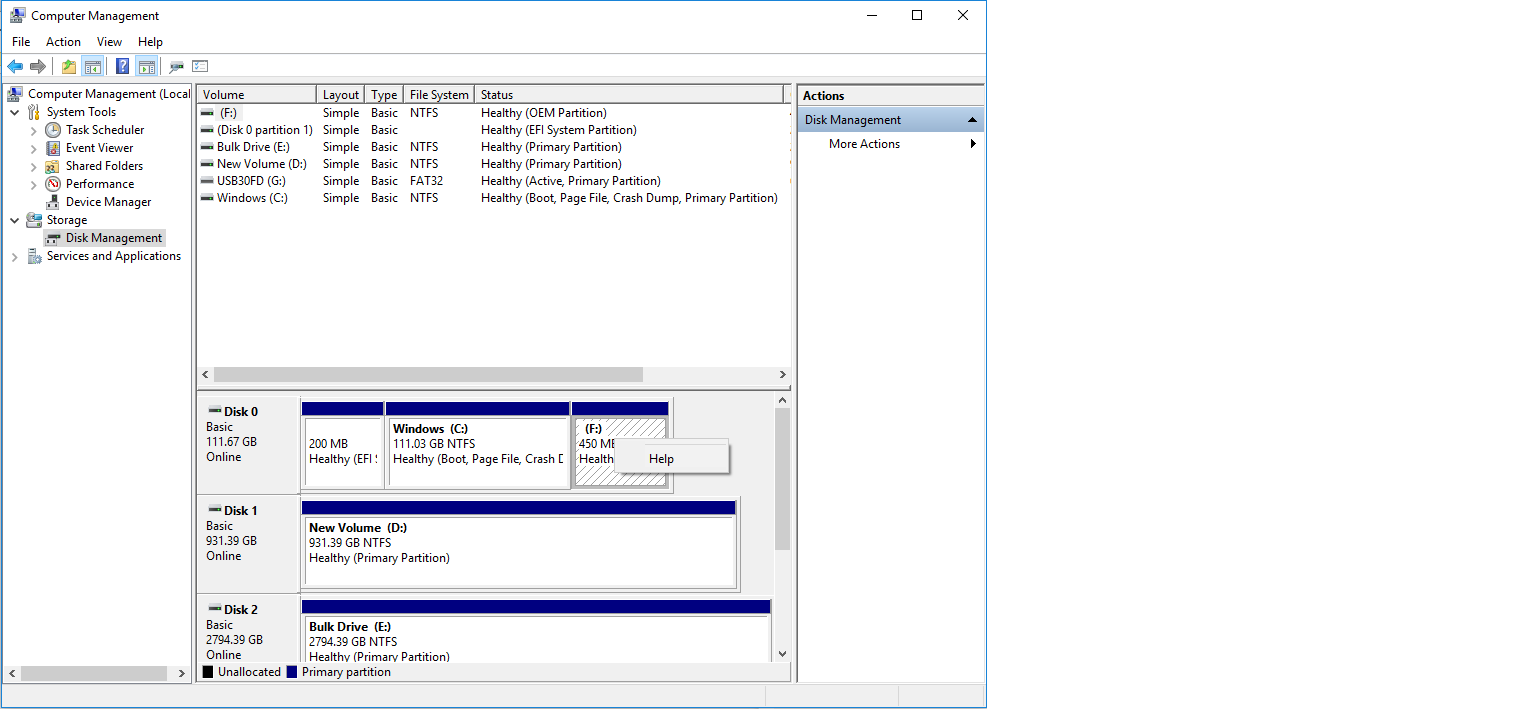
Microsoft is aware that previously hidden partitions were incorrectly assigned drive letters after the April 2018 Update was installed. As a result, they now appear in Disk Management and File Explorer. These partitions are usually recovery partitions used by the Windows recovery environment or by the original manufacturer. It is not recommended to erase or reformat these partitions, as this may affect your ability to restore Windows. Microsoft is currently working on fixing this issue in a future Windows update and we will update this source as soon as a fix is available.
Cómo arreglar problemas de hardware y periféricos para solucionar el problema del disco duro que falta
1. Press “Windows + R” buttons.
2. Type “control” and press Enter to open the control panel.
3. Enter “troubleshooting” in the control panel search field and open it.
4. Click “Show All” in the left panel.
5. Troubleshoot equipment and peripherals and follow the on-screen instructions.
Delete unwanted files
A simple way to free up disk space is to delete all temporary files:
- Select Start > Settings > Control Panel. On the Control Panel screen, select Internet. A dialog box with several tabs for Internet alternatives appears.
- Click on the General tab. In the Temporary Files group box, select Clear all temporary Internet files, and then click Apply. Click Close to close the Internet Options box, then close the window
- Control Panel.
- Go to Home > Find > Lists > Folder. Type *.TMP in the Name box, then click Find Now. Delete each of the found files by right-clicking on the file and choosing Delete from the menu.
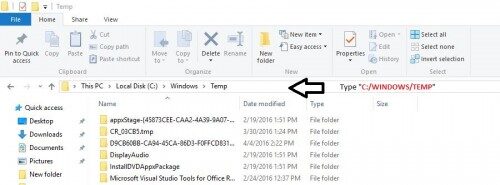
- Select My Computer, scroll down to your local hard drive (usually C drive) and open it. Open the Windows folder. (You may need to check the Show all files box.) Open the Temp folder and delete all the unwanted files.
- Explore su disco duro y elimine todas las carpetas que ya no requiere. Asegúrese de desinstalar una aplicación del Panel de control de Windows antes de borrar el contents de las carpetas del programa.
Manually delete assigned drive letter of partition
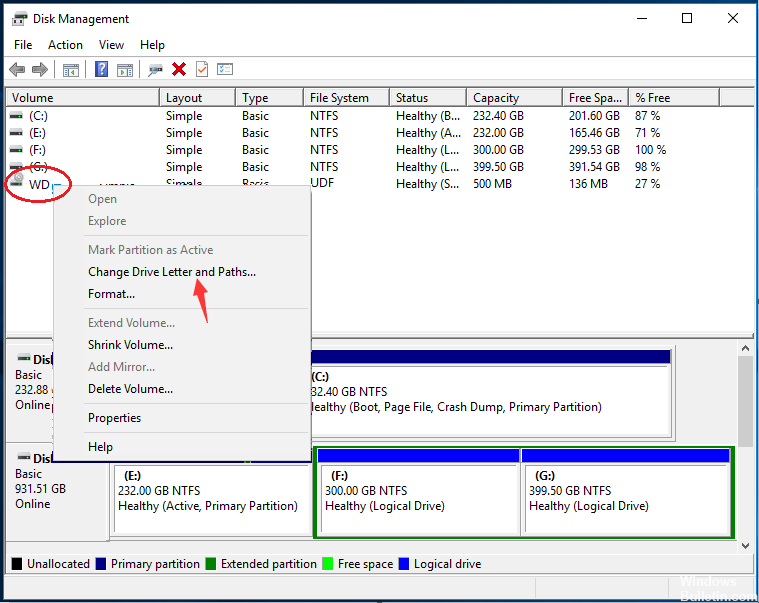
- Select the Start button, type cmd, then right-click Command Prompt in the search results, then select Run as administrator.
- In Administrator: Command Prompt, type diskpart and click Sign In.
- Enter the volume of the list and press Enter. Make a note of the volume number of the drive letter you want to erase. As an example, if the drive letter you want to erase is "E", make a note of the volume number of drive E.
- Type the following command and click Sign in.
- Select volume >>.
- If you enter this command, replace it with the volume number you noted in step 4. In the example above, if the disk volume number is E 5, you would type: Select Volume 5.
- Enter the following command and hit Enter.
- Delete letter = (Delete letter =)
- If you enter this command, replace it with the letter of the reader you want to delete. In this example, you can type: delete letter = E
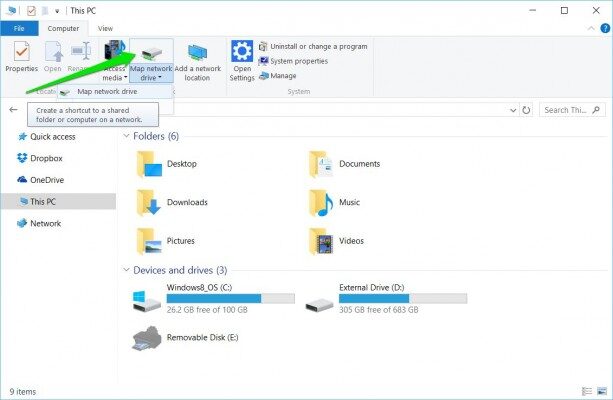
Checking network drives
Otra razón por la que puede ver otra unidad en su computadora es que está asignada desde la red a su computadora. Si está usando el acceso a la red desde otra computadora, sus archivos están presentes en su computadora, pero en Ubicación de red. En esta solución, navegamos a «Mi computadora» y eliminamos absolutamente la unidad posteriormente de verificar que be una ubicación de red.
Checking for the presence of external or rogue drives
If the above two methods do not work or are not applicable in your case, it probably means that an external/unwanted drive was on your computer and is showing up. If it is an external drive, you can easily verify that it is connected to your computer. Check all ports.
Si puede entrar al contenido del reproductor y no estaba allí antes y además utiliza una ordenador, asegúrese de no tener un reproductor deshonesto en su computadora. Verifique todos sus puertos SATA y asegúrese de que no dispone de una unidad que cree que no estaba, pero sí. Si verdaderamente hubo una conducta deshonesta / externa, siéntese y disfrútelo. Esperemos que al final de este post haya resuelto el problema discutido.
RECOMMENDED: Click here to fix Windows errors and get the most out of your system performance