Let's take a step-by-step approach to connecting Power BI to SQL Server database. In addition to this Connect Power BI to SQL Server, how to use SQL queries with the data present in SQL tables with an example
Step-by-step approach to connecting Power BI to SQL Server
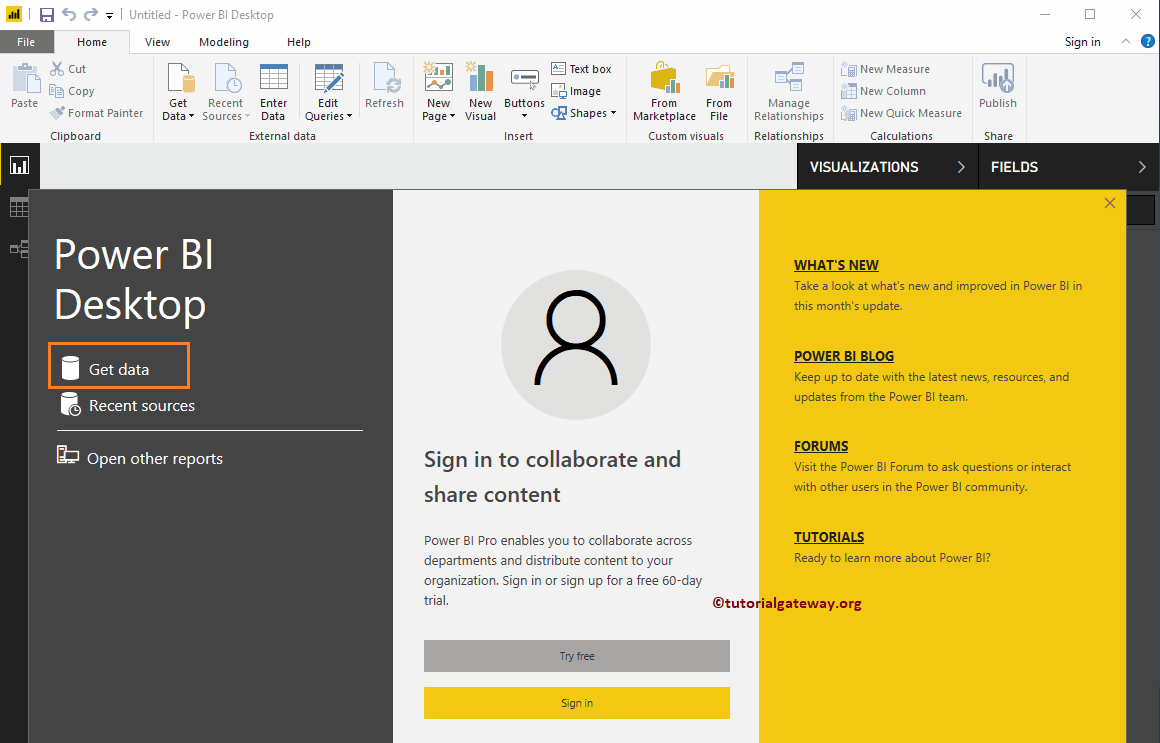
If you haven't started Power BI Desktop yet, double-click Power BI Desktop to open it. Once it's open, it looks like the following screenshot. Click on the Get information Hyperlink
 <>
<>If you are on the Power BI visualization page, on the Home tab, click the Get information option and select the Server SQL, as we show below. Or select More options.
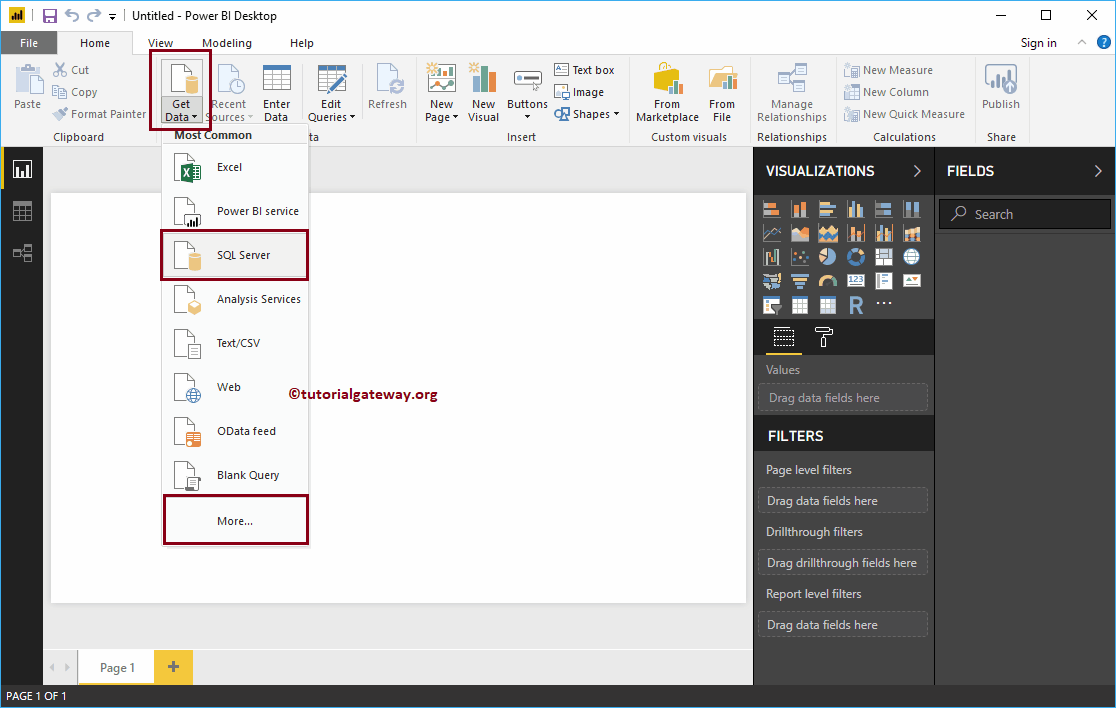
We are selecting More options to show you the following window. Use this window to select the desired data source. Here, we are talking about how to connect Power BI to SQL Server. So, let me select the SQL Server database Option.

Connect Power BI to SQL Server
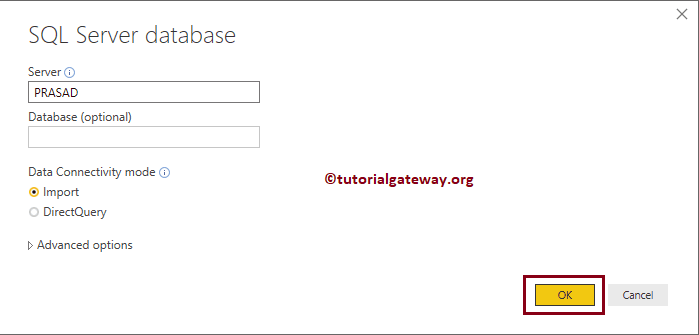
The following is the list of fields available to fill in to connect Power BI to the SQL Server database
- Server: Provide the name of the SQL Server instance. If you installed SQL with the default instance, the instance name is the computer name or localhost.
- Database: This is optional. If you want to use a custom SQL query, it is required.
- Data connectivity mode: Select whether you want to import or query directly.
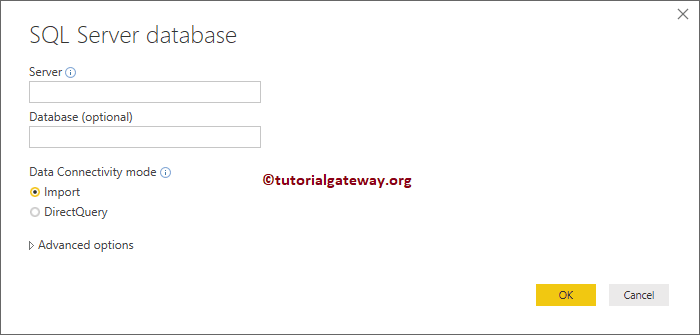
Clicking the Advanced option displays the advanced properties.

You can write your own SQL query to extract data from the specified database. To do this, write your query inside the SQL Statement box
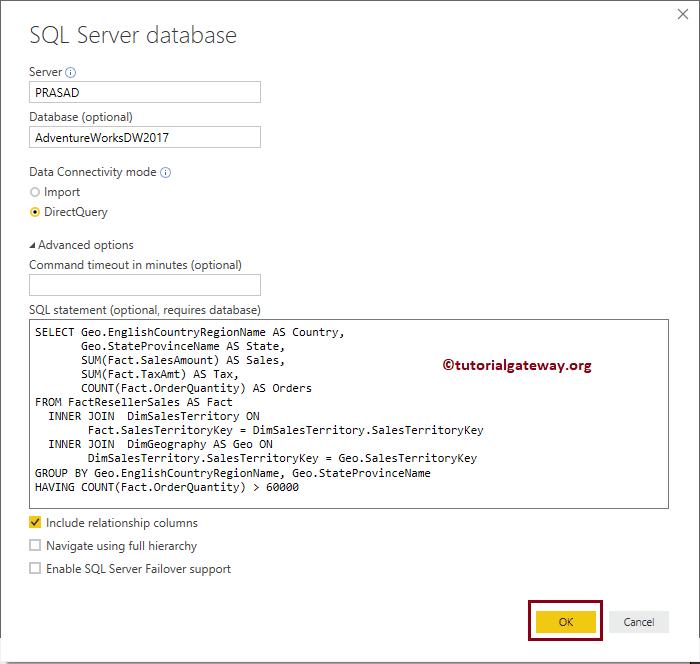
The custom query we use in the Connect Power BI to SQL Server screenshot above is:
- Connecting Power BI to SQL Server SELECT Geo.EnglishCountryRegionName AS Country, Geo.StateProvinceName AS State, SUM (Fact.SalesAmount) AS Sales, SUM (Fact.TaxAmt) AS Tax, COUNT (Fact.OrderQuantity) AS Orders FROM FactResellerSales AS Fact INNER JOIN DimSalesTerritory ON Fact.SalesTerritoryKey = DimSalesTerritory.SalesTerritoryKey INNER JOIN DimGeography AS Geo ON DimSalesTerritory.SalesTerritoryKey = Geo.SalesTerritoryKey GROUP BY Geo.EnglishCountryRegionName, Geo.StateProvinceName HAVING COUNT (Fact.Order00Quantity) 600
If you want to use this data, click Upload. For now, let me click the cancel button because I want to select multiple tables.
NOTE: Don't worry over the query, just understand the procedure. However, if you want to learn, check out our SQL Server Tutorial
Let me use the local instance and click OK
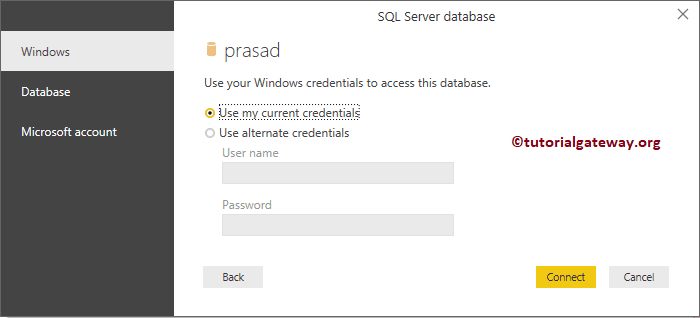
For now, we are using the current local Windows credentials. If you do not have permission to access SQL Server, use someone else's Windows credential by selecting Use alternate credentials.
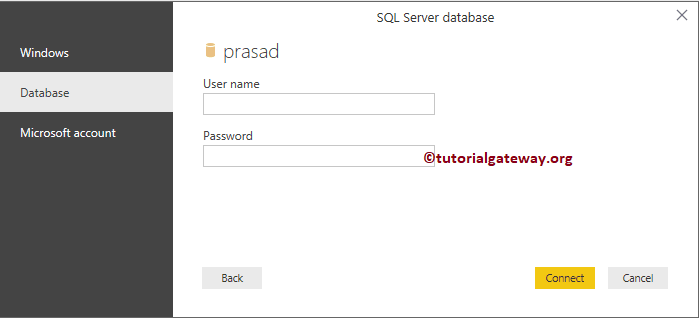
En tiempo real, solo usamos las credenciales de la base de datos de SQL Server. Para esto, seleccione la base de datos e ingrese el nombre de Username y contraseña proporcionados por la persona Admin.
For now, I am using current Windows credentials.
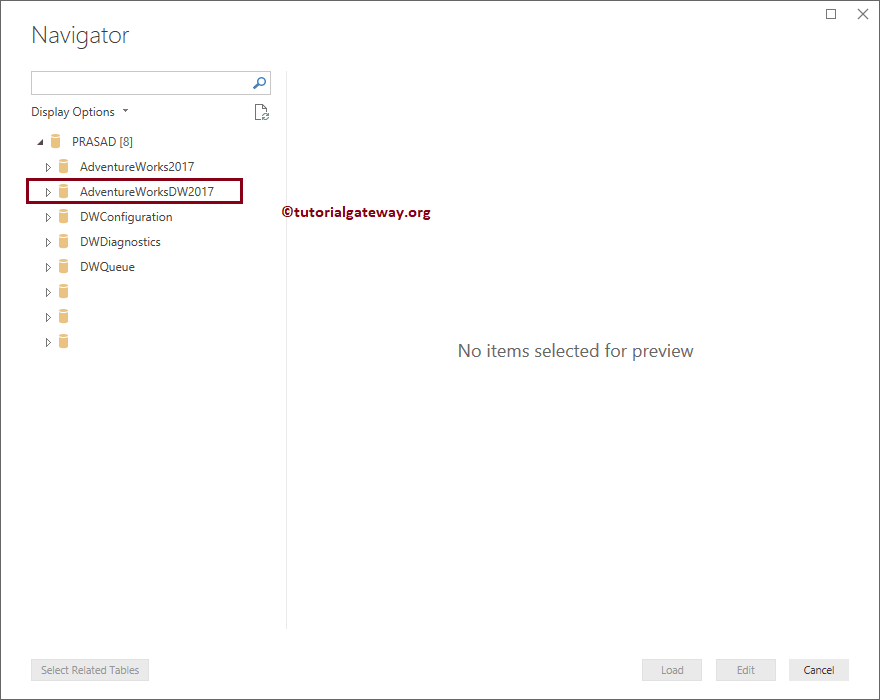
In the display options, it lists the databases that are available for that instance. In this example, we are selecting the AdventureWorksDW2017 database.
You can download this database from Microsoft's Official Download Center or GitHub for free.
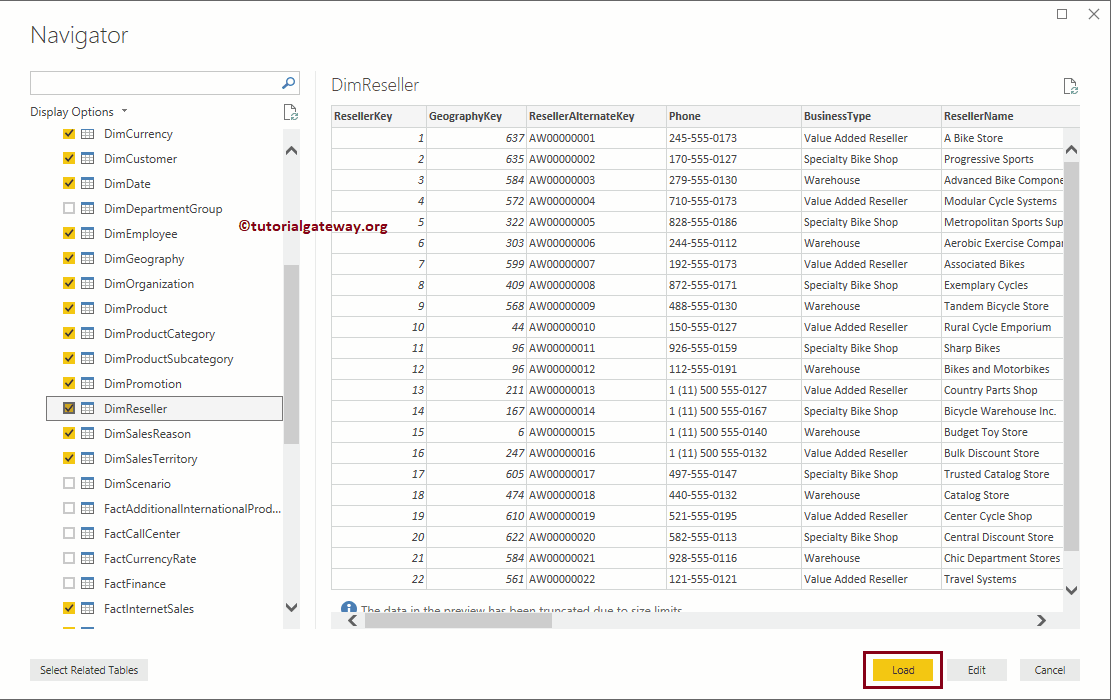
Expanding the Database folder displays the available tables and views. When you select the table, the Data Preview is displayed.
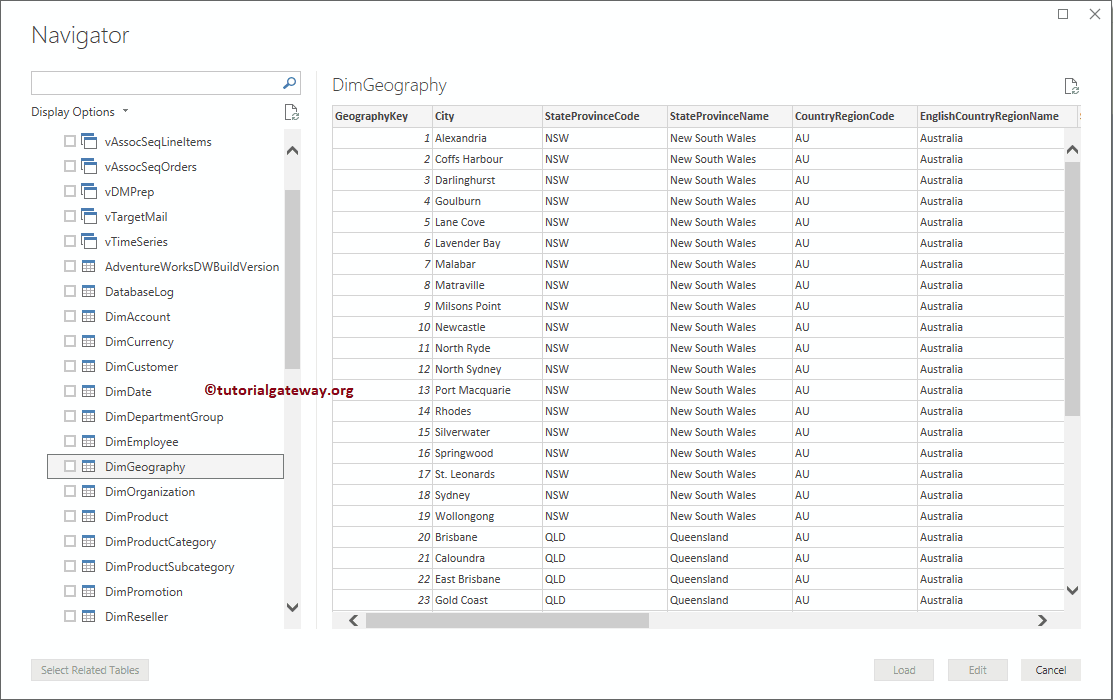
In the following screenshot, you can see that we are selecting the required tables. Remember, if you are confused to select tables, select a table of Measures (Orders or Sales) and click Select related tables button.
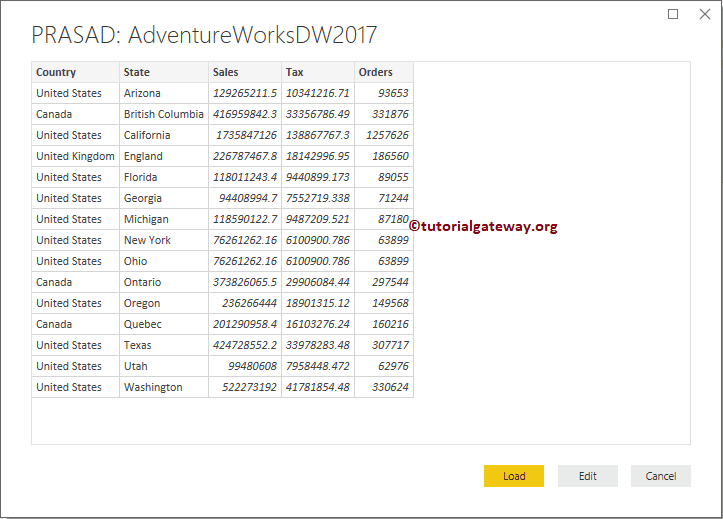
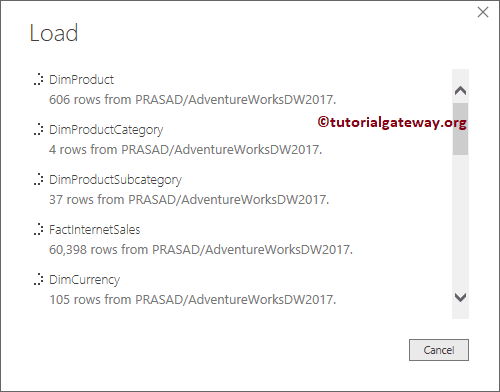
- Load: This will load data from the selected tables into Power BI. Since I know the data is clean, let me click the Upload button
- Edit: Click this button to modify the columns or clean the data

Please wait until the upload is complete
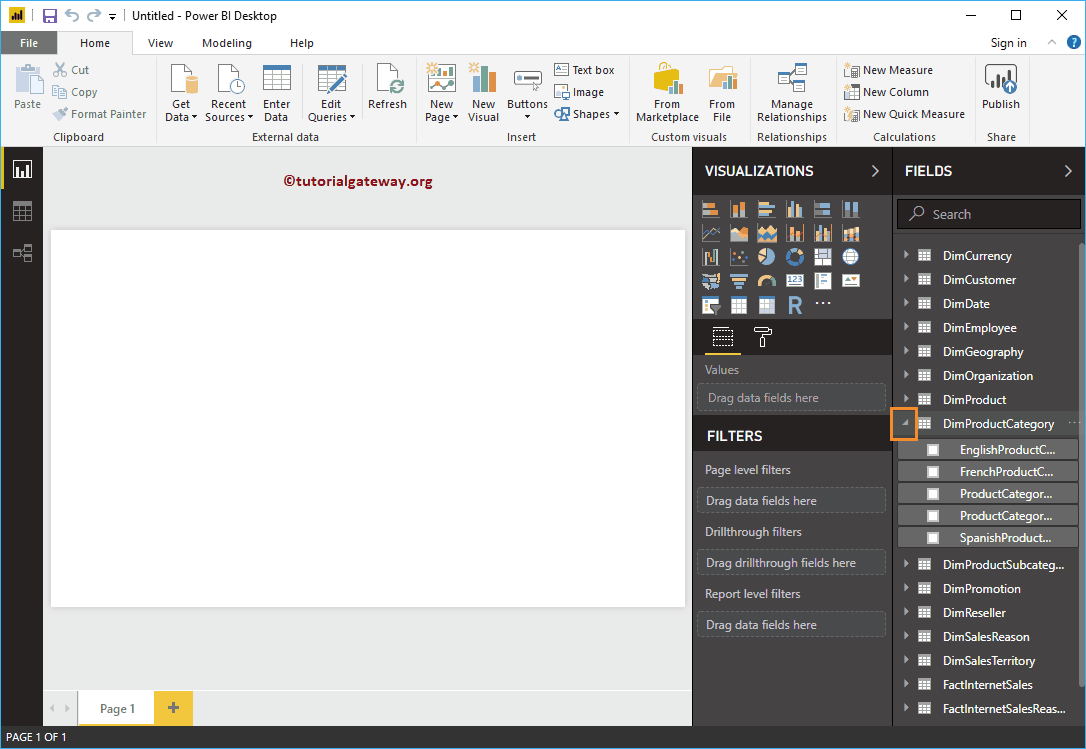
Now you can see the tables we selected from the SQL Server database in the Fields section.
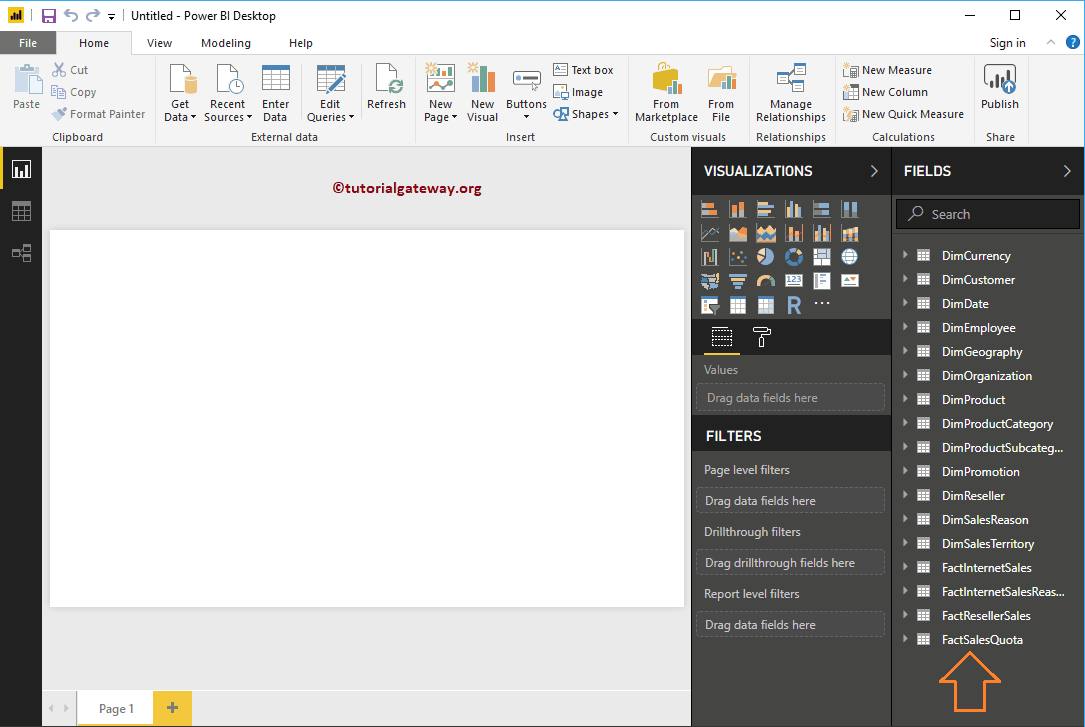
Expand any table to see the columns (fields) within that table.
TIP: This is the dataset that we will use for most of the Power BI tutorial.