
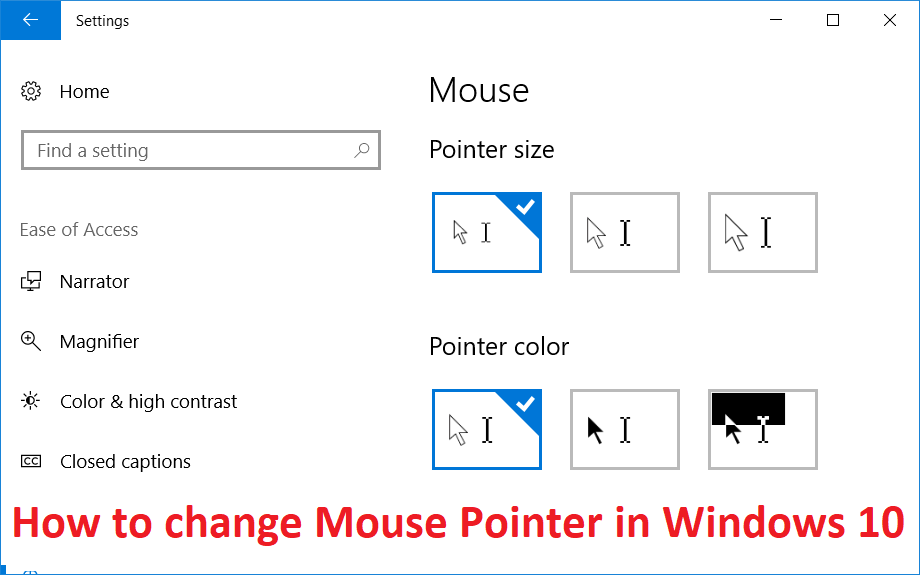
How to change the mouse pointer in Windows 10: A mouse pointer or cursor is a symbol or graphic image on the PC screen that represents the movement of the pointing device, such as the mouse or touchpad. Basically, the mouse pointer allows users to easily navigate Windows with the help of a mouse or a trackpad. Now the pointer is essential for all PC users and it also has some customization options like shape, size or color.

With the introduction of Windows 10, you can easily change the pointer scheme using settings. Also, if you don't want to use a predefined pointer scheme, you can use your own preferred pointer. So without wasting any time let's see how to change the mouse pointer in Windows 10 with the help of the troubleshooting guide below.
How to change the mouse pointer in Windows 10
Make sure to create a restore point in case something goes wrong.
Method 1: Change Mouse Pointer Size and Color Using Windows 10 Settings
Note: The setup application has only basic customization for the mouse pointer.
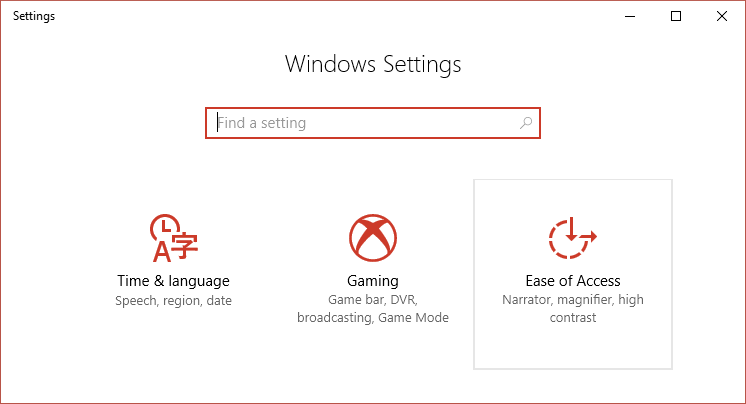
1.Press Windows key + I to open Settings, and then click Ease of Access.
2. In the left menu, click Mouse.
3.Now, in the window on the right side, select the appropriate size of the Pointer which has three attributes: standard, large and extra large.
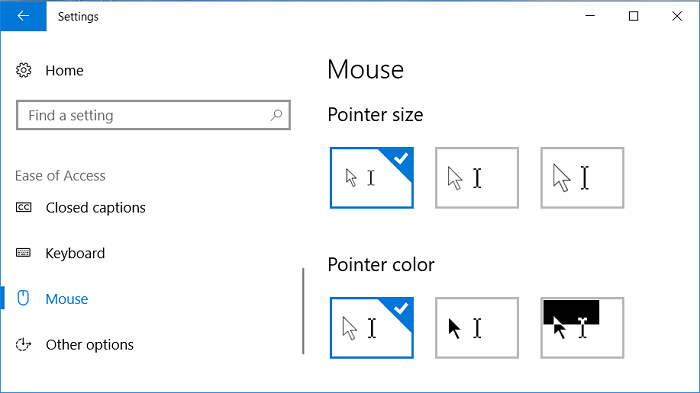
4. Next, below the pointer size, you will see the color of the pointer. Choose the appropriate Pointer color that also has these three attributes: white, black, and high contrast.
5.Restart your PC to save the changes.
Method 2: Change mouse pointers through mouse properties
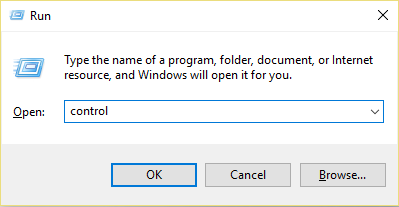
1.Press Windows key + S to open search, then type control and click Control Panel.
2.A continuación, haz clic en Hardware y Sonido y luego en Ratón en Dispositivos e Impresoras.

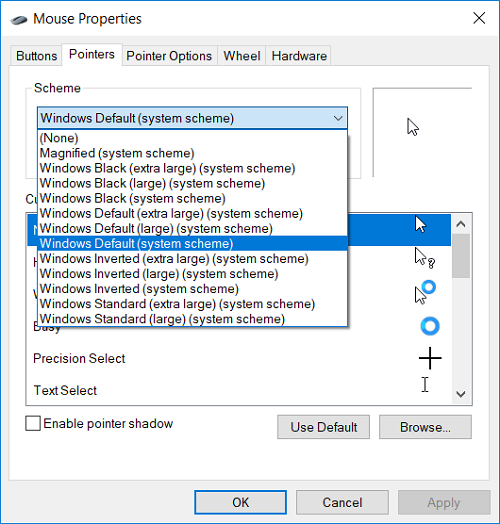
3.In the Mouse Properties window, switch to the Pointers tab.
4.Now in the Outline drop-down, select any of the installed cursor themes.
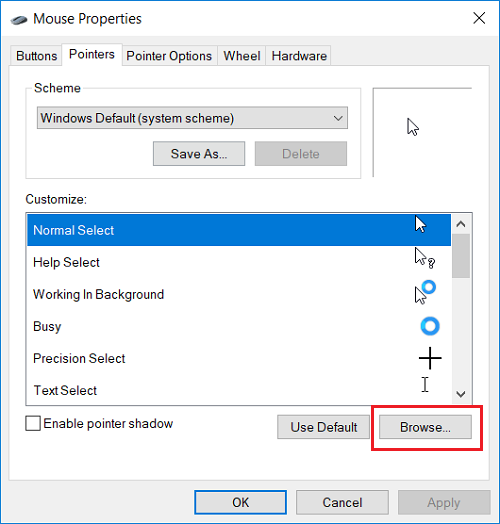
5.In the Pointer tab, you will find Customize, with which you can customize individual cursors.
6.So select the desired cursor from the list, for example "Normal Selection" and then click Browse.
7.Choose the cursor according to your preferences from the list and then click Open.
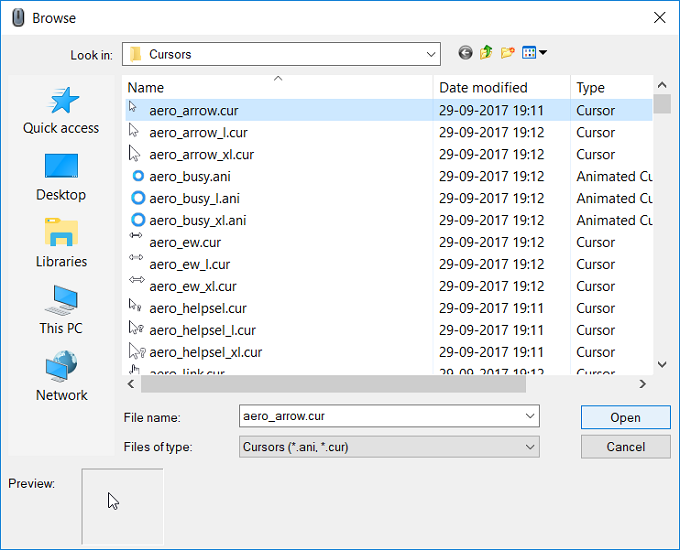
Note: You can choose an animated cursor (* .ani file) or a static cursor image (* .cur file).
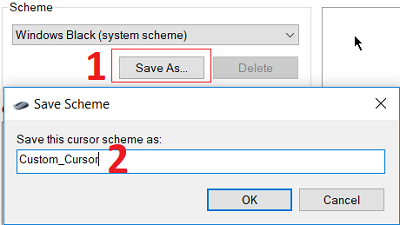
8.Once you are done with your changes, you could save this cursor scheme for future use. Just click the Save As button below the Scheme drop-down.
9. Name the schema something like custom_cursor (just an example, you can name the schema anything) and click OK.
10. Click Apply and then OK.
11.Restart your PC to save the changes and you will have learned how to change the mouse pointer in Windows 10.
12. If you need to reset the default value in the future, open the Mouse Properties and click Use Default under the customization settings.
Method 3: Install third-party mouse pointers
1.Download the mouse pointers from a safe and reliable source, as they can be a malicious download.
2. Extract the downloaded pointer files to C: N-WindowsPointers or C: N-WindowsCursors.
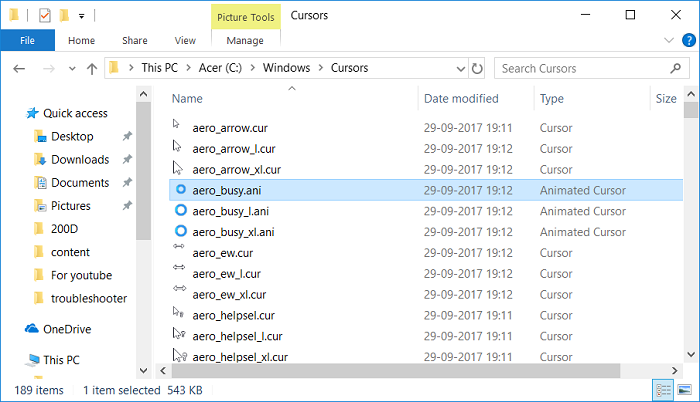
Note: The pointer file will be an animated cursor file (* .ani file) or a static cursor image file (* .cur file).
3.From the above method follow steps 1 to 3 to open the mouse properties.
4.Now in the Pointers tab select the Normal Selection in Customize and then click on Browse.
5.Select your custom pointer from the list and click Open.
6. Click Apply and then OK.
7.Restart your PC to save the changes.
Method 4: Change Mouse Pointers Through Registry
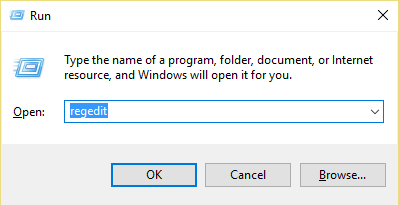
1.Press Windows key + R, then type regedit and press Enter to open Registry Editor.
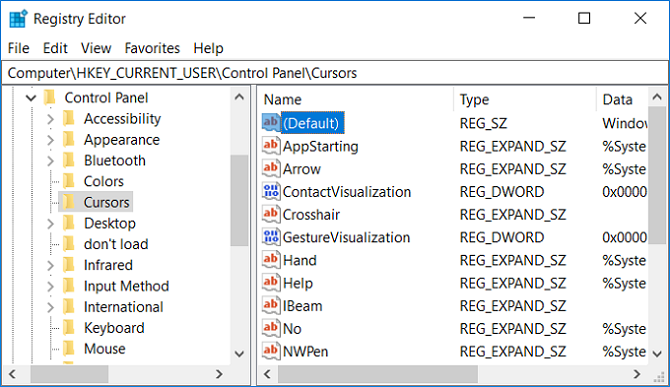
2.Navigate to the following registry key:
HKEY_CURRENT_USERN-Control PanelN-Correctors
3.To select a pointer scheme, make sure to select Cursors and then in the right pane of the window double-click the chain (default).

4.Now change the value in the value data field based on the name of the pointer schemas in the table below:
leave blank for none Magnified Windows Black (extra large) Windows Black (large) Windows Black Windows Default (extra large) Windows Default (large) Windows default Windows inverted (extra large) Windows inverted (large) Windows inverted Windows Standard (extra large) large) Windows Standard (large)
5. Type any name according to the pointer scheme you want to set and click OK.
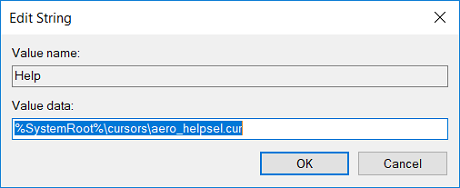
6.To customize individual pointers, modify the following string values:
Arrow - Normal Selection pointer Help - Help pointer Select AppStarting - background pointer Wait - Busy pointer Crosshair - Precision Select IBeam pointer - Text Select NWPen pointer - Handwriting pointer No - Not available pointer SizeNS - pointer to Vertical Resize SizeWE - pointer to Horizontal Resize SizeNWSE - pointer to Diagonal Resize 1 SizeNESW - pointer to Diagonal Resize 2 SizeAll - Move UpArrow pointer - Hand Alternate Selection pointer - Link Select pointer
7.Double-click any of the above expandable strings and then type the full path of the .ani or .cur file that you want to use for the pointer and click OK.
8.Close Registry Editor and restart your PC.
That's all you have successfully learned How to change the mouse pointer in Windows 10, but if you still have any questions regarding this post, feel free to ask in the comment section.


