

<>

Fonts are used to provide our work done in any program for differentiate those most common fonts and to which we are used. Apart from the fact that every little bit they tend to update and launch new editions of those fonts to which we have become accustomed over time.
Windows viene con una amplia variedad de fuentes de todos los estilos, pero puede suceder que no podamos hallar la especial para ese trabajo o para ese Blog en el que estamos trabajando. En Windows 10, la realidad es que es quite simple to install any type of font, that is why we are going to make this short guide for the installation of any type of font in this edition of the operating system that will soon be updated with the Windows Anniversary update.
How to install fonts in Windows 10
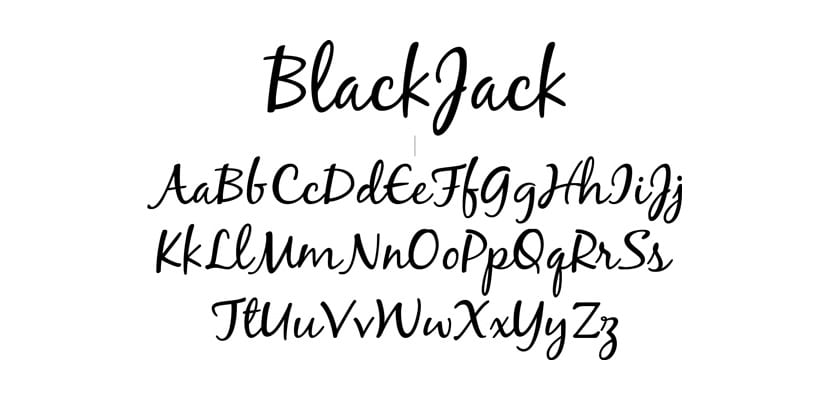
These sources are generally .ttf files que podemos descargar de multitud de sitios de forma gratuita para incrementar el repertorio que tenemos en programas como el propio Adobe Photoshop.
- Downloaded the source that we long to install, we look for the file
- Right-click on the source and click "Install"
- We will have it installed directly without giving up time. The other alternative is to double-click the downloaded file to install it.
To check if the font has been installed, press the Windows + Q then we write in the input field «Sources». In the search results the option "Sources" will appear, which is truly the control panel where we can find all the sources.
(*10*)
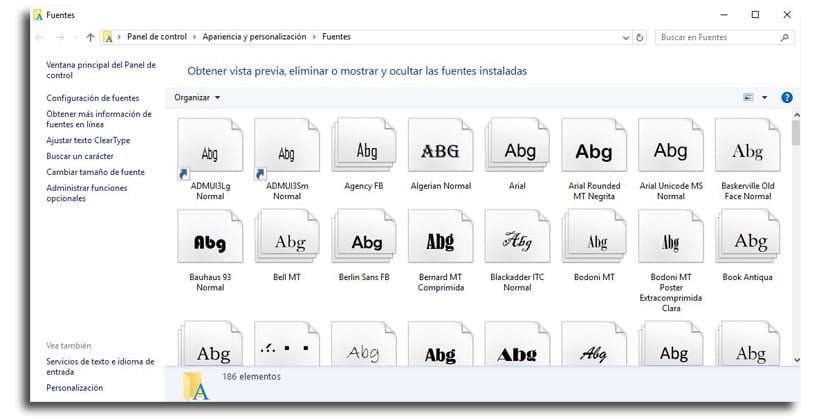
If you have a large pile of fonts installed and you don't want to waste time searching for them, you can use the search in the upper right "Search in sources". The verification is now done, you can continue to use the programs you require to use that font installed in Windows 10.


