

How many times have we wanted to make a screenshot in Windows y hemos podido hacerlo? Inclusive, a veces, no tenemos idea de cómo hacerlo o qué teclas utilizar para esto. De esta manera, en este post from Applications and technology some clues on the subject.
The screenshots in Windows they help in any circumstance. At the same time, they can be done from any mobile device.
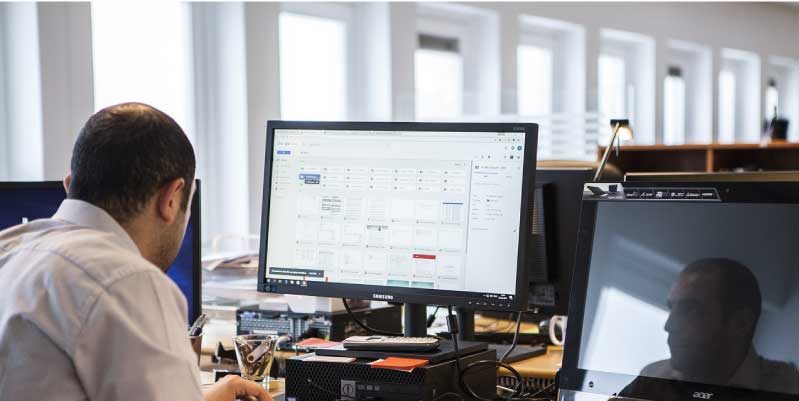
The famous screenshots they are also known as Screams, and much more is needed than we think. Sure you have wanted save some important data, an engaging conversation, or basically some information that seems relevant to you and you want to pass it on to someone else or send it to their email address.
It usually happens that nWe need that note as a PDF file and from our computer it is almost impossible to create it in that format. This is where screenshots come into play to make life easier for us.
If you are not yet familiar with this term, we invite you to see what a screenshot is in Windows, how it works, what it is for, its advantages and disadvantages.
What is a screenshot in Windows?

Screenshot in Windows is a image or Photography taken from a computer,
Windows tablet or Windows 10 mobile device. Su target es guardar cierta información importante como una imagen.
On the other hand, it also serves to create an image over an existing one. In other words, when we take a screenshot, we are simply take an internal photo of the screen of the device we are using. It's like creating two screens, but one will be basically a portrait.
In this way, you should consider that when you take a screenshot, what you have will be captured.
Screen capture utility
Regarding its use, in general it is take screenshots or digitized images for show a more complete description of something, such as: graphics, charts or programs, among others.
It is also used to save the exact record of something you want to show or basically keep it on file.
it should be noted that
screenshot is workable on different computers, it does not matter the brand, model or manufacturer. Regardless, this time we focus on the screen capture that allows us to make Windows.
Yes actually, depending on the version of Windows There may be variants when taking a screenshot. Therefore, we will see in the next point how to do it.
How to take a screenshot according to the Windows system you use
We have collected accurate information to tell you what to do according to the system you work with. Simply, Windows screenshots are taken as follows:
Screenshot in Windows 7
In the operating system Windows 7, also known as Windows Screenshots It's done from the keyboard, pressing the IMprPanT key or what is the same on other computers the Print Screen key. Once this action is done, you will have did the screenshot in windows.
On the other hand, if what you need is to do screenshot in Windows single icon or window You just have to press the Alt + PrintScreen keys.
For this case, the procedure is different, since You need to open a Word, Power Point or Paint file and paste this screenshot. From this dynamics, you will be able to save the file.
Screenshot in Windows 8 and Windows 10
Se realiza a través del teclado de la próxima manera: el Username has to press the key that says Windows simultaneously with the PrintScreen option. The computer will then immediately capture the information. At the same time, it will save it automatically.
After having carried out that step, if you wish visualize the screenshot it should open any search window. Once in the menu, you can see how it appears in the my option images / screenshot. Click there so you can access the Libraries folder: screenshots.

Regardless, another way to capture a screen is by using the accessories option for Windows clippings. If you want to do it in this dynamic, you just have to go to computer taskbar and you will find a magnifying glass icon, right click.
At the time of clicking, you must escribe la palabra en el Search Engine pull apart, select it and click the drop-down menu option. At this point, you can choose how clipping will work (rectangular or default).
When you finish configuring the capture settings in Windows, you can save them. An important fact is that at the end of the procedure we will have an attached file that we will be able to send to our preferred network (Social Networks, emails, memories ... etc) and even store them in the information library of the PC.
However, It is recommended not to send Windows screenshots in Word format or paste them into a PDF file.. The safest way to send screenshots is through an attachment.
Screenshot on a smartphone with Windows operating system
If you wish copy the screen to the device mobile device or tablet Windows, You just have to press the low volume button simultaneously with the lock button.
Minimal camera shutter sound propagates on some devices. At that precise moment a photograph will appear on the original screen. Others can transmit a small vibration. In fact, the sound or noise it produces does not affect the procedure because it varies according to the equipment.
And so far our guide on how to take screenshots in Windows. Has this post been useful to you? Well, don't forget to share it on your social networks.