
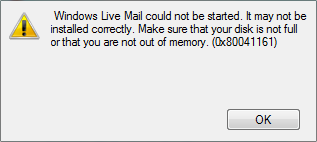
Fix Windows Live Mail no se iniciará:Windows Live Mail es un client de correo electrónico que viene preinstalado con Windows y que muchos usuarios utilizan para fines personales o laborales. Se han recibido informes que indican que después de actualizar a Windows 10 o de actualizar el sistema, Windows Live Mail no se inicia ni se abre. Ahora los usuarios se sienten muy frustrados ya que dependen en gran medida de Windows Live Mail para fines personales o laborales, aunque pueden revisar su correo electrónico, tenían el hábito de usar Live Mail y este trabajo adicional no es bienvenido en absoluto.

El principal problema parece ser el controlador de la tarjeta gráfica, que entra en conflicto con Windows 10 después de la actualización y no parece funcionar correctamente. Además, a veces la cache de Windows Live Mail parece estar dañada, lo que no permite que Windows Live Mail se abra y, en cambio, cuando se hace clic en el icono de Live Mail, éste sigue girando y no sucede nada. De todos modos, no te estreses porque el solucionador de problemas está aquí con una linda guía que parece solucionar este problema, así que sólo sigue el método uno por uno y al final de este artículo podrás usar Windows Live Mail normalmente.
Fix Windows Live Mail won't start
Make sure to create a restore point in case something goes wrong.
Method 1: Just terminate wlmail.exe and restart Windows Live Mail
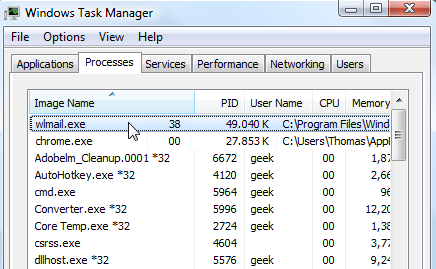
1.Press Ctrl + Shift + Esc to open Task Manager.
2.Scroll down until you find wlmail.exe in the list, then right-click on it and select End Task.
3.Restart Windows Live Mail and see if you can see if the fix for Windows Live Mail is OK.
Method 2: Clear the Windows Live Mail cache
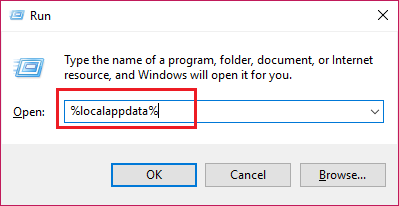
1.Press Windows key + R and then type "%localappdata%" (without quotes) and press Enter.
 z
z
3.Now inside the Local folder double click on Microsoft.
4.Then double-click Windows Live to open it.
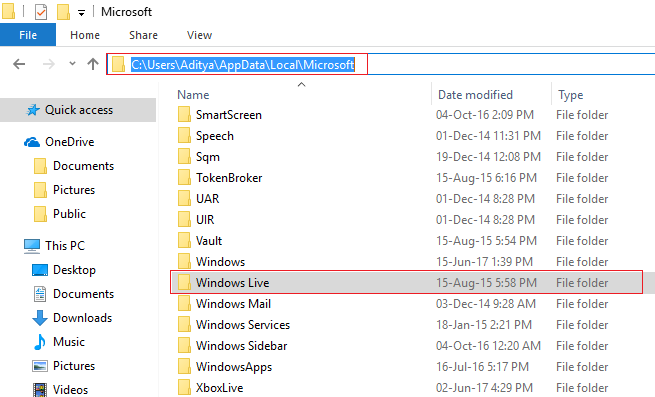
5.Locate the .cache folder and right-click on it and select delete. Note: Make sure to empty the recycle bin after this.
Method 3: Run Windows Live in Compatibility Mode
1.Navigate to the following folder:
C: Program Files (x86) N- Windows LiveN-Mail
2. Next, find the file "wlmail.exe" and right-click and select Properties.
3.Switch to the compatibility tab in the properties window.
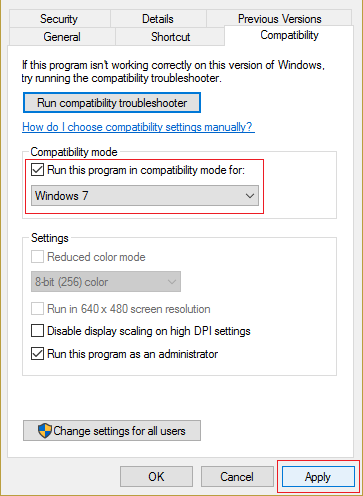
4. Make sure to check "Run this program in compatibility mode for" and select Windows 7.
5.Click Apply and then OK. 6. Restart your PC to save the changes.
Method 4: Repair Windows Essentials
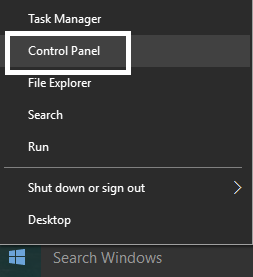
1.Press Windows Key + X and select Control Panel.
2. Click Uninstall a program.
3. Find Windows Essentials and right-click and select Uninstall / Change.
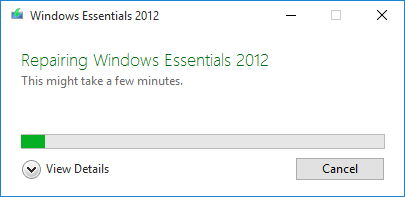
4.You will find a repair option, make sure you select it.

5. Follow the instructions on the screen to complete the repair process.
6. Close everything and restart your PC. This may be able to fix Windows Live Mail not starting the problem.
Method 5: Restore the PC to a previous working time
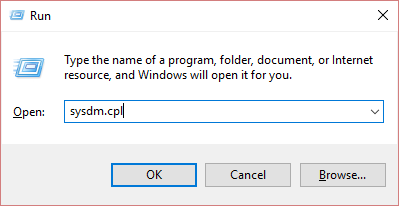
1.Press Windows key + R and type "sysdm.cpl" and then press enter.
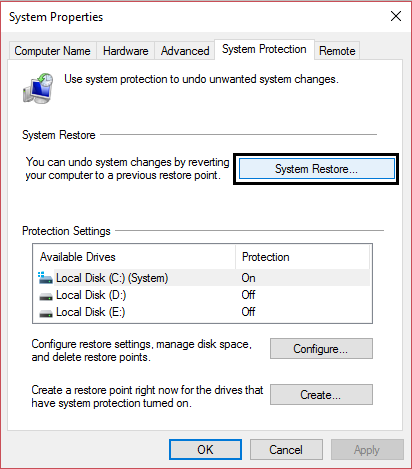
2.Select the System Protection tab and choose System Restore.
3. Click Next and choose the desired System Restore point.
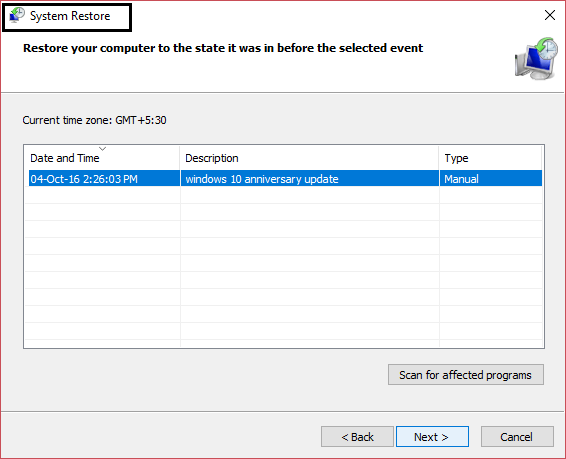
4. Follow the instructions on the screen to complete the system restore.
5.After restarting, you may be able to fix Windows Live Mail not starting.
Recommended for you:
- Fix Windows 10 sleepings after a few minutes of inactivity
- How to fix Windows 10 not using all RAM
- 7 Ways To Fix Windows 10 Slow Shutdown
- Fix Windows Update Database Corruption Error
That's all you've done correctly Fix Windows Live Mail won't start, but if you still have any questions regarding this post, feel free to ask them in the comment section.


