

Reparar Windows no se pudo conectar al servicio de client de directiva de grupo: Si se enfrenta al error anterior al intentar iniciar sesión en una cuenta que no es de administrador, entonces está en el lugar correcto, dado que hoy vamos a discutir cómo resolver este problema. El error indica de forma clara que el servicio Cliente de directiva de grupo falló al intentar iniciar sesión en Windows para los usuarios que no son administradores. Al utilizar la cuenta de administrador, no existe tal error y el Username puede iniciar sesión fácilmente en Windows 10.
As soon as the standard user tries to log into Windows, they see a "Windows could not connect to the Group Policy client service" error message. Ask the system administrator ". It clearly states to consult the system administrator because administrators can log into the system and view the event logs to better understand the error.
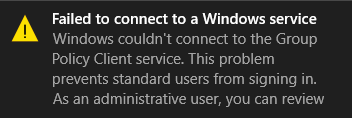
The main problem seems to be that the Group Policy Client service is not running when the standard user tried to log in and thus the error message is displayed. Although administrators can log into the system, they will also see the error message in the notification that says “Could not connect to a Windows service. Windows could not connect to the gpsvc service. This problem prevents standard users from logging in. " So, without sacrificing time, let's see how to truly resolve the error that Windows could not connect to the Group Policy client service with the help of the troubleshooting tutorial listed below.
Repair Windows could not connect to the Group Policy client service
Make sure to create a restore point in case something goes wrong.
Method 1: set the Group Policy Client service to Automatic
Make sure you are logged in with the Administrative account to make the following changes.
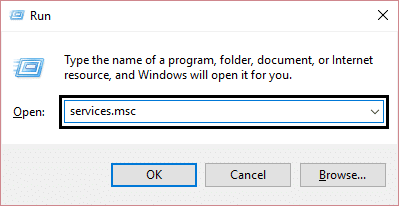
1.Press Windows Key + R, and then type services.msc and press Enter.
2.Search Group Policy Client Service then right click and select Stop.
3.Now double click on it and make sure Start type is defined in Automatic.
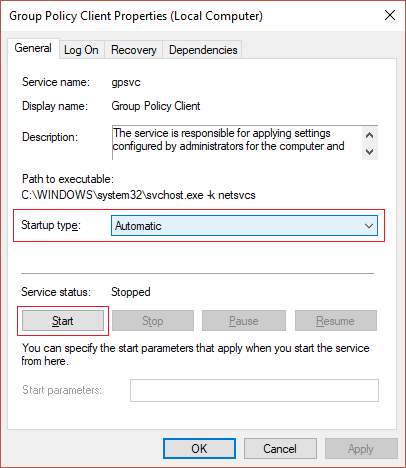
4.Then click Start to start the service again.
5. Click Apply followed by OK.
6.Restart your computer and this Repair Windows could not connect to Group Policy Client service error.
Method 2: Try System Restore
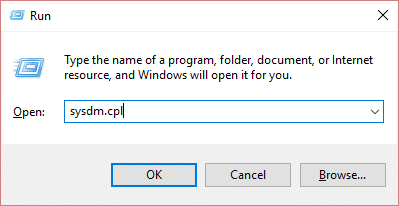
1.Press Windows Key + R and type «sysdm.cpl”Then press enter.
2.Select System protection tab and choose System restore.
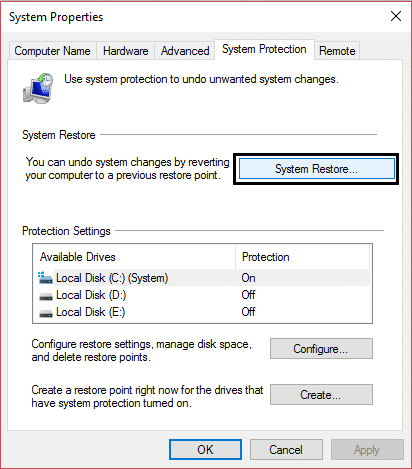
3.Click Next and choose the System restore point.
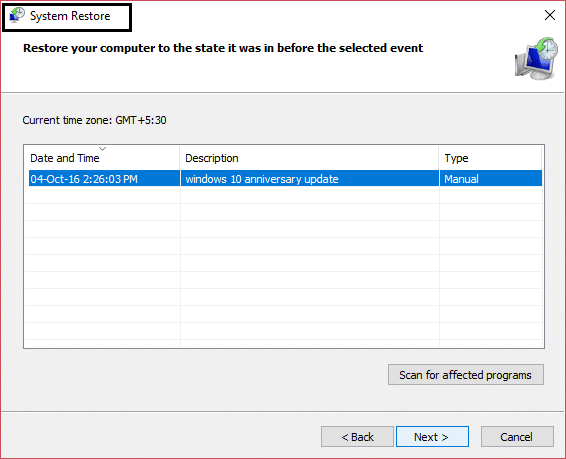
4. Follow the instructions on the screen to complete the system restore.
5.After rebooting, it is feasible that you can Repair Windows could not connect to Group Policy Client service error.
Method 3: run SFC and DISM
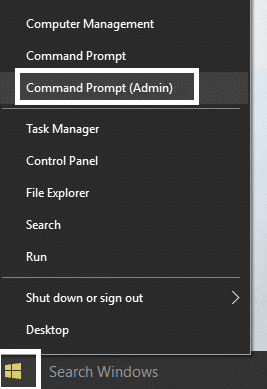
1.Press Windows Key + X, and then click Command prompt (administrator).
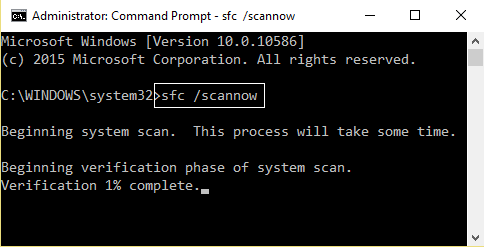
2.Now type the following in the cmd and hit enter:
Sfc / scannow sfc / scannow / offbootdir = c: / offwindir = c: windows (If above fails then try this one)
3.Wait for the above procedure to finish and, once done, restart your computer.
4.Reopen cmd and type the following command and hit enter after each one:
a) Dism / Online / Cleanup-Image / CheckHealth b) Dism / Online / Cleanup-Image / ScanHealth c) Dism / Online / Cleanup-Image / RestoreHealth

5. Let the DISM command run and wait for it to finish.
6. If the above command doesn't work, try the following:
Dism / Image: C: offline / Cleanup-Image / RestoreHealth / Source: c: testmountwindows Dism / Online / Cleanup-Image / RestoreHealth / Source: c: testmountwindows / LimitAccess
Note: Replace C: RepairSource Windows with the location of your repair source (Windows Install or Recovery Disc).
7.Restart your computer to save the changes and see if you can Repair Windows could not connect to Group Policy Client service error.
Method 4: if you can't open Windows update settings
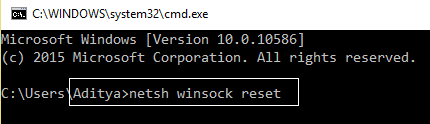
1.Press Windows Key + X, and then select Command prompt (administrator).
2. Type the following command in cmd and press Enter:
netsh winsock reset netsh winsock repair
3. Restart your computer to store the changes and the error is resolved.
Method 5: disable fast startup
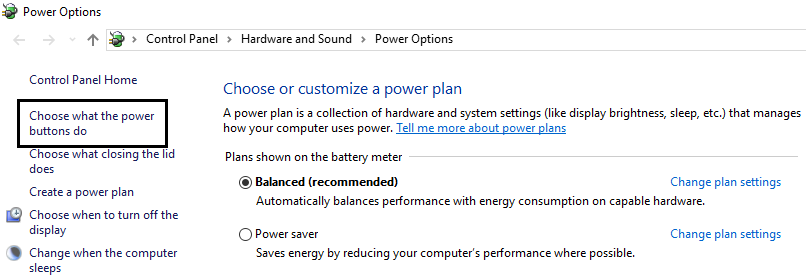
1.Press Windows Key + R and then type “powercfg.cplAnd hit enter to open Power Options.
2.Click Choose what the power buttons do in the upper left column.
3. Next, click Change settings that are currently unavailable.
4.Uncheck Enable fast startup in Shutdown Settings.
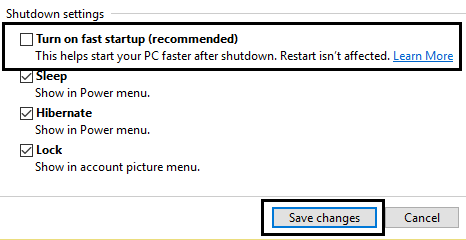
5.Now click Save changes and restart your computer.
This solution seems to be useful and should Repair Windows could not connect to Group Policy Client service error.
Method 6: registry fix
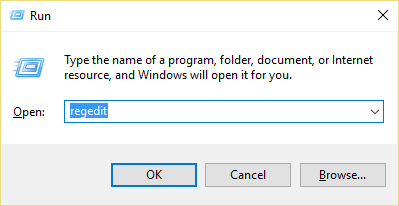
1.Press Windows Key + R, and then type regedit and hit enter to open the Registry Editor.
2.Now navigate to the next key in Registry Editor:
ComputerHKEY_LOCAL_MACHINESYSTEMCurrentControlSetServicesgpsvc
3.Next, find the value of image path key and check your data. In our case, your data is svchost.exe -k netsvcs.
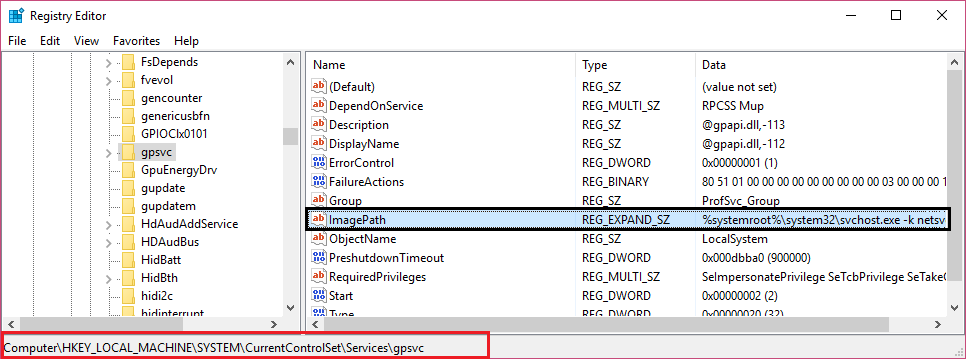
4.This means that the above data is in charge of the gpsvc service.
5.Now navigate to the next path in Registry Editor:
HKEY_LOCAL_MACHINESOFTWAREMicrosoftWindows NTCurrentVersionSvcHost
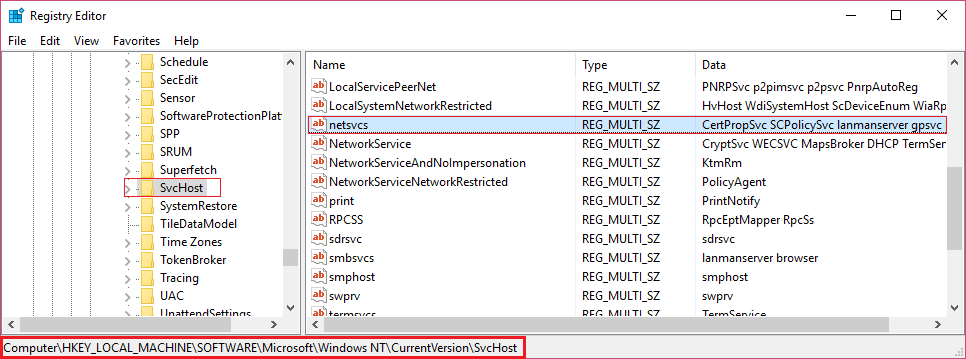
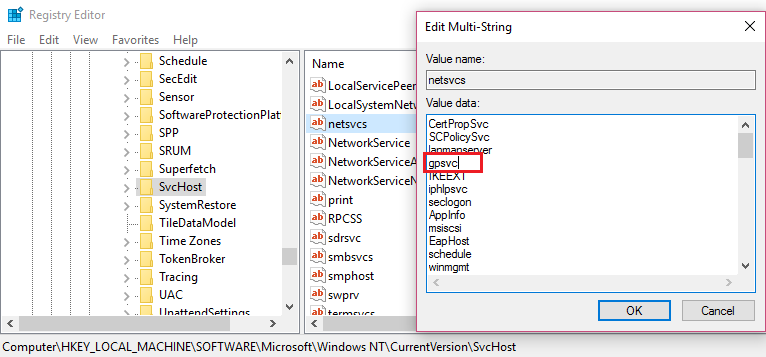
6.In the right window pane locate netsvcs and then double-click on it.
7.Check the Value data field and make sure gpsvc is not missing. If it's not there then add gpsvc value and be very careful when doing so because you don't want to remove anything else. Click OK and close the dialog.
8. Then navigate to the next folder:
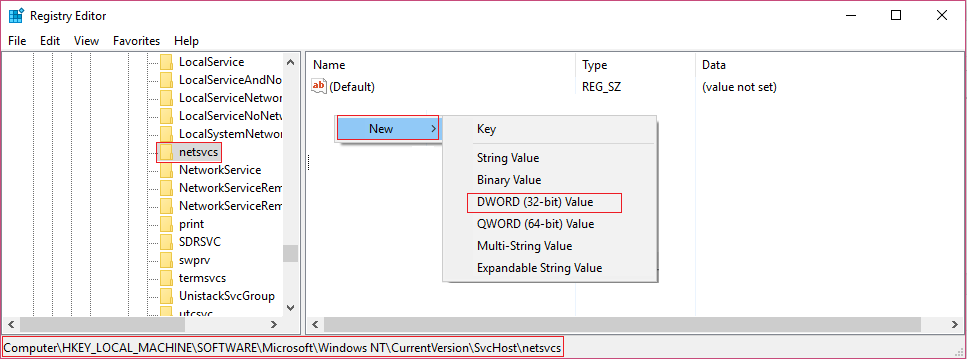
HKEY_LOCAL_MACHINESOFTWAREMicrosoftWindows NTCurrentVersionSvcHostnetsvcs
(This is not the same key present in SvcHost, it is present in the SvcHost folder in the left window pane)
9. If the netsvcs folder is not present in the SvcHost folder, you must create it manually. To do so, right click on SvcHost folder and select New> Password. Then enter netsvcs as the name of the new key.
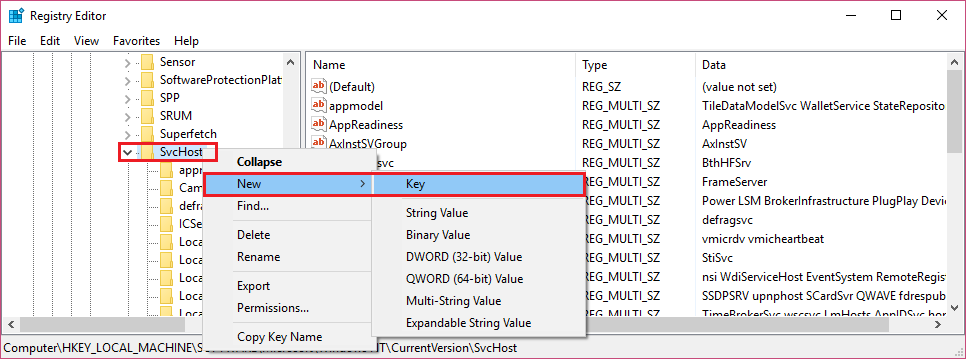
10.Select the netsvcs folder you just created in SvcHost and in the left window pane right click and select New> DWORD value (32 bit).
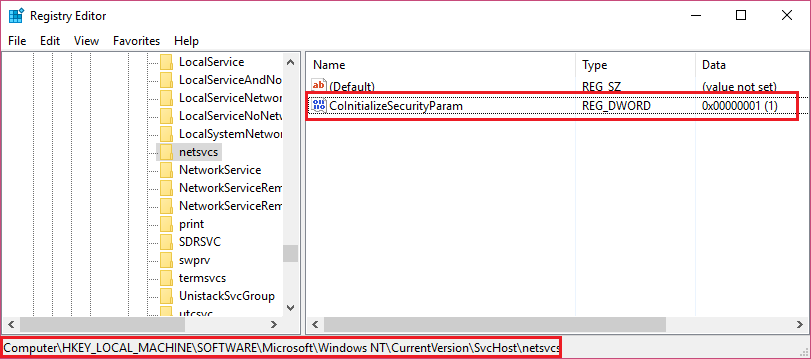
11.Now enter the name of the new DWORD as CoInitializeSecurityParam and double click on it.
12. Set the value data to 1 and click OK to store the changes.
13.Now create the following three DWORDs (32 bits) equivalently Value in netsvcs folder and enter the value data as specified below:
Name of the DWORD Value Data CoInitializeSecurityAllowLowBox: 1 CoInitializeSecurityAllowInteractiveUsers: 1 AuthenticationCapabilities: 3020

14. Click OK after determining the value of each one and close Registry Editor.
Method 7: Registry Fix 2
1.Press Windows Key + R, and then type regedit and hit Enter to open the Registry Editor.
2.Go to the next registry key:
HKEY_LOCAL_MACHINE SYSTEM CurrentControlSet Services gpsvc
3. Just make sure the old key is in place and then continue.
4.Now navigate to the next key:
HKEY_LOCAL_MACHINE SOFTWARE Microsoft Windows NT CurrentVersion Svchost
5.Right-click on Svchost and select New> Value of miscellaneous strings.
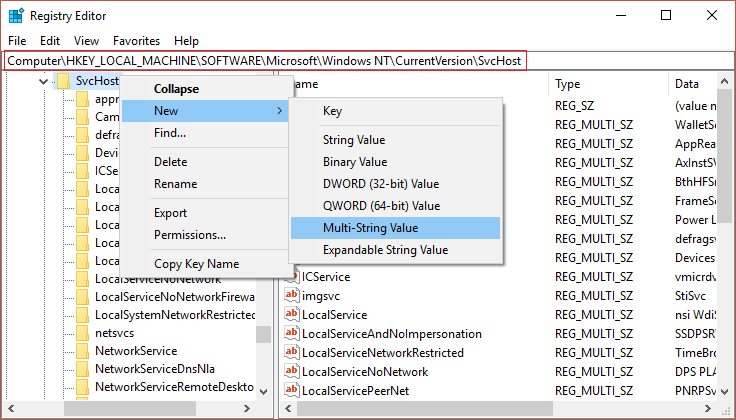
6.Name this new string as GPSvcGroup and then double-click it to change its value to GPSvc and press OK.

7.Right-click Svchost again and select New> Key.
8.Name this key as GPSvcGroup and press Enter.
9.Now right click on GPSvcGroup and select New> DWORD Value (32-bit).
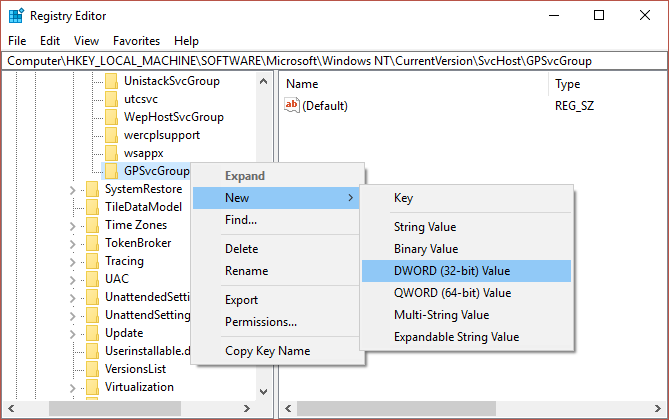
10.Name this DWORD how Authentication capabilities and double click on it to change its value to 12320 (make sure you are using the decimal base).
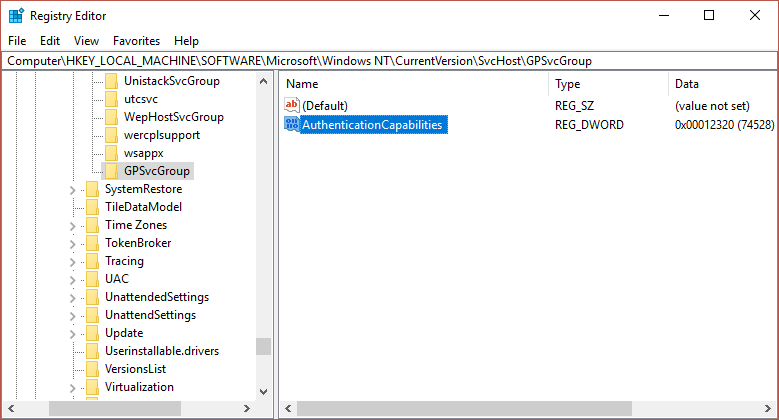
11. In the same way, create a new DWORD called ColnitializeSecurityParam and change its value to 1.
12.Close Registry Editor and restart your computer.
.
That's it, you succeeded Repair Windows could not connect to Group Policy Client service error but if you still have any query regarding this guide, feel free to ask in the comment section


