

Arreglar Las propiedades de este artículo no están disponibles:Este mensaje de error es bastante común entre los usuarios de Windows 7 y Windows 10, pero si has actualizado recientemente de Windows 7 a Windows 10, entonces definitivamente te enfrentarás a este error. Por lo tanto, después de la actualización, cuando los usuarios inician sesión, ven el mensaje de error «Las propiedades de este elemento no están disponibles» en un cuadro emergente y permanece hasta que inicie el Modo a prueba de fallos. Además, el error no se limita a esto solamente, ya que hay otros usuarios que sólo se enfrentan a este problema cuando comprueban las propiedades de sus unidades, por ejemplo, la unidad C: o el disco duro externo. En resumen, cuando un Username accede a Mi PC o a Este PC y hace clic con el botón derecho del ratón en cualquier unidad que esté conectada al PC (Disco duro externo, USB, etc.), entonces se enfrentará al mensaje de error «Las propiedades de este elemento no están disponibles».
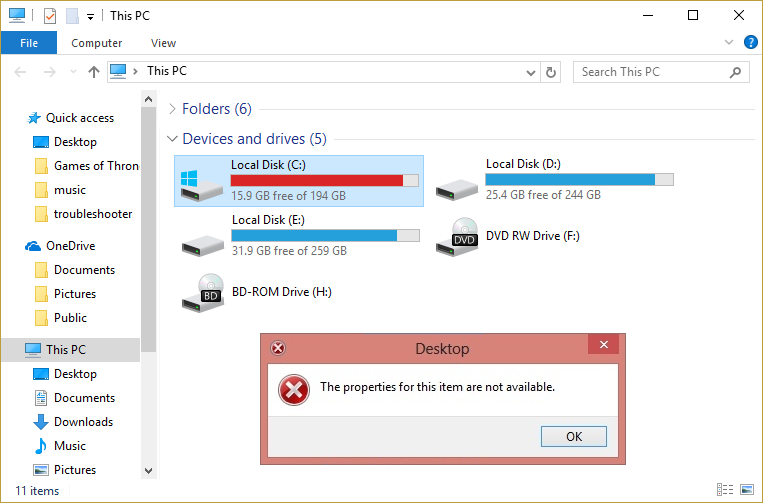
La principal causa de este error parece ser la falta de entradas de registro que pueden ser arregladas fácilmente. Afortunadamente, este error no está causado por un malware o algún problema serio y puede ser atendido fácilmente. Así que sin perder tiempo veamos cómo corregirlo realmente Las propiedades de este elemento no están disponibles error con los pasos de solución de problemas que se indican a continuación.
Fix The properties of this item are not available
Make sure to create a restore point in case something goes wrong.
Method 1: Registry Pinning
Note: Make sure to create a registry backup before making any changes in Registry Editor.
1.Open Notepad and copy the following code as is:
Registry Editor Windows Version 5.00 [HKEY_CLASSES_ROOTDriveshellex] [HKEY_CLASSES_ROOTN-DriveNshellexN-ContextMenuHandlers] [HKEY_CLASSES_ROOTN-DriveNshellexN-ContextoMenuHandlersN-Best AlmacenamientoShell] @ = "{2854F705-3548-414C-A113-93E27C808C85}" [HKEY_CLASSES_ROOTN-DriveNshellexN-ContextoMenúCompartiendo] @ = »{f81e9010-6ea4-11ce-A7FF-00aa003ca9f6}» [HKEY_CLASSES_ROOTN-DriveNshellexN-ContextMenuHandlersN- {078C597B-DCDD-4D0F-AA16-6EE672D1110B}] [HKEY_CLASSES_ROOTN-DriveNshellexN-ContextMenuHandlersN-59099400-57FF-11CE-BD94-0020AF85B590} ] @ = »» [HKEY_CLASSES_ROOTN-DriveN-ShellexN-Context-MenuManipulators {596AB062-B4D2-4215-9F74-E9109B0A8153}] [HKEY_CLASSES_ROOTN-DriveNcontextMenuHandlersN- {D6791A63fee2-6D7E86A63F-E6791A63-BDF2E9A63] -BF52-5DED8E86E9B8} »=» Portable Devices Menu »[HKEY_CLASSES_ROOTN-DriveNcontextMenuHandlersN- {fbeb8a05-beee-4442-804e-409d6c4515e9}] @ =» »[HKEY_CLASSES_ROOTN-DrivellelleKLASSES_ROOTN-DriveNeltensKLASSES_ROOTN-Drive_ND_LASSES_ROOTN] x FolderExtensionsN- {fbeb8a05-beee-4442-804e-409d6c4515e9}] "DriveMask" = word: 00000020 [HKEY_CLASSES_ROOTN-DriveN-SheetHandlers of the property] @ = »{5F5295E0-429F-1069-HASSEY9-ASSOTE_BT-1069-A2E2-0CLASSEY_ESB-1069-A2E2-0CLASSEY} DriveShellexN-Property Shroud-Share] @ = »{f81e9010-6ea4-11ce-a7ff-00aa003ca9f6}» [HKEY_CLASSES_ROOTN-DriveN-SheetHandlersNof property {1f2e5c40-9550-11ce-99d2-00aa006ES_OTEYNCLASS-SheetNASSde [HROEYNASS] [HKEY_CLASSESde property {4a7ded0a-ad25-11d0-98a8-0800361b1103}] [HKEY_CLASSES_ROOTN-DriveN-SheetHandlersN of property {55B3A0BD-4D28-42fe-8CFB-FA3EDFF969B8}] [HKEY_CLASSES_ROOTN-DriveN06 {BKEY_CLASSES_ROOTN-DriveN06-SheetHlers2-42AB4-DriveN05N-SheetHandlers2 E9109B0A8153}] [HKEY_CLASSES_ROOTN-DriveN-SheetHandlersN of the property {5F5295E0-429F-1069-A2E2-08002B30309D}] [HKEY_CLASSES_ROOTN-DriveShellexN-SheetHandlersN-The handling of the property @ {798F00-89B56B89Af00} -Ec 998-008C579Af-handling] »[HKEY_CLASSES_ROOTN-DriveN-SheetHandlersNde property of drug handlers {D12267B4- 252D-409A-86F9-81BACD3DCBB2}] [HKEY_CLASSES_ROOTN-DriveN-SheetHandlersN of the property {ECCDF543-45CC-11CE-B9BF-0080C87CDBA6}] [HKEY_CLASSES_ROOTN-DriveN-SheetHandlers-property of lafe943-943-90046}] @ = »» [HKEY_CLASSES_ROOTN-DriveN-SheetHandlersNde property {fbeb8a05-beee-4442-804e-409d6c4515e9}] @ = »»
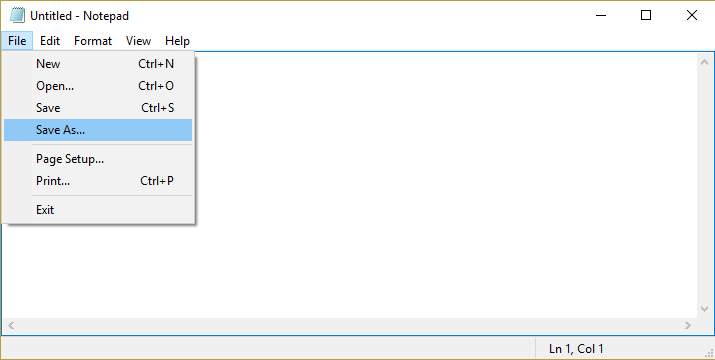
2.Once all the above code is copied into the notepad, click File and then Save As.
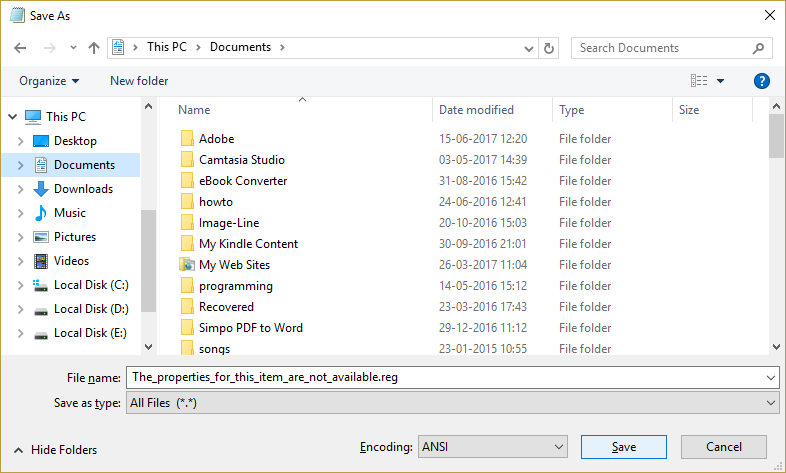
3. Make sure to select All Files from Save as type and select the desired location to save the file which can be the desktop.
4.Now name the file as The_properties_for_this_item_are_not_available.reg (the is very important).
5.Right-click this file and select Run as administrator. This will add the above values to the registry and if prompted for confirmation click Yes.
6.Restart your PC to save the changes and see if it is able to fix the properties of this item not available error.
Method 2: Disable the corrupted shell extension
1.Para comprobar qué programas están causando el error «Las propiedades de este elemento no están disponibles», es necesario descargar un software de terceros llamado ShellExView.
2.Double click the ShellExView.exe application in the zip file to run it. 3. Wait a few seconds as when it is launched for the first time it takes a while to collect information about the shell extensions.
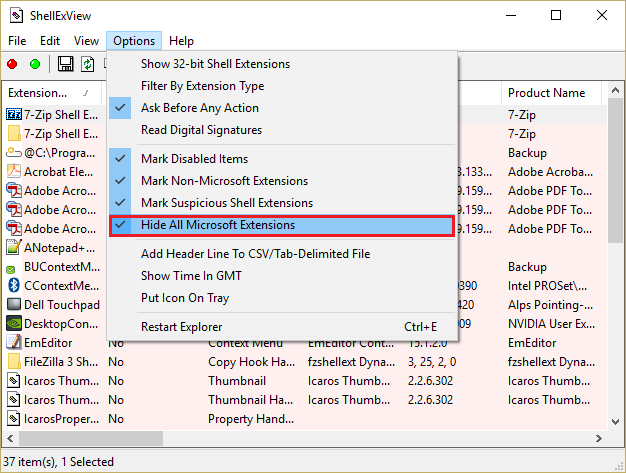
3.Now click Options and then Hide all Microsoft extensions.
4.Now press Ctrl + A to select them all and press the red button in the upper left corner.

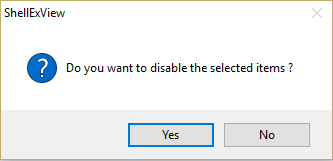
5.If it asks for confirmation, select Yes.
6.If the problem is solved, then there is a problem with one of the extensions of the shell, but to find out which one it is, you have to turn them on one by one by selecting them and pressing the green button at the top right. If after enabling a particular shell extension you still see the error, then you need to disable that particular extension or better yet if you can remove it from your system.
Method 3: Manually check the startup folder
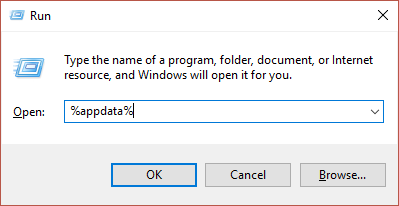
1.Press Windows Key + R, then type %appdata% and hit Enter.
2.Now navigate to the following folder:
Microsoft> Windows> Start Menu> Programs> Start
3.Check if there are any leftover files or folders (dead links) from a program that you have uninstalled before.
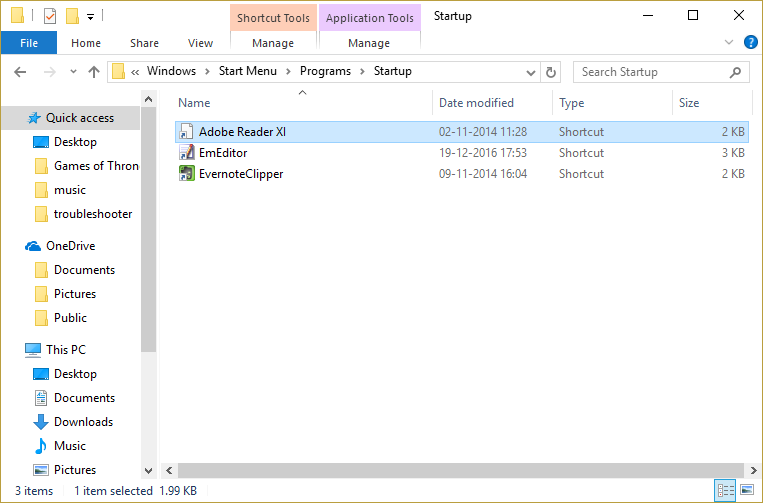
4. Make sure to delete the files or folders that are in the old folder.
5.Restart your PC to save the changes and see if it is able to fix the properties of this item not available error.
Method 4: Delete the Interactive User value from the registry
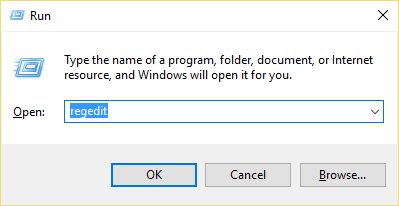
1.Press Windows key + R, then type regedit and press Enter to open Registry Editor.
2.Navigate to the following registry key:
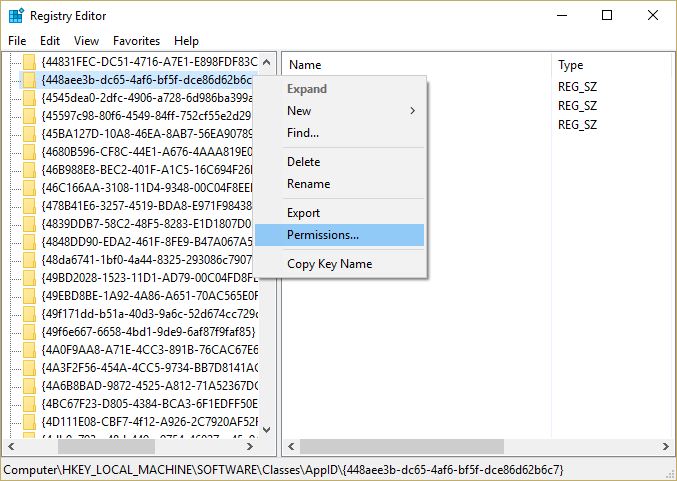
HKEY_LOCAL_MACHINE_SOFTWARENClasesNaplicadas {448aee3b-dc65-4af6-bf5f-dce86d62b6c7}
3.Right-click the {448aee3b-dc65-4af6-bf5f-dce86d62b6c7} folder and select Permissions.
4.In the next window that opens, click Advanced.
5.Now under Owner click Change and then again click Advanced in the Select User or Group window.
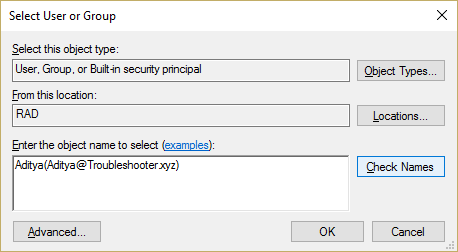
6. Then click Search Now and select your username from the list.
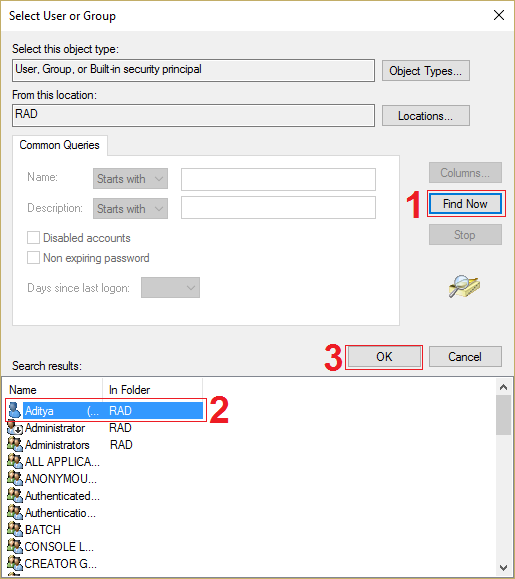
6.Click OK again to add the username to the above window and then click OK.
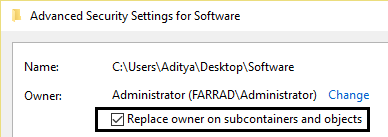
7. Check the box "Replace owner on subcontainers and objects" and click Apply followed by OK.
8.Now in the Permission window select your username and make sure to check "Full Control".
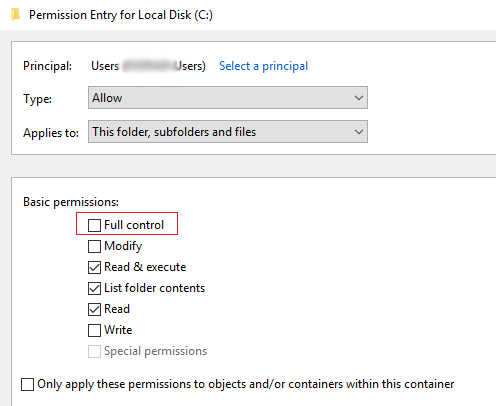
9. Click Apply and then OK.
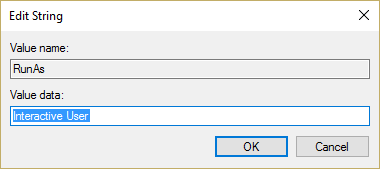
10.Now make sure you have highlighted {448aee3b-dc65-4af6-bf5f-dce86d62b6c7} and in the right pane of the window double click on the RunAs chain.
11. Delete the value for Interactive User and leave the field blank and click OK.
12.Close Registry Editor and restart your PC to save the changes.
Method 5: Run the SFC and the CHKDSK
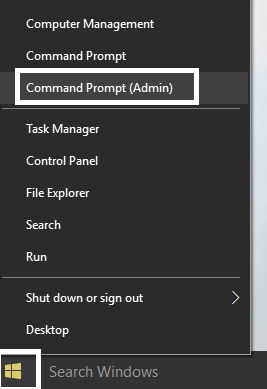
1.Press Windows Key + X and then click Command Prompt (Admin).
2.Now type the following in cmd and hit enter:
Sfc / scannow sfc / scannow / offbootdir = c: / offwindir = c: Nwindows
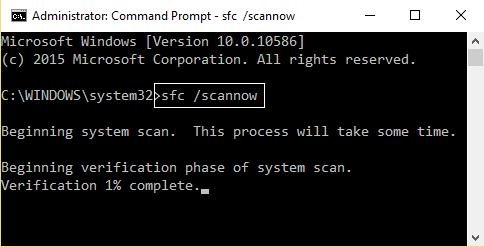
3.Wait for the above process to finish and once done, restart your PC.
4.Then run CHKDSK from here Fix file system errors with Check Disk Utility (CHKDSK).
5.Let the above process complete and restart your PC again to save the changes.
Recommended for you:
- Arreglar un privilegio requerido no se mantiene por el error del client
- Fix Task image is corrupted or has been tampered with
- How to fix Windows File Explorer keeps updating
- Fix Credential Manager error 0x80070057 Parameter is incorrect
That's all you have successfully fixed. The properties in this article are not an available bug, but if you still have any questions regarding this post, feel free to ask in the comment section.


