
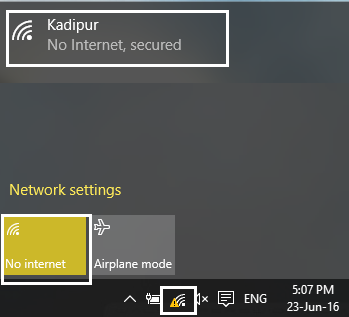
Arreglar WiFi conectado pero sin Internet en Windows 10: Si no puedes entrar a Internet y cuando solucionas el problema ves un mensaje de error «Acceso limitado – Sin acceso a Internet» en tu red WiFi o LAN, entonces esto puede deberse a una configuración incorrecta, a un problema de DNS, a que los controladores del adaptador de red están desactualizados, dañados o son incompatibles, etc. Puede haber n número de causas ya que realmente depende de la configuración del sistema y el entorno del Username, ya que cada usuario cuenta con una configuración diferente.
(*10*)
Bueno, digamos que hay un montón de parámetros que pueden causar tal problema, primero son las actualizaciones de software o una nueva instalación que podría cambiar el valor del registro. A veces tu PC no puede obtener la IP adress o DNS automáticamente mientras que al mismo tiempo puede ser un problema de controladores. De este modo, sin perder tiempo, veamos cómo solucionar el problema de conexión WiFi pero no el de Internet en Windows 10 con la ayuda del siguiente tutorial.
Fix WiFi connected but no Internet in Windows 10
Make sure to create a restore point in case something goes wrong.
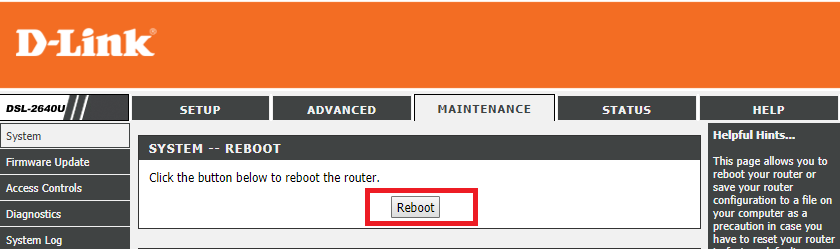
Method 1: Restart your modem or router
Just restart your modem and see if the problem is resolved, as sometimes the network may have experienced some glitches that can only be overcome by restarting the modem.
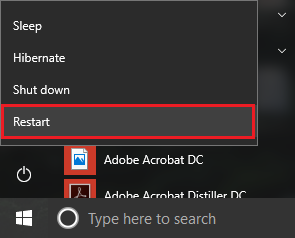
Si el problema sigue sin resolverse, intenta reiniciar tu PC, ya que a veces un reinicio normal puede solucionar el problema de conexión a Internet. Por ende, abre el menú de inicio, haz clic en el icono de encendido y selecciona reiniciar. Espere a que el sistema se reinicie y luego vuelva a intentar entrar a Windows Update o abra Windows 10 Store App y vea si puede solucionar este problema.
Method 2: Run the Network Troubleshooter
1.Press Windows key + I to open Settings and then click Update & Security.
![]()
2. In the menu on the left, select Troubleshoot.
3.In Troubleshooting, click Internet Connections, and then click Run the troubleshooter.
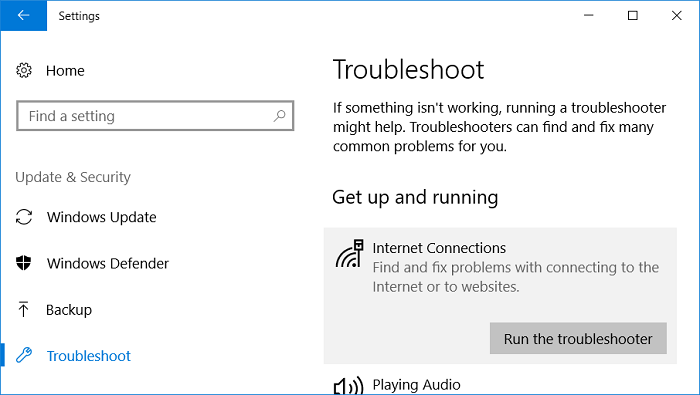
4. Follow the instructions on the screen to run the troubleshooter.
5.Restart your PC to save the changes and see if it is able to fix "WiFi Connected But No Internet" in Windows 10.
Method 3: Remove the temporary files
Note: Make sure hidden files and folders are checked and system protected files are not checked.
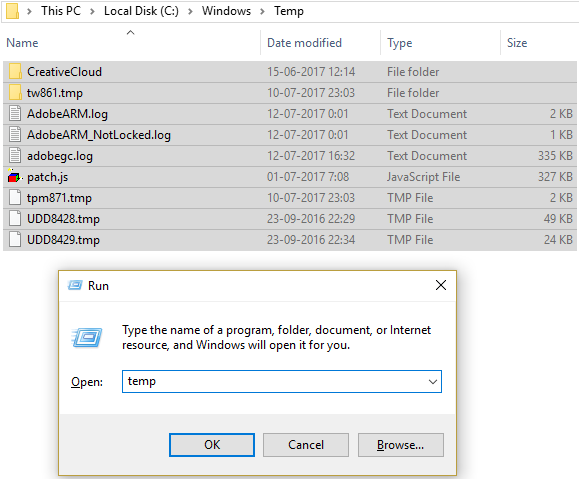
1.Press Windows key + R, then type temp and press Enter.
2.Select all the files by pressing Ctrl + A and then press Shift + Del to permanently delete the files.
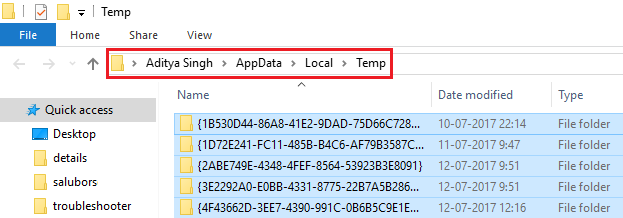
3. Press Windows key + R again, then type %temp% and press OK.
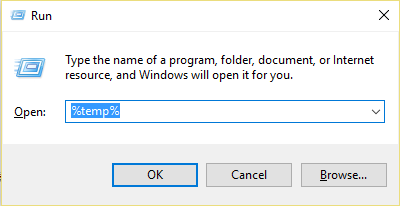
4.Now select all the files and then press Shift + Del to delete the files permanently.
5.Press Windows key + R, then type prefetch and press Enter.
6.Press Ctrl + A and permanently delete the files by pressing Shift + Del.
(*10*)
7.Restart your PC and see if you have successfully erased the temporary files.
Método 4: Usar el DNS de Google
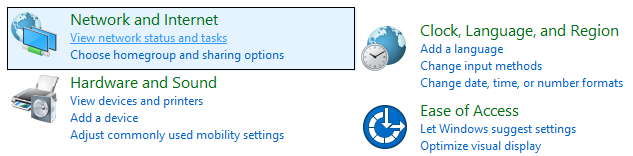
1.Press Windows key + R, then type Control and press Enter. 2. Next, click Network and Internet.

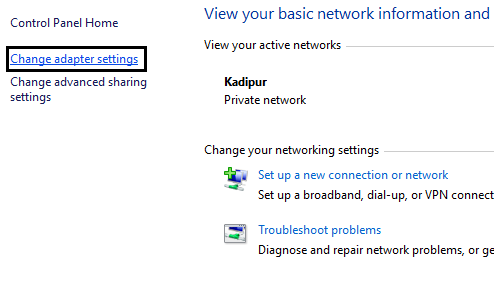
2. Next, click Network and Sharing Center, and then click Change adapter settings.
3.Select your Wi-Fi and right-click on it and select Properties.
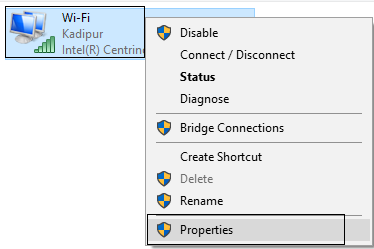
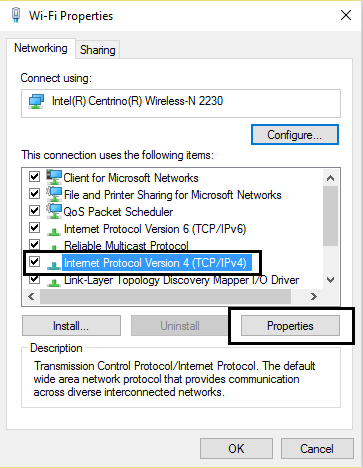
4.Now select Internet Protocol Version 4 (TCP / IPv4) and click Properties.
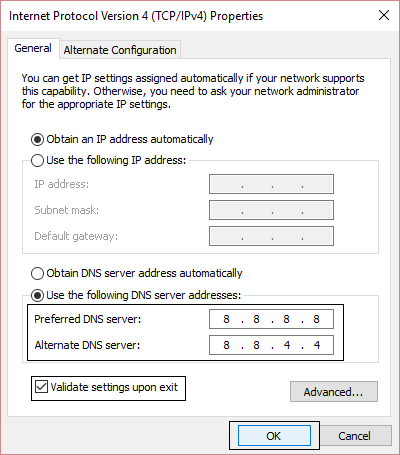
5. Check "Use the following DNS server addresses" and enter the following:
Server DNS preferido: 8.8.8.8Servidor DNS alternativo: 8.8.4.4
6.Close everything and you will be able to fix the WiFi connection but without Internet in Windows 10.
Method 5: Restart TCP / IP
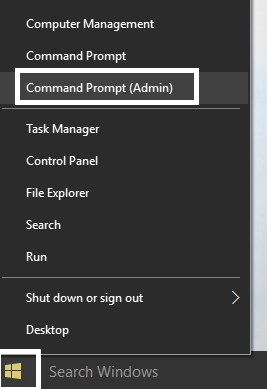
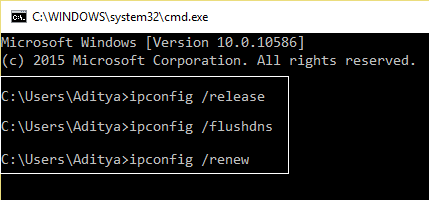
1.Right-click the Windows start button and select "Command Prompt (Admin)".
2.Now type the following command and hit Enter after each one:
ipconfig / releaseipconfig / flushdnsipconfig / renew
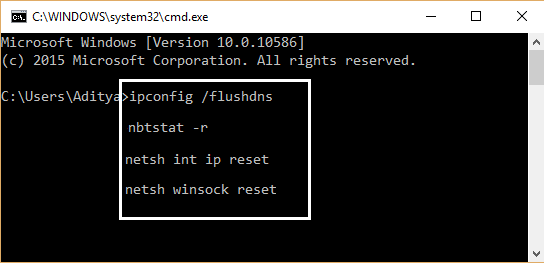
3. Open the Admin Command Prompt again and type the following and hit enter after each one:
ipconfig / flushdnsnbtstat -rnetsh int ip resetnetsh winsock reset
4.Restart to apply the changes. Clearing the DNS seems to fix the WiFi connection but not the Internet in Windows 10.
Method 6: Deactivate and reactivate the wireless adapter
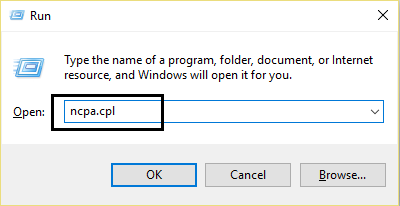
1.Press Windows key + R, then type ncpa.cpl and press Enter.
2.Right-click on your wireless adapter and select Disable.
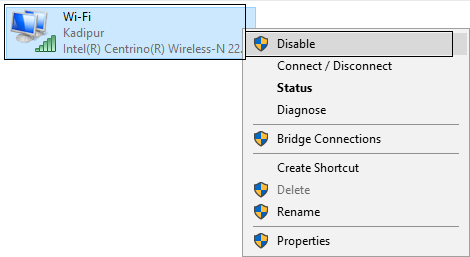
3. Again, right click on the same adapter and this time choose "Activate".

4.Restart your and again try to connect to your wireless network and see if the problem is resolved or not.
Method 7: Uninstall the wireless drivers
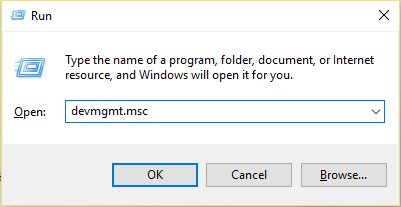
1.Press Windows key + R, then type "devmgmt.msc" and press Enter to open device manager.
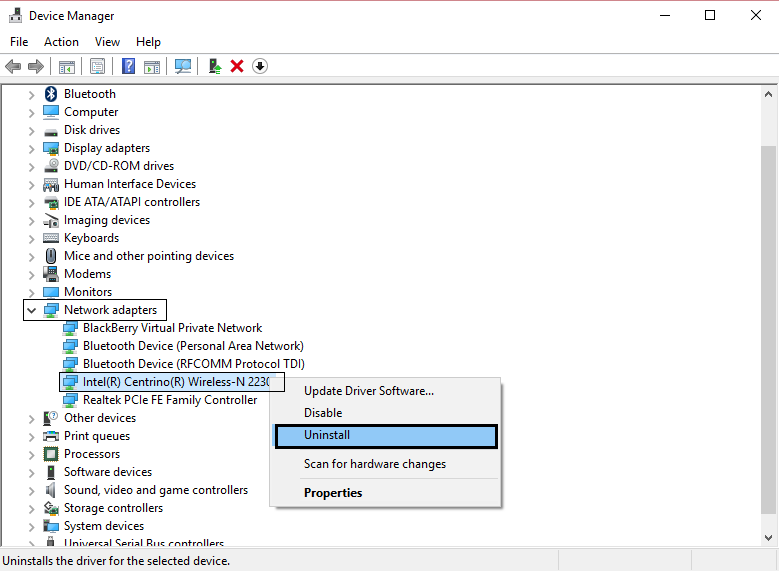
2. Expand Network Adapters and right-click on the wireless network device.
3.Select Uninstall, if asked for confirmation select yes.
4. After the uninstallation is complete, click Action and then select "Scan for hardware changes".
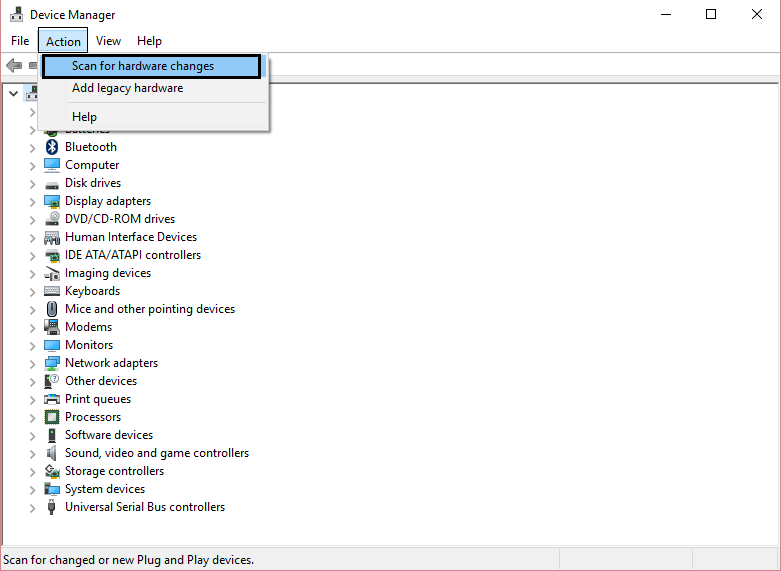
5.The device manager will automatically install the wireless drivers.
6.Now search for a wireless network and establish a connection.
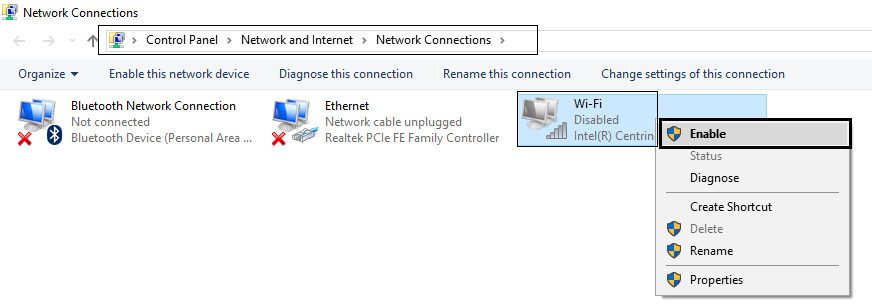
7.Open Network and Sharing Center and then click "Change adapter settings".
8.To finish, right-click on your Wi-Fi connection and select Disable.
9. After a few minutes, turn it on again.
10.Try connecting to the Internet again and see if you are able to fix "Connected to WiFi but no Internet" in Windows 10.
Method 8: Obtain the IP address and DNS server address automatically
1.Open Control Panel and click Network and Internet.
2. Next, click Network and Sharing Center, and then click Change adapter settings.
3.Select your Wi-Fi and right-click on it and select Properties.
4.Now select Internet Protocol Version 4 (TCP / IPv4) and click Properties.
5. Check "Obtain an IP address automatically" and "Obtain DNS server address automatically".
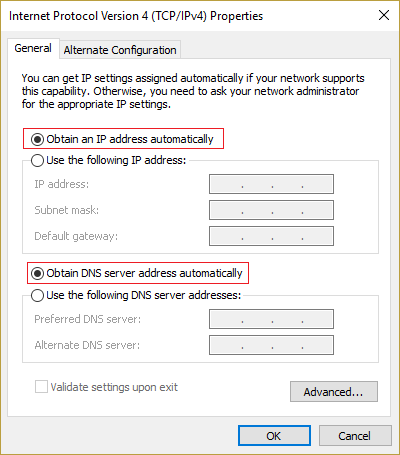
6.Close everything and you will be able to fix the WiFi Connected but without Internet in Windows 10.
Method 9: Registry Pinning
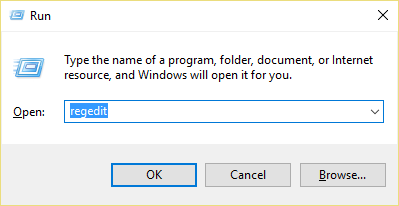
1.Press Windows key + R, then type "regedit" and press enter.
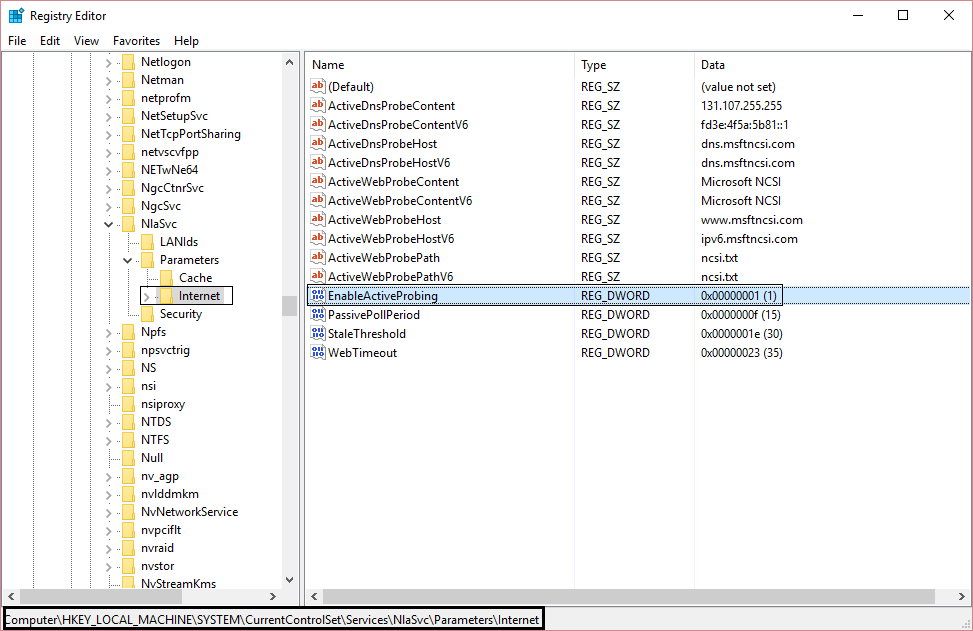
2.In the Registry go to the following key:
HKEY_LOCAL_MACHINE_SYSTEM_CurrentControlSet_ServicesNlaSvc_ParametersNInternet
3.Look for the key "EnableActiveProbing" and set its value to 1.
4.To finish, reboot and see if you are able to fix the WiFi connection but not the Internet in Windows 10.
Method 10: Run CCleaner and Malwarebytes
1.Download and install CCleaner and Malwarebytes.
2. Launch Malwarebytes and let it scan your system for harmful files.
3.Si se encuentra un malware, lo eliminará automáticamente.
4.Now run CCleaner and in the "Cleaner" section, in the Windows tab, we suggest that you check the following selections to be cleaned:
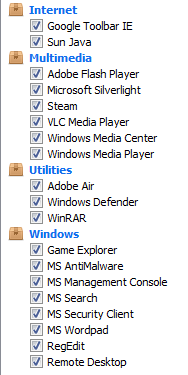
5.Once you make sure the correct points are checked, simply click Run Cleaner, and let CCleaner run its course.
6.To clean your system, select the Registry tab and make sure the following is checked:
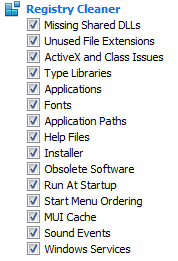
7.Select Scan by problem and allow CCleaner to scan it, then click Fix selected problems.
8.When CCleaner asks "Do you want to backup the registry changes?" click Yes.
9.Once your backup is complete, select Fix all selected issues.
10.Restart your PC to save the changes.
That's all you have successfully learned How to fix a WiFi but not Internet connection in Windows 10, but if you still have any questions regarding this tutorial, feel free to ask them in the comment section.
Check your connection speed
After you have recovered your connection, we recommend you check the Internet speed through an online application. Nowadays, having a good internet connection is important for daily life. We need to be connected to the internet almost twenty-four hours a day to be able to communicate with our friends and family, work from home, carry out important procedures and even our leisure time has been conditioned by our internet connection. That is why knowing the different offers that telephone companies make us is vital to obtain a good deal, as well as knowing precisely how many gigs we should hire according to our needs.
In Spain and Latin America there are many telephone companies and each one has its own offers. We can obtain packages of mobile data, calls and fixed internet (ADSL or fiber optic) from very little money, but it is still important to know them all to make an informed choice. For this, we tell you about the most important companies in the market, such as Orange, Jazztel or Totalplay. But, at the same time, it is essential to know what is the optimal speed for our connection.


