![✅ How to install SAP IDES for practice [Windows 10]](https://rmarketingdigital.com/wp-content/uploads/2020/12/SAP-IDES-Installation-Process-3104512.png)
Cómo instalar SAP IDES para la práctica: SAP ha desarrollado un entorno llamado Sistema de Demostración y Evaluación en Internet [IDES] para que los desarrolladores aprendan y practiquen el ERP mediante de la práctica. Muchos de ustedes podrían haber intentado instalar el IDES desde SAP Marketplace y no lo lograron. Hoy vamos a hablar sobre el procedimiento de instalación de SAP IDES en una ordenador con Windows 10 sin usar SAP Marketplace. Los paquetes de instalación son proporcionados aquí por «HEC Montréal» y son los mismos que los proporcionados por SAP Marketplace. De esta manera, sin renunciar tiempo, veamos cómo instalar SAP IDES para la práctica con la ayuda del siguiente tutorial.
A continuación se presentan los requerimientos de hardware para la instalación del IDES:
- 600GB HDD and above
- 4GB RAM and more
- Intel 64/32-bit core i3 processor and higher
- Memory: Minimum 1 GB free
- Disk space: Minimum 300 MB of disk space
How to install SAP IDES for practice
Make sure to create a restore point in case something goes wrong.
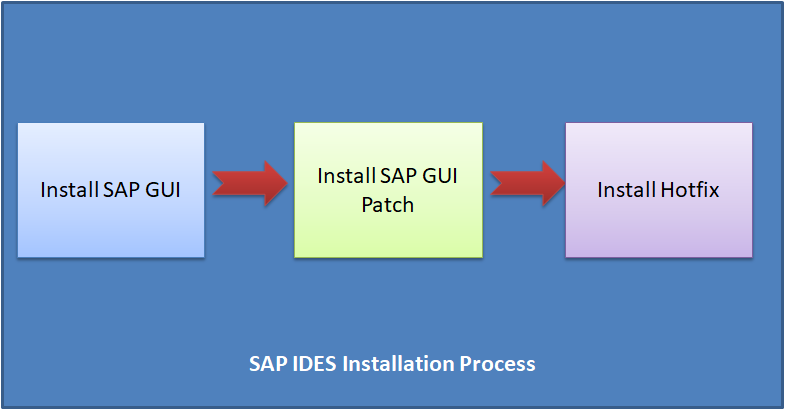
Part 1: SAP GUI Installation
Step 1: Download the SAP IDE provided by HEC Montréal from here and then unzip it.
Step 2: Go to the extracted folder and find the SetupAll.exe file
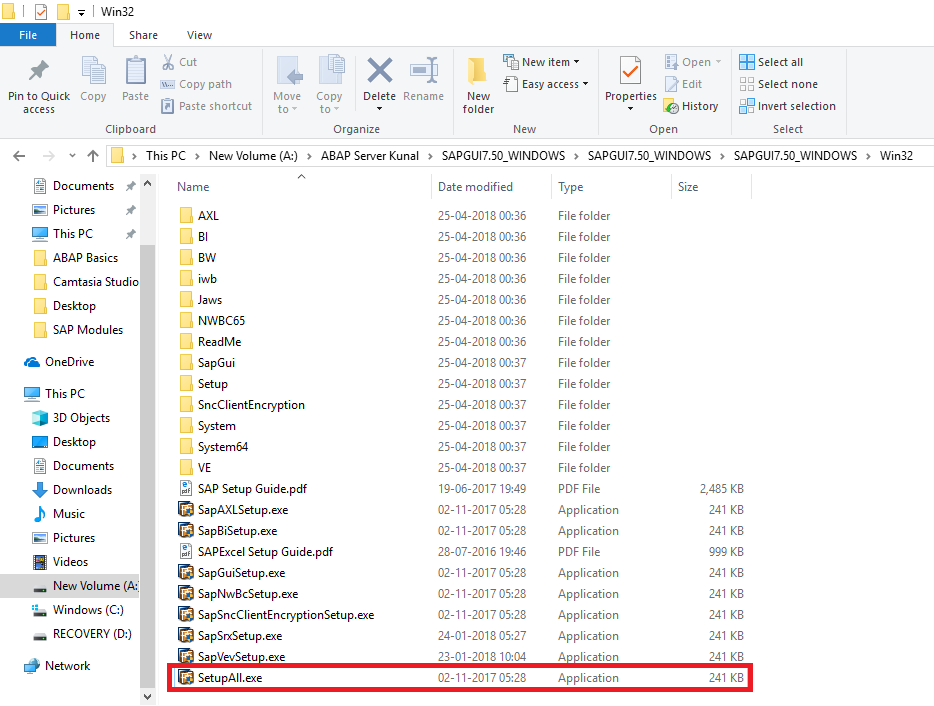
Double click on SetupAll.exe. If prompted with any message, select yes.
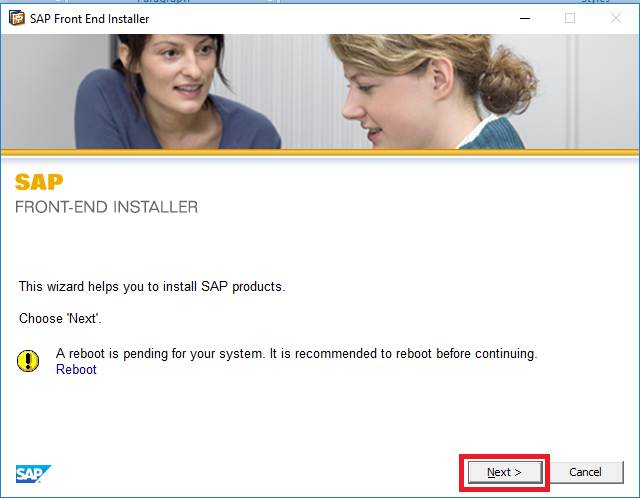
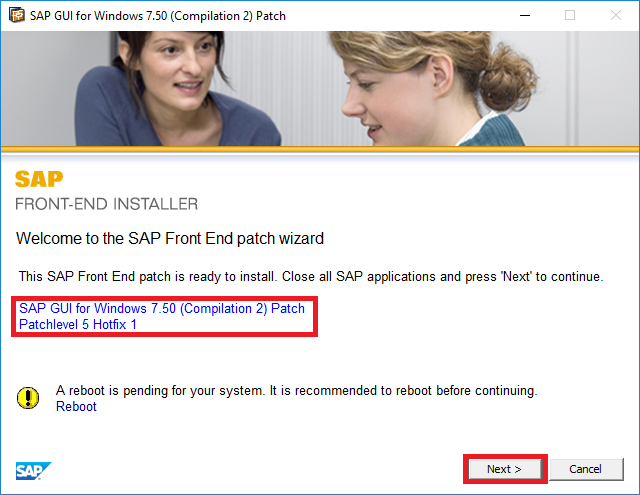
Step 3: A front-end installer will open, click Next.
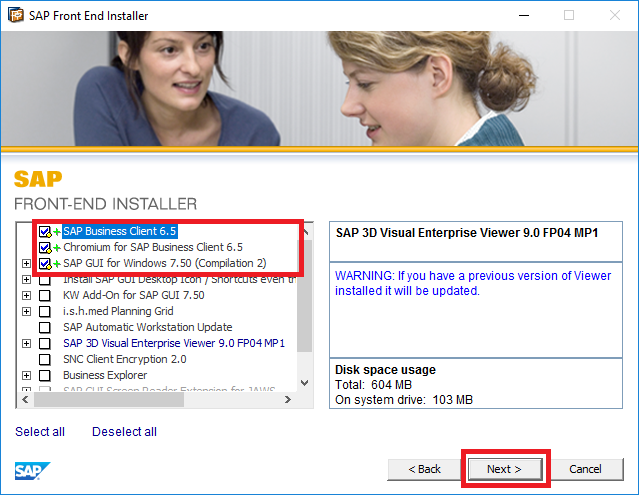
Step 4: Select the following and click Next:
- Client comercial SAP 6.5
- Chromium for SAP 6.5 Business Client
- SAP GUI for Windows 7.50 (Build 2)
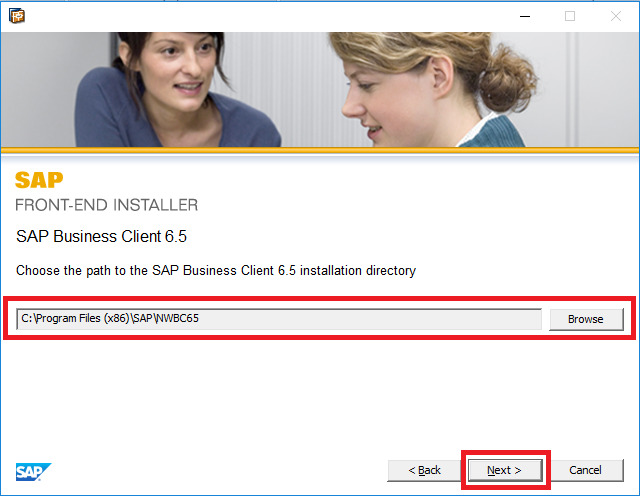
Step 5: By default the path will be given as
C: N- Program Files (x86) N-SAPNNNWBC65,
If you want to change, click Browse and select the path or basically click Next.
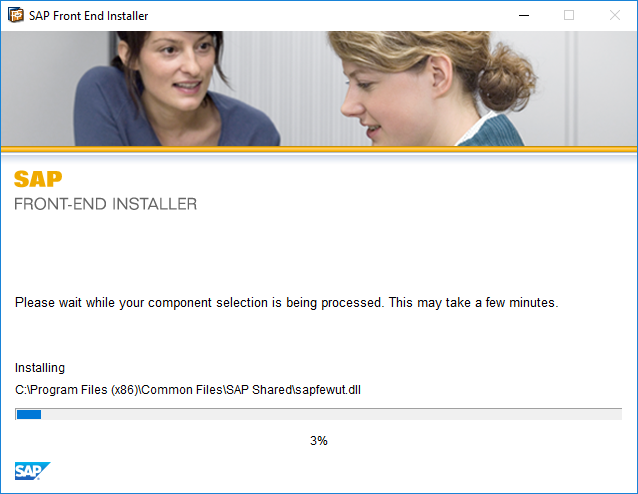
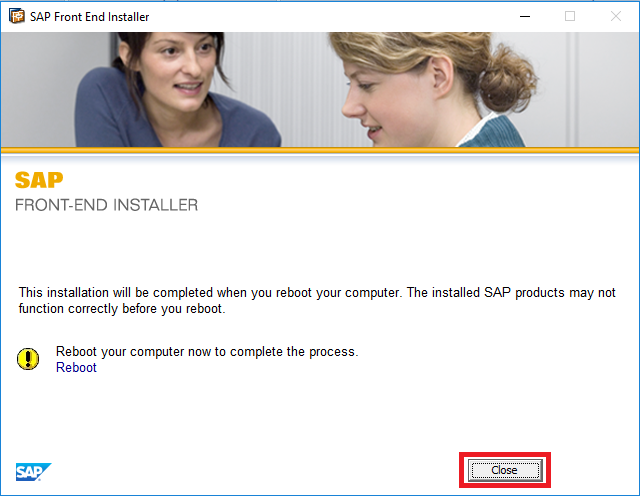
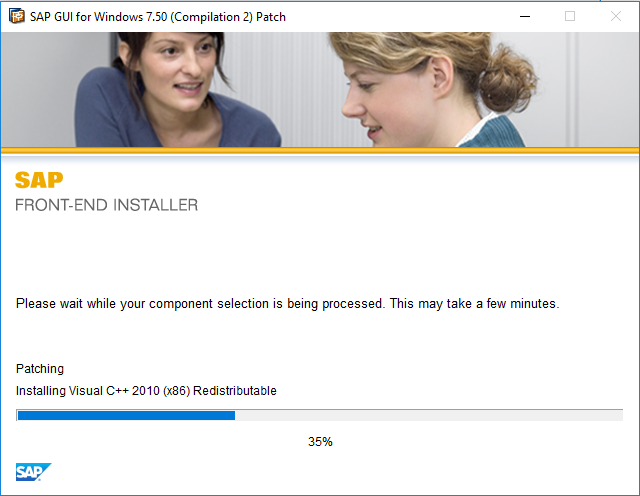
Step 6: Let the SAP IDES installer install all the necessary files.
Step 7: Once the setup is complete, click close.
This is How to Install SAP IDES Libre but you still need to learn how to configure it, so follow the next method.
Part 2: Installing the SAP GUI patch
Step 1: Download the SAP GUI patch provided by HEC Montréal from here and then double click to install it.
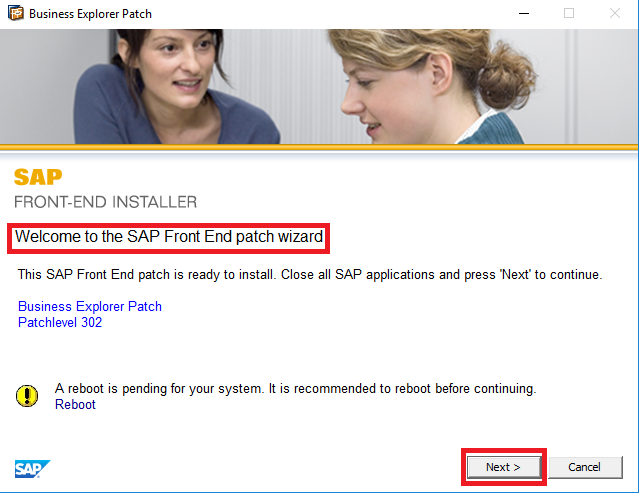
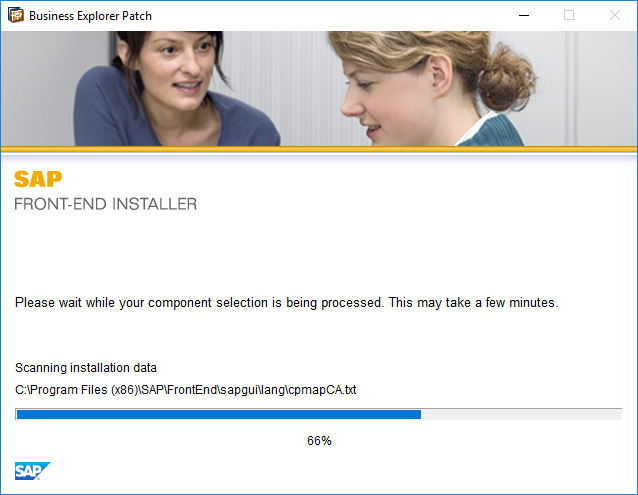
Step 2: Let the installation continue.
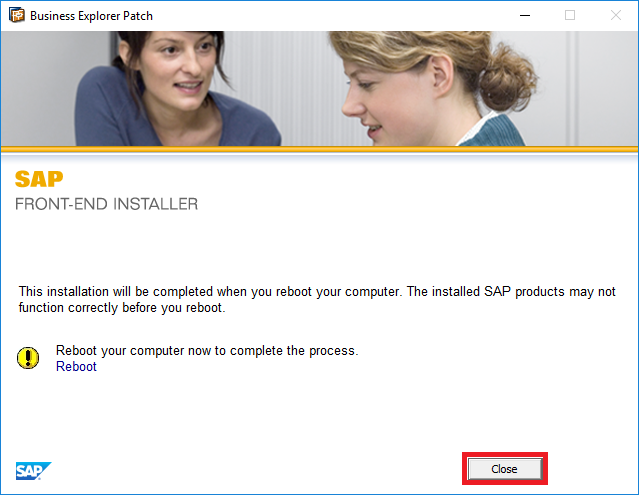
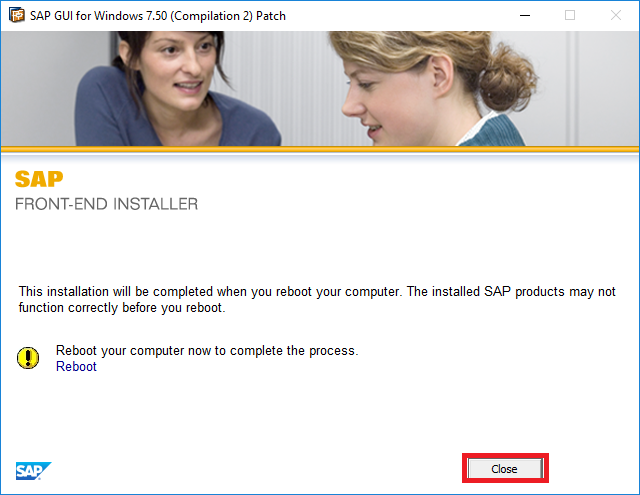
Step 3: Once the installation is complete, click Close.
Part 3: Installing SAP Hot Fix
Step 01: Download the SAP Hot Fix provided by HEC Montréal from here and then double click on it to install it.
Step 2: Let the installer install the hotfixes.
Step 3: Once the installation is complete, click Close.
Part 4: SAP Login Configuration
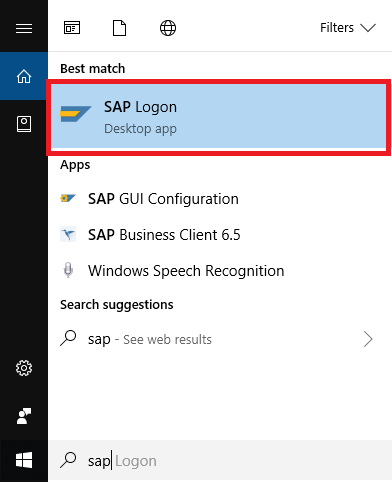
Step 1: After the above procedure is completed, find the SAP Logon in the start menu and then click on it.
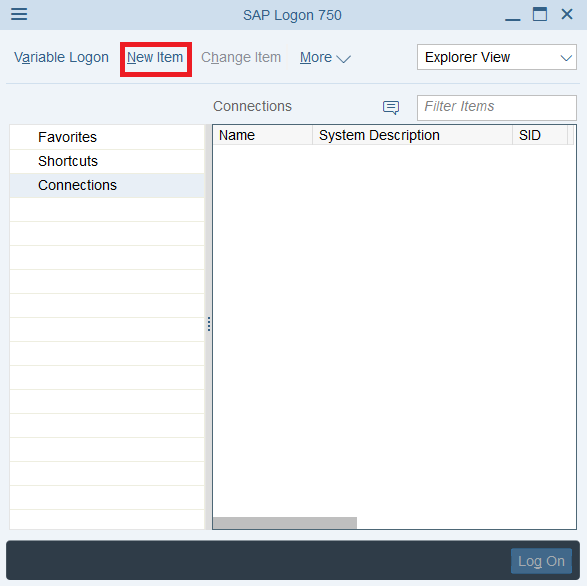
Step 2: Click on the new item as shown in the following image:
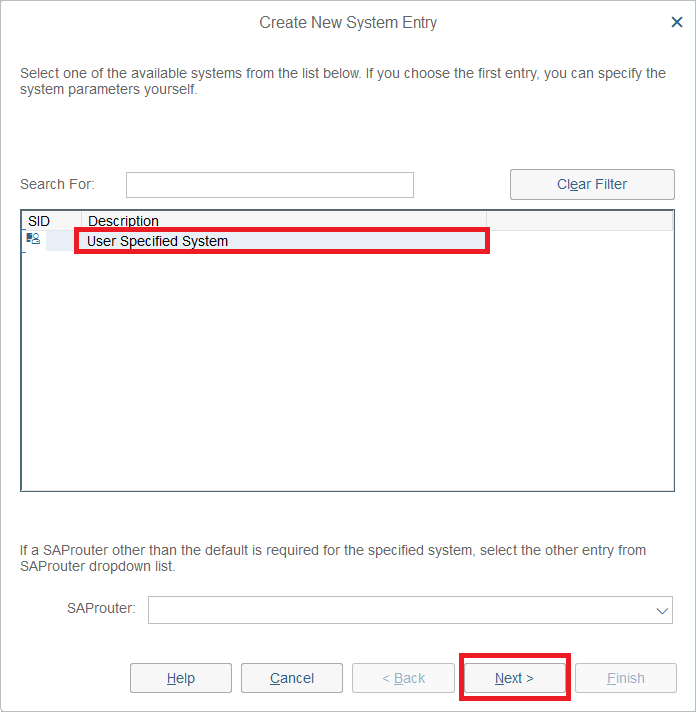
Step 3: Select "User Specified System" and click Next.
Paso 4: Ahora seleccione el tipo de conexión como «Server de aplicación personalizado» e introduzca lo siguiente según lo proporcionado por el propietario del servidor o el departamento de gestión. Para conseguir más información, visite esta página:Instancias del Servidor de Apps SAP
In my case:
- Connection type: Custom app server
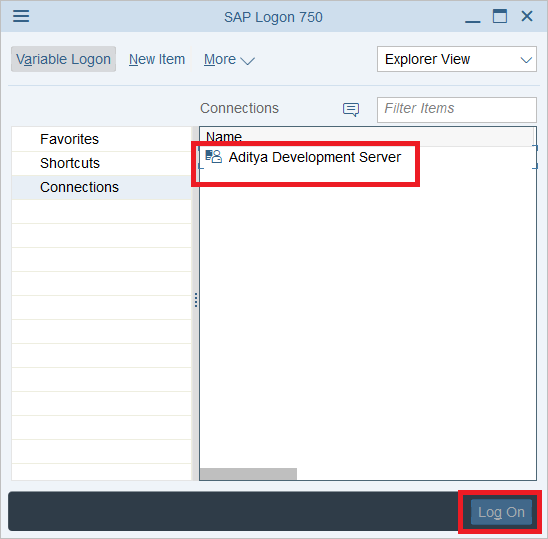
- Description: Aditya Development Server
- App server: server01.
- Instance number: 00.
- System identification: ERD.
Once you have entered the above values, click Next.

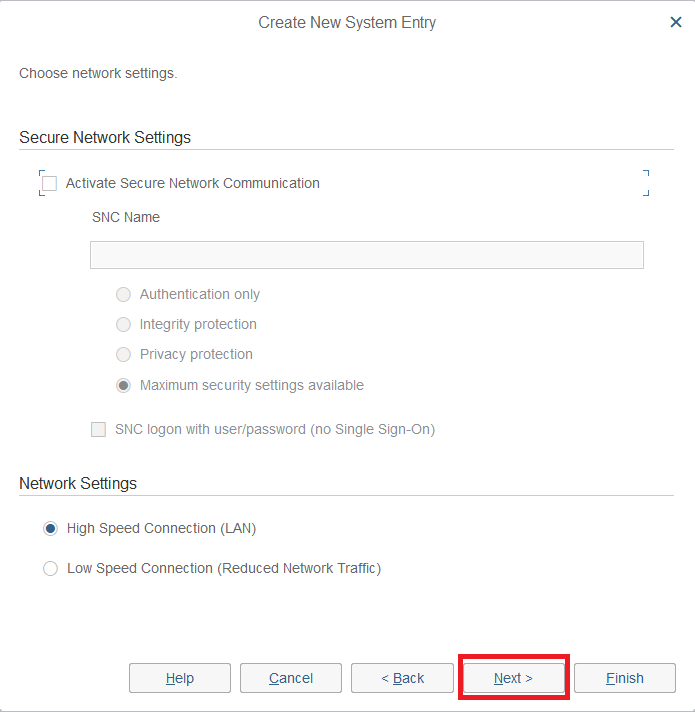
Step 5: Do not change any predefined settings and click Next.
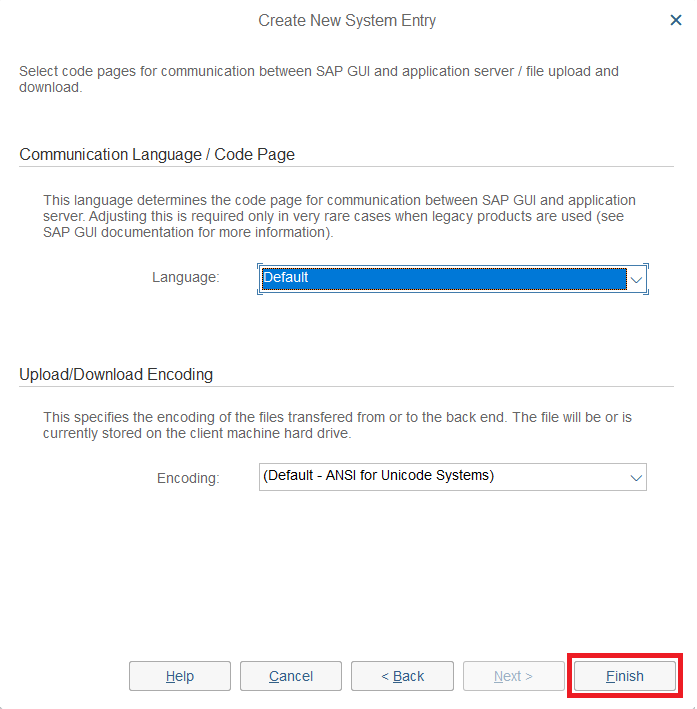
Step 6: Don't change any communication settings between SAP GUI and app server, basically click Next.
Step 7: That's it, you have successfully learned how to install SAP IDES for free. In conclusion, click on the connection you just created and happily code.
That's all you have successfully learned How to Install SAP IDES for Practice [Windows 10], but if you still have any questions regarding this tutorial, feel free to ask in the comment section.