In this post, we will show the basic code needed to add an author bio to your WordPress theme. Now this guide is aimed at developers who want the basic code to add to their theme. If you are not a developer and the theme you are using does not include an author bio, the best solution is to use a plugin, in which case you can check out our other post "How to add an author box to your WordPress site" for some suggestions. . Now, let's get into the code:
Author Bio PHP / HTML
The following sample code will help you get started adding your author's bio to your site. This code will display the name and description of the author. The name will be linked to the author's posts page. Usually this code would be added below your blog posts, so somewhere within the single.php or singular.php file. Just make sure to change the text_domain to the one for your theme. Text domain and you can change the "60" to the size you want your author avatar to be.
Bio CSS author example
Below is some CSS that you can add to your style.css file to give your author box some basic styling.
#author-bio {padding: 20px 0; border-top: 1px solid #ddd; border-bottom: 1px solid #ddd; } #author-avatar {float: left; margin-right: 20px; border: 1px solid #D6D6D6; border-radius: 5px; } #author-details {overflow: hidden; } #author-details h2 {font-size: 18px; font-weight: bold; margin: 0 0 15px; }How to add the description of the biography of its author?
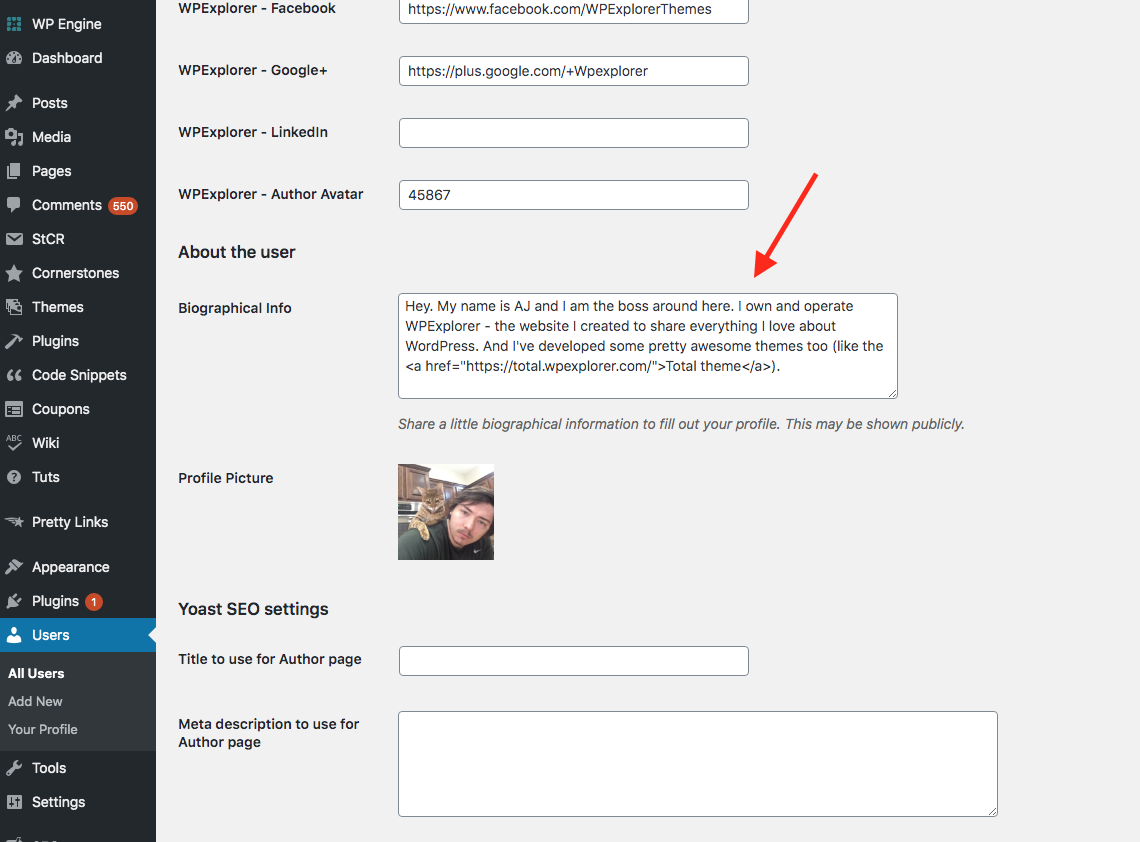
In order for the description to appear in the bio section, you need to add it to your user profile in your WordPress dashboard. This is done in the user edit screen which you can enter through Users> Your profile and edit the «Biographical information"Field.