

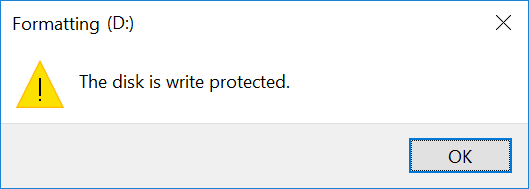
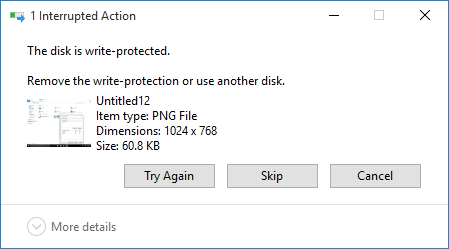
Enable or disable write protection for the disk in Windows 10: If write protection is enabled, you will not be able to modify the contents of the disk in any way, which is quite frustrating if you believe me. Many users are not aware of the write-protect feature and simply assume that the disk is damaged and therefore cannot write anything to the drive or disk. But you can be sure that the disk is not damaged, in fact when the write protection is activated, you will get an error message that says "The disk is write protected". Please remove write protection or use another disk ».
As I said, most of the users consider write protection to be a problem, but really, it is about protecting the disk or drive against unauthorized users who intend to perform write operations. Anyway, without wasting time let's see how to enable or disable write protection for disk in Windows 10 with the help of the following tutorial.
Enable or disable write protection for disk in Windows 10
Make sure to create a restore point in case something goes wrong.
Method 1: Enable or disable write protection using the physical switch
The memory card and some USB drives come with a physical switch that allows you to enable or disable write protection without any hassle. But be aware of the fact that the physical switch will vary depending on the type of disk or drive you have. If write protection is enabled, it will override any other method listed in this tutorial and will remain write protected on all connecting PCs until unlocked.
Method 2: Enable or disable write protection for the disk in registry editor
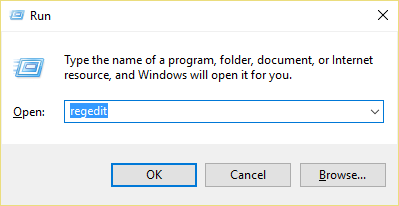
1.Press Windows key + R, then type regedit and press Enter to open Registry Editor.
2.Navigate to the following registry key:
Power Control System and Computer ServicesUSBSTOR
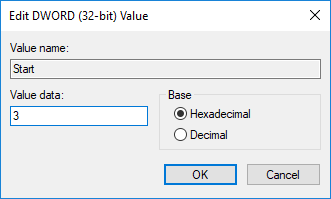
3. Make sure to select USBSTOR, and then double-click Start DWORD in the right pane of the window.
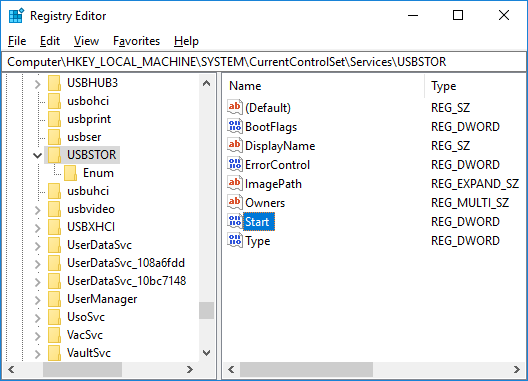
4.Now change the Start DWORD value to 3 and click OK.
5.Close Registry Editor and restart your PC.
Method 3: Enable or disable write protection for the disk in Group Policy Editor
Note: This method will not work for Windows 10 home users as it only works for Windows 10 Pro, Education and Business users.
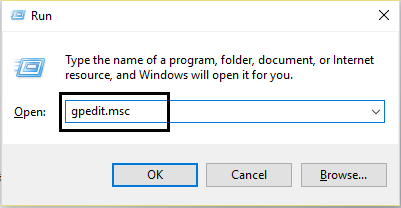
1.Press Windows key + R, then type gpedit.msc and press Enter.
2.Navigate to the following path:
User Configuration> Administrative Templates> System> Removable Storage Access
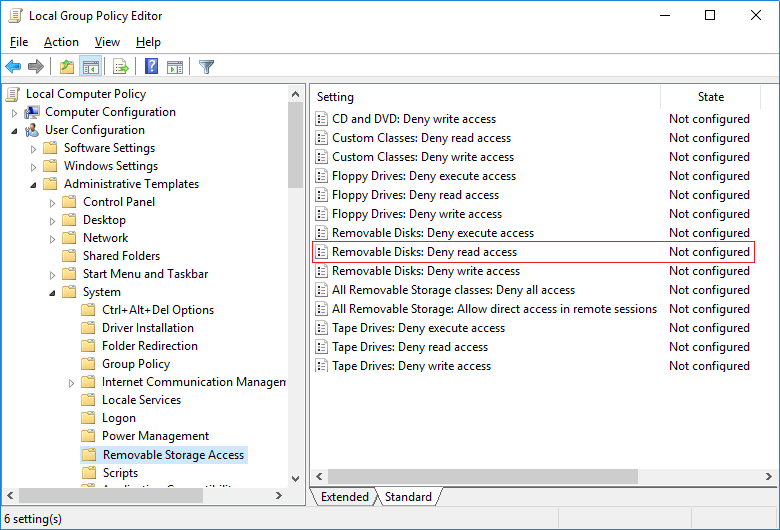
3.Select Access to Removable Storage that in the right pane of the window double click on "Removable Disks": Deny read access ".
4. Make sure to select Disabled or Not configured to enable write protection and click OK.
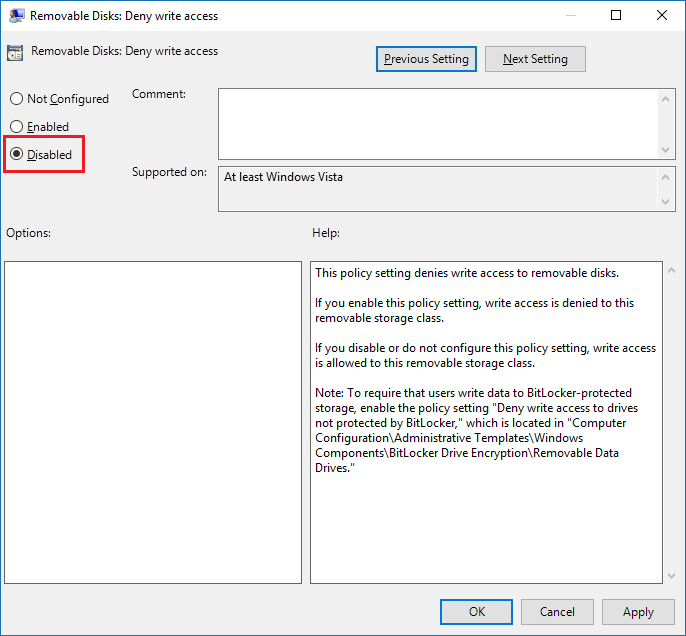
5.If you want to disable write protection, select On and click OK.
6.Close everything and restart your PC.
Method 4: Enable or disable write protection for disk using Diskpart
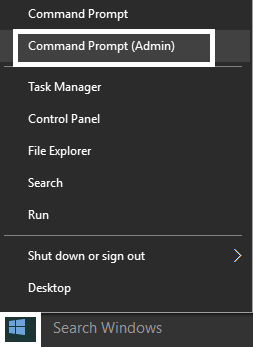
1.Press Windows key + X and then select Command Prompt (Admin).
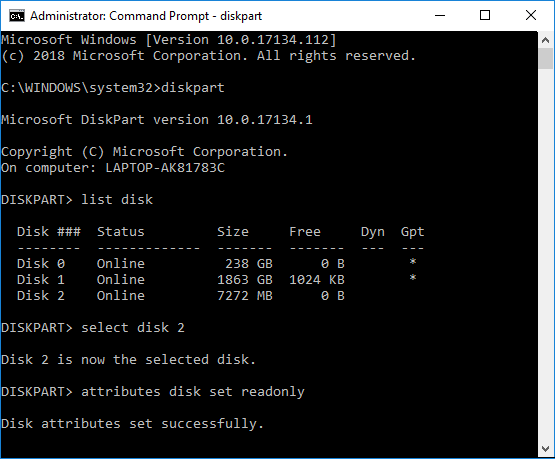
2. Type the following command in cmd one by one and hit Enter after each one:
Disk from the disk list (Make a note of the number of the disk you want to Enable or Disable Write Protection) select disk # (Replace the # with the number you noted above)
3.Now to enable or disable write protection use the following commands:
To enable write protection for the disk: read-only disk set attributes
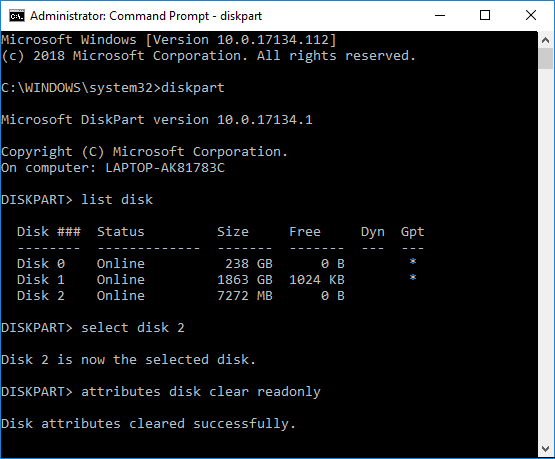
To disable write protection for the disk: disk clear readonly attributes
4.Once finished, you can close the command line and restart your PC.
That's all you've learned about how to enable or disable write protection for disk in Windows 10, but if you still have any questions about this tutorial, feel free to ask in the comment section.


