If you are new to search engine optimization (SEO) or are new to Screaming Frog , This post is for you!
When trying to strike a balance between learning new SEO concepts as a part-time intern and become familiar with the tools we use on a daily basis, notoriously we had less time to interact with the concepts .
My first intern crawl was for a site with over hundreds of thousands of URLs and I ran into a handful of issues that I had to learn from. When you start working on SEO, you will find powerful tools to help you find valuable data. It is important to be able to use and navigate these tools as efficiently as possible.
At R Marketing Digital, a tool we often use is called Screaming Frog, a website crawler that crawls URLs and returns valuable data for us to analyze to audit technical and on-site SEO.
In this blog, we will cover how to configure your device for Screaming Frog and the settings that will be made to crawl a site and run its crawl.
Setting up your device
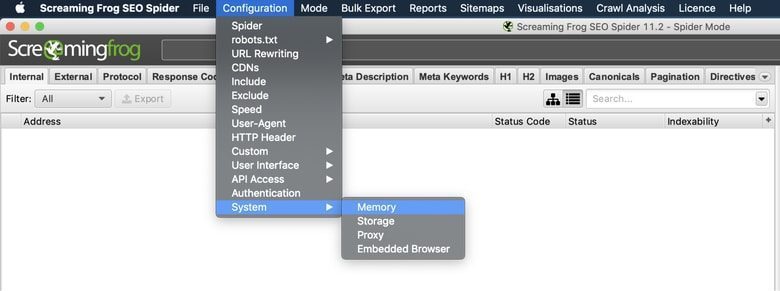
When you start crawling sites, you will find that some sites are larger than others and require more memory from your system to store and process the data that Screaming Frog finds. Before you start crawling websites, it would be beneficial to allocate more RAM from your system to Screaming Frog, allowing for greater speed and flexibility for all future crawls. This will be necessary for sites with more than 150k URLs to crawl.
Settings> System> Memory
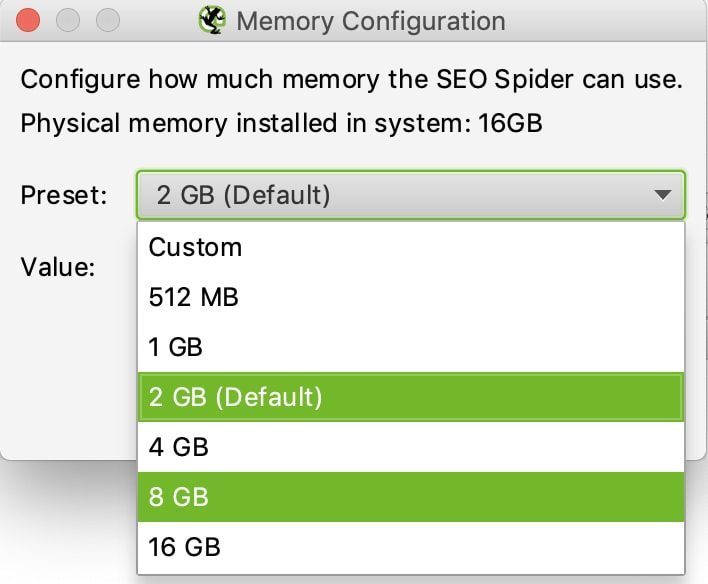
The default settings for 32-bit machines are 1 GB of RAM and 2 GB of RAM for 64-bit machines. I recommend using 8GB, which allows Screaming Frog to crawl up to 5 million URLs. Screaming Frog recommends using 2GB less than your total RAM, but be careful if you dedicate your total RAM, your system may experience a crash.
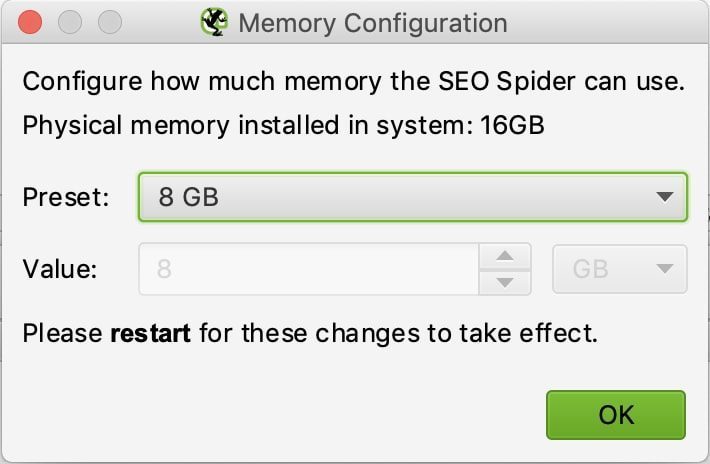
When you are done allocating more RAM to Screaming Frog, you will need to restart your software for the changes to take effect.
Configurations
Once you start crawling sites, it is important to adjust your settings accordingly to ensure Screaming Frog is crawling as efficiently as possible. Here I will show you some basic settings that I like to use.
Settings> Spider> Basic
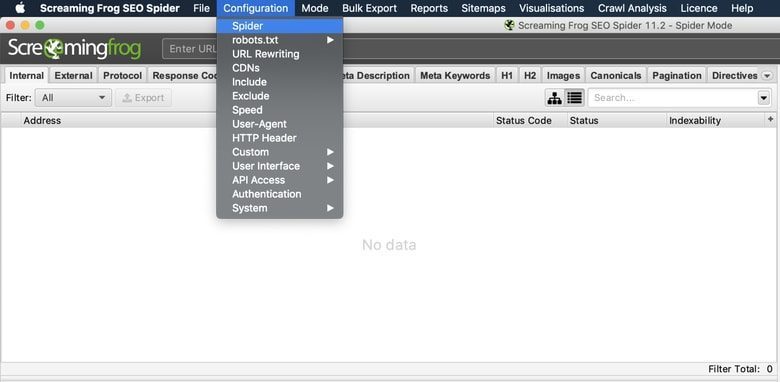
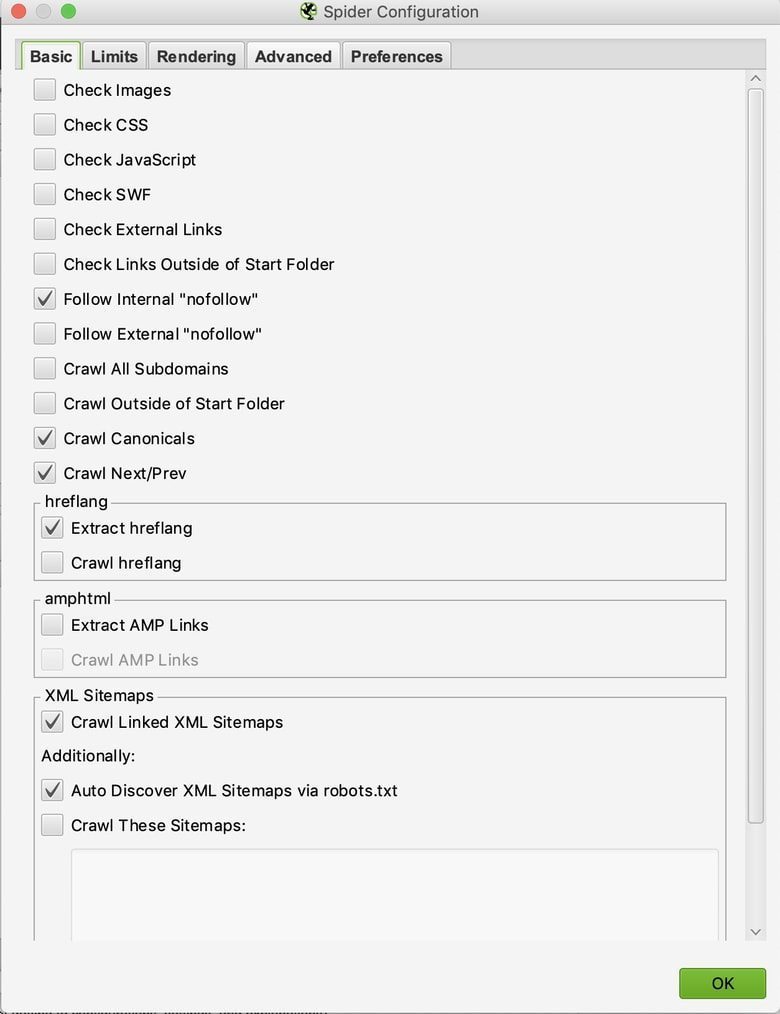
These are the default settings Screaming Frog has for each crawl. It is a good habit to set your specific settings for the trace you are about to run and make adjustments here.
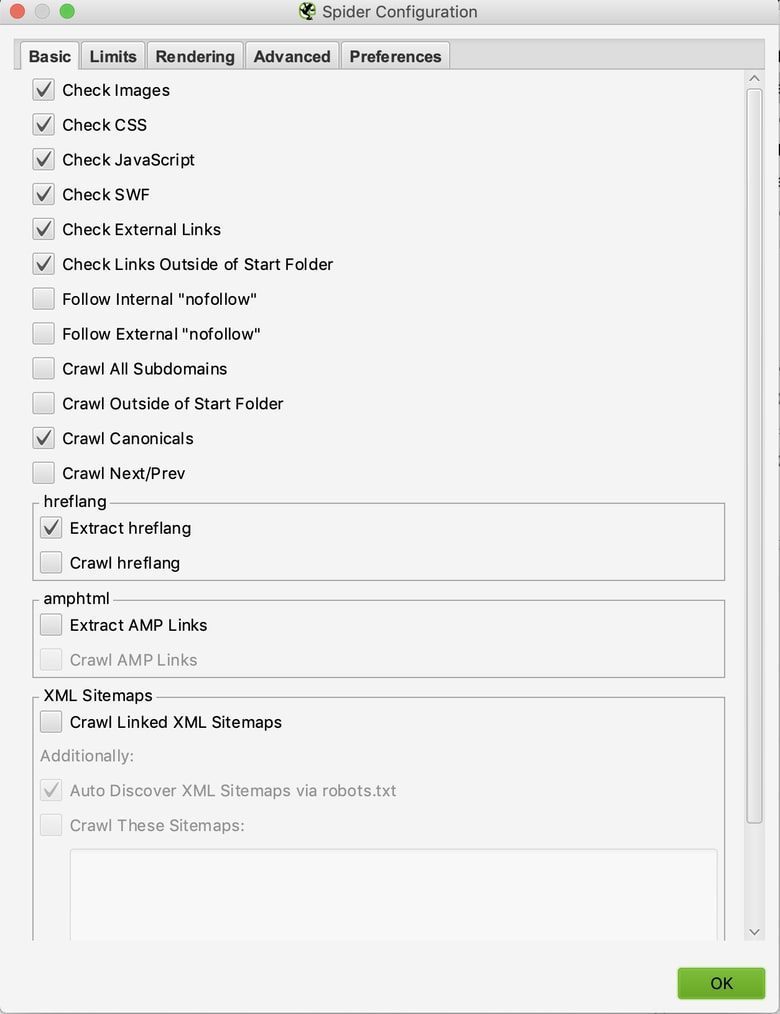
These are the basic settings I use here at R Marketing to run my technical audits:
- Follow " nofollow ”Internal : allows us to track internal links with "nofollow attributes" to verify if our site is implementing this tag to show content that we want / do not want to discover or index.
- Track Canonicals : allows us to track canonical link elements to verify if we are indicating which pages we want to classify.
- Track next previous : allows us to track rel = "next" and rel = "prev" elements to give us an idea of whether our site clearly communicates the relationship between the pages.
- Extract hreflang - Displays the hreflang language, region codes, and URL to verify that we are communicating the different variations of our site.
- Track site maps Linked XML : allows us to discover URLs in site maps XML.
- Automatic discovery of XML sitemaps via robots.txt : allows us to find site maps discoverable via robots.txt

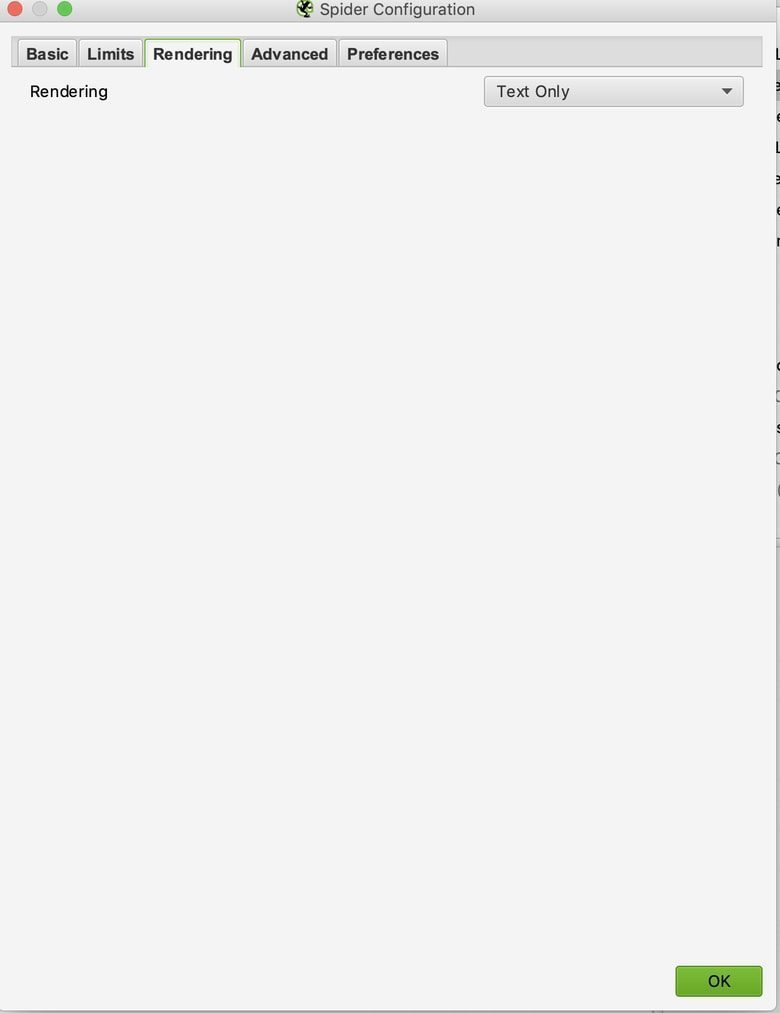
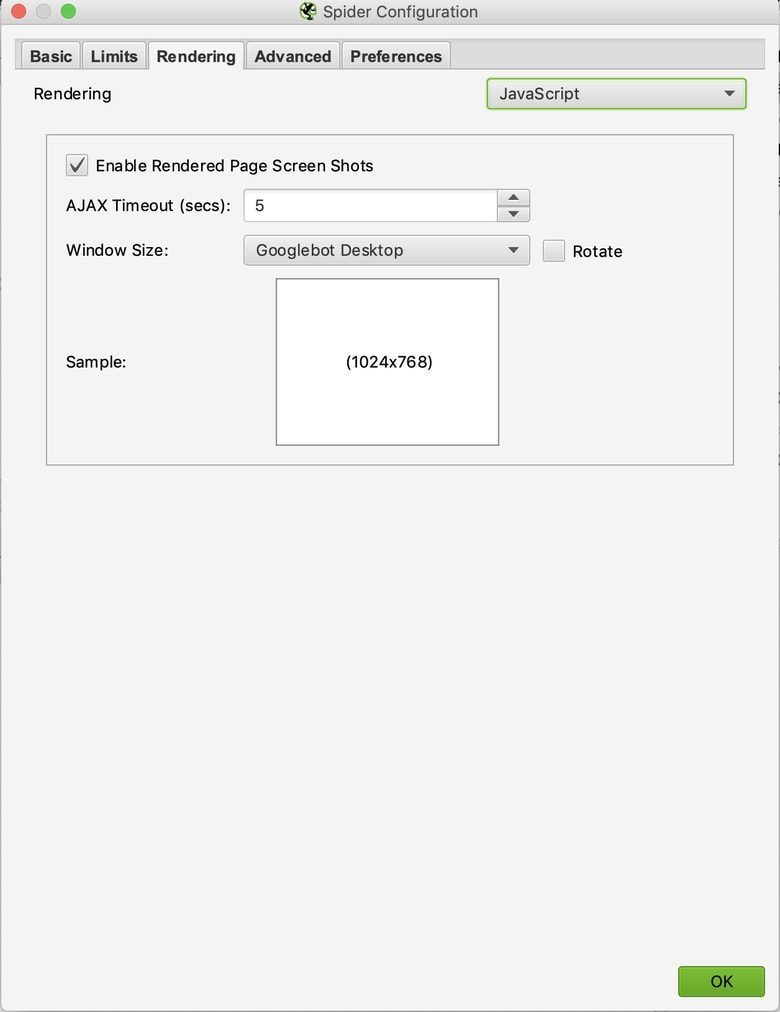
If you are dealing with a site that uses JavaScript and you want to check internal navigation, you will need to run a separate crawl with different settings for that specific page, not the entire domain. Navigate to the "rendering" tab to make sure our crawler can find those instances.
Settings> Spider> Basic> Rendering
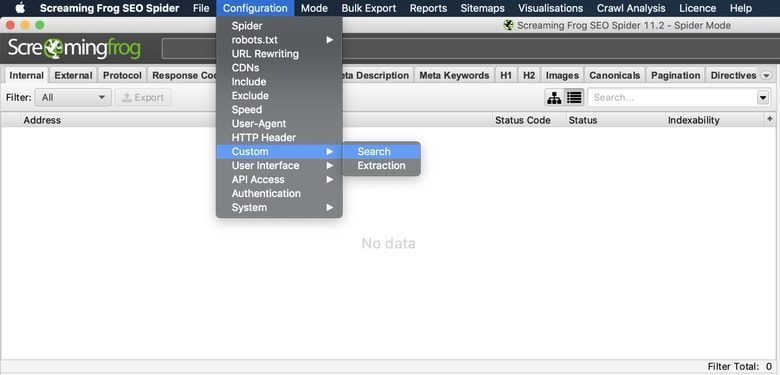
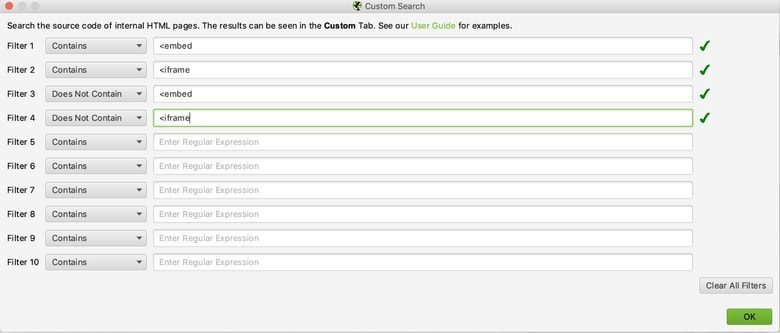
After the spider settings, we always need to set custom filters for specific things that we want to show in our crawl.
Settings> Custom> Search
I regularly use these filters to include and exclude things that I want to keep an eye on and to make sure all pages are taken into account:
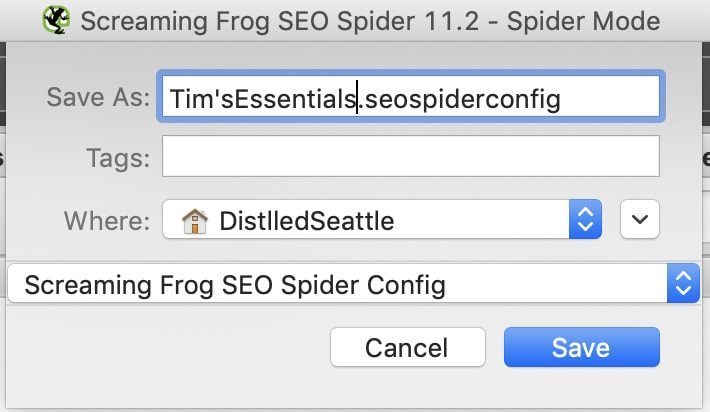
Now that you have configured your settings for your initial crawl, you can save these settings for future crawls so you don't have to go through this process every time. Just load the settings you need before running each scan.
File> Settings> Save As ...
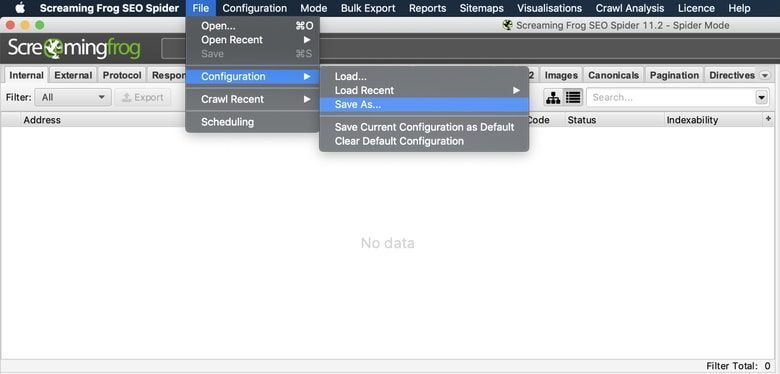
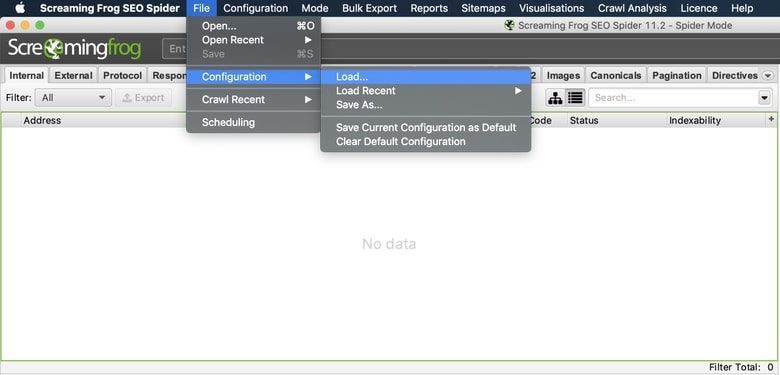
File> Settings> Load ...
Tracking your first site
Now that we've set up our system and made our settings, the only thing left to do is start crawling our site!
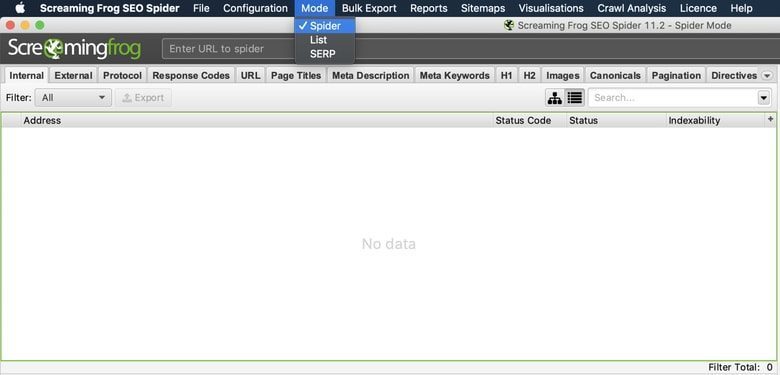
To crawl a website, you'll want to use Screaming Frogs' default "Spider" mode.
Mode> Spider> Enter URL> Click Start

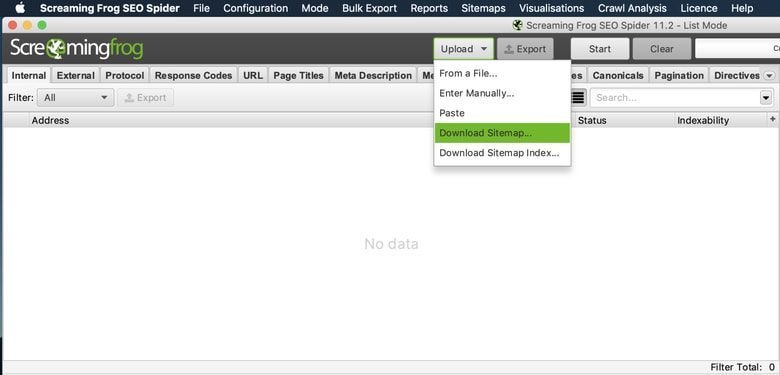
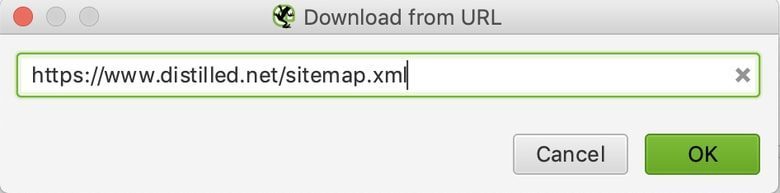
In addition to the Spider mode, I also use the "List" mode which will crawl a list of URLs that can come from a file or from a simple copy and paste. For this example, we will use the sitemap of a website.
Mode> List> Upload> Download sitemap

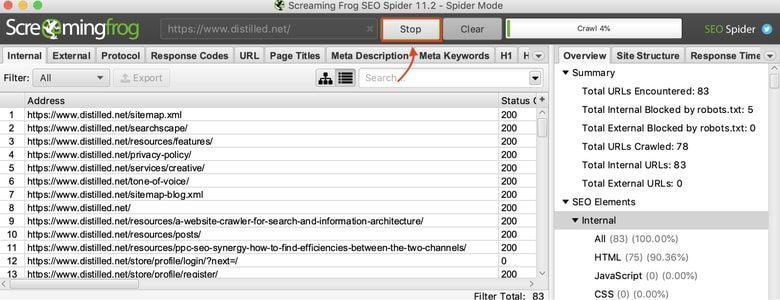
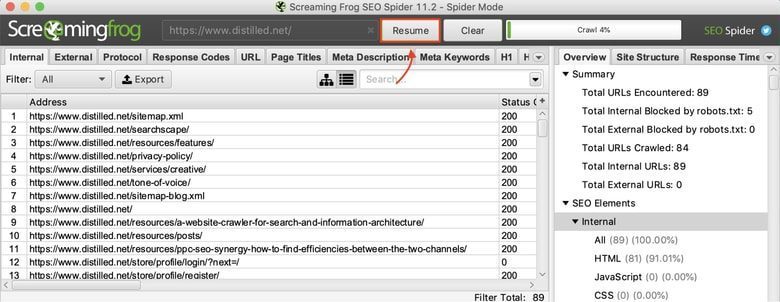
Important things to keep in mind when crawling:
- You can stop and resume your crawl as needed.
- Shutting down the system or exiting Screaming Frog will cause your data to be lost.
- You can always save your tracking and resume to finish later.
After crawling our site, it's time to use the data we've collected and give it some context.
If you'd like to share your first Screaming Frog experience, have any questions or comments, or found it helpful, please leave a comment below!