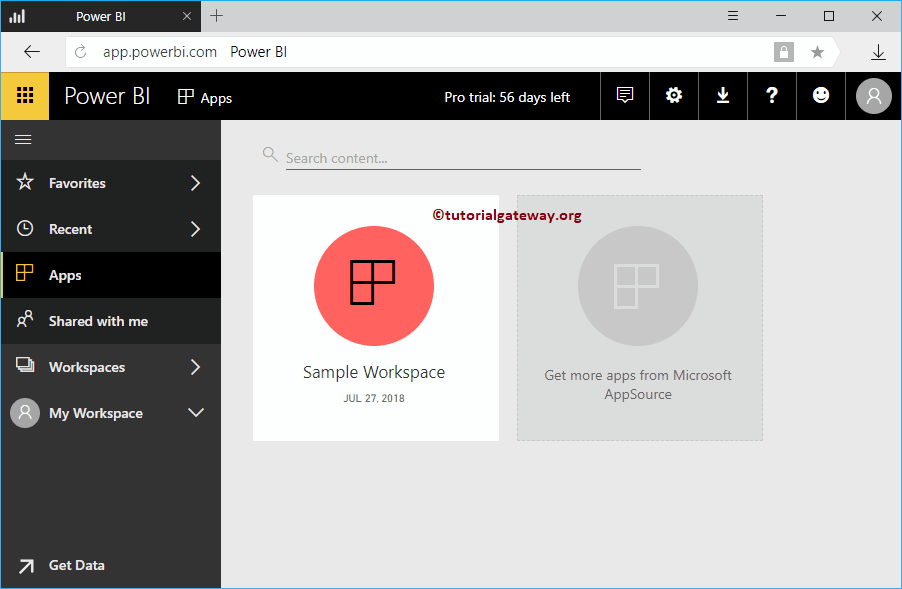
Let me show you the step-by-step approach to editing the Power BI app with a practical example. Before we start editing the Power BI app, let me show you the existing app in my Power BI workspace.
To edit the Power BI app demo, we used the sample workspace app we created earlier. I suggest you check out the Publish App article to understand Power BI app creation.
How to edit the Power BI app
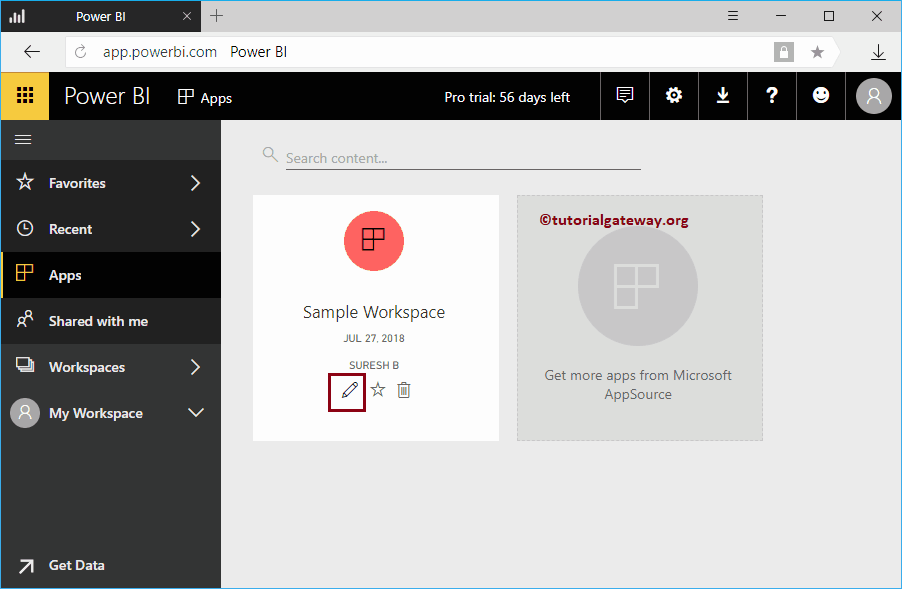
Hover over your app and click the edit button, as shown below.
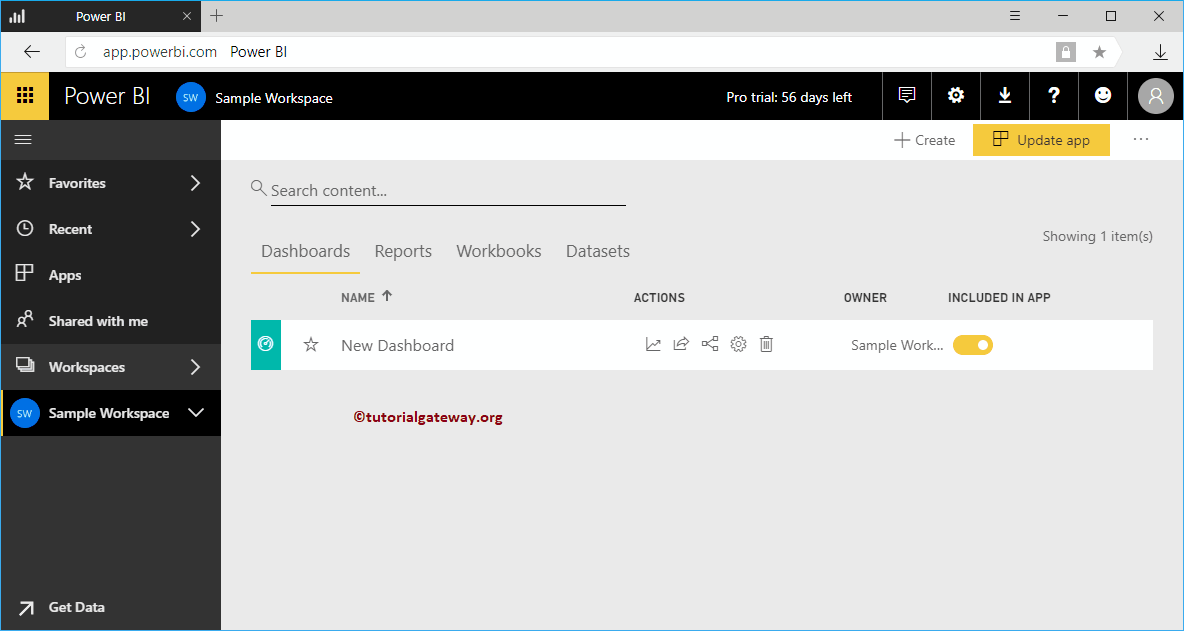
Clicking on that button opens the following window. Click on the dashboard to edit tiles, reports, etc.
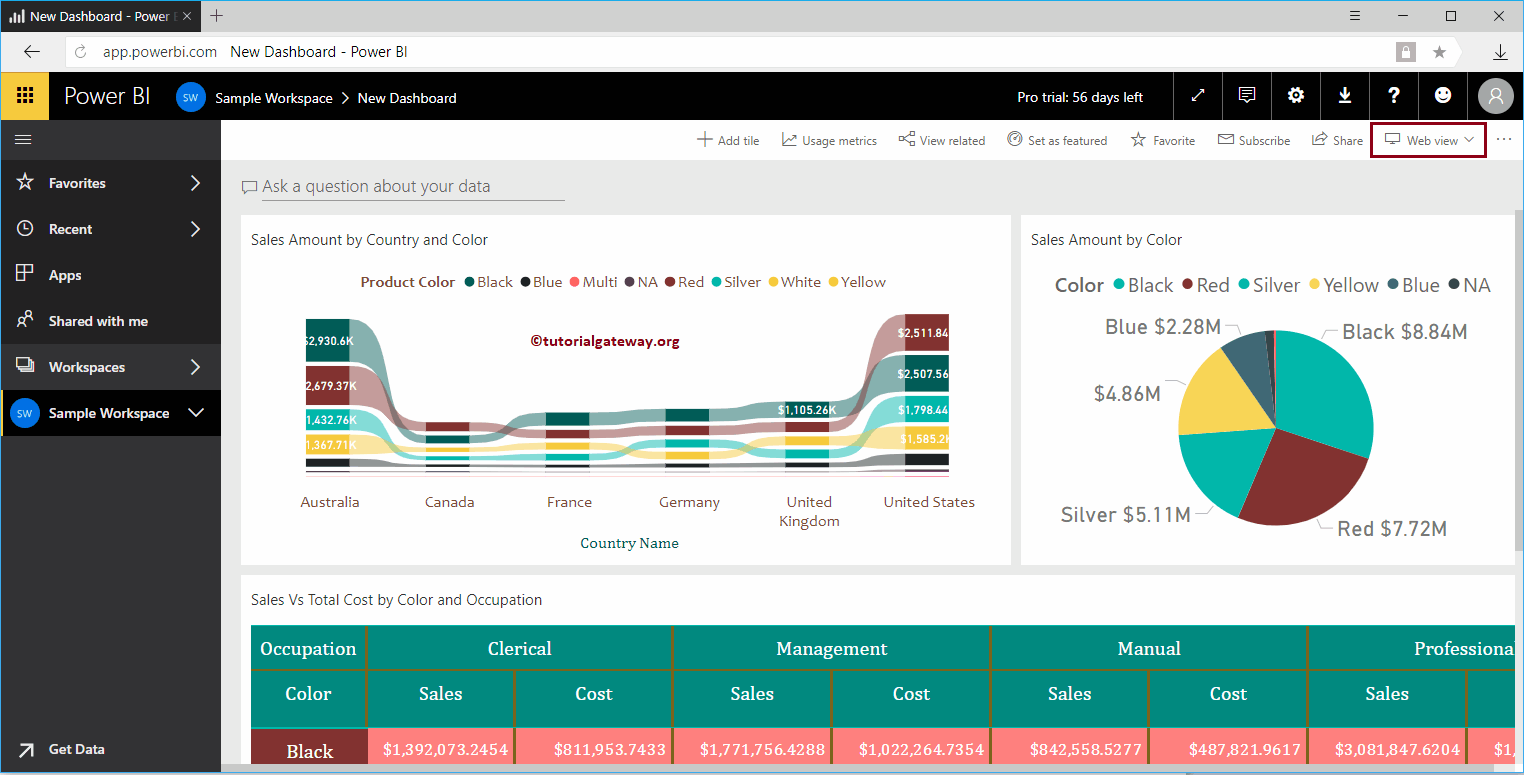
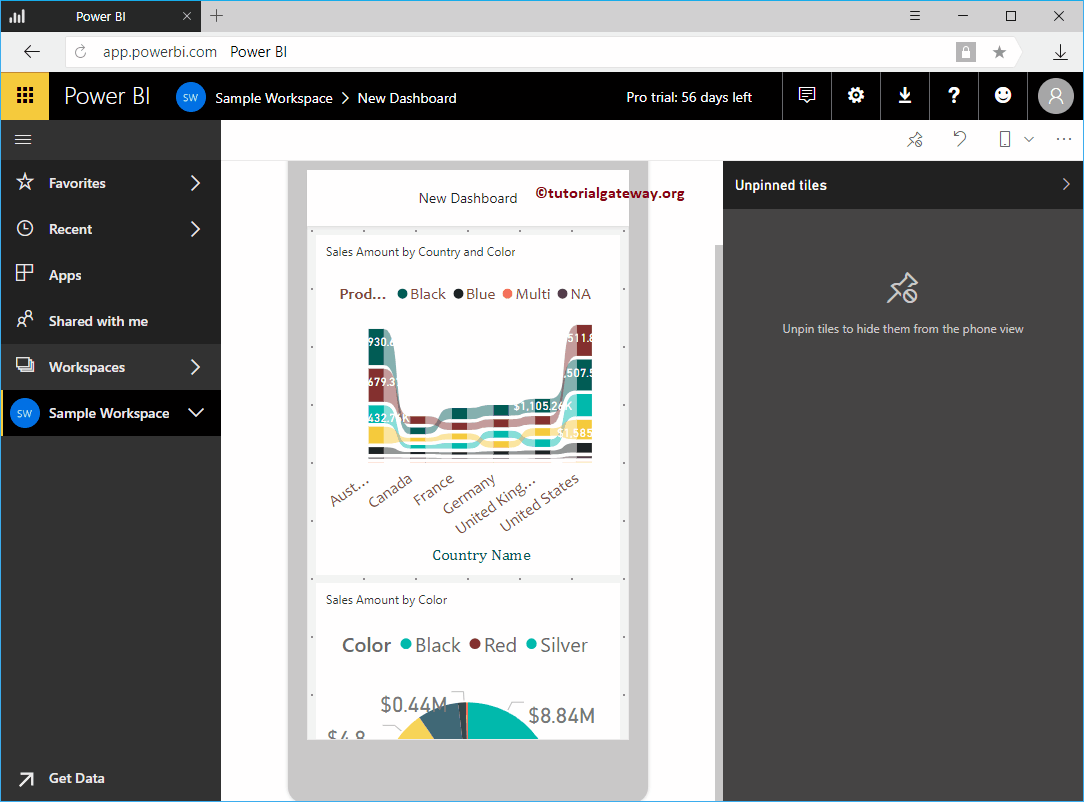
In the screenshot below, you can see the dashboard. By default, it shows the web preview.
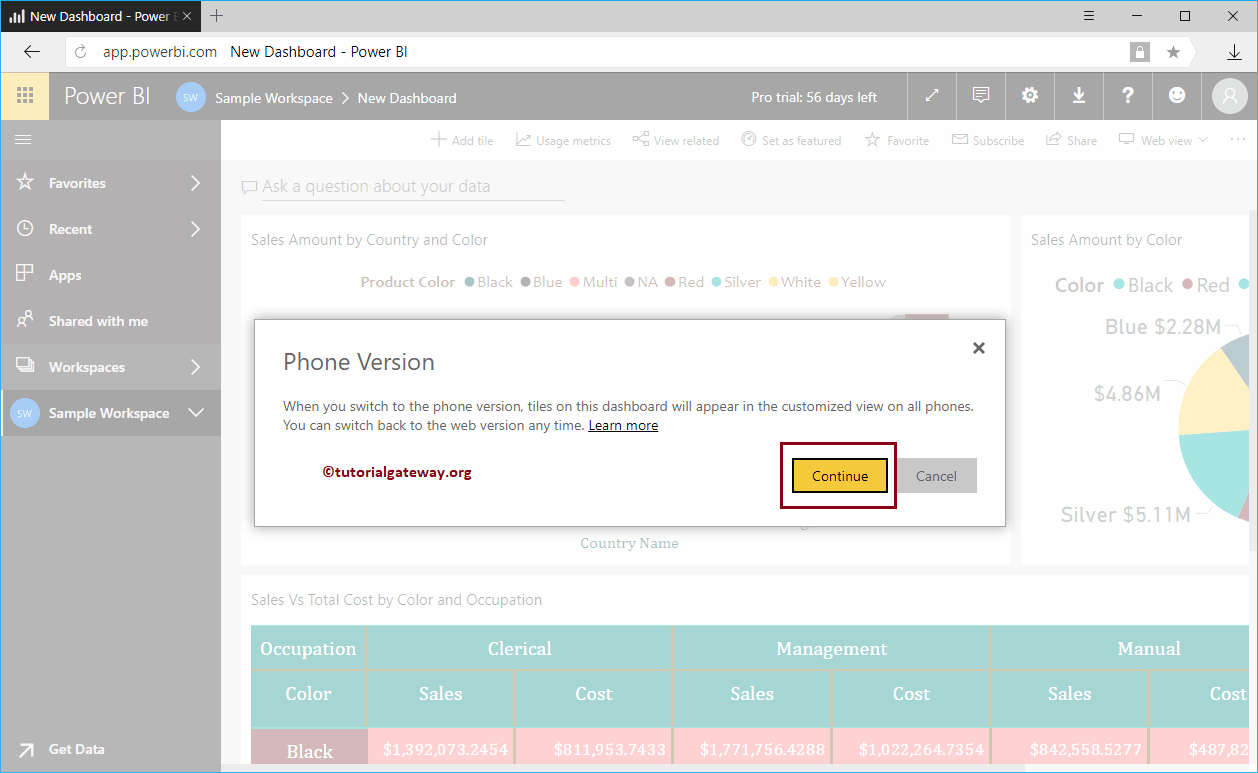
It means that the changes you have made here apply to the web preview. Clicking that little down arrow switches you to the phone preview. So let me hit the phone preview.
Upon selecting the phone preview, a new window will appear, click continue.
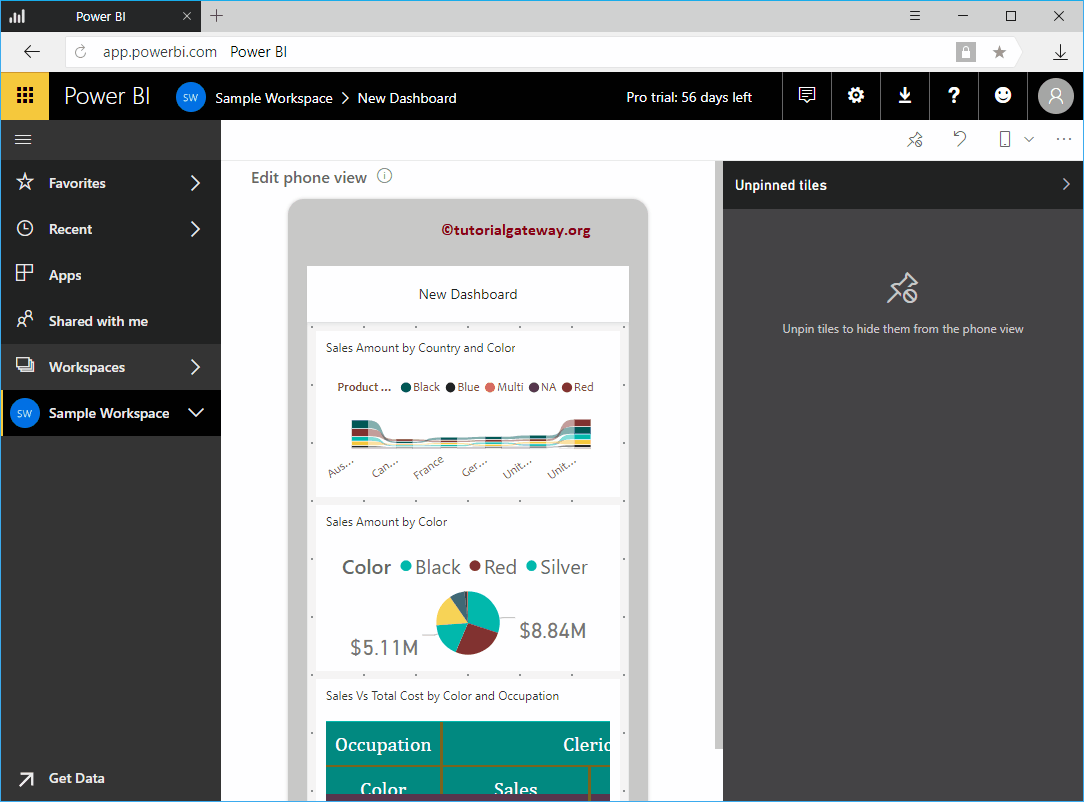
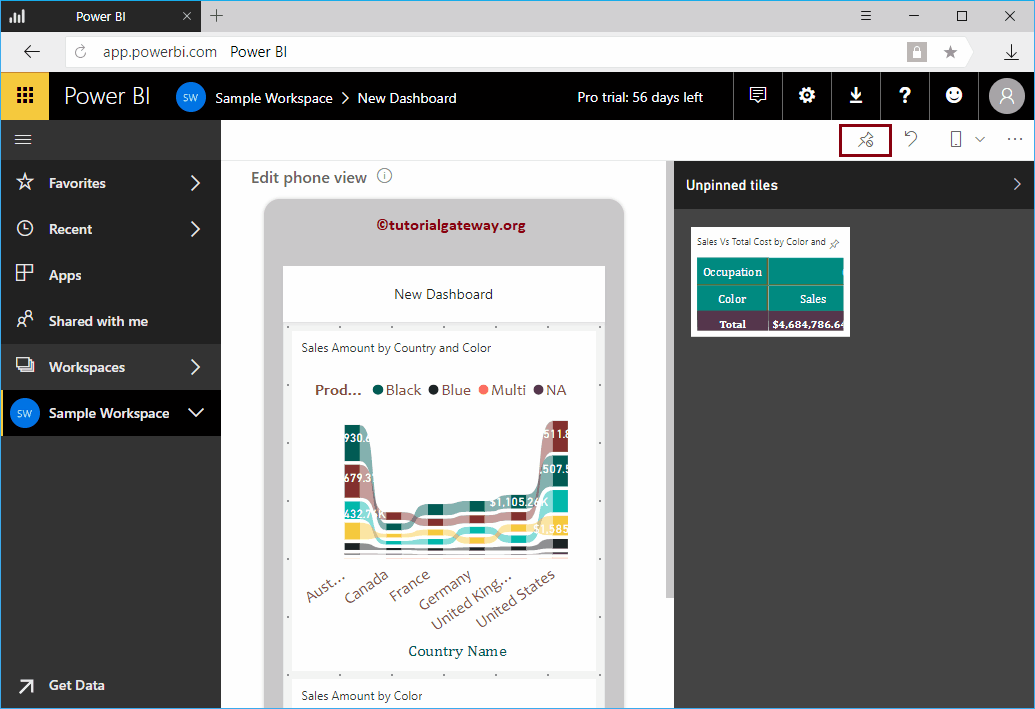
Now you can see the preview of the phone. You can use this window to change the size and location of each tile according to your needs.
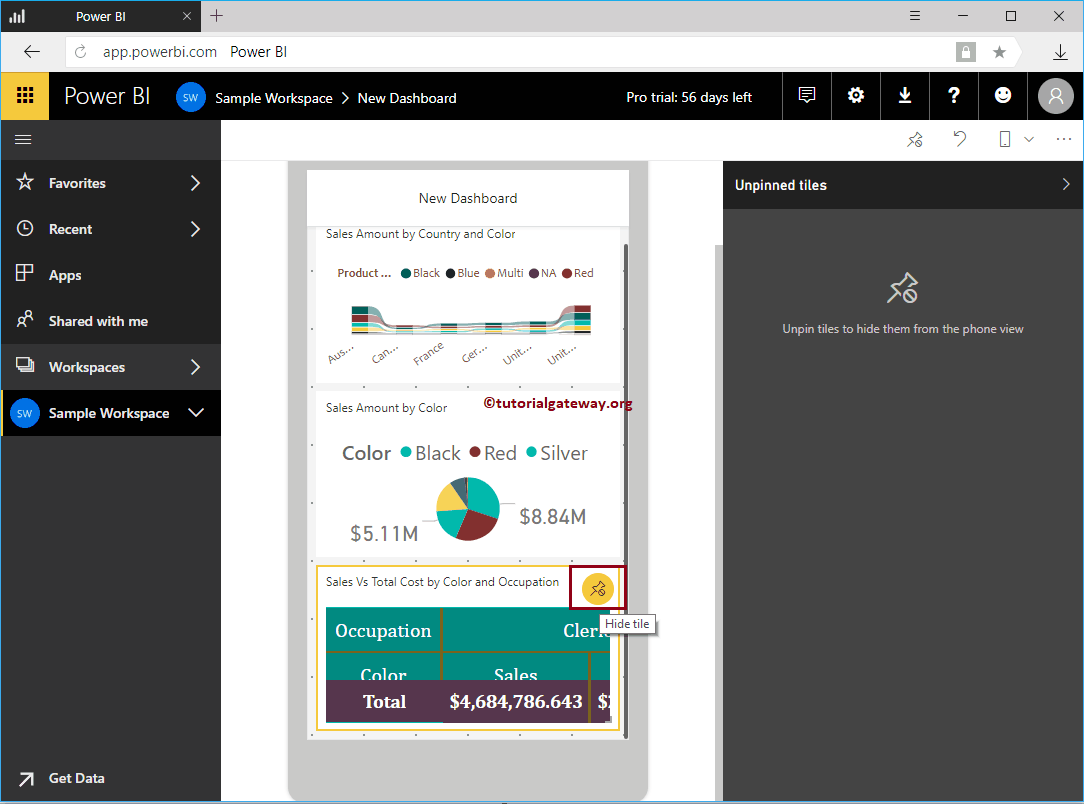
Clicking the little Hide Tile button removes that tile from the panel and places it on the unfixed tiles. Let me push that button
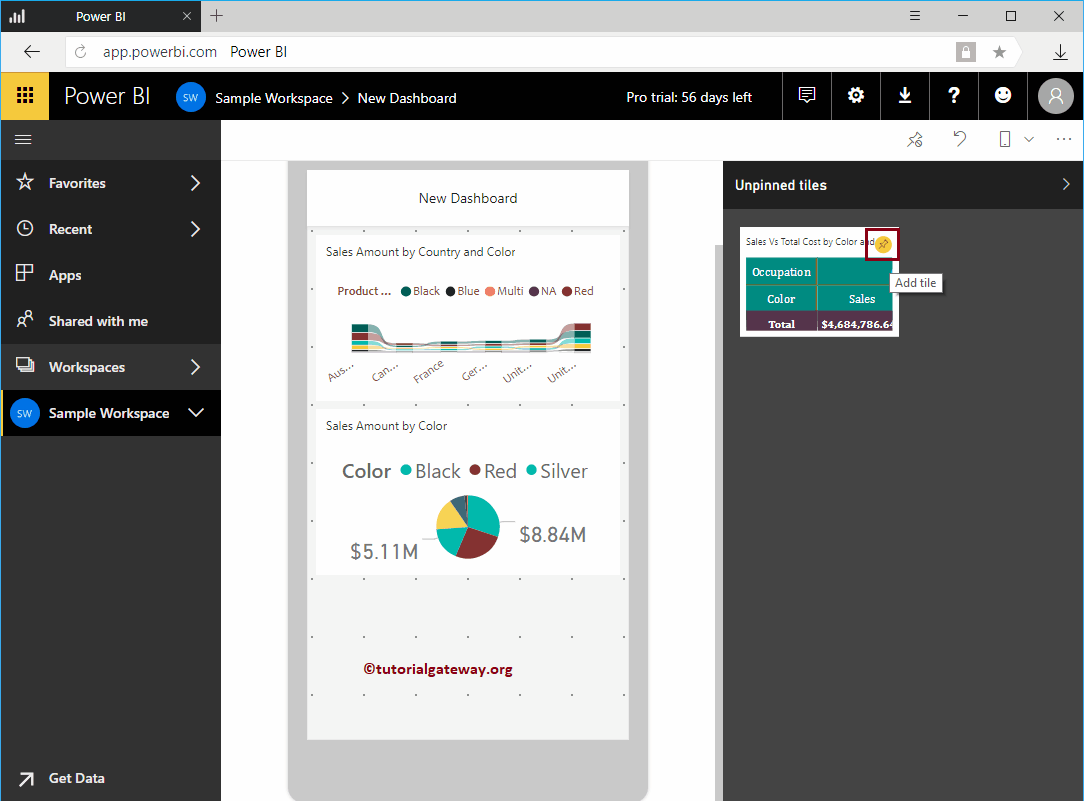
You can see that the report was removed from the dashboard. By clicking the Add tile button, you can place it inside the dashboard.
Let me push that button
You can see that there are no unfixed tiles.
Use the button below to remove all tiles from the dashboard.
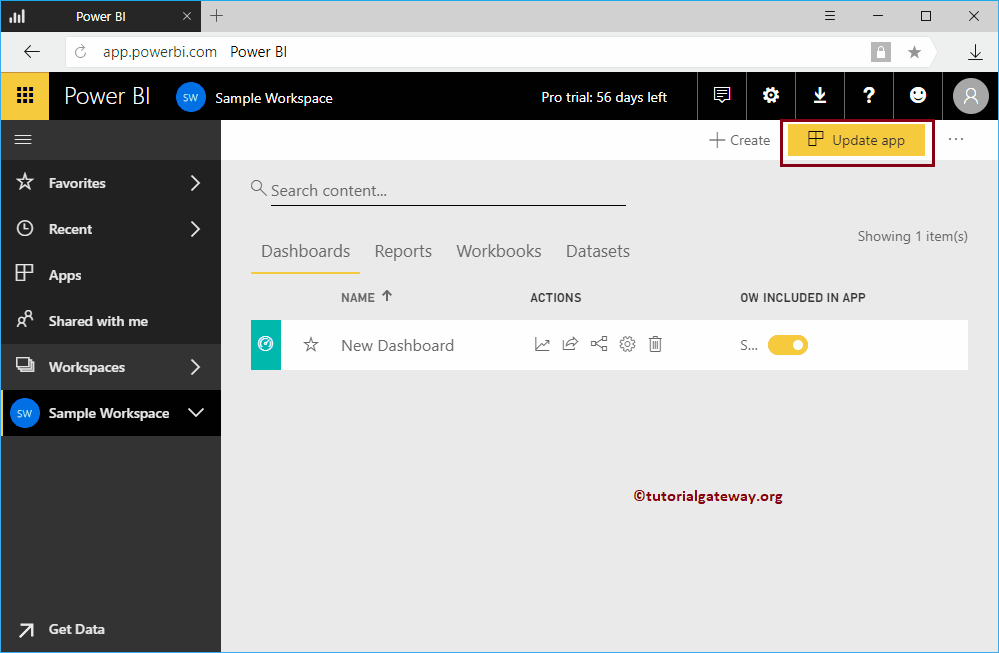
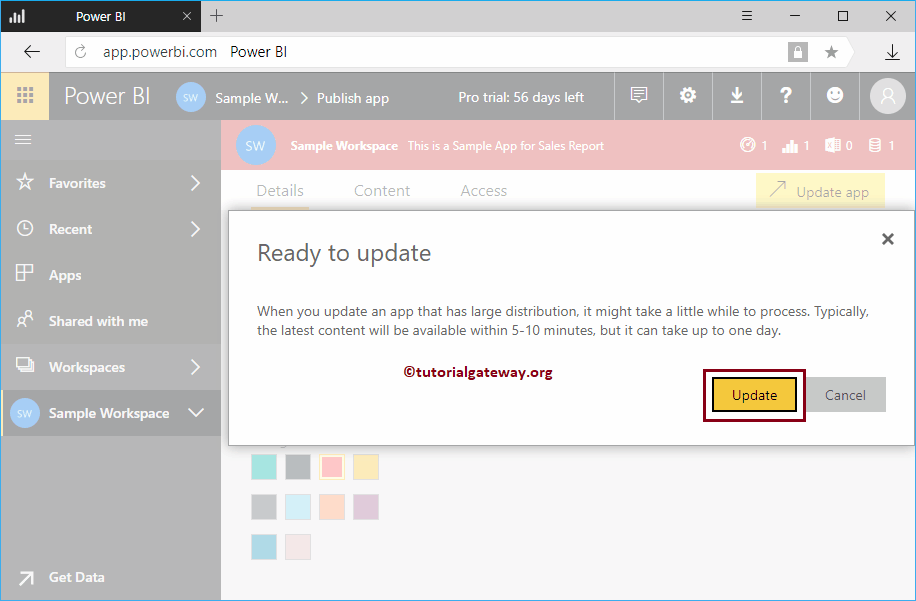
Once you've finished editing the Power BI app, click the Update App button. Remember, we removed Matrix from Phone View.
When you press the Update Application button, the Details window is displayed. If you want, you can also change this setting; otherwise, press Update application.
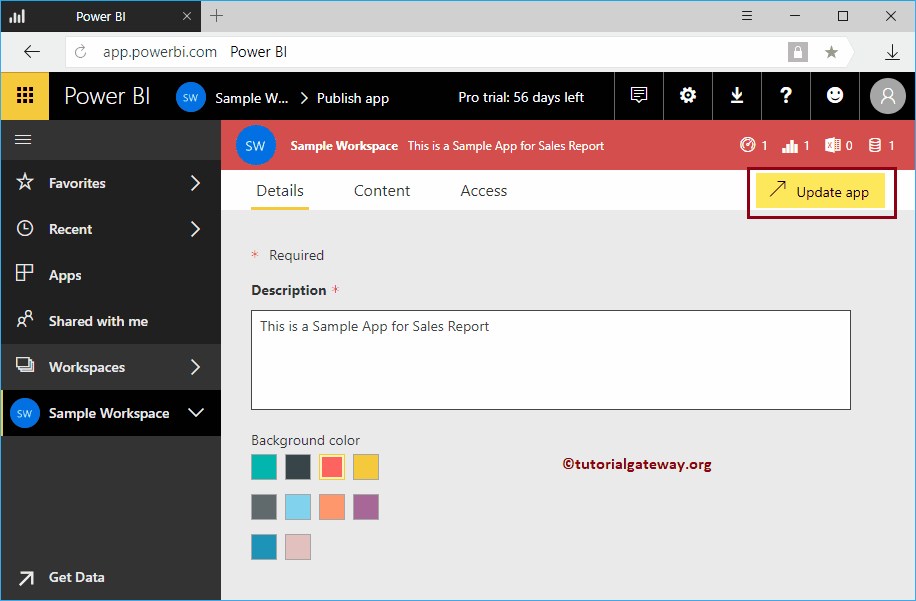
Click the Update button
Let me open the application in IOS
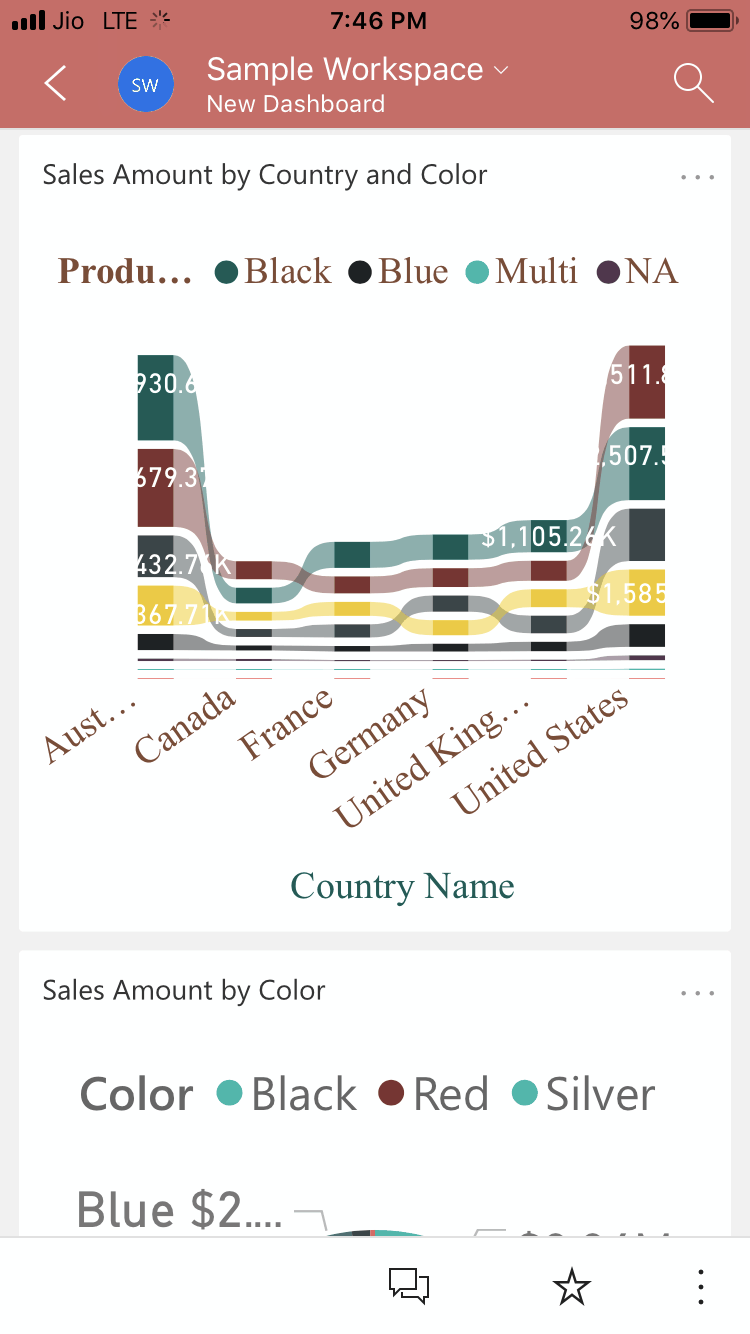
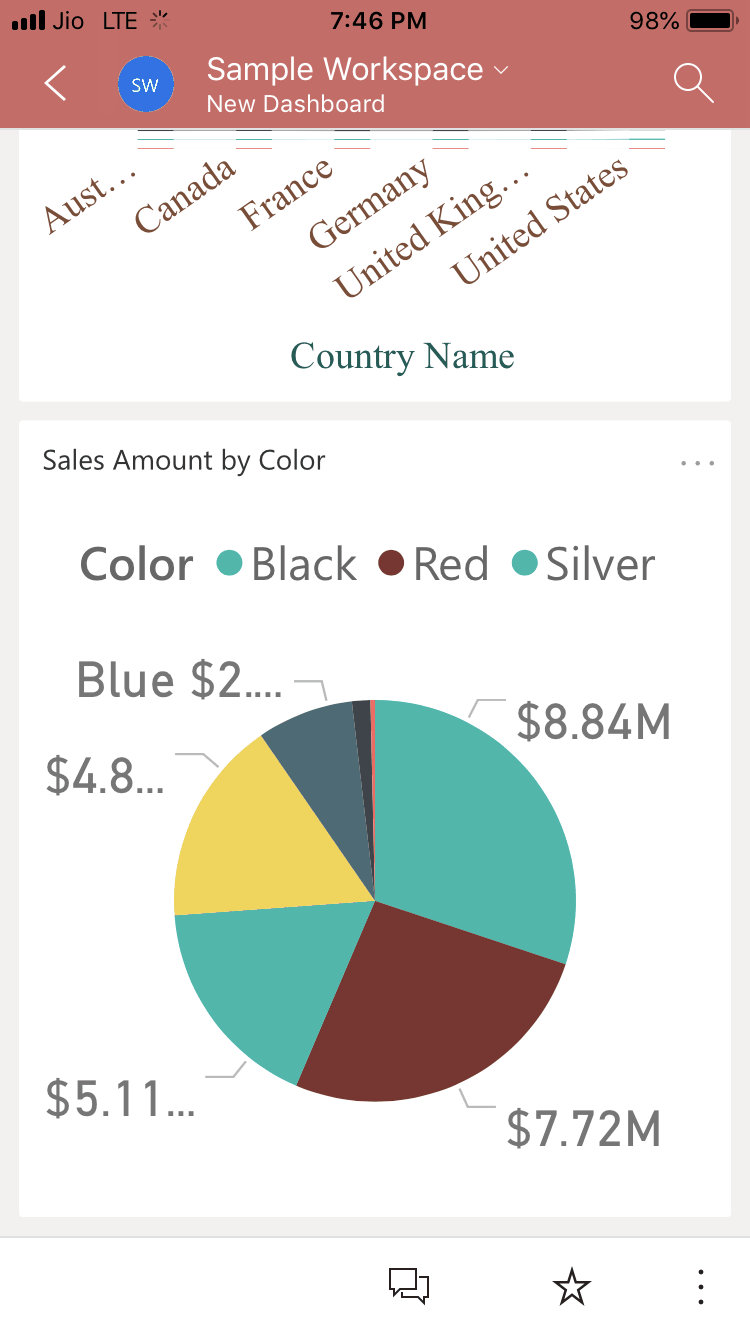
In the following screenshot, you can see that there is no Matrix in the Phone view.