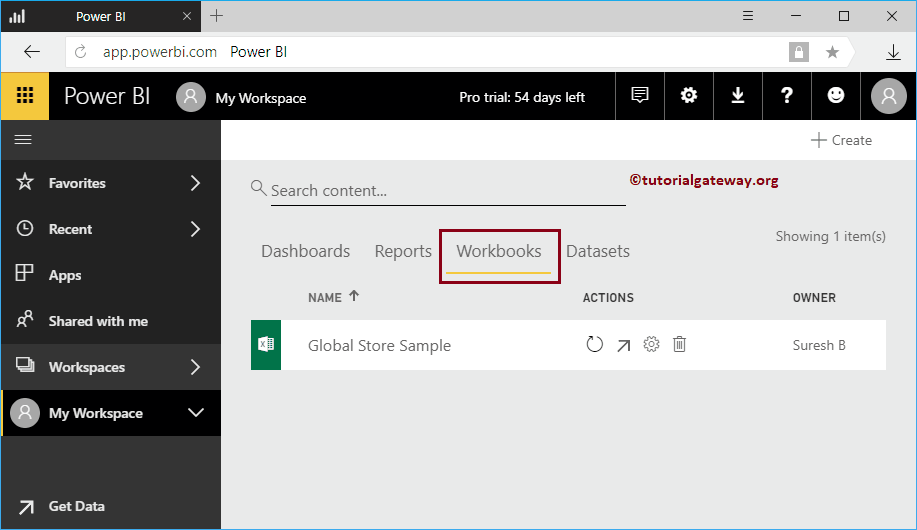
Let me show you the step-by-step approach to pinning workbooks to the Power BI dashboard with a practical example. Before I start pinning the workbooks, let me show you the list of workbooks in my Power BI workspace.
As you can see in the screenshot below, there is only one workbook. I suggest you refer to the Upload workbooks article to understand the process of uploading this file to Power BI.
Pin workbooks to the Power BI dashboard
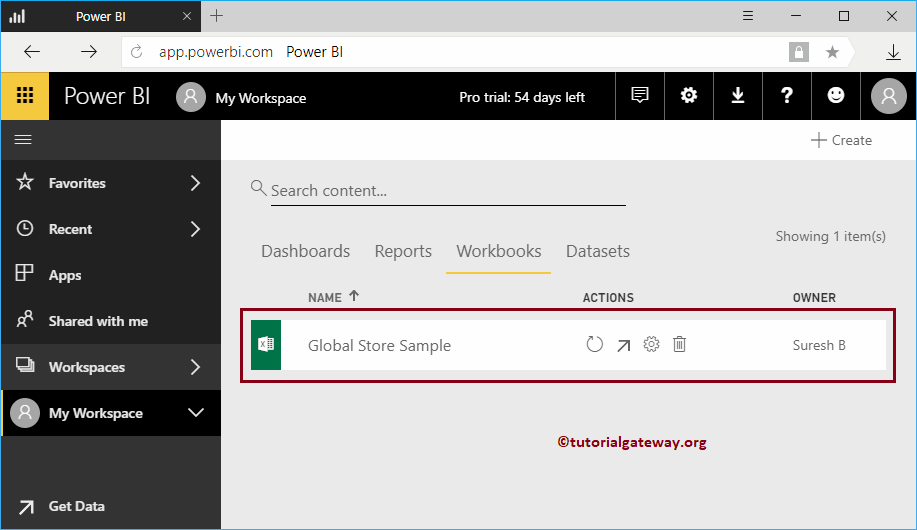
In this example of Pinning Workbooks to the Power BI Dashboard, we are going to use this Workbook. Click on this report to view the data within this workbook.
You can see what Excel shows online. You can anchor this data by using the cursor to select the required Rows and Columns.
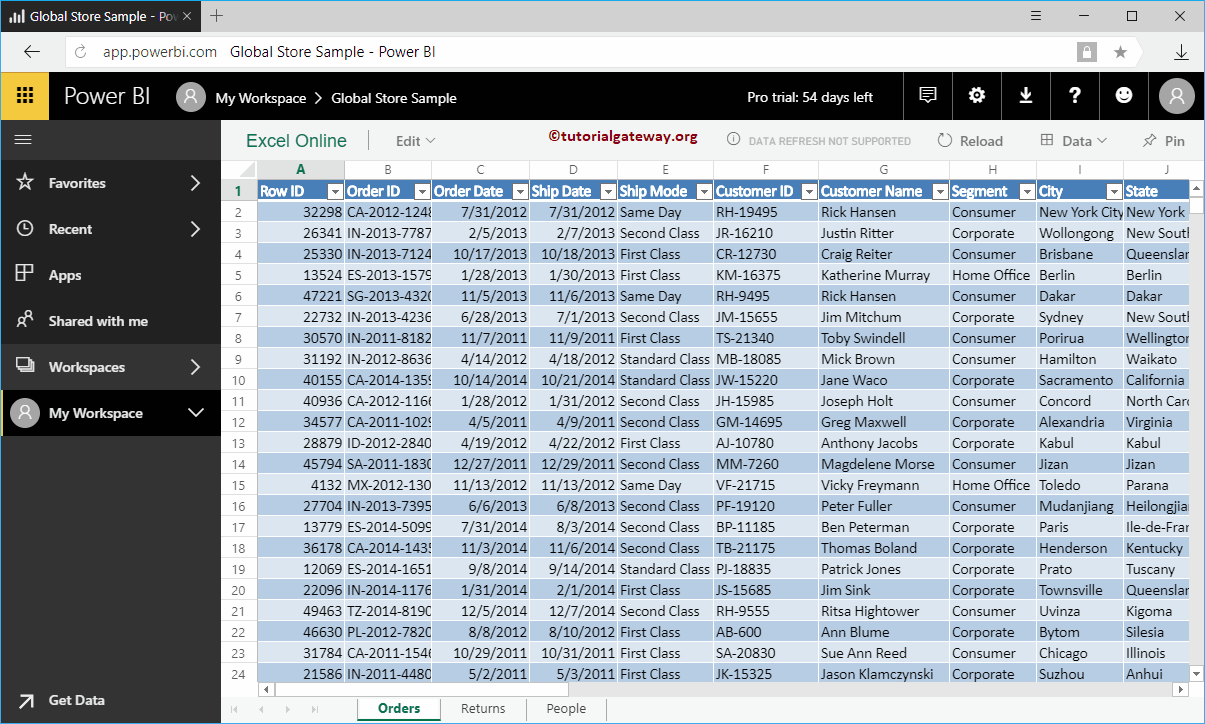
Let me select the first 15 rows and 8 columns. Then click the Pin button to pin them to the dashboard.

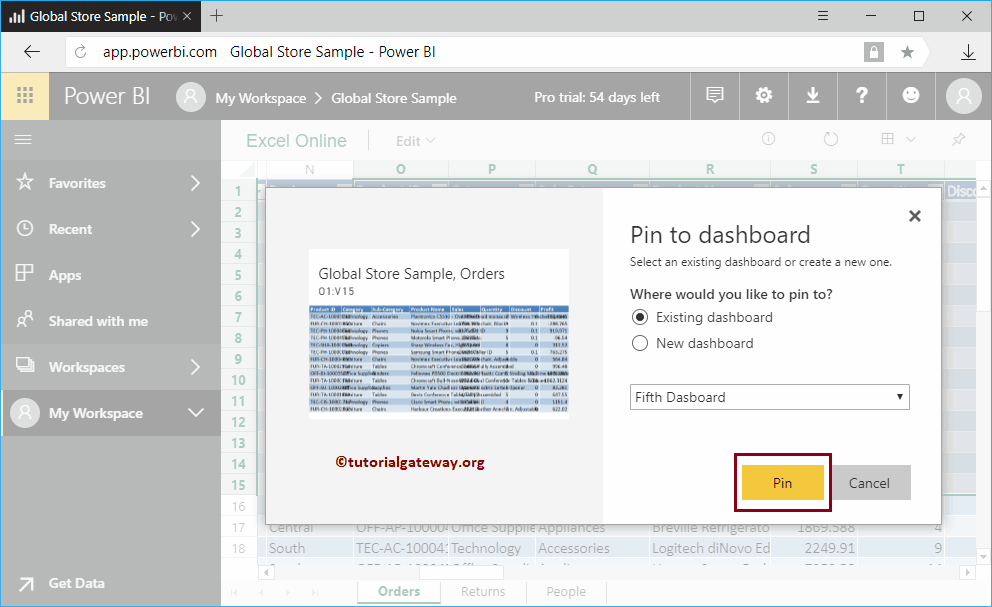
Clicking on that Pin button opens the following window.
- Existing control panel: Select this option to add this data to an existing dashboard.
- New dashboard: Select this option to create a new dashboard for the data in this workbook.
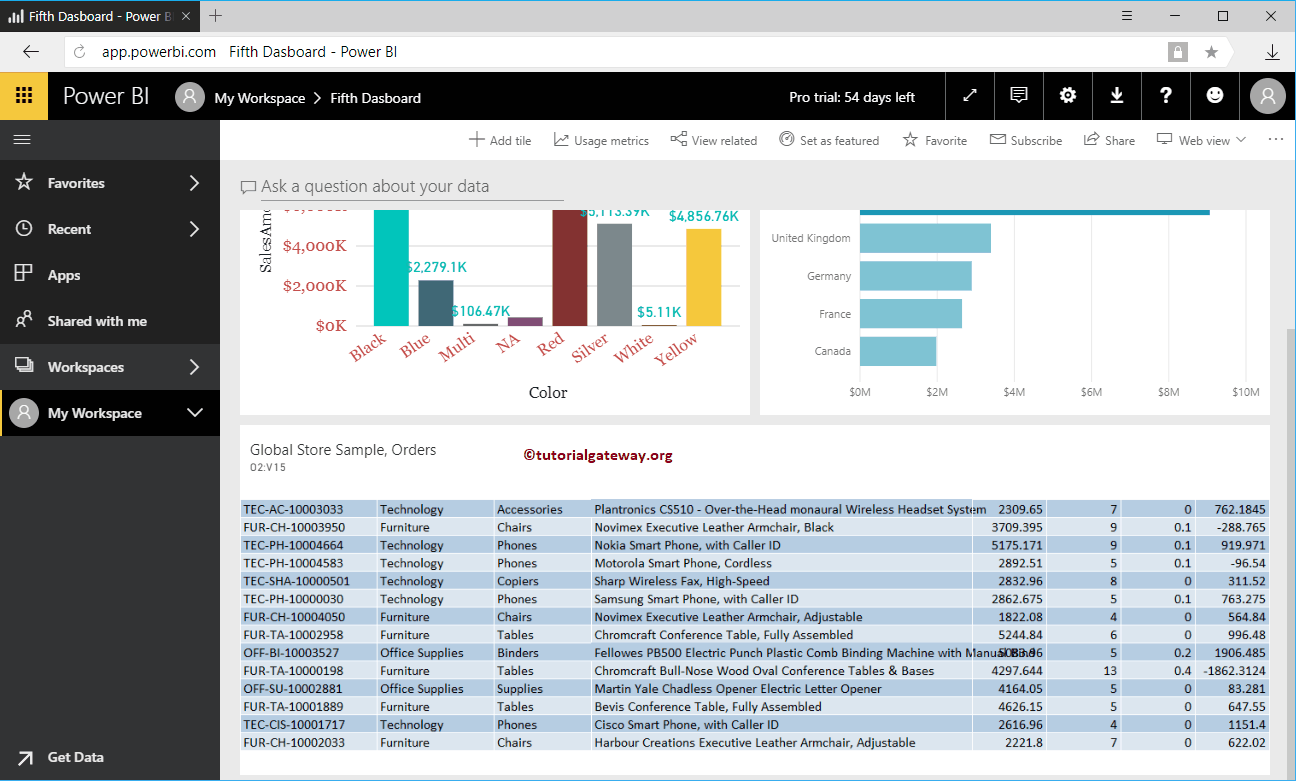
Let me select the Existing Panel option and then select Fifth Panel.
Inside the fifth panel, you can see the data from the Excel workbook that we selected and pinned earlier.