Following, We are going to clarify step by step how to install Windows 10.
Windows 10 requirements
The minimum requirements to be able to install and run Windows 10 without problems are the same as Windows 7:
- 1 Ghz processor.
- 2 GB of RAM.
- 16 GB of hard disk space for Windows 10 32-bit and 20 GB of space for the 64-bit version.
- DirectX 9.0 compatible graphics card.
- Screen with a minimum resolution of 800 × 600.
Preparing to install Windows 10
If we have Windows 7 or Windows 8.1 installed on our PC, we can update to the new Windows 10 without giving up the data and programs installed on our PC through Windows Update. However, the update procedure does not always go well and, on occasions, it can make our PC unusable and even make our Windows not work as it should.
Therefore, it is always advisable to perform a clean installation, from scratch.
Download Windows 10 for free and create USB
To install Windows 10 from scratch, the first thing we must do is download windows 10 from the following link. Microsoft will allow us to download an ISO image of the latest version of the operating system directly from its servers.
Once the Windows 10 ISO image is downloaded, the next step will be to burn it to a DVD or USB memory. To burn it to a DVD, all we have to do is insert the empty disc in our PC and click on the ISO image of Windows 10 with the right button to select the option to burn image.
At this time it is much more practical to work with USB memories, therefore, Microsoft also gives us the option to download and burn the image directly to a DVD with the Media Creation Tool. This application is free and we can download it from the Microsoft website clicking on «Download the tool now«.
Once downloaded, we run it on our PC and we will see a window like the next one.
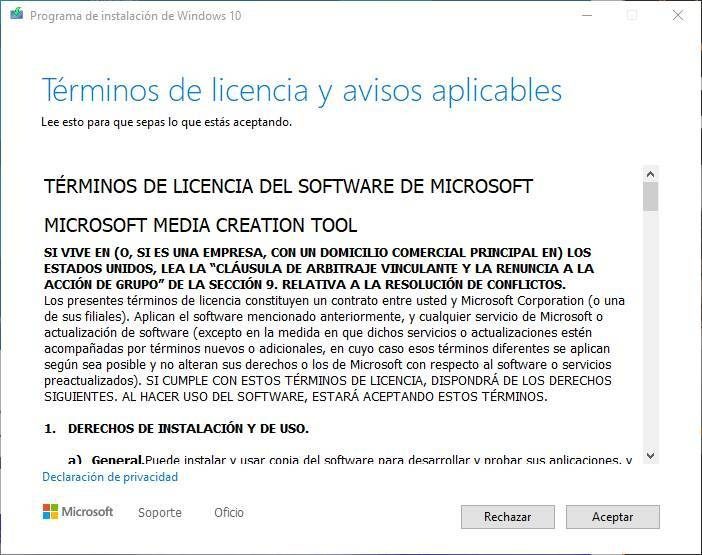
We accept the license terms and continue. The program will prepare for the creation of the installation media.

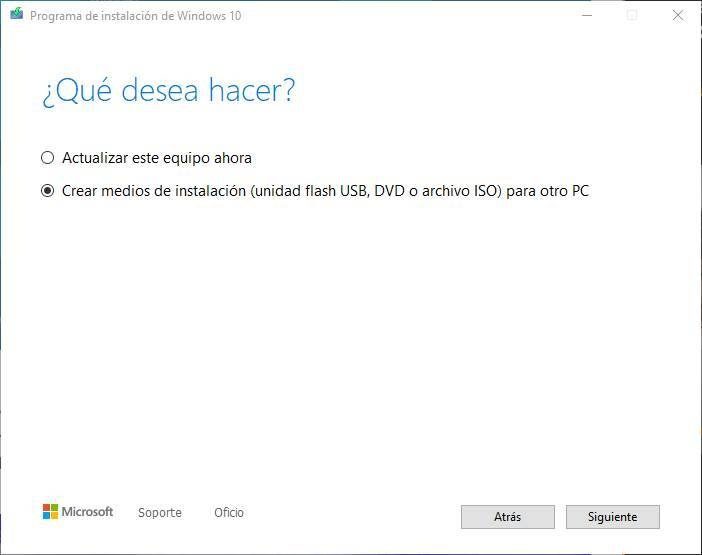
After a few seconds, the program will ask us what we want to do, whether to update our computer (if we do not have the latest version of Windows 10 installed) or create an installation medium for another computer. In our case we select this second option to continue.
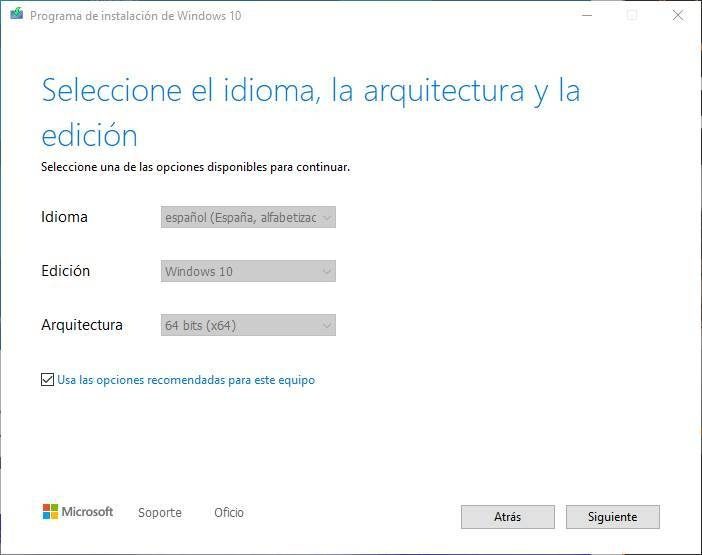
In the next step we can customize the installation medium of our Windows. We can, by way of example, change the language, the edition or the architecture of the Windows that we are going to install. By default it will load the current configuration of our system.
We continue with the wizard and, in the next step, it will ask us what type of medium we are going to use. From here we can also download the ISO, as we have seen before, from Microsoft's servers or create a USB Flash drive to install Windows 10 from it.

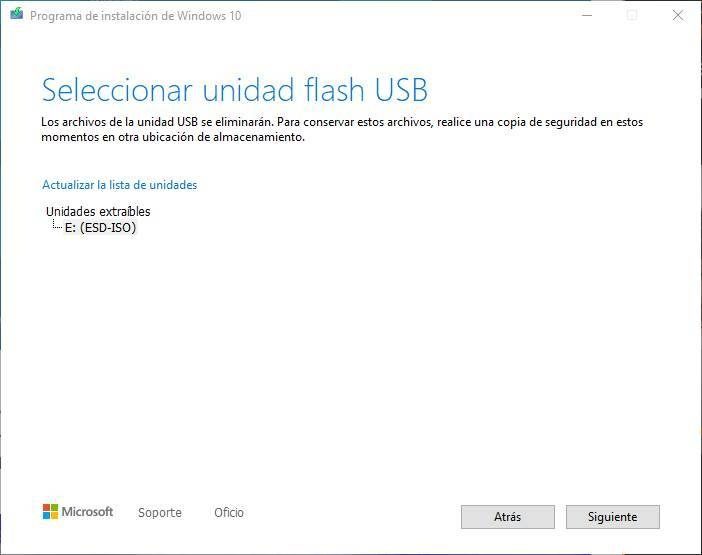
We select this first option and press Next to continue. In the next step, the wizard will look for the USB drives connected to our PC and it will show them in the list. We will choose the one that corresponds to the USB memory where we will copy Windows 10 (carefully, since the procedure will erase all the existing data) and we will click on «Next» to start the procedure.
The wizard will download the latest version of Windows 10 from Microsoft's servers and copy it to the chosen USB memory to turn it into an installation memory. This procedure may take several minutes, so we wait calmly for it to finish.
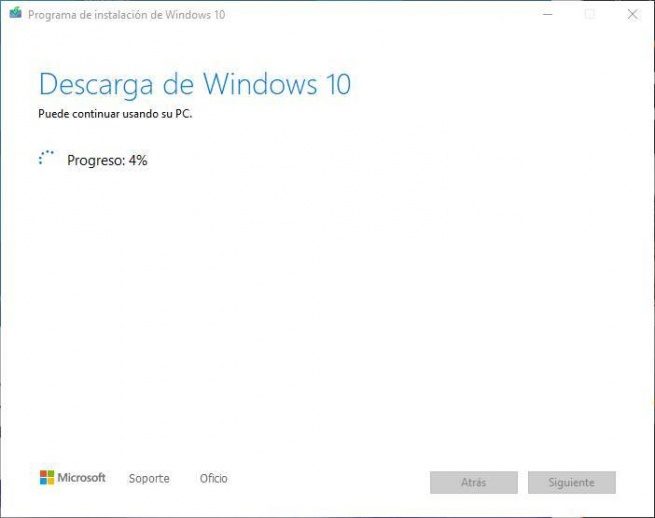
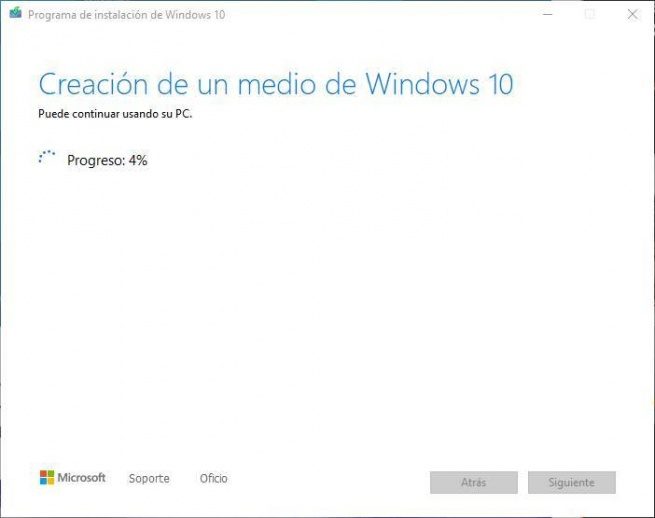
Once the entire procedure is finished, we will have our USB memory ready to install Windows 10 from it on our PC. We extract it from the PC and prepare to continue.
Prepare the computer and configure the BIOS
Once we have the USB memory with Windows 10 installed on our PC, the next step will be to prepare the PC to boot from it. Each motherboard and each PC model is a world, so there is no universal way to do it.
To access the BIOS or UEFI of a PC, what we must do is turn it on and, throughout the boot, press the F keys to access this menu. It may also be that our computer enters this menu with the DELETE key, it depends on the models.
Once inside, we must look for the boot chapter and make sure that the USB memory with Windows 10 is configured as the main boot.
Since we are in the BIOS and we are going to install Windows 10 from scratch, we can take advantage of and enable Secure Boot and make sure that the computer is configured in UEFI mode. In this way we will be able to optimize the computer and make sure that our entire computer runs safely.
These options cannot (or rather should not be) changed once Windows is installed. If so, they would be of no use.
How to install Windows 10 step by step on a PC from scratch
The next thing we should do is insert the USB memory into the off PC and turn it on. Unless we have the BIOS / UEFI of our PC configured to first boot from removable devices such as USB memories, we must press the F8 key during startup repeatedly (or similar, depending on motherboard models) so that the Boot menu appears and choose our USB with Windows 10 to install.
When the system tries to boot from the USB memory, the first thing we will see will be a message that will ask us to press any key to begin with the installation of Windows 10.

Press any key, and a loading window will begin during which everything essential to start the installation wizard will be loaded into memory.
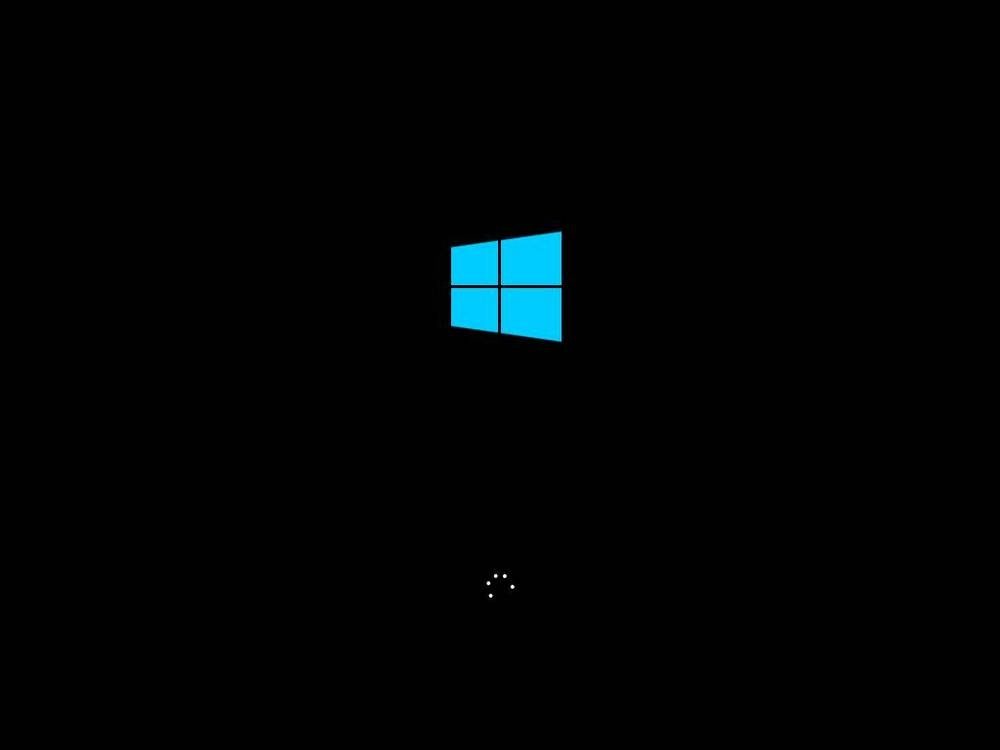
After this loading window, which lasts a few seconds, we will see the initial window of the Windows 10 installation wizard.
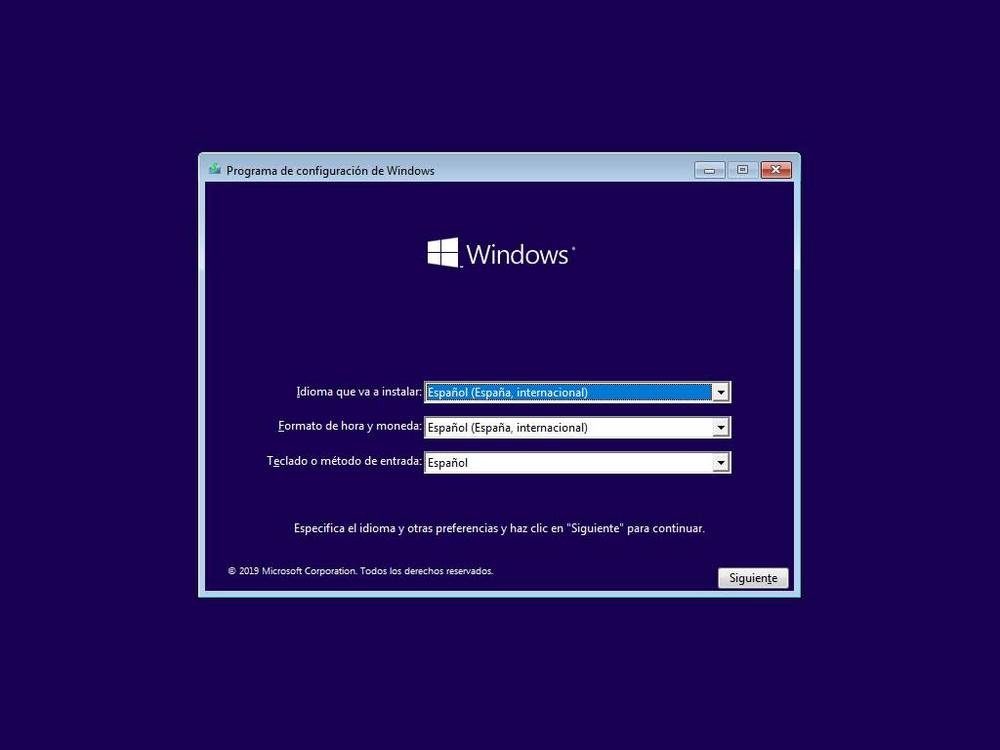
In this window we must configure the language of our operating system, the time and currency format and the type of keyboard that we are going to use.
We press on "Next" and in the new window that appears we will click on «Install Now«.
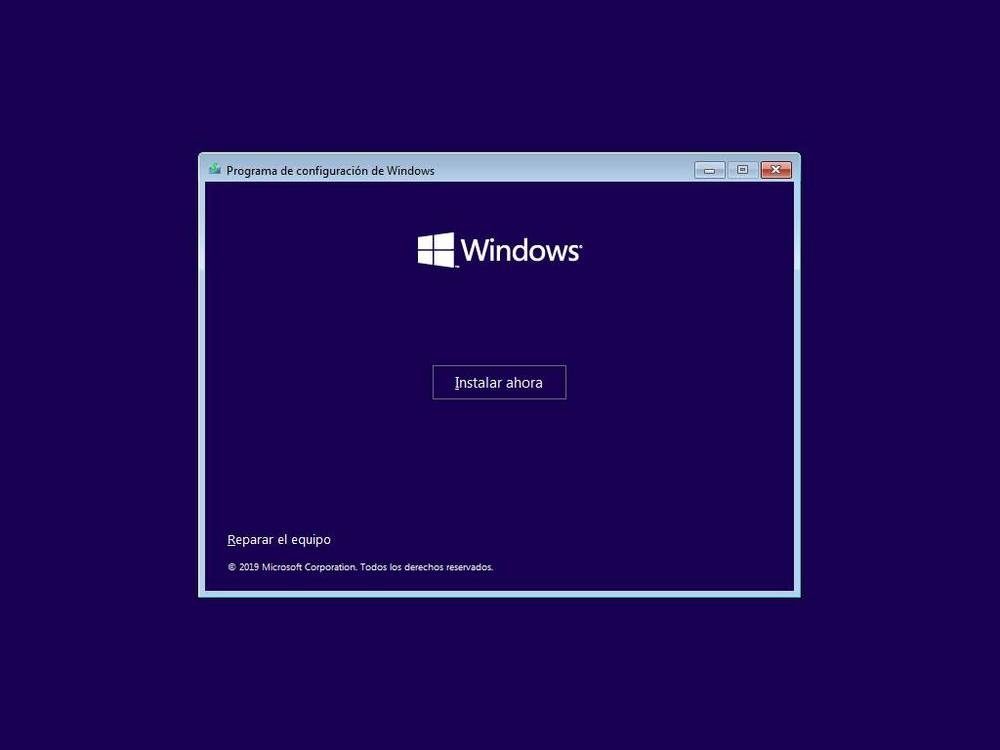
The Windows installation wizard will take a few seconds to prepare for the installation.

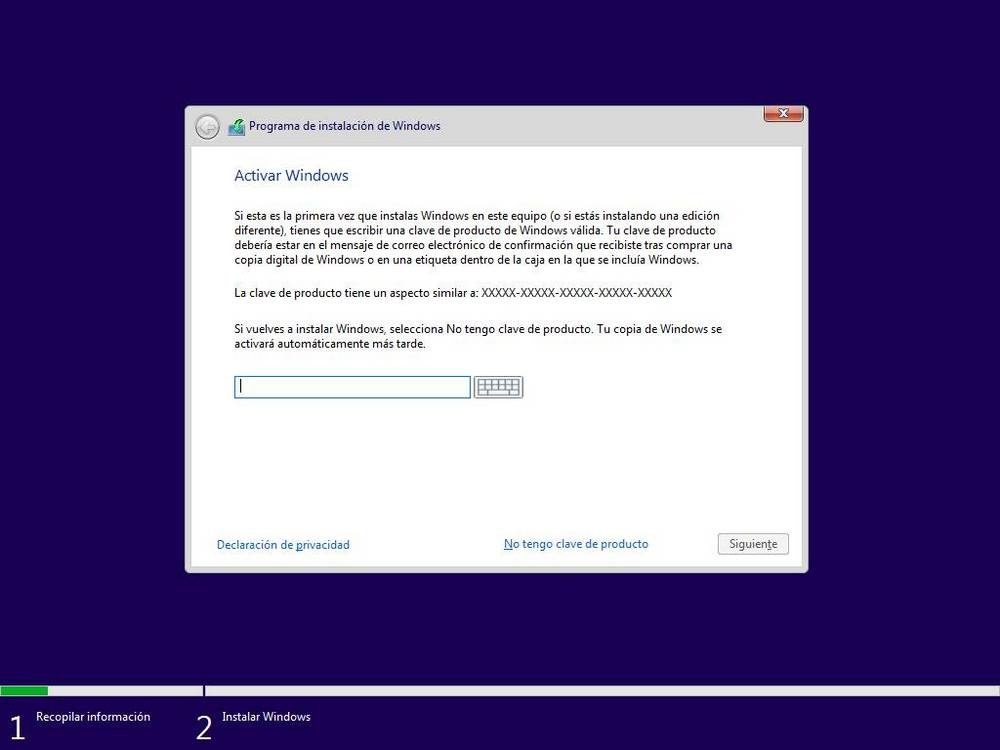
The next step that the wizard will ask us will be to enter the license number of our Windows. If the license is recorded in the BIOS / UEFI of our PC, we will not see this window. Otherwise, if we have it at hand we can enter it or, if not, click on «I don't have a product key»To continue without said license.
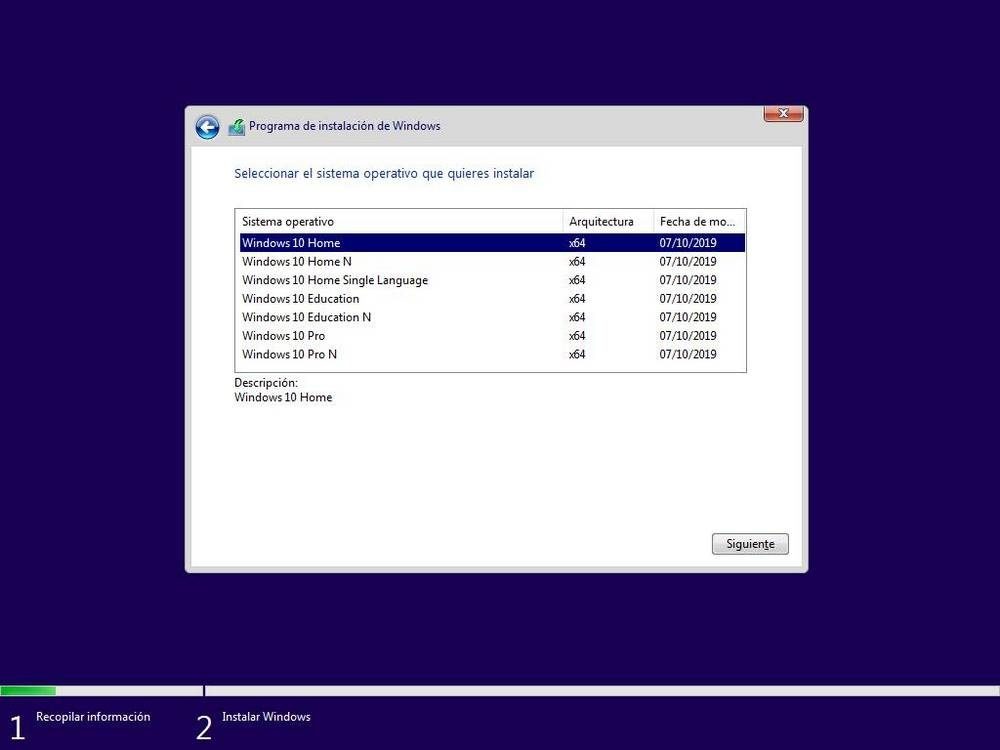
Next, the wizard will ask us for the version of Windows 10 that we want to install. We must select the one that corresponds to our license to avoid problems.
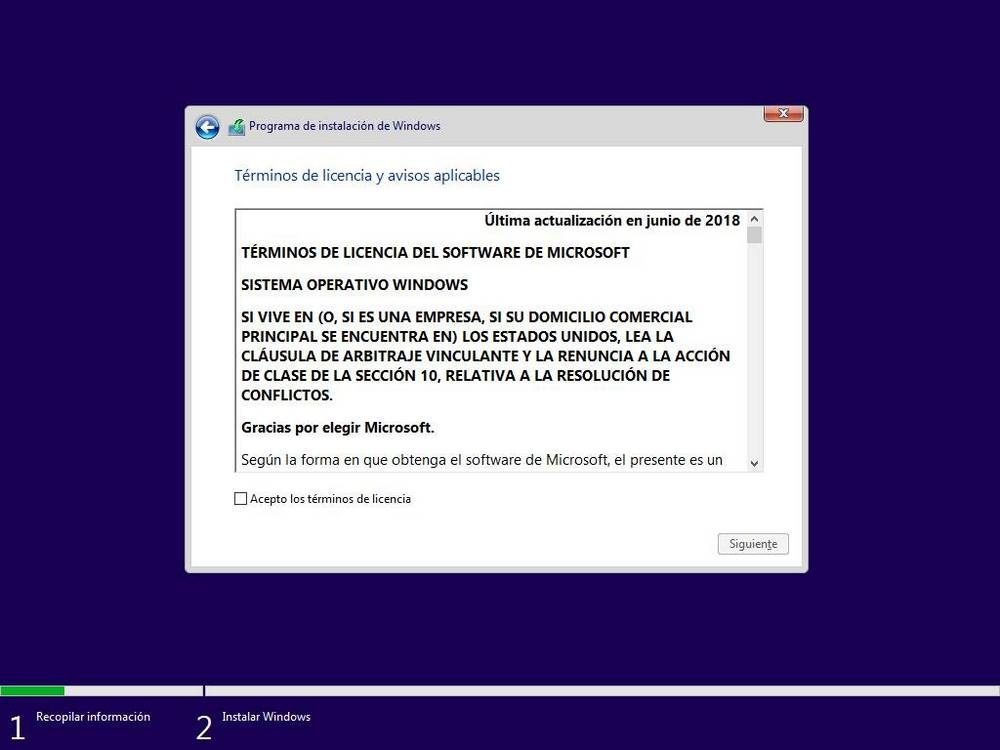
Click on Next again and the license terms will appear, which we will accept to continue.
The next window is one of the most important. In it we will choose the type of installation we want:
- If we want to update Windows and not lose data or applications, we will choose "Upgrade".
- For a clean installation, we will choose "Personalized".
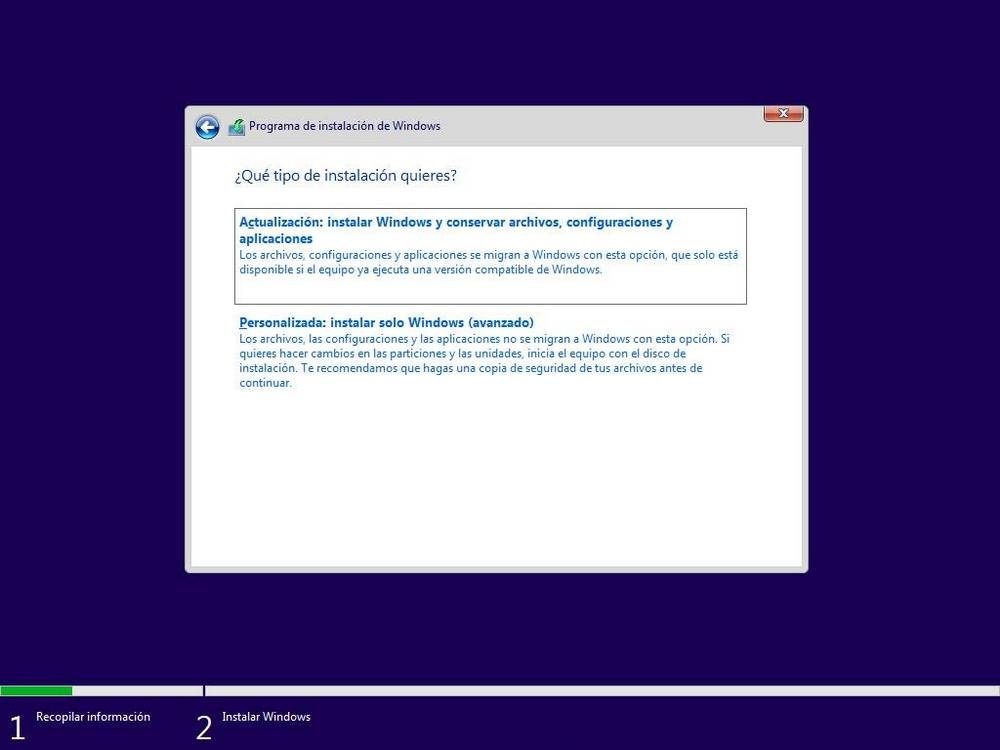
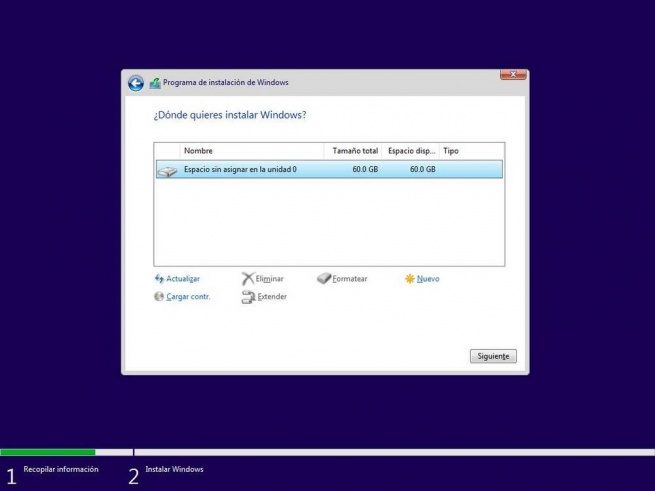
In our case we select the second option, custom, and we will see a new step in the wizard where we select the hard drive partition where we will install Windows.
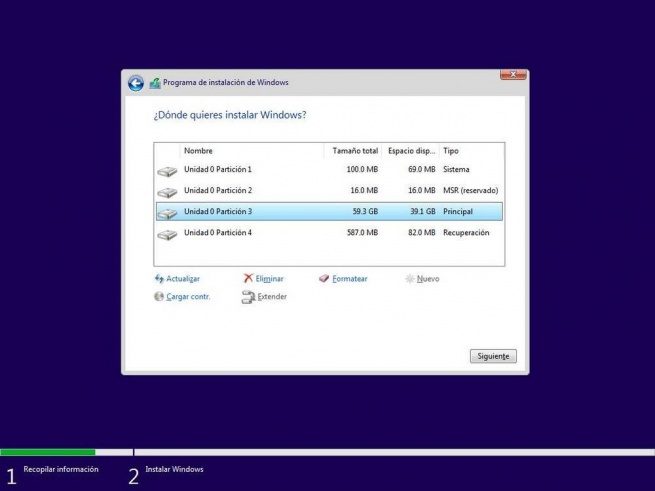
If we want to create partitions, we will click on "New" and we will configure the space that we want to use for our Windows. If we do nothing, the wizard will automatically use all the space to install Windows (and create the 500 MB recovery partition). In the second image we can see the partitions that Windows creates by default to be able to start and function.
We press on "Next" and the installation procedure will begin. During this procedure a series of tasks will be carried out:
- Copy of all installation files to hard disk.
- Prepare files for installation.
- Install Windows features.
- Install updates included on the installation media.
- Complete installation.
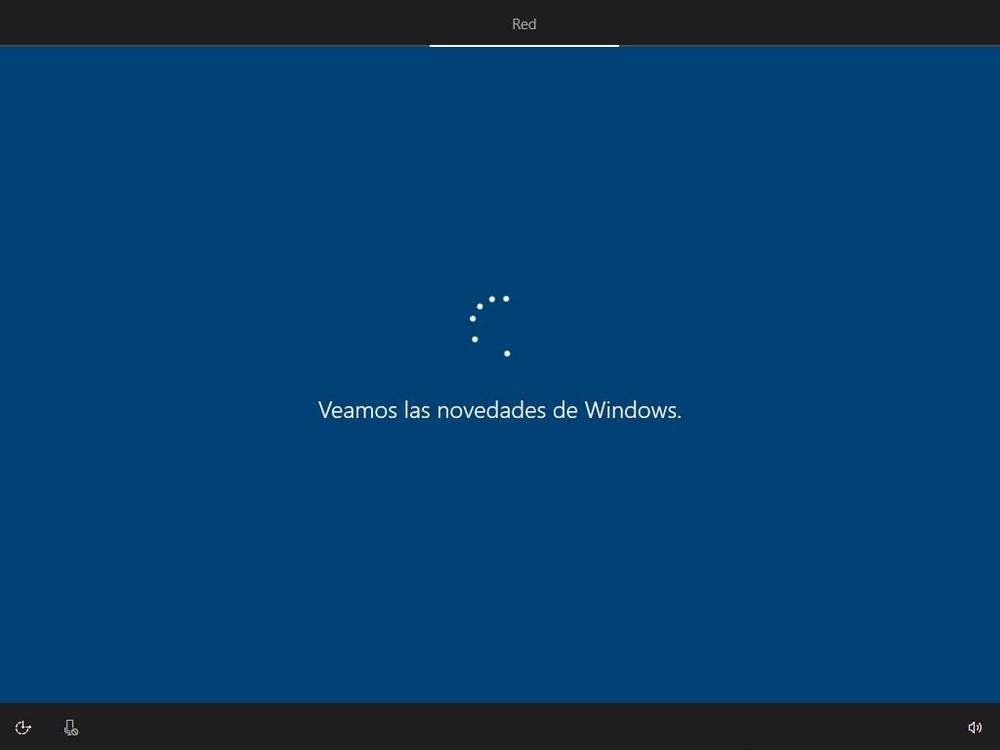
We must wait for the installation procedure to finish. During which, the PC will restart several times and, at the same time, we will see different phases, both of the installation wizard and the initial configuration of our Windows 10.


After the reboots, Windows 10 will already be installed, even though before we can use it we will have to complete the following initial configuration wizard.
Initial setup after installing Windows 10
Once the installation and previous preparations for Windows 10 are finished, we will see an initial configuration wizard from which we will have to configure our operating system.
Basic configuration
The first thing that will appear in this setup wizard will be Cortana, the personal assistant. It may even scare us, because it will start talking.
If we do not want Cortana to assist us during this initial configuration, then we can click on the microphone icon that appears in the lower left to silence it.
Next, what we must configure in Windows 10 is the region of the operating system, as well as the keyboard layout that we are going to use. At the same time, the wizard will allow us to add other keyboard layouts, if used. If we are not going to add other keyboard layouts, then we will click "Skip" to continue.
Network Configuration
The Windows 10 setup wizard will then take care of performing a series of configurations, such as, for example, the network. If we are connected by cable, the wizard will automatically connect to the Internet. If we do it for Wifi, we will see a list with all the networks, and we will have to select ours.
Account settings
Once connected to the network, comes one of the most controversial steps in Windows 10: sign in with a Microsoft Account. If we have the account and we are going to use it, we can enter our email and password in this wizard to log in. If we don't have an account, we can create a new one from here.
A Microsoft Account gives us many advantages when using the operating system, such as access to OneDrive and the opportunity to synchronize the computer's settings with the cloud. It also allows us to enter the Microsoft Store to download apps from the Windows store.
What if we wish use a local account Windows 10? Microsoft has complicated this option quite a bit in Windows 10 Home, but it is feasible to do so. Basically we must avoid connecting to the Internet during the installation for this opportunity to appear. In any case, we suggest you choose to log in with your Microsoft Account.
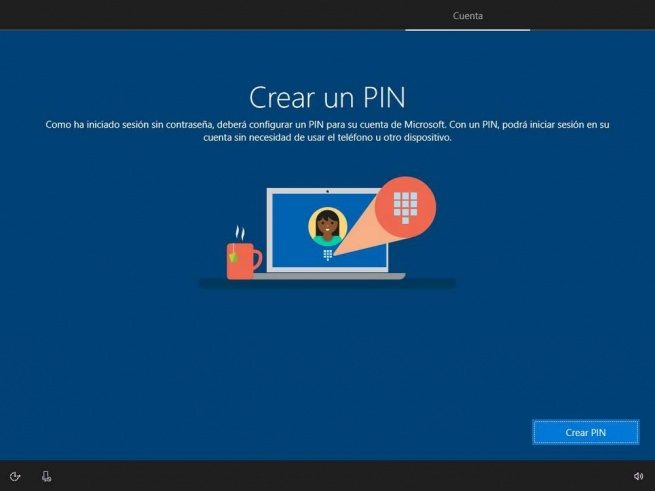
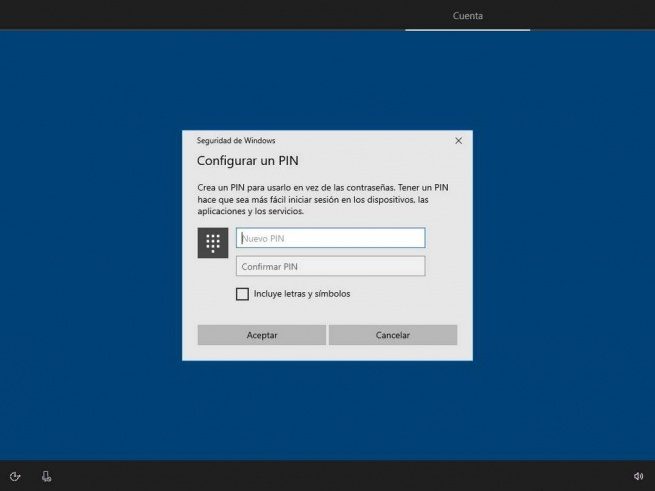
The next step will be create a PIN to log in. Thanks to it, we will be able to start faster with the numeric code instead of having to type the password over and over again, which, for security, should be quite long.
Microsoft Services Configuration
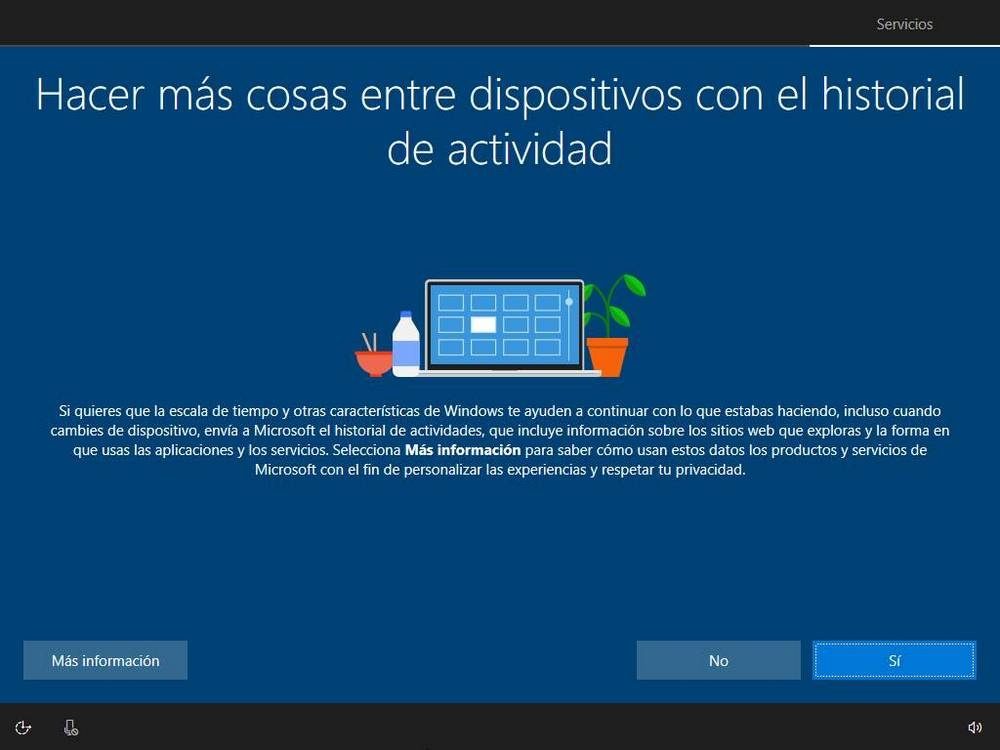
The next step will allow us to select whether or not we want to activate the activity history. This function enables us to synchronize all our PCs and devices so that we can continue what we are doing in one of them in any other. All thanks to our Microsoft Account. If we are not going to use it, we can deny it, that the procedure will continue anyway.
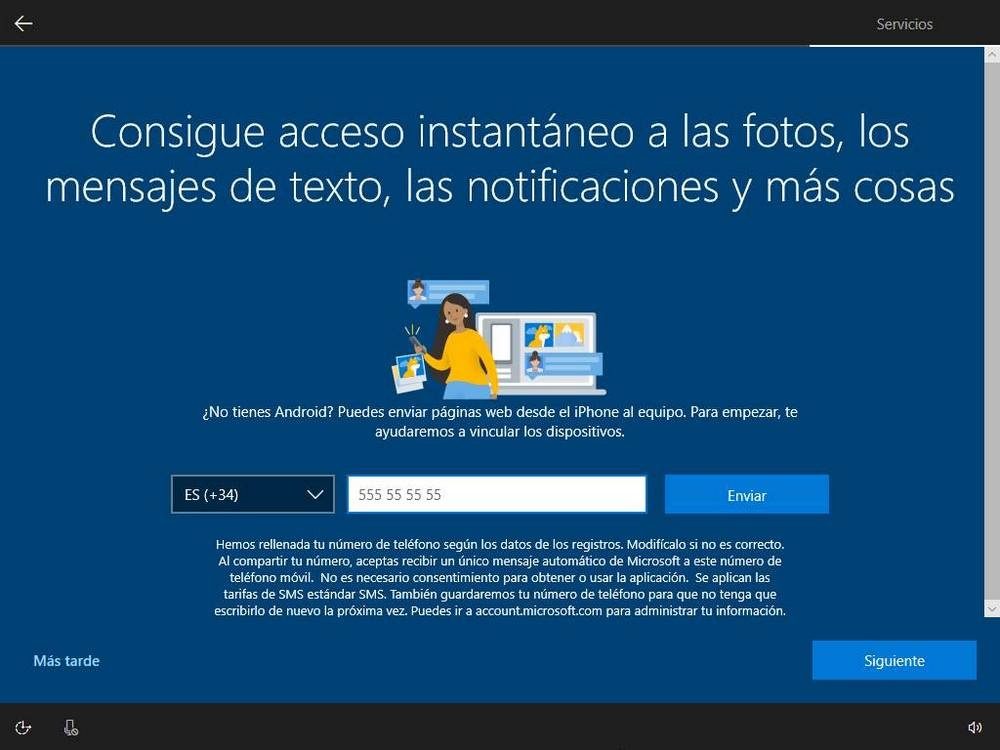
We will also see a screen that will allow us to install the application "Your telephone", and configure Windows 10 directly so that we can control our smartphone from the computer.
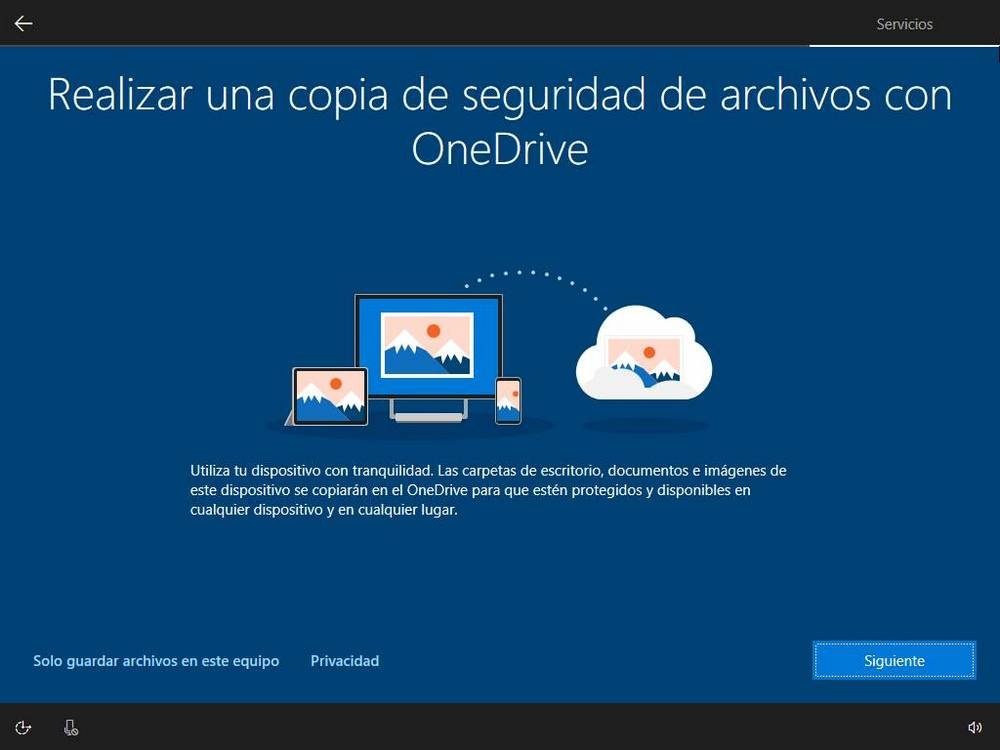
Next, we will have to select if we want to activate OneDrive to store all personal data in the Microsoft cloud, or if we want to save the data locally on the computer.
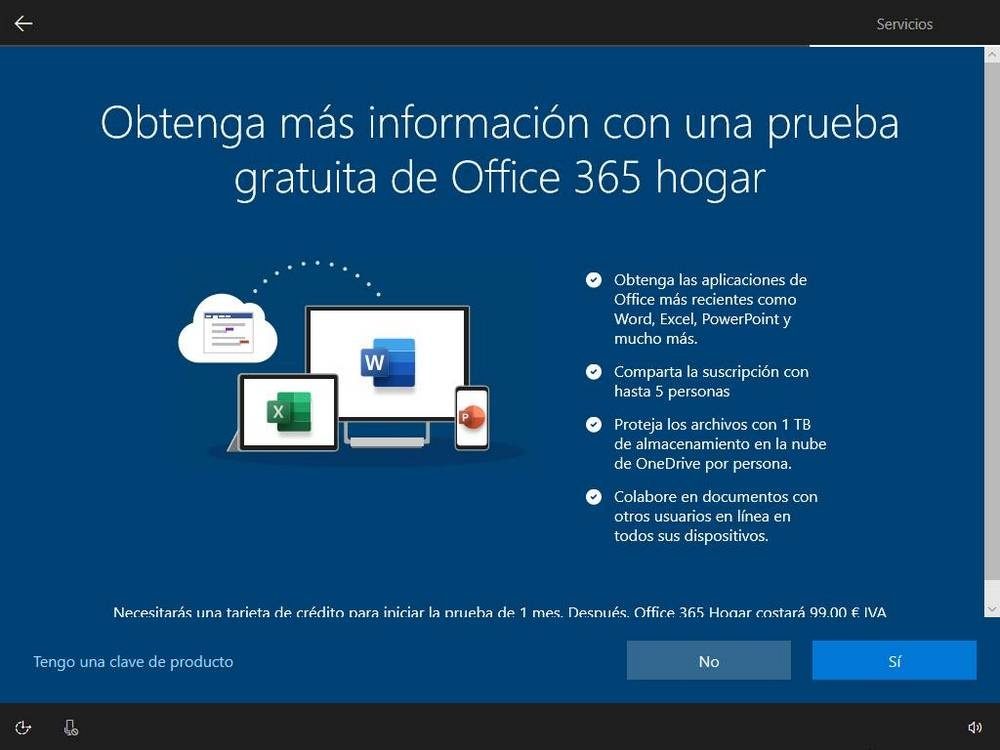
Windows 10 will also offer us the opportunity to install a Office 365 trial version in the operating system, or buy the suite license directly.
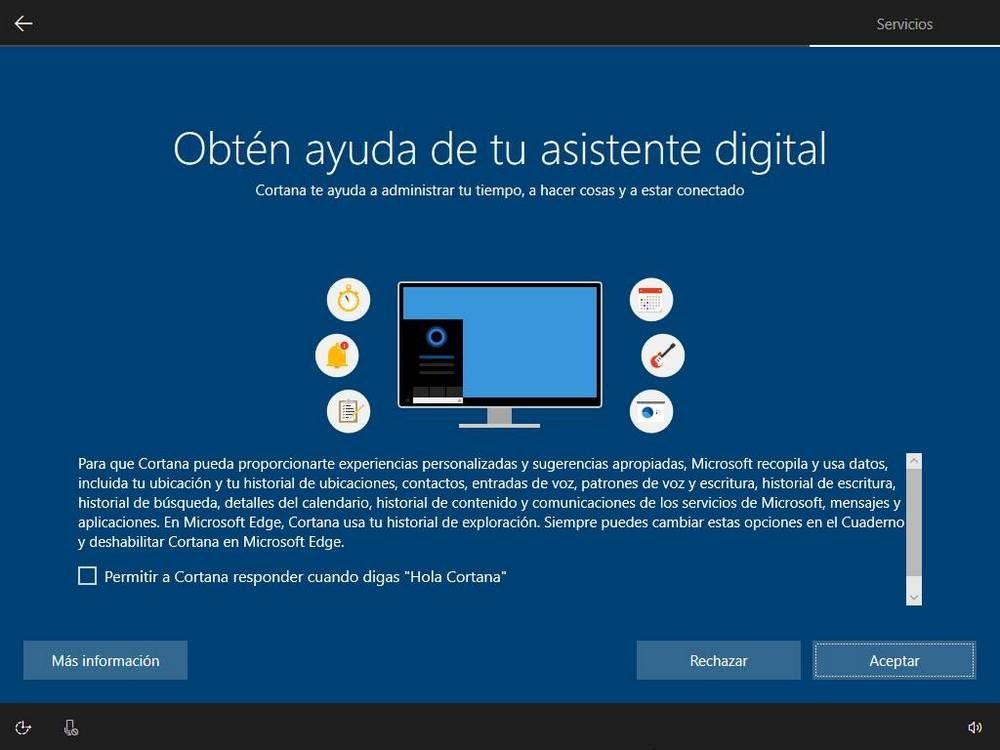
Next, we will have to select if we want Cortana be our personal assistant, or if we want the digital assistant to be deactivated. If we enable it, Cortana will help us with reminders, help us find things, and at the same time tell us bad jokes. We can also check the box that will allow us to indicate if we want it to respond automatically to the voice command "Hello Cortana".
Privacy settings
And, to finish, we only have to configure the different Windows 10 privacy options. These options are very clear and explanatory, and they allow us to know how and for what Windows 10 will use our data. As we want, we can allow it or prevent you from accessing this data.
The Windows 10 privacy points that we will configure are:
- Voice accreditation.
- Location.
- Find my device.
- Send diagnostics to Microsoft.
- Improve writing.
- Get personalized experiences.
- Allow applications to use the trade promotion ID.
Anyway, these (and other) privacy options can be configured later once Windows 10 is installed.
Once this is configured, the setup wizard will finish preparing Windows 10 for us.
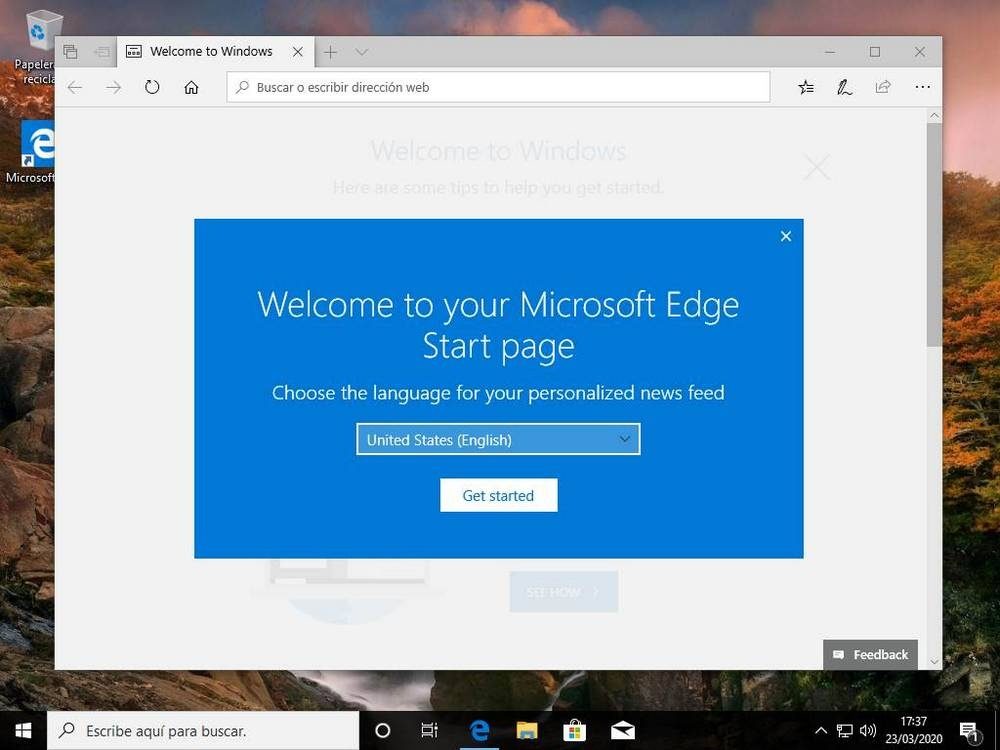
This procedure may take a few minutes and, when it is finished, we will be able to see the Windows desktop. We have already installed Windows 10 from scratch.
Update Windows and show icons: start Windows 10 post-installation
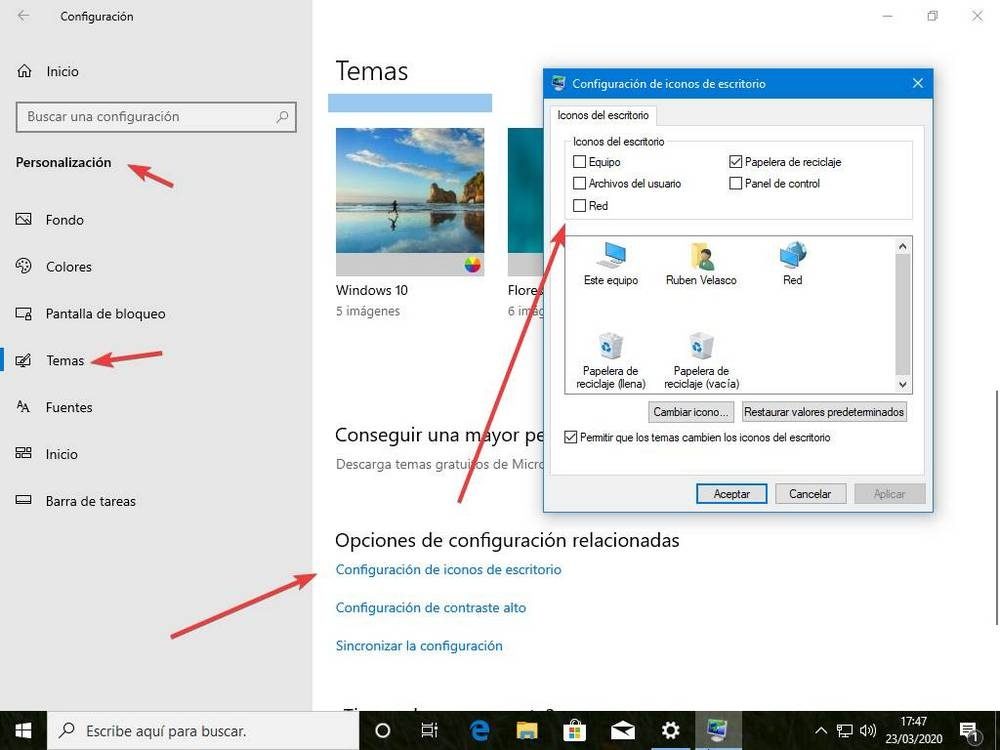
Customize desktop
Once we finish installing Windows 10, we will be able to see our desktop with the trash can and, if we had used the operating system before on another PC, its desktop background and color theme.
Once we have control over the computer, the first thing to do would be to remove the Computer and Documents icons to the desktop. For this, we would only have to open the menu of Settings> Personalization> Themes and click on «Desktop Icon Settings«.
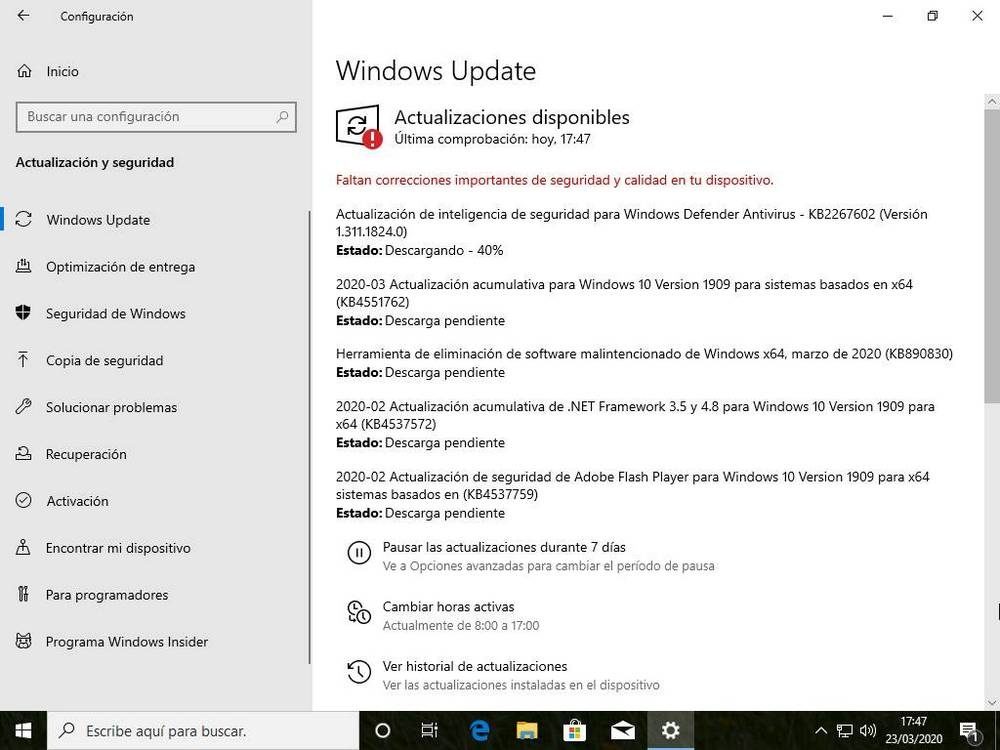
Install the latest patches
The next step would be to run Windows Update to update Windows 10 to the latest build available with cumulative patches. For this, again in the configuration menu, we go to the chapter «Update and security»And from there we will look for available updates.
Install drivers in Windows 10
At the same time as updates and patches, through Windows Update we will also achieve download and install the drivers or drivers that could not be enabled during the installation of Windows 10. In this way, our system will be absolutely ready and all our components will function normally.
In case something still does not work and Windows Update does not download the corresponding drivers, we will have no choice but to look for them on the manufacturer's website. As an example, if our motherboard is from Gigabyte, we will have to go to that website to download the latest versions of them. At the same time, it is recommended to download and install the NVIDIA and AMD drivers manually to take advantage of the improvements in the latest versions.
In case we continue to have problems with the Windows drivers, then we must resort to other third-party programs, especially designed to help us download and install the drivers for our computer. One of the best is IObit Driver Booster.
Install programs
To finish, we only have to download and install essential programs. Some of the most common that cannot be missing from any PC are:
- Web browser: Google Chrome or Firefox.
- File compressor: WinRAR or PeaZip.
- Media player: VLC or MPC-HC.
- Photo editor: Photoshop or GIMP.
- Office automation: Office or LibreOffice.
- Music: Spotify or Aimp.
- Download managers: uTorrent, Transmission or Jdownloader.
- Games: Steam.
Reinstall Windows 10 - How to do a clean install
If we already have Windows 10 installed on our PC, but it starts to go wrong, we do not have to do all the previous procedure to install windows from scratchInstead, we can resort to recovery alternatives to restore the computer and leave it as fresh from the store.
Windows 10 recovery alternatives enable us reset the operating system to its factory defaults. This can be done by keeping our data or by erasing it completely from the system. At the same time, we can select between restoring Windows from the current version of the operating system or from the cloud, downloading and installing the latest version throughout the procedure.
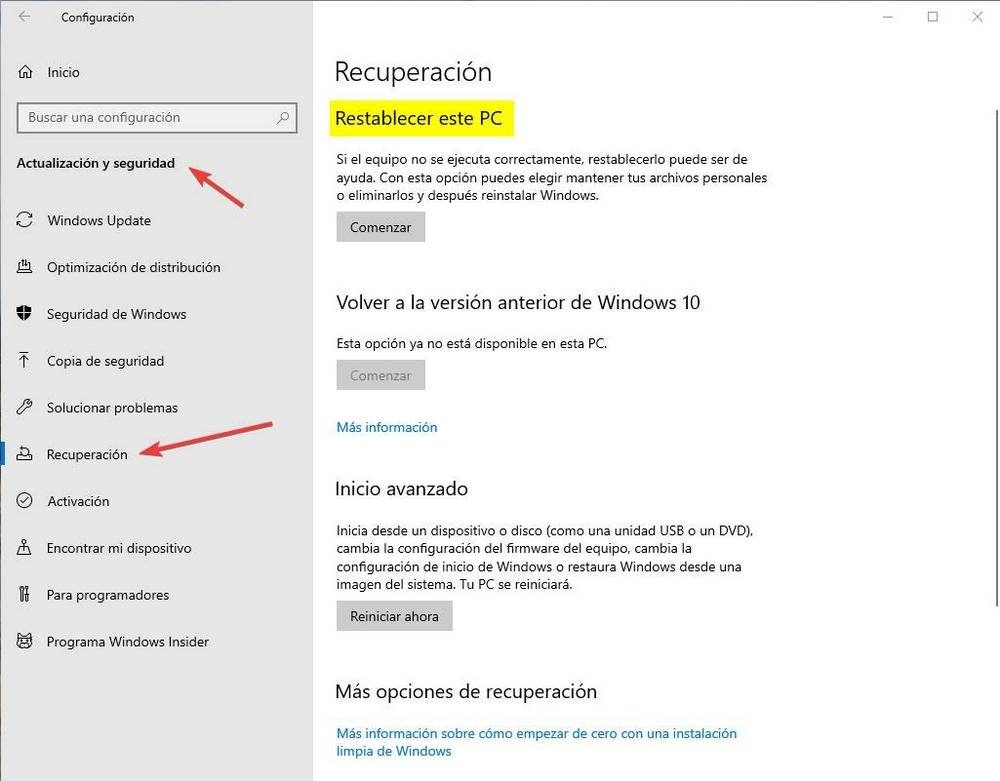
To enter these options, what we must do is open the Windows 10 Settings menu, and go to the chapter "Update and security"> "Recovery". And here we will see the chapter «Reset this computer».
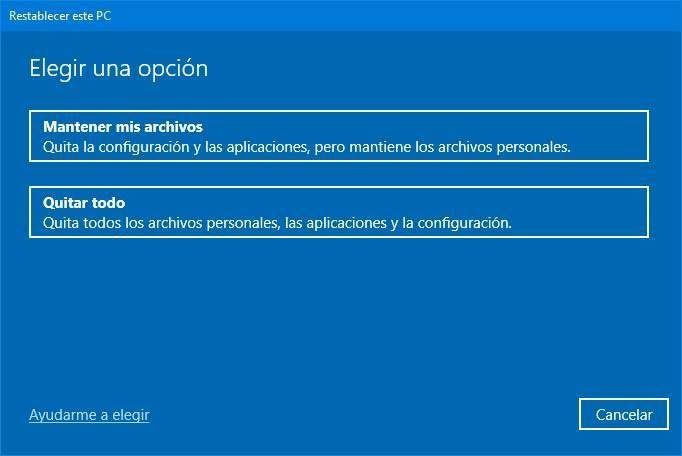
When we click on the "Start" button, we will see a wizard that will guide us through the procedure for reinstalling the operating system from scratch. The first thing we will see is a window that will ask us if we want to keep or delete the data.
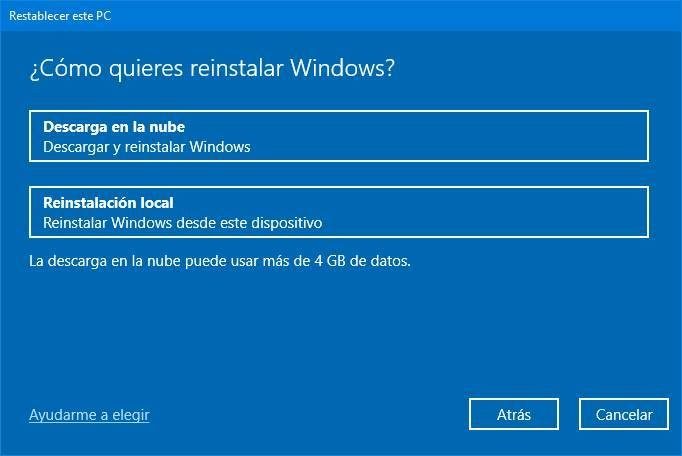
Next, we will be able to select the type of restoration we wish to carry out. We can select, as we have explained, from the cloud (with which we will have to download 4 GB of data), or from the reinstallation local. This second option can cause problems (if the original Windows installation is damaged), so we suggest using the cloud option as long as it is feasible. At the same time, by selecting it, we will be able to download and install the latest version, which will allow us to have our Windows updated.
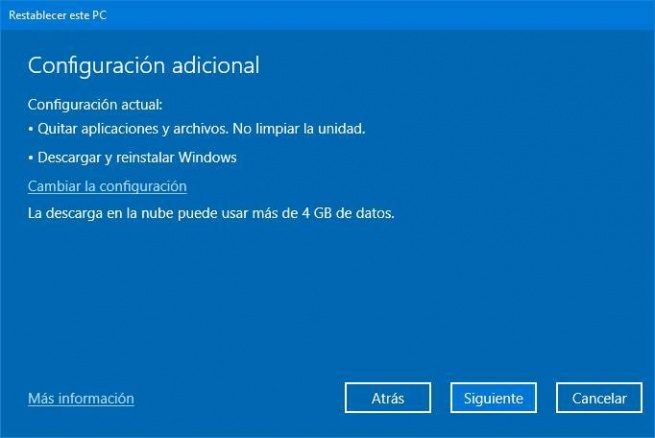
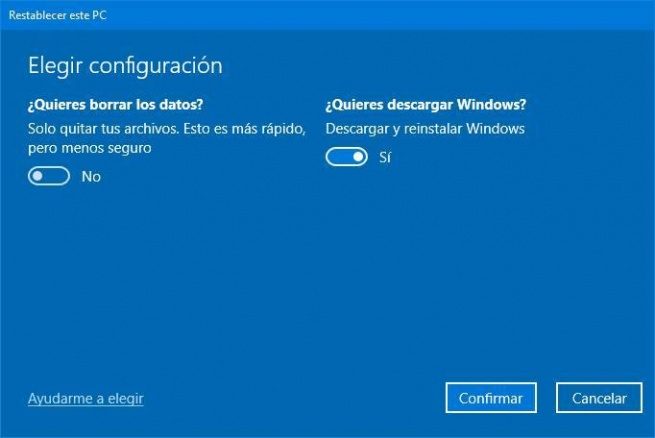
Below we will see a summary of the alternatives we have chosen. At the same time, we will be able to customize some of the alternatives such as the opportunity to clean the drive (at the same time to delete the data, to complicate its recovery), and confirm the download of Windows from the Internet.
If everything is correct, we click on "Next" and we will wait for Windows to carry out all the preparations. When it is finished, we will be able to see a final detailed summary with everything that is going to be done on the computer.
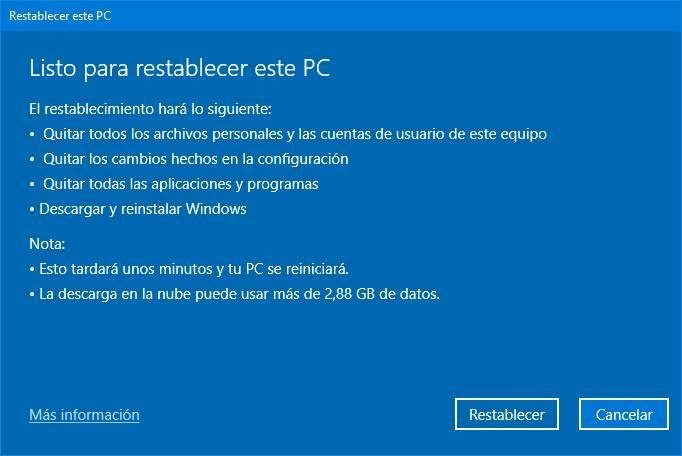
If everything is correct, we click on "Restore" and ready. Windows will start to download the latest version of the system, prepare it, and restart the computer to begin the Windows cleaning and repair procedure.
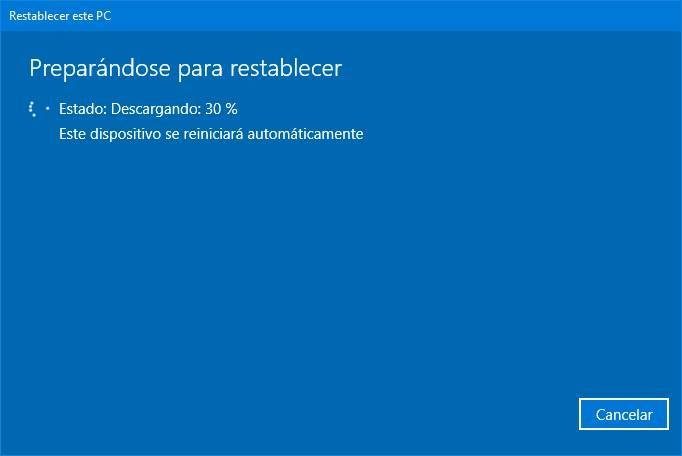
This procedure can take several minutes. Even a few hours. We must wait patiently for it to finish. When it is ready, we will basically have to complete the installation wizard of the operating system and that's it.
When we have control over our desktop we will have a clean, freshly installed Windows 10 (with or without our data, depending on the option we have chosen) and ready to work again without problems.